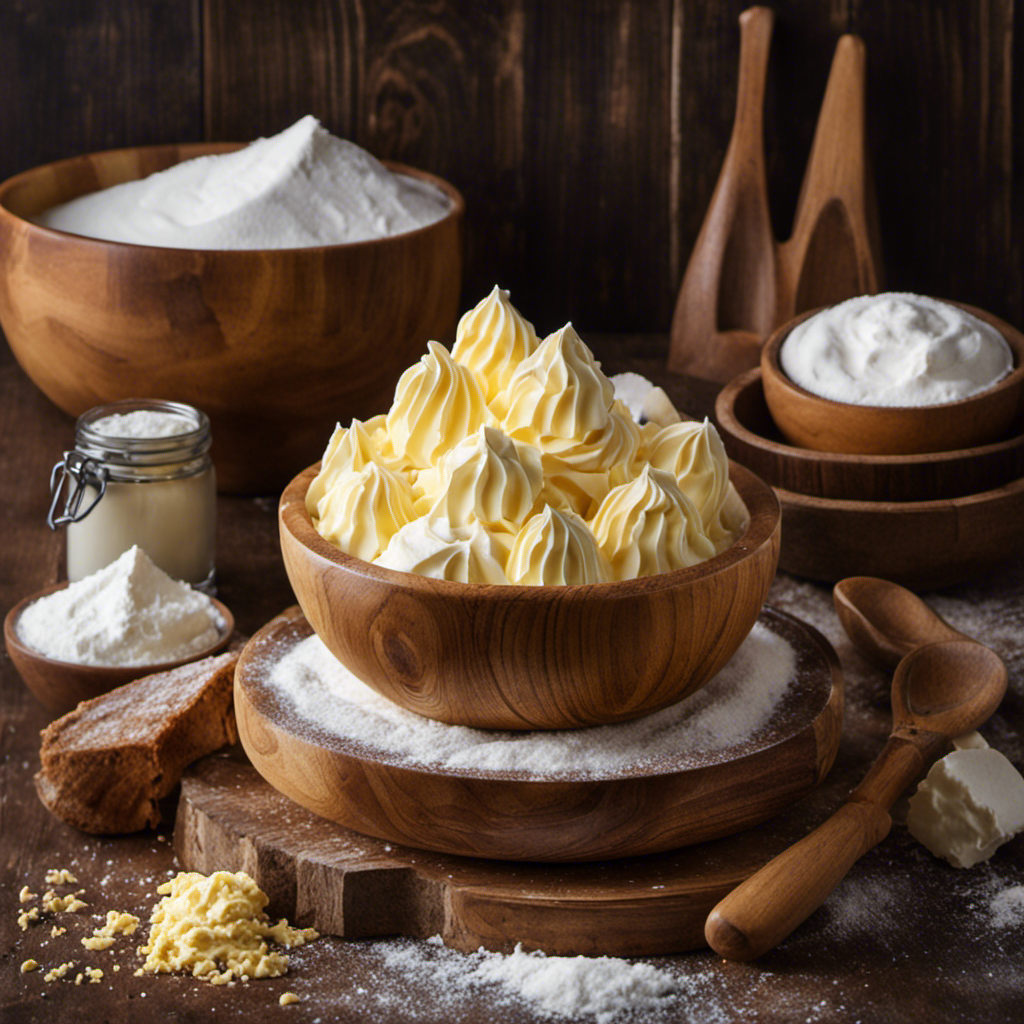
I have always been curious about how to achieve fluffy butter, so I took it upon myself to conduct an experiment. Through trying out various techniques and ingredients, I finally found the secret to attaining that ideal fluffiness.
In this article, I will share my findings and provide a step-by-step guide to help you churn your own fluffy butter. Prepare to be amazed as we delve into the science behind fluffy butter and uncover the secrets to making it light, airy, and oh-so-delicious.
Let’s get started!
Key Takeaways
- Temperature plays a crucial role in achieving fluffy butter, with room temperature being ideal.
- Using high-quality cream with a higher fat content contributes to fluffier butter.
- Whisking the cream vigorously helps incorporate air into the mixture, resulting in a lighter texture.
- Chill the cream in the refrigerator before whisking and store fluffy butter in an airtight container in the refrigerator for up to two weeks.

Peanut Butter Maker, Nut Butter Machine, 2025 New Electric Nut Butter Maker Machine, Electric Sesame Sauce Nut Grinder with Non-Slip Base Entry, Easy Install Easy to Use,Grinder
Our peanut nut grinder lets you easily grind a variety of nuts and seeds to make smooth.
As an affiliate, we earn on qualifying purchases.
Understanding the Science of Fluffy Butter
I’m going to explain how the science behind fluffy butter works.
The key to achieving fluffy butter lies in understanding the impact of temperature on its texture. Butter contains water and fat, and when it’s at room temperature, the water molecules are able to move freely and disperse evenly throughout the fat. This creates a smooth and creamy texture.
However, if the butter is too cold, the water molecules become trapped within the fat, resulting in a dense and hard consistency. On the other hand, if the butter is too warm, the fat can separate from the water, leading to a greasy and runny texture.
To troubleshoot these common issues, it’s important to ensure that the butter is at the ideal temperature, around 65-70°F, before incorporating it into your recipe. This will help you achieve the perfect fluffiness.
Now, let’s move on to the next section where we’ll discuss choosing the right ingredients for fluffier butter.

Carivia Milk Cream Centrifugal Separator, 304 Stainless Steel Electric Cow Milk Separator, 50L/H Goat Cow Cream Separator, 10500RPM Creams Maker Separator with 5L Bowl Capacity for Fresh Goat Cow Milk
【Efficient and High-Speed Operation】: Driven by a 30W copper motor, this milk cream separator can process up to...
As an affiliate, we earn on qualifying purchases.
Choosing the Right Ingredients for Fluffier Butter
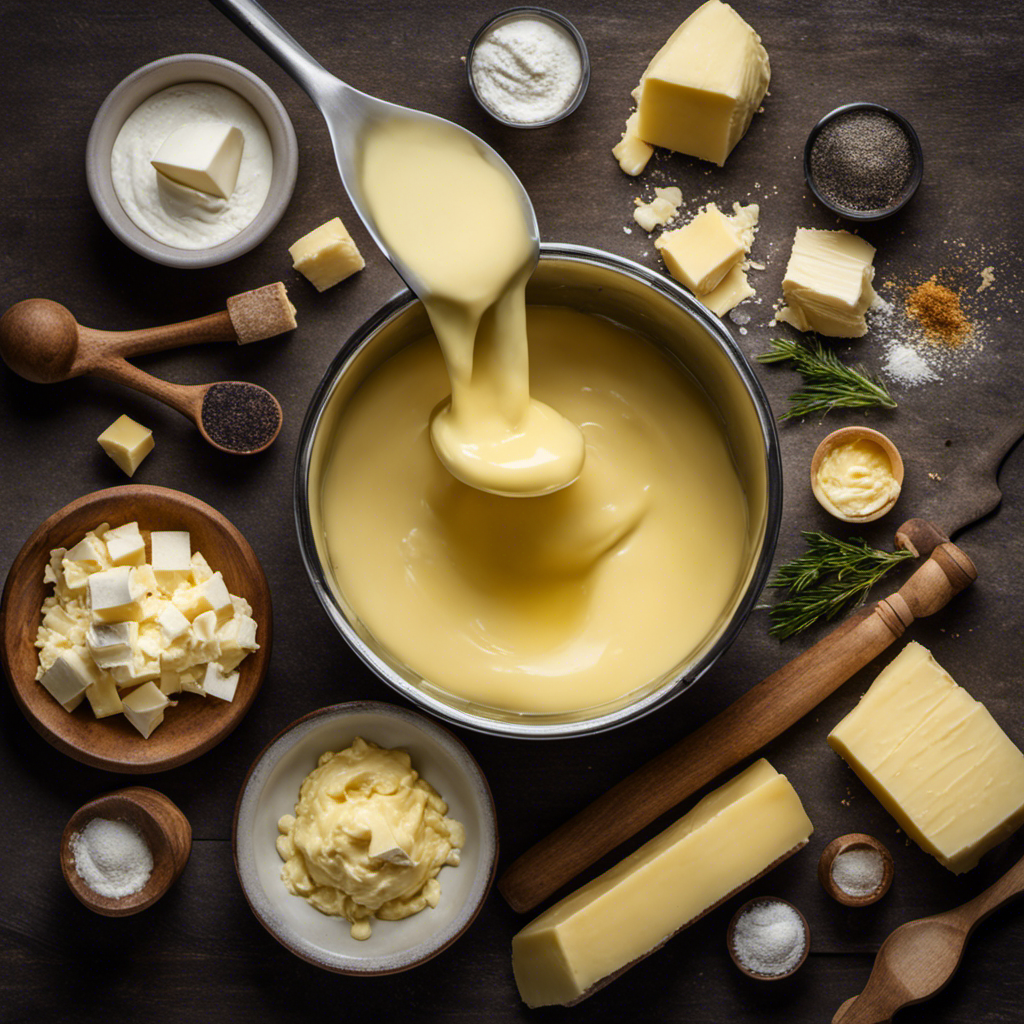
Using high-quality, fresh cream and a whisking motion, I’ll achieve a lighter texture for my homemade butter.
When it comes to butter consistency, the choice of ingredients plays a crucial role. Starting with high-quality cream is essential as it contains a higher fat content, which contributes to a fluffier butter. The cream should be fresh, as older cream may have started to sour, affecting the taste and texture of the butter.
Whisking the cream vigorously helps incorporate air into the mixture, resulting in a lighter texture. It’s important to maintain a constant whisking motion to prevent the cream from turning into whipped cream.
FOHERE Electric Milk Cream Centrifugal Separator, 304 Stainless Steel Milk Skimmer with 5L Bowl Capacity,Goat Milk Separator 100L/H Output 10500RPM, Perfect for Dairy Farm Family
【Efficient and Fast】- The Cream Separator Features a 30W pure copper motor and a large capacity milk tank(5L)...
As an affiliate, we earn on qualifying purchases.
Step-by-Step Guide to Churning Fluffy Butter
To achieve a lighter texture, I’ll start by chilling the cream and then vigorously whisking it in a bowl. This process helps to incorporate air into the cream, creating a fluffy consistency.
Here is a step-by-step guide to making fluffy butter at home:
-
Chill the cream: Place the cream in the refrigerator for about an hour before starting the process. Cold cream will whip better and hold more air.
-
Whisk vigorously: Pour the chilled cream into a bowl and start whisking vigorously. The movement of the whisk helps to incorporate air into the cream, transforming it into a lighter consistency.
-
Continue whisking until butter forms: After a few minutes of whisking, the cream will start to thicken and turn into whipped cream. Keep whisking until the whipped cream separates into butter and buttermilk.
By following these steps, you can create fluffy butter at home.
Now, let’s move on to some tips and tricks to achieve the perfect fluffiness.

Milk Cream Centrifugal Separator Electric descremadora de leche 100L/H Capacity Cream Maker with 5L 304 Stainless Steel Bowl for Fresh Goat Cow Milk, 110V 100W
【Efficient and Fast】- The DIYAREA Cream Separator speeds up to 10500 rpm, makes the separation of the cream...
As an affiliate, we earn on qualifying purchases.
Tips and Tricks to Achieve the Perfect Fluffiness
For achieving the perfect fluffiness, it’s important to ensure that the cream is properly chilled and the whisking is done vigorously.
To begin, make sure the cream is cold, as this allows for better air incorporation during whisking. I recommend chilling the cream in the refrigerator for at least 30 minutes prior to whisking.
Next, use a chilled bowl and whisk to maintain a cold environment throughout the process. Whisk the cream vigorously in a circular motion, applying consistent pressure. This will introduce air bubbles into the cream, resulting in a lighter and fluffier texture.
If you encounter any issues, such as the cream not thickening or becoming runny, check the temperature and consistency of the cream. Adjust the chilling time or whisking technique accordingly.
With these tips, you’ll be well on your way to achieving the perfect fluffy texture every time.
Serving and Storing Fluffy Butter for Maximum Enjoyment
When I serve my butter, I like to ensure it’s at room temperature for maximum spreadability. This allows the butter to soften and become easier to spread on bread or toast.
To serve and store fluffy butter for maximum enjoyment, here are some techniques and creative recipes:
-
Serving Techniques:
-
Allow the butter to sit at room temperature for 30 minutes before serving.
-
Use a butter dish with a lid to keep the butter fresh and protected.
-
Serve the butter alongside warm bread or rolls for a delightful combination.
-
Creative Butter Recipes:
-
Herb-infused butter: Mix softened butter with chopped herbs like parsley, rosemary, or thyme for a flavorful spread.
-
Honey butter: Blend softened butter with honey to create a sweet and creamy spread for pancakes or toast.
-
Garlic butter: Combine softened butter with minced garlic for a savory spread perfect for garlic bread or grilled vegetables.
Frequently Asked Questions
Can I Use Any Type of Butter for Making Fluffy Butter?
Yes, you can use any type of butter to make fluffy butter. However, the texture may vary depending on the fat content of the butter. Keep in mind that higher fat content butter will result in a fluffier texture.
Additionally, you can enhance the flavor of your fluffy butter by adding various flavoring options such as herbs, spices, or even citrus zest. Experimenting with alternative butter types like clarified butter or whipped butter can also yield interesting results.
Can I Substitute the Sugar in the Recipe With a Sugar Substitute for a Healthier Option?
Yes, you can substitute the sugar in the recipe with a sugar substitute for a healthier option.
There are various sugar substitute options available, such as stevia, erythritol, and monk fruit extract.
These sugar substitutes provide sweetness without the added calories and have minimal impact on blood sugar levels.
Using sugar substitutes in your recipe can be beneficial for individuals looking to reduce their sugar intake and manage their weight or blood sugar levels.
How Long Does It Take to Churn Butter by Hand?
To churn butter by hand, the time can vary depending on various factors. It typically takes around 20-30 minutes of consistent churning to achieve desired results. However, this method requires physical effort and can be time-consuming.
Using a butter churn can be a more efficient option, as it requires less physical exertion and can churn butter faster.
Some common issues when churning butter by hand include not using cream at the right temperature or not churning consistently. Troubleshooting these issues can help achieve fluffier butter.
Can I Use a Blender or Food Processor Instead of a Stand Mixer to Churn the Butter?
Using a blender or food processor instead of a stand mixer to churn butter has its pros and cons.
On one hand, a blender or food processor can quickly blend the cream, saving time and effort.
However, these appliances may not provide the same level of control and precision as a stand mixer, potentially resulting in less fluffy butter.
It’s important to consider the texture and consistency desired when deciding which method to use for churning butter.
Can I Add Flavorings Such as Herbs or Spices to the Butter for a Unique Taste?
Adding herbs or spices to butter for unique flavors can be a great way to enhance your dishes.
However, when it comes to achieving a fluffy texture in butter, it’s important to focus on the churning process. Using a blender or food processor may not be as effective as a stand mixer in this regard.
To make butter fluffy, the key is to whip it at a high speed, allowing air to be incorporated into the mixture.
Conclusion
In conclusion, understanding the science behind achieving fluffy butter is crucial for creating a light and airy texture. By choosing the right ingredients and following a step-by-step churning process, you can achieve the perfect fluffiness.
One interesting statistic to consider is that churning butter for approximately 20 minutes can increase its volume by up to 30%, resulting in a visually appealing and delicious final product.
With the right techniques and attention to detail, you can enjoy fluffy butter to its fullest potential.