I really enjoy making butter braids! They are a tasty and luxurious dessert that never fails to wow my loved ones.
In this article, I’m going to share my step-by-step process for creating the perfect butter braid. From gathering the ingredients to glazing the final product, I’ll guide you through each stage with clear and concise instructions.
Get ready to embark on a buttery, flaky, and utterly delightful baking adventure!
Key Takeaways
- Gather all necessary ingredients and materials before starting and choose a filling that complements the buttery layers of the braid.
- Knead the dough until it reaches a smooth and elastic consistency and let it rise for about an hour or until it has doubled in size.
- Gently roll the risen dough into a rectangular shape and evenly spread the chosen filling to ensure a delicious and visually appealing braid.
- Bake the butter braid following the recommended time and temperature, cool it on a rack, and glaze it for a sweet and glossy finish.

Cuisinart Chef’s Classic 11-Piece Stainless Steel Pots and Pans Set, Cookware Set Compatible with Induction, Electric, Gas Cooktops, Aluminum Core for Even Heat, Cool Grip Handles, Dishwasher Safe
KITCHEN COOKWARE SET: This Cuisinart stainless steel cookware set includes 1.5 qt. & 2.5 qt. saucepans w/glass covers,...
As an affiliate, we earn on qualifying purchases.
Gathering Ingredients and Materials
You’ll need to gather all of your ingredients and materials before starting to make a butter braid. Choosing the perfect filling is key to creating a delicious and satisfying treat. Whether it’s a classic cinnamon sugar filling or a decadent chocolate hazelnut spread, the filling should complement the buttery layers of the braid.
As for the dough, kneading it properly is crucial for achieving the right texture and elasticity. Start by mixing warm milk, yeast, sugar, and flour until a sticky dough forms. Then, transfer it to a floured surface and knead it for about 10 minutes, adding more flour as needed. The dough should be smooth and elastic.

Made In Cookware | 3-Piece (Includes 8",10",12") Stainless Frying Pan Set | 5 Ply Stainless Clad | Professional Cookware | Crafted in Italy | Induction Compatible
Includes: 8" Stainless Frying Pan | 10" Stainless Frying Pan | 12" Stainless Frying Pan
As an affiliate, we earn on qualifying purchases.
Preparing the Dough
Knead the dough until it reaches a smooth and elastic consistency. This is a crucial step in the bread-making process. As I press and fold the dough, I can feel the gluten strands forming, giving the dough its stretchy texture. It’s important to be patient during this stage, as it can take around 10-15 minutes to achieve the desired consistency.
After kneading, I shape the dough into a ball and place it in a greased bowl. Covering it with a damp cloth, I let the dough rise for about an hour or until it has doubled in size. This rising time allows the yeast to work its magic, releasing carbon dioxide and creating air bubbles in the dough.
The kneading process and rising time are crucial for developing the structure and flavor of the bread. These steps help create a light and airy butter braid that is both delicious and visually appealing.
Made In Cookware | 2 Quart Stainless Steel Saucier Pan | 5 Ply Stainless Clad | Professional Cookware | Crafted in Italy | Induction Compatible
Total Diameter: 8.2" | Cooking Surface Diameter: 5" | Height (with handle): 5.1" | Depth: 3.5" | Length...
As an affiliate, we earn on qualifying purchases.
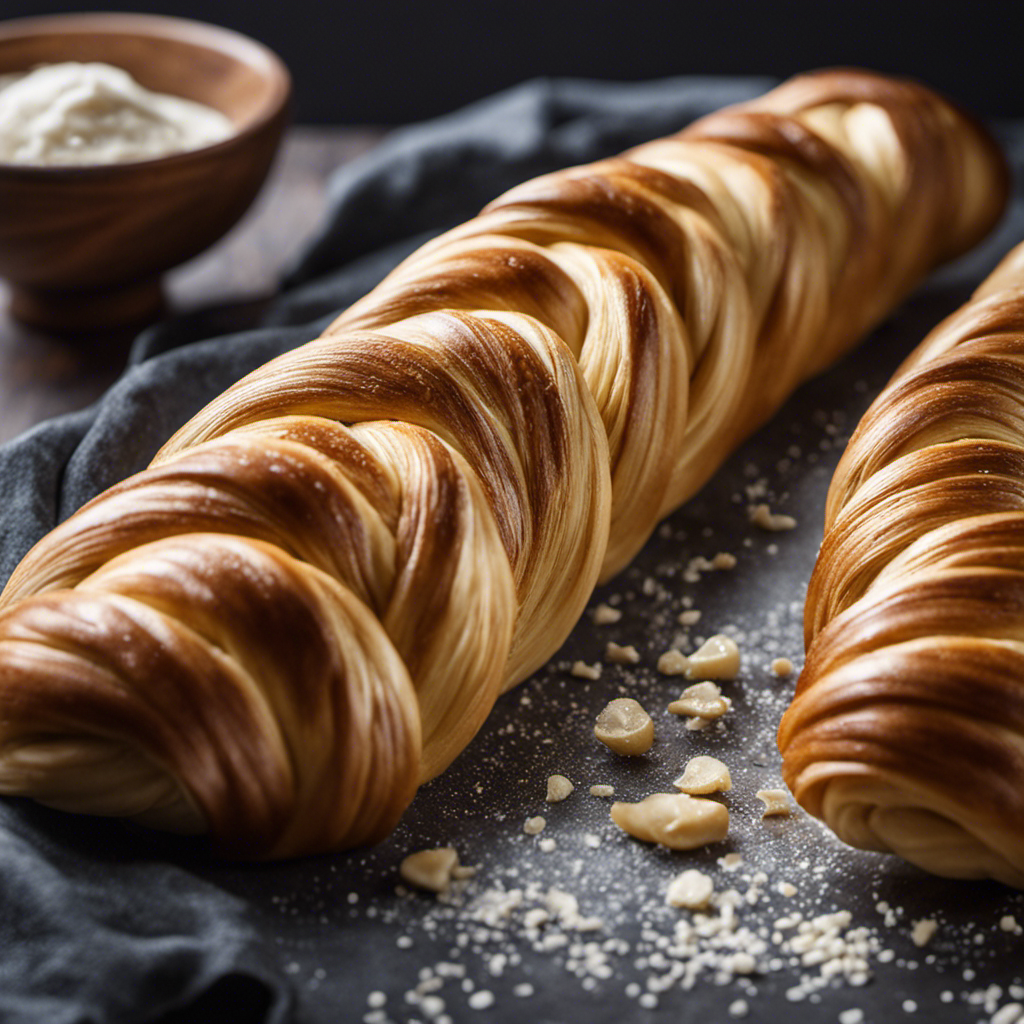
Rolling and Shaping the Butter Braid
Once the dough has risen, gently roll it out into a rectangular shape. This is a crucial step in creating a delicious and visually appealing butter braid. To achieve the perfect shape, I like to use a rolling pin to evenly flatten the dough. The rectangular shape allows for easy twisting and ensures an even distribution of the buttery filling throughout the braid. To help you visualize the process, I have created a table below that outlines some techniques for twisting and tips for achieving a flaky crust.
| Techniques for Twisting | Tips for a Flaky Crust | Supplies Needed |
|---|---|---|
| Overlapping strands | Chilling the dough | Rolling pin |
| Braiding strands | Using cold butter | Baking sheet |
| Tucking the ends | Avoiding over-mixing | Pastry brush |
These techniques and tips will enhance the appearance and taste of your butter braid, making it a showstopper for any occasion. So go ahead, roll out that dough and get twisting!

Cuisinart 5.5 Quart Sauté Pan w/ Cover, Stainless Steel Pan with Lid, Large Kitchen Pan, Dishwasher Safe, Compatible with Induction, Electric, Gas Cooktops, Oven Safe Saucepan, Cool Grip Handles
EXCEPTIONAL DESIGN: The 5.5-Quart Saute Pan with Helper Handle and Flavor Lock Lid has straight high sides and...
As an affiliate, we earn on qualifying purchases.
Adding the Filling
When it comes to adding the filling to your butter braid, there are a variety of options to choose from. From classic flavors like cinnamon and sugar to more adventurous combinations like chocolate hazelnut or raspberry cream cheese, the possibilities are endless.
Once you’ve decided on your filling, mastering the technique for spreading it evenly is key to achieving a delicious and visually appealing butter braid.
Filling Options
There are various filling options you can choose from for your butter braid. Whether you prefer sweet or savory, traditional or creative, there’s something for everyone. Here are some tantalizing options to consider:
- Sweet and traditional: Cinnamon sugar filling that melts in your mouth, reminiscent of a classic cinnamon roll.
- Savory and creative: Spinach and feta cheese filling, bursting with flavors that will make your taste buds dance.
- Sweet and creative: Nutella and banana filling, a delightful combination that brings a touch of indulgence to your butter braid.
- Savory and traditional: Ham and cheese filling, a comforting choice that satisfies any craving.
- Sweet and savory fusion: Apple and bacon filling, a unique blend of flavors that surprises and delights.
Now that you’ve chosen your filling, let’s move on to the next step: techniques for spreading.
Techniques for Spreading
Now that we have our filling options sorted, let’s move on to the next step in making a perfect butter braid: perfecting the spreading technique.
Spreading the filling evenly is crucial to ensure that every bite of your butter braid is bursting with flavor. To do this, start by placing the filling in the center of the dough and use a spatula or the back of a spoon to gently spread it out, leaving a small border around the edges. Be careful not to spread it too close to the edges, as it may leak out during baking.
If you encounter any issues while spreading, don’t worry! Common problems like clumps or uneven distribution can be easily fixed. Simply use the back of a spoon or your fingers to smooth out any clumps and distribute the filling more evenly.
Once you’ve perfected the spreading technique, you’re ready to move on to the next step: baking and cooling.
Baking and Cooling
Once you’ve finished rolling and filling your butter braid, it’s time to start baking and cooling it. This is the exciting part where all your hard work comes together to create a delicious treat. Here are a few things to keep in mind during this process:
-
Place your butter braid on a baking sheet lined with parchment paper to prevent sticking.
-
Preheat your oven to the specified temperature and bake the butter braid for the recommended baking time. The aroma will fill your kitchen, building anticipation.
-
Once baked, carefully transfer the butter braid to a cooling rack. The beautiful golden crust will glisten in the light.
-
Allow the butter braid to cool completely before slicing into it. This may require some patience, but it’s worth the wait.
-
Finally, enjoy a warm slice of butter braid with a cup of coffee or tea, savoring every bite.
The baking time and the cooling process on the rack are important steps in achieving the perfect texture and flavor. So, take your time and enjoy the delicious results of your hard work.
Glazing the Butter Braid
As you’re glazing the butter braid, remember to use a pastry brush to evenly coat the surface with the sweet and glossy mixture. The glaze is what adds that extra touch of deliciousness to your butter braid.
There are so many different glaze flavors you can choose from to suit your taste. Some popular options include vanilla, chocolate, lemon, and caramel.
To achieve a shiny glaze, make sure to prepare it with the right consistency. If it’s too thick, add a little bit of milk or water to thin it out. If it’s too thin, add more powdered sugar.
Another tip is to let the butter braid cool slightly before glazing it, as this will help the glaze set and stick better.
Once your butter braid is perfectly glazed, it’s time to move on to the next step: serving and enjoying!
Serving and Enjoying
When it comes to enjoying a delicious butter braid, the serving suggestions can make all the difference in enhancing the flavor.
Whether it’s as a decadent dessert or a delightful breakfast treat, there are several ways to best serve and enjoy this delectable pastry.
From pairing it with a scoop of vanilla ice cream to drizzling it with a warm caramel sauce, these serving suggestions will take your butter braid experience to the next level.
Best Serving Suggestions
For the best serving suggestions, it’s important to consider the flavor of the butter braid and pair it with complementary toppings or spreads. Here are some delicious options to enhance your butter braid experience:
- A dollop of creamy vanilla ice cream melting over a warm butter braid is a decadent dessert option that will satisfy your sweet tooth.
- Go for a savory twist by spreading a layer of tangy garlic and herb cream cheese on top of your butter braid.
- Drizzle some rich chocolate sauce over the butter braid for a luscious and indulgent treat.
- Add a sprinkle of powdered sugar to give your butter braid a touch of sweetness and a beautiful presentation.
- For a fruity twist, top your butter braid with a generous amount of fresh berries and a dollop of whipped cream.
By exploring these serving suggestions, you can discover the perfect combination to enhance the flavor of your butter braid and create a truly delightful culinary experience.
Now, let’s move on to the next section and learn how to further enhance the flavor of your butter braid.
Enhancing the Flavor
To enhance the flavor of your butter braid, try experimenting with different toppings and spreads.
There are endless possibilities when it comes to improving the taste of this delicious pastry.
One option is to spread a layer of Nutella on top of the butter braid. The creamy chocolate-hazelnut spread adds a rich and indulgent flavor that pairs perfectly with the buttery dough.
Another idea is to sprinkle some cinnamon and sugar on top before baking. This will create a sweet and aromatic crust that will make your butter braid irresistible.
If you’re feeling adventurous, you can even try drizzling some caramel or chocolate sauce over the finished braid. The possibilities are endless when it comes to experimenting with flavors and taking your butter braid to the next level of deliciousness.
Frequently Asked Questions
How Long Does It Take for the Dough to Rise?
To achieve a fluffy dough, it’s crucial to knead it properly. This involves giving it enough time to rise. Depending on the recipe, it usually takes about 1 to 2 hours for the dough to double in size.
Can I Freeze the Butter Braid Before Baking?
Yes, you can freeze the butter braid before baking. It’s a handy technique if you want to prep ahead. Just make sure to wrap it tightly, and when you’re ready, let it thaw and rise before baking.
Can I Use a Different Type of Filling Instead of the Suggested Options?
Yes, you can definitely get creative with the fillings for your butter braid! Instead of the suggested options, try different types of fillings like Nutella, fruit preserves, or even savory options like pesto and cheese. Let your imagination run wild!
How Long Should I Let the Butter Braid Cool Before Glazing?
I usually let the butter braid cool for about 15 minutes before glazing. It gives the pastry a chance to set and allows the glaze to evenly coat the braid. Patience is key for a delicious outcome!
Can I Store the Leftovers at Room Temperature or Should I Refrigerate Them?
Leftovers should be stored in the refrigerator to maintain freshness. As for alternative fillings, options are endless! Get creative with chocolate, fruit, or even savory choices. Experiment and enjoy the delicious results.
Conclusion
In conclusion, making a butter braid is a delightful experience that combines the art of baking with the joy of tasting a buttery, flaky pastry.
As I followed the steps and gathered the ingredients, I couldn’t help but wonder about the origin of this delicious treat. Some say that butter braids were first created by French bakers in the 19th century, while others believe they have Scandinavian roots.
Regardless of its origins, one thing is certain – the butter braid is a true indulgence that will leave you craving for more. So why not give it a try and uncover the delicious truth behind this mouthwatering pastry?