I have always admired the comforting and inviting atmosphere provided by candles, yet it never crossed my mind that I could create my own until I came across the amazing concept of a butter candle.
With just a few simple supplies and a little bit of patience, you can create a beautiful and fragrant candle right in your own kitchen.
In this article, I’ll guide you through the step-by-step process of making a butter candle, from gathering the supplies to enjoying the flickering glow of your creation.
Let’s get started!
Key Takeaways
- Using butter as a candle wax provides benefits such as a pleasant aroma, sustainability, and cost-effectiveness.
- Cotton wicks are commonly used for butter candles and should be trimmed before each use to maintain a steady flame and prevent excessive smoke or soot.
- Melt the butter in a microwave-safe bowl and clarify it to remove impurities and water content for a smooth and even burn.
- Use proper safety precautions when handling hot containers and pouring the melted butter, such as using oven mitts and keeping the container level to prevent spills or accidents.
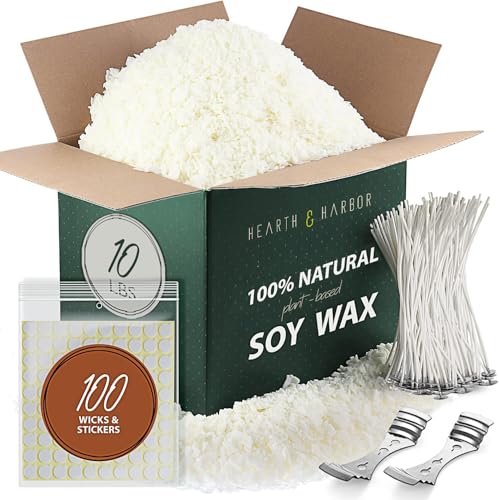
Hearth & Harbor Organic Soy Candle Wax for Candle Making, 10 lbs Natural Candles Making Supplies, Beeswax-Free, Paraffin-Free, Pure Soy Wax Flakes Perfect for Candles, Tealights and Melts
- All-In-One Candle Making Kit: Includes wax, wicks, stickers, and holders
- Easy to Use Flakes: Melt quickly and smoothly without mess
- Long-Lasting Scent: Holds up to 10% fragrance load for strong aroma
As an affiliate, we earn on qualifying purchases.
As an affiliate, we earn on qualifying purchases.
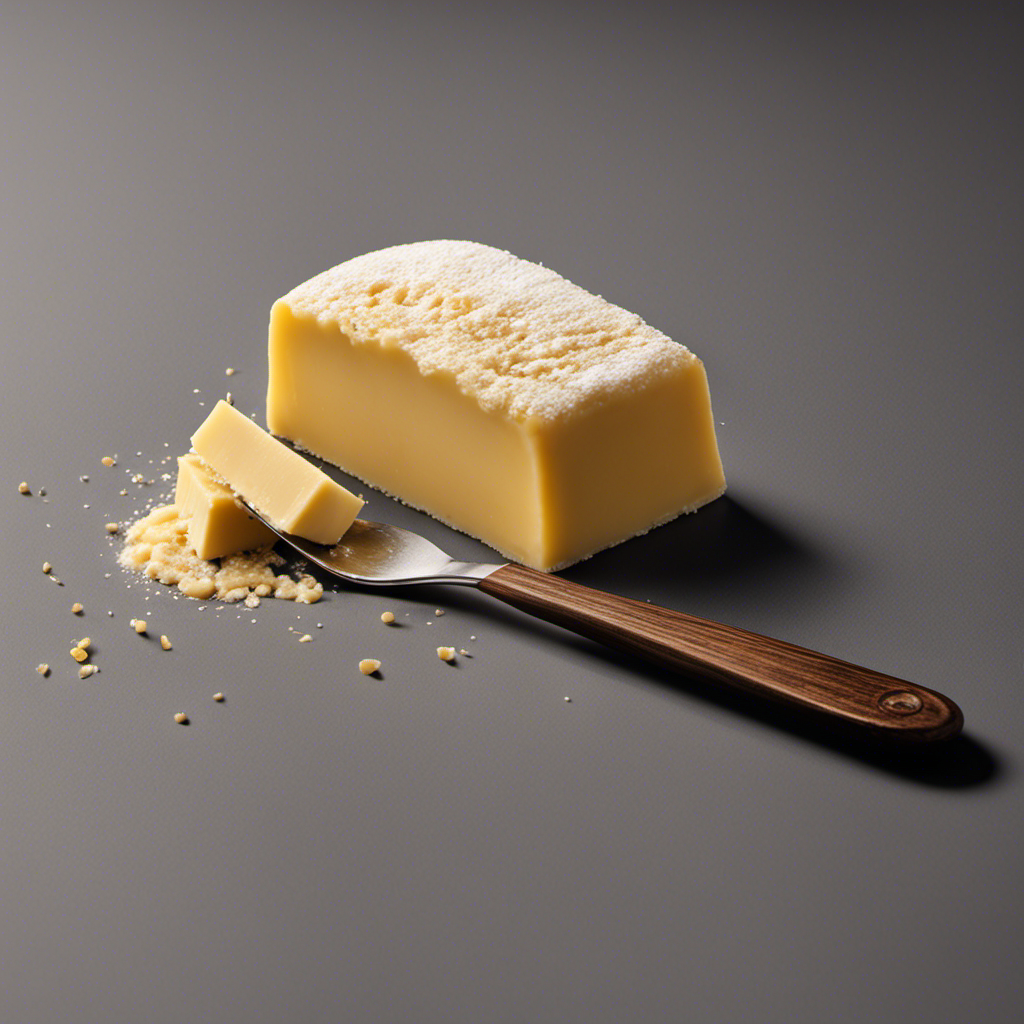
Gathering Supplies
To make a butter candle, you’ll need a few supplies. First, let’s talk about the benefits of using butter as a candle wax.
Butter candles have a warm and cozy glow, perfect for creating a relaxing atmosphere. They also release a subtle, comforting scent when burned.
Now, let’s discuss the different types of wicks you can use. Cotton wicks are the most common and readily available. They provide a steady and even burn, making them ideal for butter candles.
Alternatively, you can use hemp wicks, which are known for their slow burn and minimal soot production. Whatever type of wick you choose, ensure it is long enough to reach the bottom of your container and trimmed to about 1/4 inch before lighting.
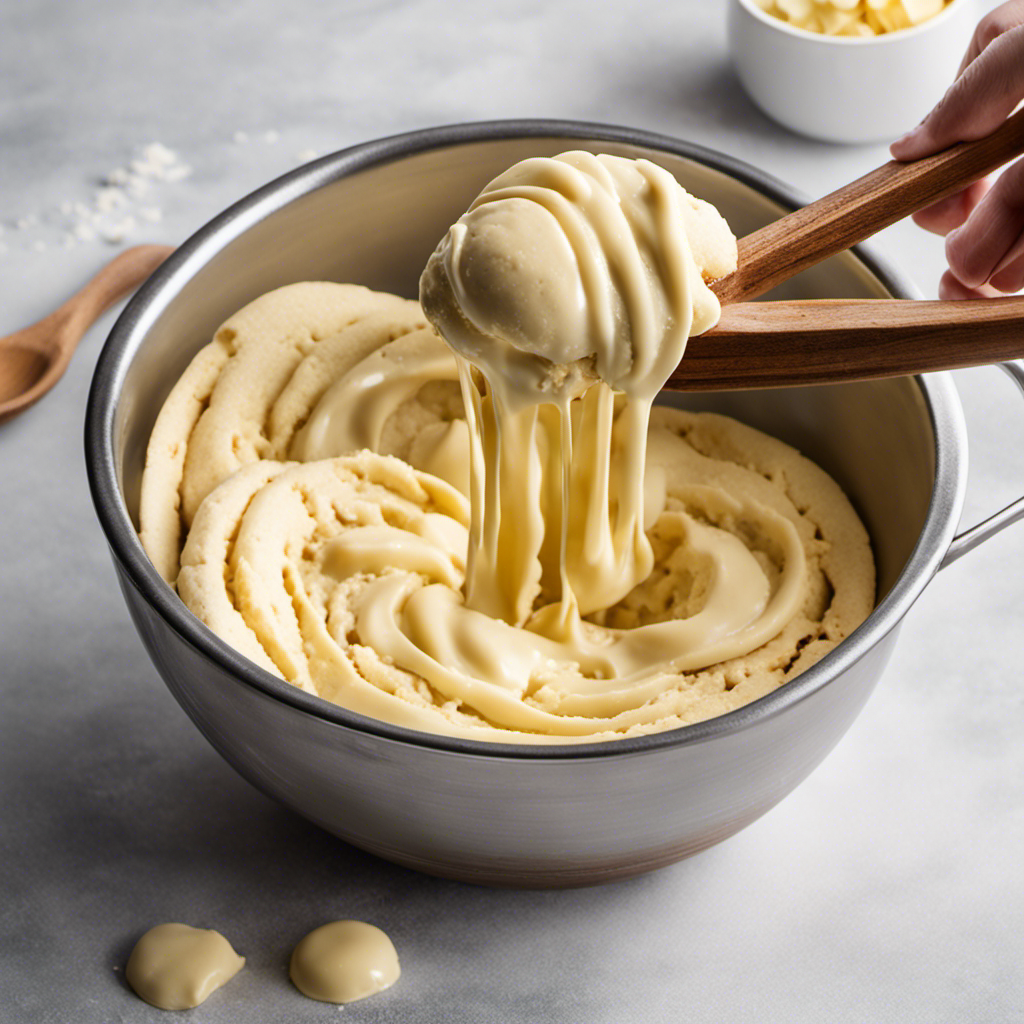
Preparing the Butter
First, melt the butter in a microwave-safe bowl. To ensure the butter consistency is ideal for making a butter candle, it is important to clarify the butter. This process removes any impurities and water content, resulting in a purer and more stable form of butter. Clarifying butter is a simple technique that involves heating the butter gently until it separates into three layers: the milk solids on the bottom, the clarified butter in the middle, and the foam on top. By gently pouring off the clarified butter, you are left with a golden liquid that has a higher smoke point and a longer shelf life. This clarified butter will provide a smooth and even burn when used as the base for your butter candle.
Table:
| Steps to Prepare Butter |
|---|
| 1. Melt butter in a microwave-safe bowl |
| 2. Allow the butter to separate into layers |
| 3. Gently pour off the clarified butter |
| 4. Discard the foam and milk solids |
| 5. Use the clarified butter for your butter candle |
Creating the Wick
Once the clarified butter has been prepared, you can start creating the wick for your candle. The wick is an essential component that allows the butter to burn and provide a steady flame.
For optimal results, it’s important to choose the right wick materials and determine the proper wick length. Cotton wicks are commonly used for butter candles due to their ability to absorb and hold the melted butter.
To create the wick, cut a piece of cotton string that is slightly longer than the height of your container. This will ensure that the wick burns evenly and doesn’t extinguish prematurely.
With the wick prepared, it’s time to move on to the next step: melting the butter.
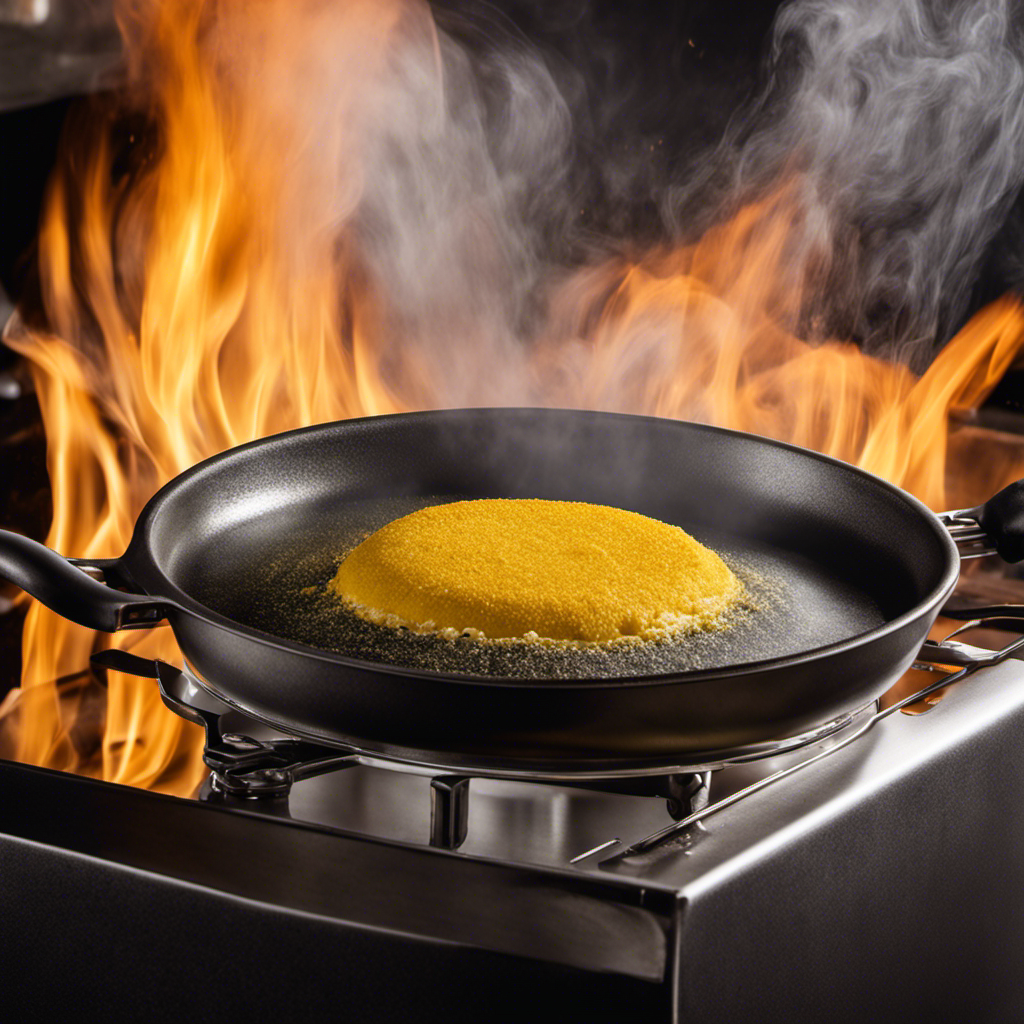
Melting the Butter
When it comes to melting butter, there are a few key techniques that I’ve found to be the most effective.
First and foremost, it’s important to know the optimal melting temperature for butter, which is around 100-110 degrees Fahrenheit. This temperature ensures that the butter melts evenly and doesn’t burn or scorch.
To avoid butter scorching, I recommend using a gentle heat and stirring constantly until it’s fully melted.
Butter Melting Techniques
To start melting the butter, you can place a small amount in a microwave-safe bowl and heat it for 30-second intervals until it becomes a liquid. It’s important to handle the butter with care, as it can easily burn if overheated.
Here are some techniques I’ve learned through my experience in making butter candles:
-
Slow and steady: Instead of rushing the process, I prefer to melt the butter on a low heat setting, either on the stove or in the microwave, to ensure a smooth consistency.
-
Fragrance infusion: To add a delightful aroma to the candle, I like to mix in a few drops of butter candle fragrance oil into the melted butter. This creates a warm and inviting atmosphere when the candle is lit.
-
Adding color: For a touch of vibrancy, I sometimes incorporate a small amount of food coloring into the melted butter. This allows me to create candles in different shades and hues, adding a visual element to the overall experience.
Optimal Melting Temperature
The optimal temperature for melting butter is achieved by heating it on a low setting. When it comes to melting butter, temperature control is crucial. As an experienced cook, I know that melting butter at too high of a temperature can result in burnt butter or scorching, which can ruin the taste and texture of your dish.
By using a low setting, around 125°F (52°C), the butter will slowly melt without burning. This allows the butter to maintain its flavor and consistency, ensuring a smooth and creamy result. Achieving the perfect melting temperature is essential for various recipes, from baking to sautéing. It sets the foundation for a successful cooking process and enhances the overall taste of your dishes.
Now, let’s explore how to avoid butter scorching and achieve a perfect melt every time.
Avoiding Butter Scorching
By keeping the heat low and stirring continuously, you can prevent the butter from scorching and ensure a smooth melt. This step is crucial in preventing wick burning and maintaining candle stability.
Here are some more tips to help you avoid butter scorching:
- Use a heavy-bottomed saucepan to distribute heat evenly.
- Cut the butter into small cubes to facilitate faster melting.
- Use a wooden spoon or silicone spatula to stir the butter gently and consistently.
- Avoid leaving the butter unattended to prevent it from overheating.
- If you notice any brown bits forming, remove the pan from the heat immediately.
By following these guidelines, you can achieve the perfect melted butter consistency for your candle.
Once the butter is melted, it is time to move on to the next step: pouring the butter into the container.
Pouring the Butter Into the Container
When it comes to pouring melted butter into a container, there are alternative options that can be considered.
From mason jars to ceramic dishes, it’s important to choose a container that can withstand the heat and won’t crack or break.
Additionally, safety precautions must be taken during the pouring process to avoid any accidents or burns.
Alternative Container Options
For an alternative container option, you could try using a small mason jar or even a tin can. These options are great because they are easily accessible and can withstand the heat of the burning butter. Using a mason jar allows for a charming and rustic aesthetic, while a tin can adds a touch of simplicity.
When it comes to alternative fuel sources, natural ingredients are a great choice. Not only do they provide a more sustainable option, but they also release fewer toxins into the air when burned. Using butter as a fuel source not only adds a pleasant aroma to the room but also creates a warm and cozy ambiance. Additionally, natural ingredients like butter can be easily sourced and are often more cost-effective than traditional candles.
Now that you have chosen your container, let’s move on to the next step: safety precautions when pouring.
Safety Precautions When Pouring
To ensure your safety while pouring, remember to use oven mitts to protect your hands from the heat of the container. Handling hot containers is crucial to preventing wax spills and potential injuries. As someone who has made numerous candles, I understand the importance of taking safety precautions seriously. When pouring hot wax, it’s essential to have a steady hand and a firm grip on the container. To help you visualize the process, here is a table that outlines the steps for handling hot containers:
| Step | Action | Precaution |
|---|---|---|
| 1 | Place container on a heat-resistant surface | Avoid placing it near flammable materials |
| 2 | Securely hold the container | Use oven mitts to protect your hands |
| 3 | Pour wax slowly and steadily | Avoid sudden movements or jerks |
| 4 | Keep the container level | Prevents wax from spilling or splashing |
| 5 | Wipe any spills immediately | Avoid slipping or accidents |
Allowing the Candle to Set
Once the candle has cooled and hardened, you can carefully trim the wick to the desired length. This step is crucial to ensure a clean and even burn of your candle.
To achieve the best results, I recommend following these candle making techniques:
-
Use sharp scissors or a wick trimmer to trim the wick. This will prevent the wick from becoming too long and causing excessive smoke or soot.
-
Leave a quarter-inch of wick above the wax surface. This length is ideal for a steady flame and proper wax consumption.
-
Trim the wick before each use. This will help maintain the candle’s longevity and prevent any potential safety hazards.
By paying attention to these details, your candle will not only burn beautifully, but it will also serve as a stunning decoration in any room.
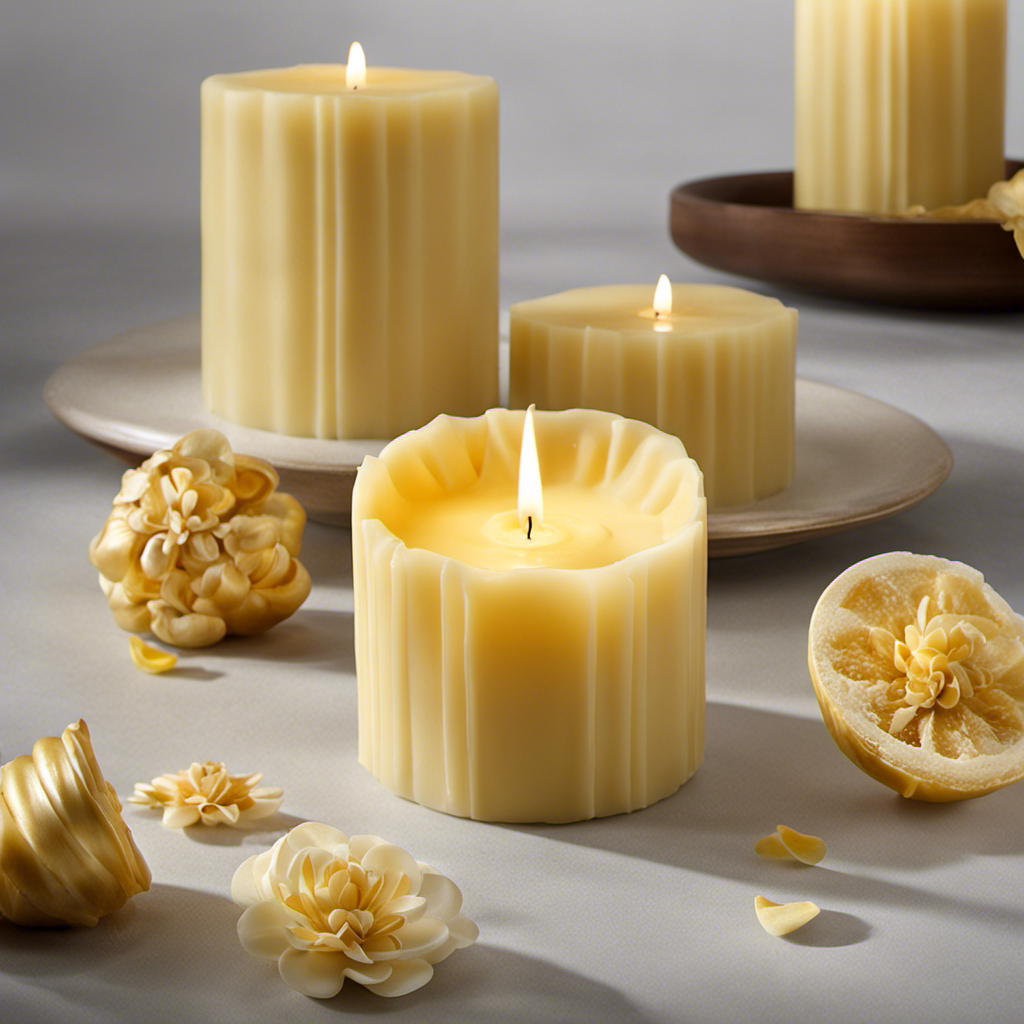
Lighting and Enjoying the Butter Candle
Now that the wick has been trimmed, you can simply light the butter candle and enjoy its warm glow.
To ensure a successful lighting experience, it is important to use proper lighting techniques. Gently hold a match or a lighter to the tip of the wick and apply a small amount of heat. The heat will gradually transfer to the butter, causing it to melt and release its delightful fragrance.
As the candle burns, the aroma will fill the room, creating a cozy and inviting atmosphere. Speaking of fragrance, butter candles offer a variety of scent options. From vanilla to lavender, you can choose a scent that suits your preferences and sets the right mood.
Frequently Asked Questions
How Long Does It Take for the Butter Candle to Melt Completely?
It takes approximately [melting time] for a butter candle to melt completely. The melting point of the butter determines how long it will take. It’s important to consider the ambient temperature as well.
Can I Use Margarine Instead of Butter to Make the Candle?
Yes, you can use margarine instead of butter to make a candle. However, there are a few differences to consider. Margarine has a higher water content, so it may not burn as cleanly or as long as butter.
What Kind of Container Is Best for Pouring the Melted Butter Into?
The ideal container for pouring melted butter into is a heat-resistant glass or ceramic vessel. However, if you don’t have one, alternative options like a metal tin or even a small mason jar can work too.
Can I Add Fragrance or Essential Oils to the Melted Butter for a Scented Candle?
Adding fragrance to melted butter can enhance the ambiance of your butter candle. Essential oils are a popular choice for their soothing scents and therapeutic benefits. Just a few drops can transform your candle into a fragrant oasis.
How Long Does the Butter Candle Typically Burn For?
The burn time of a butter candle varies depending on factors like the size of the candle and the room temperature. Generally, a butter candle can burn for around 2-4 hours, while the melting time is about 10-15 minutes.
Conclusion
In conclusion, making a butter candle is a delightful and easy DIY project that anyone can enjoy.
By following the simple steps outlined in this article, you can create a beautiful and fragrant candle using just a few supplies.
From gathering the necessary materials to allowing the candle to set, the process is straightforward and rewarding.
So why not give it a try? You’ll be amazed at how this simple butter candle can fill your space with a warm and inviting glow, like a thousand fireflies dancing in the night.