
If your KitchenAid Artisan Series 5 Quart Tilt Head Stand Mixer is leaking oil, it can be concerning but is often fixable. Oil leaks may occur due to worn seals or internal components that need replacement or adjustment. Addressing this issue promptly helps maintain the mixer’s performance and prevents further damage.
Open a free Amazon Business account
Business pricing, bulk buying and tax-exempt orders.
Create a free accountAs an affiliate, we earn on qualifying purchases.
In this guide, you’ll find clear, practical steps to diagnose and fix the oil leak safely, with tips on identifying the cause and when to seek professional help. Always prioritize safety and follow the manufacturer’s instructions carefully.
Key Takeaways
| Identify the Source of Leak | Determine whether the oil is leaking from the head, the gear housing, or the attachment hub. |
| Check Seals and Gaskets | Worn or damaged seals are common causes of oil leaks and may need replacement. |
| Properly Disassemble | Carefully remove the mixer head or housing to access internal parts without causing damage. |
| Replace or Lubricate Components | Replace faulty seals or apply appropriate lubricant if recommended by the manufacturer. |
| Reassemble and Test | Carefully reassemble the mixer and run a test to ensure the leak is resolved. |
Step 1: Unplug and Prepare Your Mixer
- Ensure the mixer is unplugged from the power outlet to prevent any electrical hazards.
- Remove any attachments and the mixing bowl.
- Place a towel or container underneath the mixer if there’s active leaking to catch excess oil.
Step 2: Access the Internal Components
Gently tilt the mixer head back by unlocking the tilt mechanism, following the user manual if needed. Carefully remove the head assembly to expose the gear housing and internal parts. Use appropriate tools like screwdrivers to avoid damaging parts.
Step 3: Identify the Leak Source
Inspect the gear housing, seals, and surrounding areas for signs of oil leakage. Check for worn or cracked seals, especially around the drive gear and the attachment hub. If oil is visible on the seals or gear teeth, these are likely the source.
Step 4: Replace Worn Seals or Lubricate Components
- If the seals are damaged, purchase replacements compatible with your model. Refer to the user manual or contact KitchenAid customer support for guidance.
- Clean the area thoroughly before installing new seals.
- If recommended, apply a small amount of food-grade lubricant or oil to the seals or gear components, avoiding over-lubrication.
Step 5: Reassemble and Test Your Mixer
Carefully reattach the mixer head, ensuring all screws and locks are securely in place. Plug in the mixer and run it at low speed for a few minutes, then check for leaks. If the leak persists, recheck the seals or consult a professional repair service.
The Products in This Guide

KitchenAid Artisan Series 5 Quart Tilt Head Stand Mixer
- ✔ Weight: 26 pounds
- ✔ Power: 325 watts
- ✔ Warranty: 1 year

KitchenAid Stand Mixer Attachment
- ✔ Weight: 3 pounds
- ✔ Dimensions: 10 x 8 x 4 inches
- ✔ Color: Metal silver
KitchenAid Artisan Series 5 Quart Tilt Head Stand Mixer
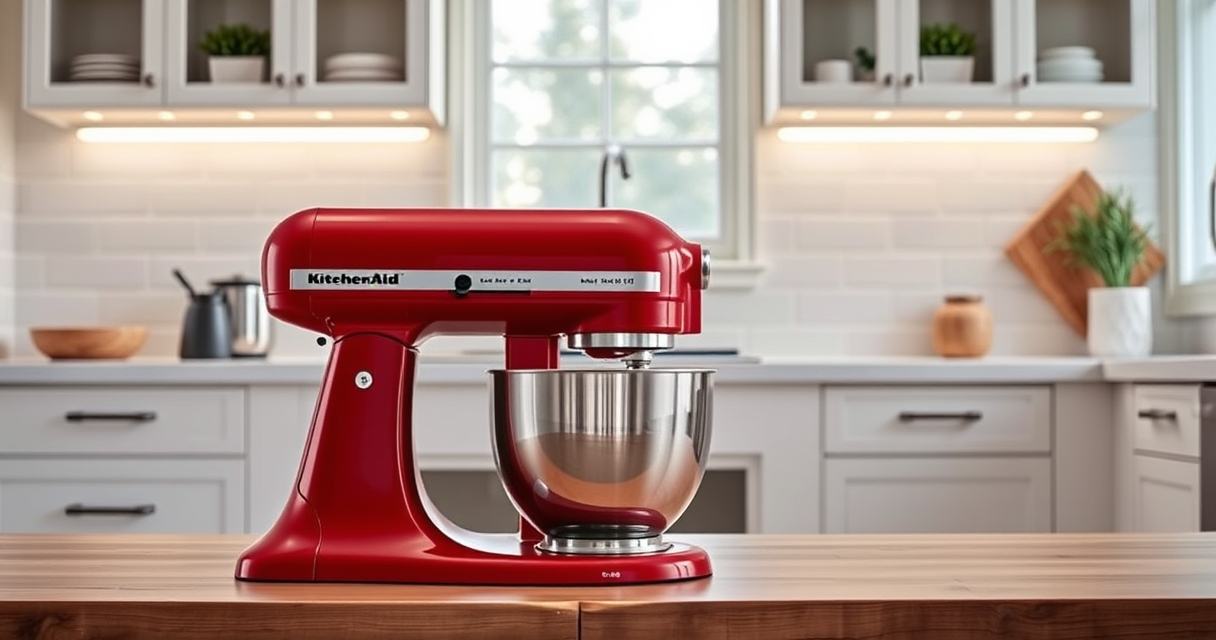
The KitchenAid Artisan Series 5 Quart Tilt Head Stand Mixer is built with durable metal construction and features 59 touchpoints for thorough mixing. It offers a versatile 10-speed control and a large stainless steel bowl, making it ideal for both small and large batches.
Pros:
- Durable metal construction
- Easy tilt-head access
- Large 5-quart capacity
- Multiple color options
Cons:
- Can be heavy to move
- Requires regular maintenance of seals
- Price may be higher than basic mixers
Best for: Home bakers and cooking enthusiasts who need a reliable, versatile stand mixer.
Not ideal for: Casual users or those on a tight budget may find it more than they need.
Bottom line: A durable, versatile mixer perfect for serious home bakers.
KitchenAid Stand Mixer Attachment
This metal food grinder attachment connects seamlessly to your KitchenAid stand mixer, expanding its functionality. It includes various grinding plates and sausage stuffer tubes, ideal for making fresh meats, vegetables, or bread crumbs.
Pros:
- Enhances mixer versatility
- High-quality stainless steel
- Multiple grinding options
- Easy to clean and store
Cons:
- Requires additional space
- Attachment sold separately
- Need to pre-chill for best results
Best for: Home cooks wanting to process ingredients efficiently and make fresh foods.
Not ideal for: Users who prefer pre-ground ingredients or do not want attachments.
Bottom line: A versatile attachment that boosts your KitchenAid’s capabilities.
Frequently Asked Questions
Can I fix my KitchenAid mixer myself if it leaks oil?
Yes, if you are comfortable with disassembly and have the right tools, you can replace seals and lubricate parts. However, always follow safety precautions and refer to the user manual.
What causes oil leaks in a KitchenAid stand mixer?
Common causes include worn or damaged seals, improper assembly, or internal gear wear. Regular maintenance and inspections can prevent leaks.
Is it safe to continue using the mixer if it leaks oil?
It’s generally safe if the leak is minor, but prolonged use can cause damage. It’s best to fix the leak promptly and unplug the mixer during inspection.
When should I consider professional repair?
If you’re unsure about disassembly, or if the leak persists after replacing seals, seek professional repair to avoid further damage.
How do I prevent future oil leaks?
Regularly inspect seals, avoid over-lubricating, and ensure proper assembly following the manufacturer’s instructions.
Keep Your KitchenAid Running Smoothly
Addressing a leaking oil issue in your KitchenAid Artisan stand mixer involves careful inspection, replacement of seals, and proper reassembly. With patience and attention to detail, you can restore your mixer to its optimal performance. When in doubt, consulting a professional ensures safety and longevity.
Regular maintenance and timely repairs will help you enjoy your mixer for years to come, whether you’re baking cookies or making fresh pasta with your attachments.
Affiliate disclosure: As an Amazon Associate we earn from qualifying purchases. Prices and availability are accurate as of the time of publishing.
Fall Picks
fall essentials
As an affiliate, we earn on qualifying purchases.