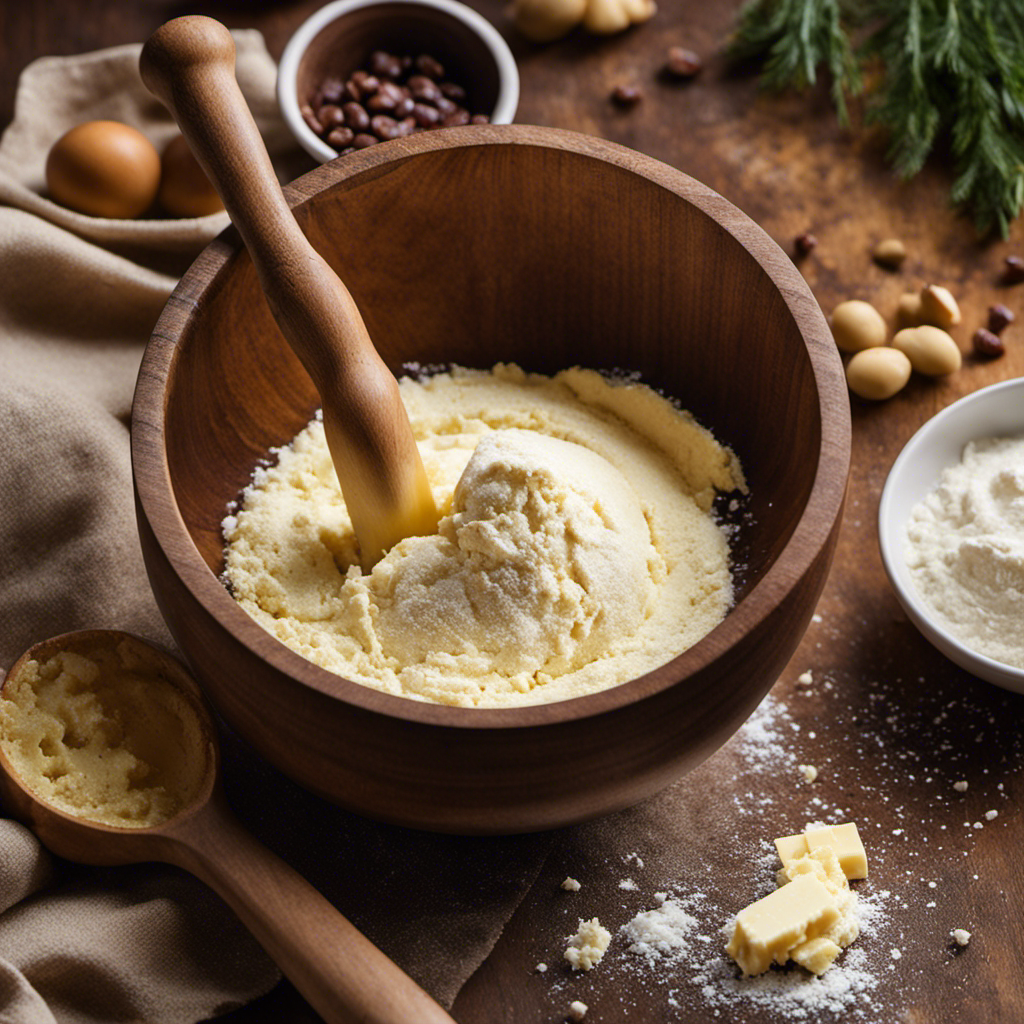
I have perfected the skill of blending butter with flour, and believe me, it revolutionizes the baking scene. This basic method can transform your baked goods from decent to exceptional.
In this article, I’ll guide you through the process step by step, ensuring you achieve the perfect texture every time. With just a few ingredients and tools, you’ll be on your way to creating flaky pie crusts and tender biscuits that will leave everyone in awe.
So let’s dive in and unlock the secrets to cutting butter into flour like a pro.
Key Takeaways
- Cold butter is crucial for creating a flaky texture in baked goods.
- Working quickly prevents the butter from softening too much.
- Small chunks of butter evenly distributed throughout the dough create flaky layers.
- Proper flour distribution ensures a uniform texture in the final product.
Understanding the Importance of Cutting Butter Into Flour
Understanding the importance of cutting butter into flour is key to achieving a flaky and tender texture in baked goods. When it comes to butter temperature, it is crucial to ensure that it is cold. Cold butter allows for the formation of small pockets of fat in the dough, which results in a flaky texture. If the butter is too warm, it will melt too quickly and not create the desired flakiness.
Troubleshooting tips for cutting butter into flour include using a pastry cutter or your fingertips to quickly incorporate the butter into the flour until it resembles coarse crumbs. It is important to work quickly to prevent the butter from softening too much. Remember, the goal is to have small chunks of butter evenly distributed throughout the dough, as this will create those delightful flaky layers in your baked goods.
Gathering the Necessary Ingredients and Tools
Before you start, make sure you have all the ingredients and tools you need.
When it comes to cutting butter into flour, having the right measuring tools and alternative cutting methods can make all the difference.
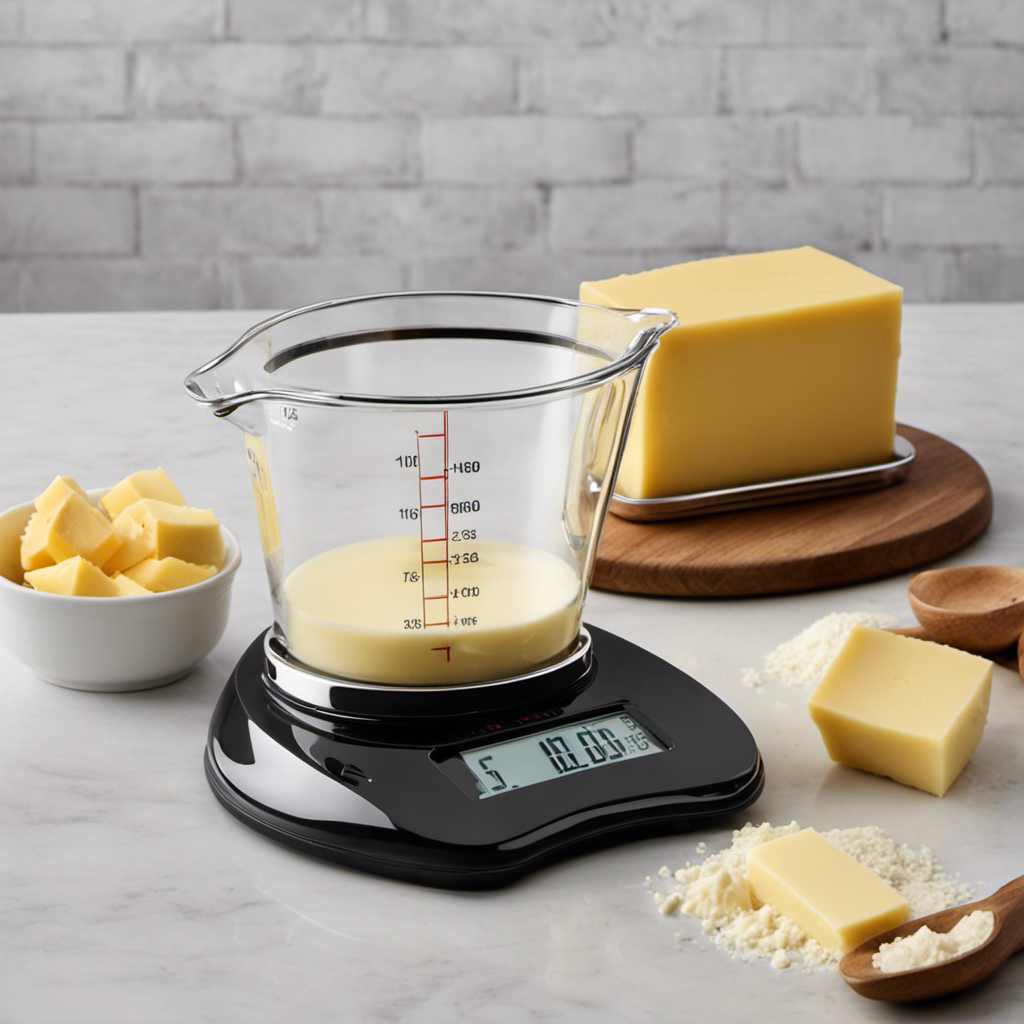
First, gather your ingredients: butter and flour. You’ll also need a sharp knife or pastry cutter to cut the butter into small pieces. Measuring tools like a scale or measuring cups will help ensure accuracy.
If you don’t have a pastry cutter, there are alternative cutting methods you can use. One option is to grate the cold butter using a box grater. Another method is to freeze the butter and then use a food processor to pulse it into small crumbs.
Whichever method you choose, remember to keep the butter cold and work quickly to prevent it from melting.
Measuring and Preparing the Butter
When it comes to achieving a perfectly flaky texture in baked goods, the technique used to cut butter into the dough is crucial. There are various butter cutting techniques that can be employed, each with their own unique benefits.
Additionally, choosing the right butter for the recipe is equally important, as the quality and fat content of the butter can greatly impact the final result.
Butter Cutting Techniques
To achieve the desired flaky texture, it’s important to properly cut the butter into the flour. This step is crucial in creating a tender and light pastry or biscuit.
Here are some key points to consider when cutting butter into flour:
-
Butter temperature: Make sure the butter is cold and firm, straight from the fridge. Softened butter will melt too quickly and won’t create the desired flakiness.
-
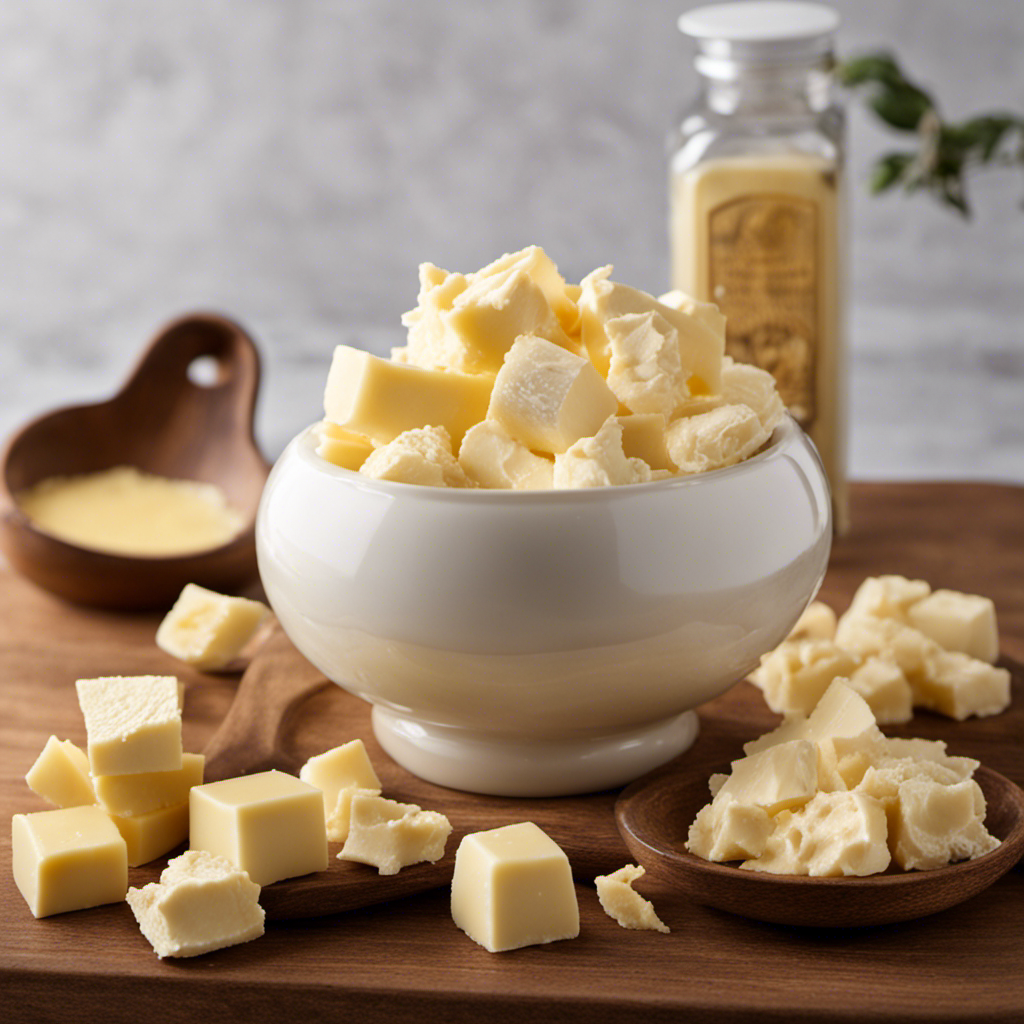
Traditional method: Start by cutting the cold butter into small cubes. Using a pastry cutter or two knives, cut the butter into the flour until the mixture resembles coarse crumbs.
-
Food processor: Alternatively, you can use a food processor to cut the butter into the flour. Pulse the cold butter and flour together until they form coarse crumbs.
-
Grating method: Another option is to freeze the butter and then grate it using a box grater. This method allows for even distribution of the butter throughout the flour.
Achieving Flaky Texture
For achieving that perfect flaky texture in your baked goods, it’s crucial to ensure the butter is cold and firm, straight from the fridge. The temperature of the butter plays a vital role in creating that heavenly, melt-in-your-mouth flakiness. The cold butter, when cut into the flour, creates small pockets of fat that melt during baking, leaving behind airy layers.
To achieve this flaky perfection, start by cutting the butter into small cubes and placing it back in the refrigerator for a few minutes to ensure it stays cold. Then, using a pastry cutter or your fingertips, quickly work the butter into the flour until it resembles coarse crumbs. Be sure not to overmix, as the heat from your hands can soften the butter and compromise the flakiness.
With these precise steps, you’ll be on your way to achieving that sought-after flaky texture in your baked goods.
Choosing the Right Butter
It’s crucial to choose the right butter in order to achieve that perfect flaky texture in your baked goods. When it comes to butter, both temperature and quality play a significant role. Here are a few key points to consider:
-
Butter temperature: Using butter at the correct temperature is essential for achieving the desired texture in your baked goods. Cold butter is typically used for pastry dough, as it creates those beautiful flaky layers. Room temperature butter, on the other hand, is great for creaming with sugar to create a light and fluffy texture in cakes and cookies.
-
Butter quality: The quality of butter you choose can greatly impact the flavor and texture of your baked goods. Opt for high-quality butter that is made from fresh cream and has a high fat content. This will ensure a rich and creamy taste, as well as a tender and flaky texture in your final product.
Preparing the Flour for Cutting
When it comes to cutting butter into flour, achieving the right consistency is crucial. The butter should be cold and firm, but not rock hard. This ensures that it will evenly distribute throughout the flour, creating a flaky texture in the final product.
To achieve proper flour distribution, it is important to use a fork or a pastry cutter to cut the butter into small, pea-sized pieces. This allows the butter to be evenly distributed throughout the dough, resulting in a uniform texture.
Butter Consistency for Cutting
To cut the butter into the flour, you’ll want it to be cold and solid. This ensures that the butter stays in small, solid pieces throughout the cutting process, resulting in a flaky and tender texture in your baked goods.
Here are some key points to consider when it comes to butter consistency for cutting:
-
Cold butter: The colder the butter, the easier it is to cut into the flour. I recommend placing the butter in the freezer for about 15 minutes before cutting.
-
Solid butter: Soft or melted butter will not give you the desired results. It should be firm and solid, so it can be easily incorporated into the flour.
-
Alternative cutting methods: If you don’t have a pastry cutter or a food processor, you can also use a box grater to grate the cold butter into the flour. This method works well and ensures even distribution of the butter throughout the flour.
-
Work quickly: Once the butter is cut into the flour, it’s important to work quickly to prevent it from melting. Use your fingertips or a fork to quickly incorporate the butter into the flour until it resembles coarse crumbs.
Proper Flour Distribution
For proper distribution, make sure the flour is evenly incorporated with the cold, solid butter.
Proper mixing techniques are crucial to achieving the desired texture in baked goods.
When combining the flour and butter, it is important to cut the butter into small pieces and distribute them throughout the flour.
This can be done using a pastry cutter, two knives, or your fingertips. Be careful not to overmix, as this can result in a tough dough.
Troubleshooting common issues such as uneven distribution of butter can be resolved by using a gentle, folding motion to incorporate the ingredients.
Once the flour is evenly distributed, you are ready to move on to the next step: the best cutting techniques for achieving flaky, tender results.
Best Cutting Techniques
Now that we understand the importance of proper flour distribution, let’s dive into the best cutting techniques for incorporating butter into flour.
The temperature of the butter plays a crucial role in achieving the desired texture in your baked goods. Ideally, the butter should be cold, but pliable.
Here are some alternative cutting methods to consider:
-
Pastry cutter: This tool allows you to easily cut the butter into the flour, creating small, pea-sized pieces.
-
Two knives: Holding a knife in each hand, you can cross-cut the butter into the flour until the desired texture is achieved.
-
Grater: Grating frozen butter directly into the flour mixture ensures even distribution.
-
Food processor: By pulsing cold butter and flour in a food processor, you can quickly achieve a crumbly texture.
Experiment with these cutting methods to find the one that works best for you and your recipe. Remember, the goal is to create a crumbly texture while maintaining small pockets of butter for a flaky finished product.
Incorporating the Butter Into the Flour Using a Pastry Cutter
Start by using a pastry cutter to incorporate the butter into the flour. A pastry cutter is a handheld tool with several blades that can be used to cut cold butter into small pieces, ensuring even distribution throughout the flour. If you don’t have a pastry cutter, there are alternative options you can consider.
A fork or two knives can be used to cut the butter into the flour, although they may not be as efficient as a pastry cutter. When using a pastry cutter, make sure the butter is cold and firm to achieve the best results. If you’re having trouble cutting the butter, try chilling the flour mixture or the cutter itself to prevent the butter from melting too quickly.
Once the butter is cut into small, pea-sized pieces, you can proceed with the rest of your recipe.
Transitioning to the next section about using a food processor, let’s explore another method for cutting butter into flour.
Using a Food Processor to Cut Butter Into Flour
Using a food processor is a convenient way to incorporate the butter and flour together. The food processor benefits include saving time and effort compared to alternative cutting methods. Here are some reasons why using a food processor is advantageous:
-
Quick and efficient: The food processor can cut the butter into the flour in a matter of seconds, saving you valuable time in the kitchen.
-
Consistent results: The blades of the food processor ensure that the butter is evenly distributed throughout the flour, resulting in a consistent texture in your baked goods.
-
Easy to control: With a food processor, you can easily control the speed and duration of the cutting process, allowing you to achieve the desired level of butter incorporation.
-
Versatile tool: A food processor can be used for various other tasks in the kitchen, making it a versatile investment for any home cook.
While there are alternative cutting methods such as using a pastry cutter or two knives, using a food processor provides a more efficient and precise way to cut butter into flour.
Using Your Hands to Cut Butter Into Flour
When it comes to cutting butter into flour, there are two main techniques to consider: using your hands or using a utensil.
Both methods have their advantages and it ultimately comes down to personal preference.
The hand technique allows for better control and the ability to feel the texture of the mixture, while a utensil such as a pastry cutter or two knives can provide a quicker and more efficient process.
To ensure even distribution of the butter throughout the flour, it is important to make sure the butter is evenly incorporated and the mixture resembles coarse crumbs.
Hand Vs. Utensil Technique
To achieve the best results, you should try using your hands instead of a utensil when cutting butter into flour. The hand vs. utensil technique offers several benefits that can enhance your baking experience.
Here are some reasons why using your hands is advantageous:
-
Improved control: By using your hands, you have better control over the size of the butter pieces, resulting in a more even distribution throughout the flour.
-
Enhanced texture: The warmth of your hands helps soften the butter slightly, allowing it to blend more seamlessly with the flour, resulting in a tender and flaky texture.
-
Quick and efficient: Cutting butter with a utensil can be time-consuming, but using your hands allows for a quicker and more efficient process, saving you valuable time.
-
Utilization of a bench scraper: A bench scraper, a versatile tool often used in this technique, helps in lifting and blending the mixture effortlessly, making it easier to achieve the desired consistency.
Incorporating these techniques will elevate your baking skills and lead to delectable results.
Tips for Even Distribution
One way to ensure an even distribution of ingredients is by gently pressing the butter into the flour with your hands. This technique is essential for achieving flakiness in baked goods.
When using your hands, make sure the butter is cold and cut into small cubes. Start by rubbing the butter between your fingertips and the flour, creating small flakes. As you continue to press and rub, the butter will break down into even smaller pieces, creating a sandy texture.
Be careful not to overwork the dough, as this can result in a tough crust. By using your hands, you have better control over the distribution of butter, ensuring that it is evenly dispersed throughout the flour, leading to a tender and flaky final product.
Tips for Achieving the Perfect Texture
If you want the perfect texture, make sure you’re using cold butter when cutting it into the flour. Achieving a flaky texture in your baked goods relies heavily on this crucial step. Here are some tips to help you achieve the best results:
-
Choose the right butter: Opt for unsalted butter with a high fat content (around 82%). This will ensure a rich flavor and a tender crumb.
-
Keep it cold: Cold butter is essential for achieving flakiness. Refrigerate the butter before using it, and work quickly to prevent it from melting.
-
Cut it into small pieces: Cut the butter into small cubes or use a grater to create small shreds. This helps distribute the butter evenly throughout the flour.
-
Use a pastry blender or your fingers: Use a pastry blender or your fingertips to cut the cold butter into the flour. This method allows you to incorporate the butter while maintaining a flaky texture.
Avoiding Common Mistakes When Cutting Butter Into Flour
When it comes to cutting butter into flour, there are some common mistakes that can easily be avoided.
One of the most important steps is to measure the butter accurately. Use a kitchen scale or a measuring cup to ensure you’re adding the right amount.
Another mistake often made is using warm or softened butter. It’s crucial to use cold butter straight from the refrigerator. Warm butter will melt too quickly, resulting in a dough that lacks flakiness and texture.
If you find that your dough is too crumbly or dry, it may be because you’ve added too much flour. In this case, try adding a little bit of ice-cold water to bring the dough together.
By troubleshooting these common issues, you’ll be able to achieve the perfect texture in your baked goods.
Now, let’s move on to the next step of refrigerating or freezing the butter and flour mixture.
Refrigerating or Freezing the Butter and Flour Mixture
Refrigerating or freezing the butter and flour mixture is essential for achieving a flaky and tender texture in your baked goods. By chilling the mixture, the butter solidifies, creating pockets of steam during baking that result in a light and airy texture. Additionally, refrigerating the mixture allows the gluten in the flour to relax, preventing the dough from becoming tough.
However, it’s important to note that while refrigerating offers numerous benefits, freezing the butter and flour mixture has some drawbacks. Freezing can affect the texture and quality of the final product, leading to a denser and less flaky result. Furthermore, freezing can alter the water content in the butter, potentially causing issues with the dough’s consistency.
Therefore, it is recommended to refrigerate the butter and flour mixture for optimal results.
Using the Cut Butter and Flour Mixture in Your Recipe
To use the mixture in your recipe, simply incorporate it into the other ingredients until a crumbly texture forms.
This mixture, made by cutting cold butter into flour, is a versatile base for many baked goods. It adds richness and tenderness to pastries, biscuits, and pie crusts.
When using the cut butter and flour mixture in baking, it’s important to handle it gently to prevent the butter from melting and losing its flakiness. If the mixture becomes too warm, you can refrigerate it for a few minutes to firm it up.
Troubleshooting common issues with the butter and flour mixture includes ensuring that the butter is cold and the flour is properly measured. Overmixing can result in a tough texture, so be mindful of how much you incorporate it into the other ingredients.
Frequently Asked Questions
Can I Use Margarine Instead of Butter When Cutting It Into Flour?
Yes, you can use margarine instead of butter when cutting it into flour. However, keep in mind that margarine has a higher water content, which may affect the texture of your baked goods. It’s best to use butter for optimal results.
How Long Can I Store the Cut Butter and Flour Mixture in the Refrigerator?
The shelf life of the cut butter and flour mixture in the refrigerator depends on the optimal storage conditions. It’s important to keep it tightly covered and use it within a week for best results.
Can I Use a Blender Instead of a Food Processor to Cut the Butter Into Flour?
Using a blender to cut butter into flour has both pros and cons. While it can be quick and efficient, it may also overmix the dough. Alternative methods include using a pastry cutter or your hands.
Is It Necessary to Sift the Flour Before Incorporating the Butter?
It’s not necessary to sift the flour before incorporating the butter, but it can have some benefits. Sifting helps remove lumps and aerates the flour for a lighter texture. However, alternative techniques like using a pastry cutter or your fingers can also yield good results.
Can I Use My Fingers Instead of a Pastry Cutter to Cut the Butter Into Flour?
Using my fingers to cut butter into flour is a viable alternative to using a pastry cutter. It allows for better control over the texture, but it can be messy and may result in uneven distribution.
Conclusion
In conclusion, mastering the technique of cutting butter into flour is like orchestrating a delicate dance between two culinary partners. With the right tools and careful precision, you can create a harmonious mixture that will elevate your baked goods to new heights.
Remember to keep your butter and flour cold, use a pastry cutter for optimal results, and follow the tips provided to achieve the perfect texture.
So go ahead, embrace the art of cutting butter into flour and let your culinary creations soar!
