Were you aware that frozen butter beans are both a healthy and adaptable component that can be effortlessly prepared to an ideal state? With merely a handful of straightforward steps, it’s possible to turn these frozen treasures into a delightful and fulfilling meal.
From choosing and preparing the beans to seasoning and flavoring them, this article will guide you through the process with expert precision.
So grab a pot and get ready to enjoy a mouthwatering bowl of buttery goodness.
Key Takeaways
- Look for bright green, plump beans without blemishes or discoloration
- Soak the frozen butter beans overnight or for at least 6-8 hours for tenderness and even cooking
- Pressure cooking is an alternative to soaking and saves time while retaining nutrients and flavors
- Experiment with different herbs and spices to enhance the natural flavors of the butter beans

Earth Balance, Spread Buttery Whipped Organic, 13 Ounce
- Trans fat free: 0 grams trans fat
- Non-GMO: Non-GMO ingredients
- Product size: 13-ounce container
As an affiliate, we earn on qualifying purchases.
Choosing and Preparing the Butter Beans
To choose and prepare the butter beans, you’ll need to make sure they are fresh and give them a good rinse before cooking. When selecting the beans, look for ones that are bright green, plump, and free from any blemishes or discoloration. Freshness is key to ensure the best flavor and texture.
However, if fresh butter beans are not available, using frozen beans is a great alternative. Frozen butter beans have the advantage of being pre-shelled and blanched, which saves you time in the kitchen. They also retain their nutrients and taste just as delicious as fresh beans.
To prepare the frozen beans, simply thaw them in the refrigerator overnight or under cold running water, and they are ready to be cooked.
Soaking the Frozen Butter Beans
When it comes to soaking frozen butter beans, time is of the essence. Soaking the beans overnight or for at least 6-8 hours is crucial to ensure their tenderness and even cooking. This step is important as it helps to soften the beans and reduce their cooking time.
If you’re short on time, there are alternatives to soaking such as using a pressure cooker or pre-cooking the beans before adding them to your recipe.
Time for Soaking
The first step is to let the frozen butter beans soak in water for at least two hours. Soaking the beans before cooking has numerous benefits, including enhancing their texture and flavor.
Here are some different methods of soaking that you can try:
-
Overnight Soak: Place the frozen butter beans in a large bowl and cover them with water. Leave them to soak overnight, ensuring they are fully submerged. This method allows for a longer soaking time, resulting in softer and creamier beans.
-
Quick Soak: If you’re short on time, you can use the quick soak method. Place the frozen butter beans in a pot and cover them with water. Bring the water to a boil and let the beans cook for a few minutes. Remove the pot from heat, cover it, and let the beans soak for an hour.
-
Brine Soak: For added flavor, you can soak the frozen butter beans in a brine solution. Dissolve salt in water, then submerge the beans in the brine. Let them soak for at least two hours before cooking.
-
Acidic Soak: Another method is to add an acidic ingredient like lemon juice or vinegar to the soaking water. This helps break down the beans’ tough skins, resulting in faster cooking and improved digestibility. Let the frozen butter beans soak in the acidic water for a few hours before cooking.
Importance of Soaking
Soaking the beans enhances their texture and flavor, resulting in tender and flavorful beans that are ready for cooking. The benefits of soaking butter beans are numerous.
Firstly, soaking helps to soften the beans, making them easier to cook and reducing the cooking time. It also helps to remove any dirt, debris, or impurities that may be present on the beans. Soaking also aids in the digestion of the beans, making them easier on the stomach.
There are two common methods of soaking butter beans: overnight soaking and quick soaking. Overnight soaking involves covering the beans with water and letting them sit overnight, while quick soaking requires boiling the beans for a few minutes and then letting them soak for an hour. Both methods yield great results.
Soaking is an essential step to ensure the best possible outcome when cooking butter beans.
Now that you understand the importance of soaking, let’s explore some alternatives to soaking.
Alternatives to Soaking?
Instead of soaking, you can try using a pressure cooker to expedite the cooking process. Pressure cooking is a great alternative to traditional soaking methods, as it not only saves time but also retains the nutrients and flavors of the butter beans. Here are some reasons why pressure cooking is a fantastic option:
-
Speed: Pressure cooking reduces the cooking time significantly, allowing you to enjoy your butter beans in a fraction of the time.
-
Tenderness: The high pressure in the cooker helps to break down the tough fibers of the beans, resulting in buttery softness.
-
Flavor infusion: The sealed environment of the pressure cooker allows the flavors to penetrate the beans thoroughly, resulting in a more delicious dish.
-
Convenience: Pressure cookers are easy to use and require minimal monitoring, making them a convenient option for busy individuals.
By utilizing the quick soak method with a pressure cooker, you can prepare your butter beans quickly and enjoy their wonderful taste and texture.
Now, let’s move on to the next step: boiling the butter beans.
Boiling the Butter Beans
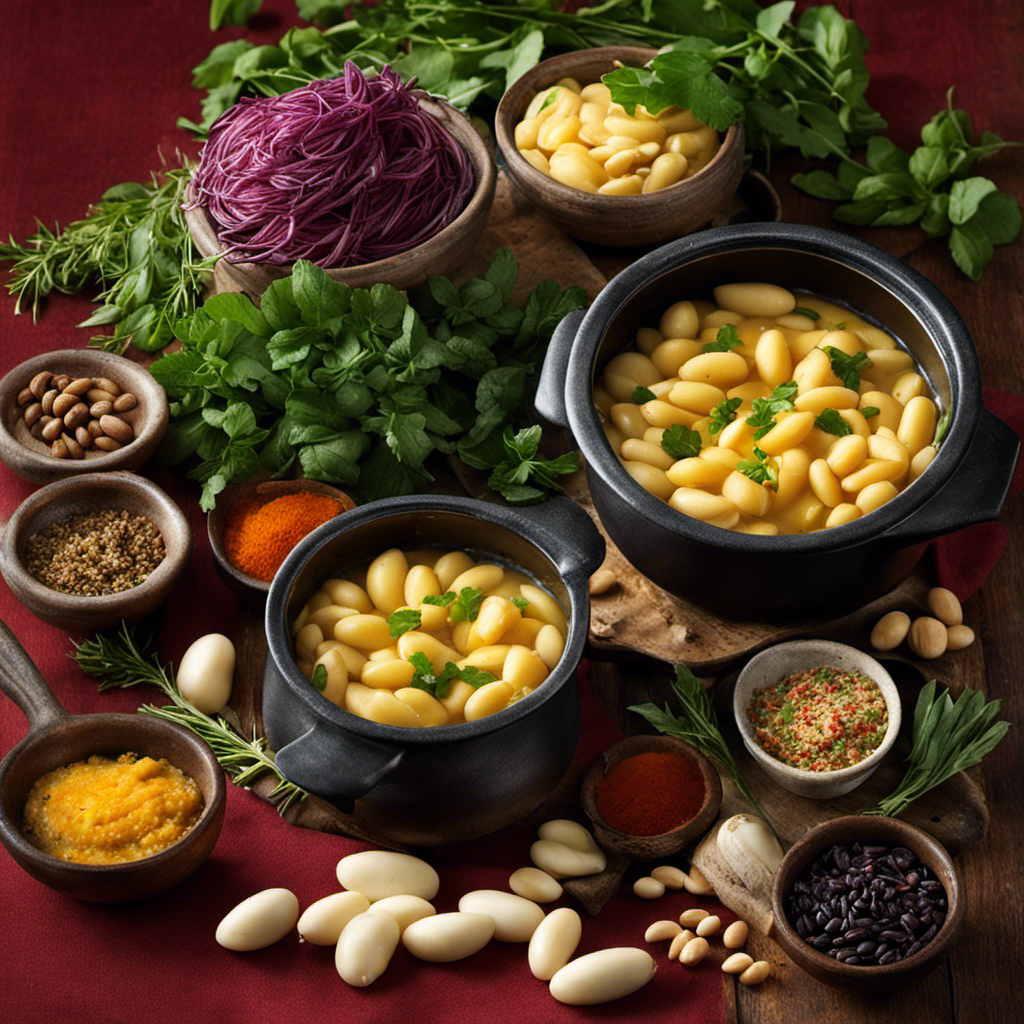
Before boiling the butter beans, make sure to rinse them thoroughly under cold water. This step is important to remove any dirt or impurities that may be present on the beans. Once they are rinsed, you can proceed to cook them. Fill a pot with enough water to cover the beans and bring it to a boil. Add the beans to the boiling water and let them cook for about 30-40 minutes, or until they are tender. You can add flavors to the beans by adding ingredients such as garlic, onion, or herbs to the boiling water. This will infuse the beans with delicious flavors and enhance their taste. Remember to taste the beans occasionally to check for doneness and adjust the seasoning accordingly. Enjoy your perfectly boiled butter beans!
| Pros | Cons |
|---|---|
| Tender and creamy texture | Long boiling time |
| Versatile for various recipes | Can lose some nutrients during boiling |
| Absorbs flavors well | Requires constant monitoring |
| Easy to cook |
Seasoning and Flavoring the Butter Beans
When it comes to seasoning and flavoring your butter beans, there are a variety of spice options to choose from. Whether you prefer a mild and aromatic taste or a bold and spicy kick, you can experiment with different herbs and spices to enhance the natural flavors of your beans.
In addition to selecting the right spices, mastering seasoning techniques such as layering flavors and using the right amount of seasoning can take your butter beans to the next level of deliciousness.
Spice Options for Beans
There’s a variety of spice options available to enhance the flavor of your beans. The right combination of spices can take your butter beans from ordinary to extraordinary. Here are some flavor options you can try:
- Smoky paprika: Adds a rich, smoky flavor that pairs well with the creamy texture of the beans.
- Garlic powder: Adds a savory kick and enhances the natural flavors of the beans.
- Cumin: Adds a warm, earthy taste that complements the buttery flavor of the beans.
- Chili powder: Adds a subtle heat and depth of flavor to your beans.
Experiment with different spices and find your favorite combination. These spices can be added during the cooking process or sprinkled on top before serving to add an extra burst of flavor.
Now that you know the spice options, let’s move on to enhancing the natural flavors of the beans.
Enhancing Natural Flavors
Now that you’ve explored various spice options for beans, let’s dive into enhancing the natural flavors of your butter beans.
Cooking techniques play a crucial role in bringing out the best taste of any ingredient, and butter beans are no exception. One technique that can enhance the flavors of butter beans is sautéing them with aromatics like onions, garlic, and herbs. This allows the beans to absorb the delicious flavors and creates a savory base for your dish.
Another technique is slow-cooking the beans in a flavorful broth or stock, allowing them to soak up the rich flavors over time. These cooking techniques ensure that every bite of your butter beans is bursting with deliciousness.
Now that you know how to enhance the flavors, let’s move on to exploring different seasoning techniques for beans.
Seasoning Techniques for Beans
To add a burst of flavor to your beans, try experimenting with different seasoning techniques such as using smoked paprika, cumin, or chili powder. These spices not only enhance the taste of your bean recipes but also provide numerous health benefits.
Here are four ways you can season your beans to elevate their deliciousness:
- Sprinkle smoked paprika for a smoky and slightly sweet flavor.
- Add cumin for a warm and earthy taste.
- Incorporate chili powder for a spicy kick.
- Combine a blend of these spices to create a unique flavor profile.
Seasoning your beans not only adds depth to their taste but also increases the nutritional value. Beans are packed with fiber, protein, and essential vitamins, making them a healthy choice for any meal.
Now that you have enhanced the flavors of your beans, it’s time to simmer the butter beans to perfection.
Simmering the Butter Beans to Perfection
First, start by adding the frozen butter beans to a pot of simmering water. Simmering is a gentle cooking technique that allows the beans to cook evenly and retain their shape.
The cooking time can vary depending on the desired texture of the beans. For tender beans, simmer them for about 30-40 minutes. If you prefer a firmer texture, reduce the cooking time to 20-30 minutes.
It’s important to keep an eye on the beans while they simmer to prevent them from becoming mushy. To test for doneness, simply take a bean and taste it. It should be soft but still hold its shape.
Remember to season the water with salt or other spices to enhance the flavor of the beans as they simmer.
Draining and Serving the Cooked Butter Beans
Once the beans are cooked to your desired texture, simply drain them and serve. Here are some draining techniques and serving suggestions to make your butter beans even more delectable:
- Gently pour the cooked butter beans into a colander and let the excess liquid drain away.
- Pat the beans dry with a clean kitchen towel to remove any remaining moisture.
- Transfer the drained beans to a serving dish, and season them with a sprinkle of salt and pepper for added flavor.
- For a burst of freshness, garnish the beans with chopped parsley or a squeeze of lemon juice.
By following these simple steps, you can elevate the taste and presentation of your cooked butter beans.
Now, let’s move on to the next section, where we will explore how to store and reheat leftover butter beans.
Storing and Reheating Leftover Butter Beans
When storing leftover cooked butter beans, make sure to transfer them to an airtight container to maintain freshness. This will prevent them from drying out and absorbing any odors in the refrigerator.
It’s also important to label the container with the date to ensure you know how long they have been stored.
When reheating the leftover butter beans, there are several methods you can try. One option is to simply reheat them on the stovetop in a saucepan with a little bit of water or broth. This will help to revive the beans and bring back their original texture.
Another creative way to use the leftovers is by incorporating them into soups, stews, or salads. This will not only add flavor and texture to your dishes but also prevent any wastage.
Conclusion
Congratulations! You’ve successfully learned how to cook frozen butter beans to absolute perfection. By following the step-by-step instructions, you’ve become a culinary maestro, transforming simple beans into a symphony of flavors.
Just like a skilled conductor, you conducted the cooking process with finesse, ensuring each element blended harmoniously.
Now, as you savor the tender, buttery beans bursting with savory goodness, you can proudly call yourself a culinary virtuoso.
So, go forth and let your cooking skills shine, like a brilliant soloist on a grand stage!