
Ever pondered the process of turning milk into tasty, homemade butter? Look no further!
In this article, I’ll guide you through the step-by-step process of churning butter from milk. We’ll explore how to select the right type of milk, prepare it for churning, and use the proper equipment.
Together, we’ll delve into the fascinating journey of separating the butter from the buttermilk, and I’ll even share tips on storing and using your homemade butter.
Let’s embark on this culinary adventure together!
Key Takeaways
- Select milk with a higher fat content (whole milk) for smoother and more flavorful butter.
- Use fresh, room temperature milk for butter churning.
- Ensure the milk has a clean, sweet smell and creamy texture before churning.
- Properly maintain and clean the churning equipment to prevent rust and ensure efficient churning.
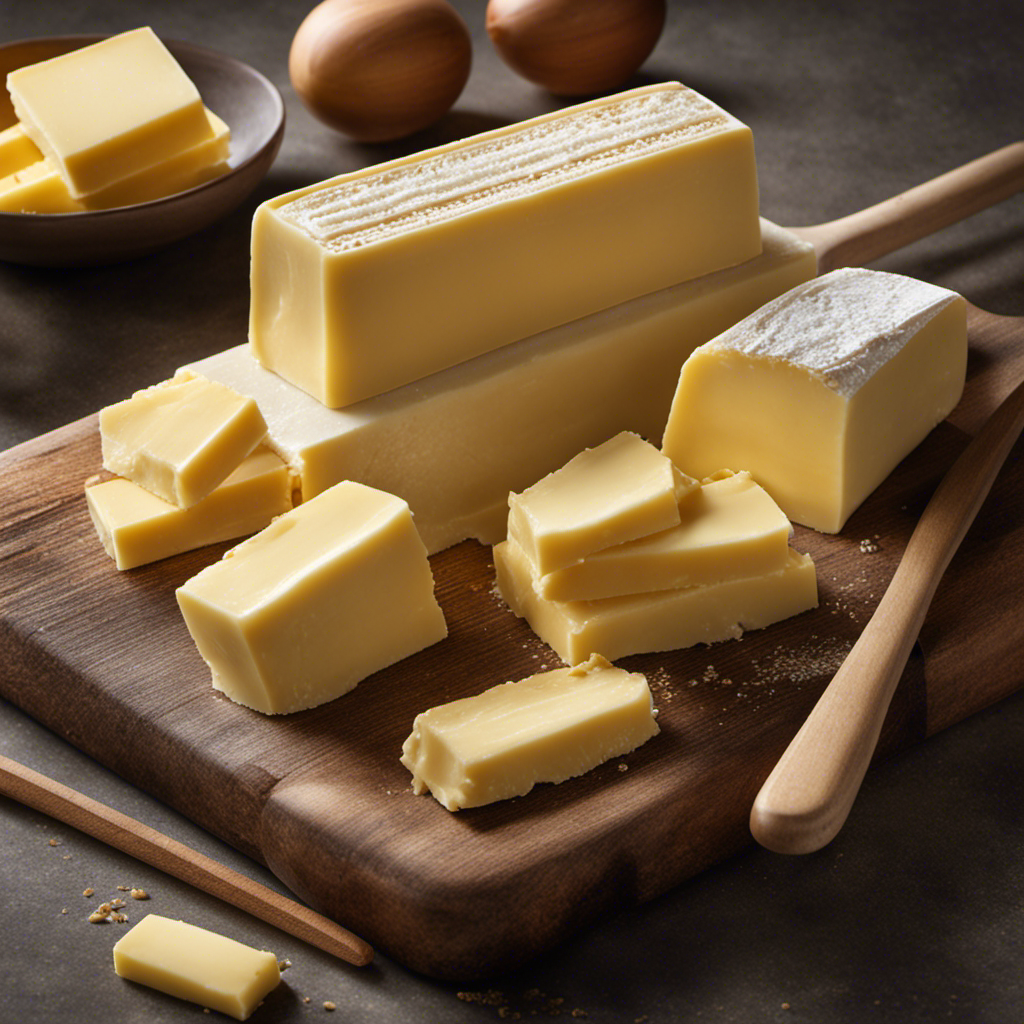
Selecting the Right Milk for Butter Churning
When selecting the right milk for butter churning, it’s important to consider the fat content. The higher the fat content in the milk, the more butter it will produce.
Whole milk, with its rich and creamy texture, is the best milk for butter making. It contains around 3.5% fat, which is perfect for achieving a smooth and flavorful butter.
If you prefer a lighter butter, you can use 2% milk which has less fat but still produces good results.
Skim milk, on the other hand, has very little fat and may not yield a satisfactory amount of butter.
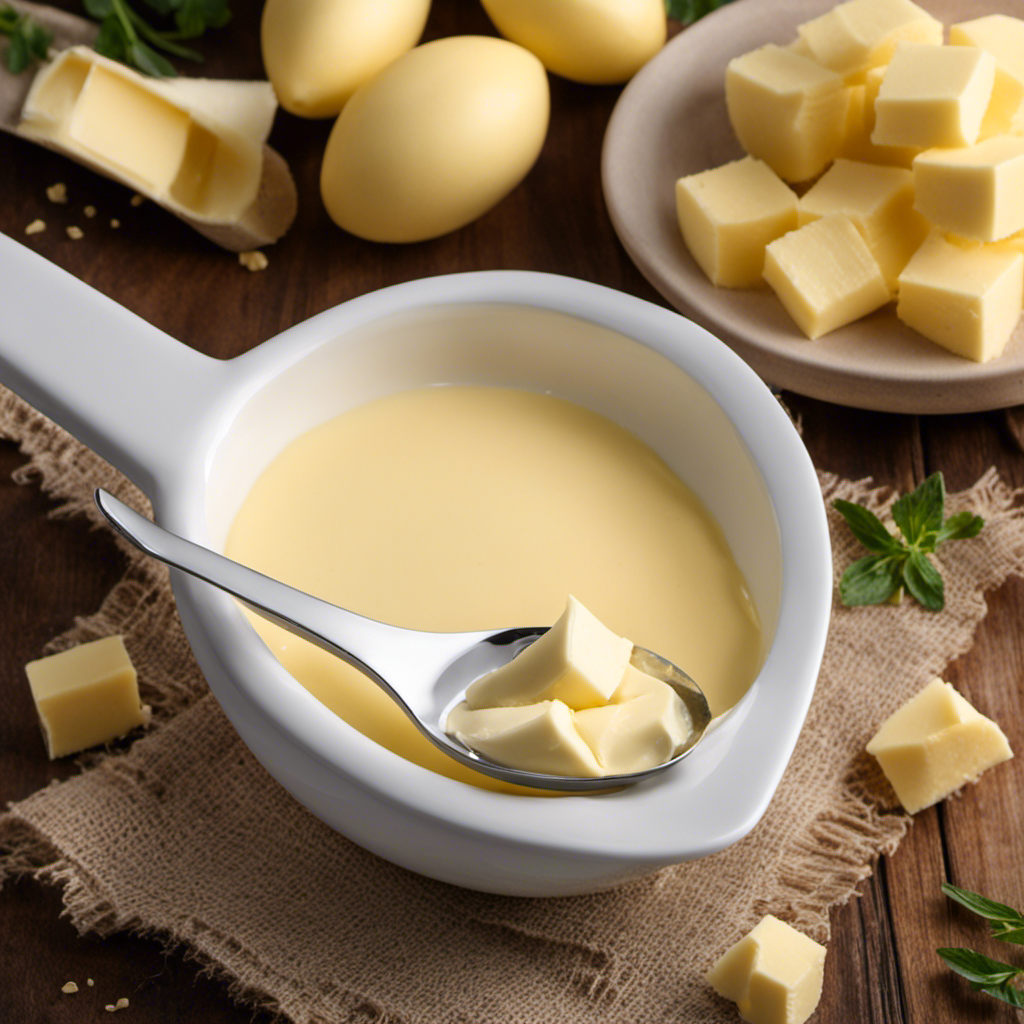
Preparing the Milk for Churning
As you’re getting ready to make your own butter, you’ll want to start by ensuring that the milk you’re using is fresh and at room temperature. Milk quality is crucial for producing high-quality butter. It is recommended to use fresh, whole milk from a reputable source. Look for milk that has a clean, sweet smell and a creamy texture.
Additionally, it is important to consider the pasteurization process. Pasteurized milk is heated to kill harmful bacteria and extend its shelf life. While it is safe to use pasteurized milk for butter making, some enthusiasts prefer using raw milk for a richer flavor. Regardless of the type of milk you choose, make sure it is at room temperature before proceeding to the next step of churning.
With the milk ready, let’s now move on to using the proper churning equipment.
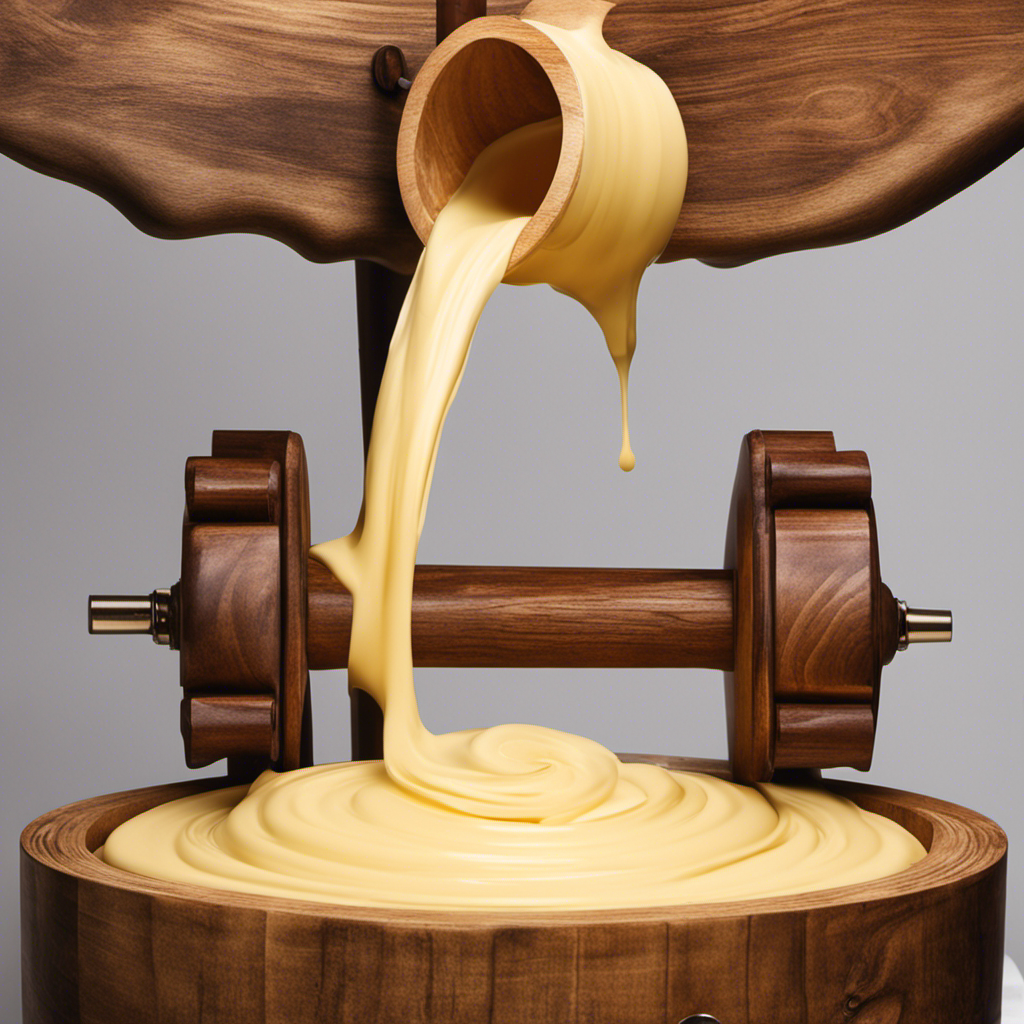
Using the Proper Churning Equipment
When it comes to churning butter, having the right equipment is essential. From the churning vessel to the butter paddles, each tool plays a crucial role in the process.
In this discussion, I will explore the essential churning equipment needed and provide tips on how to properly maintain them for optimal butter-making results.
Essential Churning Equipment
To churn butter from milk, you’ll need a few essential pieces of equipment. Here are the must-haves for successful butter churning:
-
Butter Churn: This is the main equipment you’ll need. Look for a churn that suits your needs and preferences. Consider the size, material, and ease of use.
-
Thermometer: Maintaining the right temperature is crucial for butter churning. A thermometer will help you monitor the temperature of the milk accurately.
-
Butter Muslin: This fine cloth is used for straining the butter and separating the buttermilk. It ensures a smooth and creamy texture.
-
Butter Paddles: These wooden paddles are used to shape and work the butter. They help remove excess buttermilk and contribute to the overall texture.
-
Butter Mold: A butter mold is used to shape the butter into a desired form. It adds a touch of elegance and makes storage more convenient.
Churning Equipment Maintenance
Regular maintenance and proper care will keep your churning equipment in excellent condition. It is important to clean your equipment after each use to prevent any build-up and maintain hygiene. Troubleshooting churning problems can also be resolved through regular maintenance. Here are some tips to keep your equipment in top shape:
| Maintenance Tips | Cleaning Techniques | Troubleshooting |
|---|---|---|
| Regularly oil the gears and moving parts to prevent rust. | Use warm soapy water and a soft cloth to clean the equipment. | If the butter is not churning properly, check for any clogged parts. |
| Check for loose screws and tighten them if necessary. | Rinse thoroughly and dry completely before storing. | If the churning process is too slow, adjust the speed settings. |
| Inspect the paddle and ensure it is properly attached. | Sanitize the equipment periodically by using a vinegar solution. | If the butter is not solidifying, check the temperature and adjust accordingly. |
The Churning Process Step by Step
Alright, let’s dive into the world of churning techniques for beginners and the factors that can affect churning speed.
When it comes to churning butter, there are a few key techniques that every beginner should know. From selecting the right temperature and consistency of cream to understanding the proper churning motion, these techniques will help you achieve that perfect homemade butter.
Additionally, there are several factors that can influence the speed at which your butter churns, such as the fat content of the cream, the temperature of the room, and even the size and shape of your churn. Understanding these factors will allow you to troubleshoot any issues and ensure a smooth and efficient churning process.
Churning Techniques for Beginners
You’ll want to start with fresh cream to achieve the best results when churning butter. The quality of the cream will directly impact the taste and texture of your homemade butter. Once you have your cream, it’s time to start churning.
Here are some tips and techniques to help you get started:
- Use a churn or a jar with a tight lid to churn the cream.
- Churn at room temperature to ensure the cream emulsifies properly.
- Troubleshoot common issues like cream not thickening by adjusting the temperature or adding a pinch of salt.
- Experiment with different flavors by adding herbs, spices, or even fruits to the cream before churning.
- Don’t be afraid to get creative and try new combinations to make your homemade butter unique and delicious.
Factors Affecting Churning Speed
The temperature of the cream and the equipment used can significantly impact how quickly the churning process occurs. When it comes to factors affecting churning speed, milk selection is another important consideration. The quality and composition of the milk can greatly influence the outcome of your butter-making endeavor. Here is a table highlighting the key factors to consider when selecting milk for churning butter:
| Factor | Impact on Churning Speed |
|---|---|
| Fat content | Higher fat content leads to faster churning |
| Freshness | Fresher milk churns faster |
| Homogenization | Unhomogenized milk churns faster |
| Temperature | Warmer milk churns faster |
| Quality of cream | Higher quality cream churns faster |
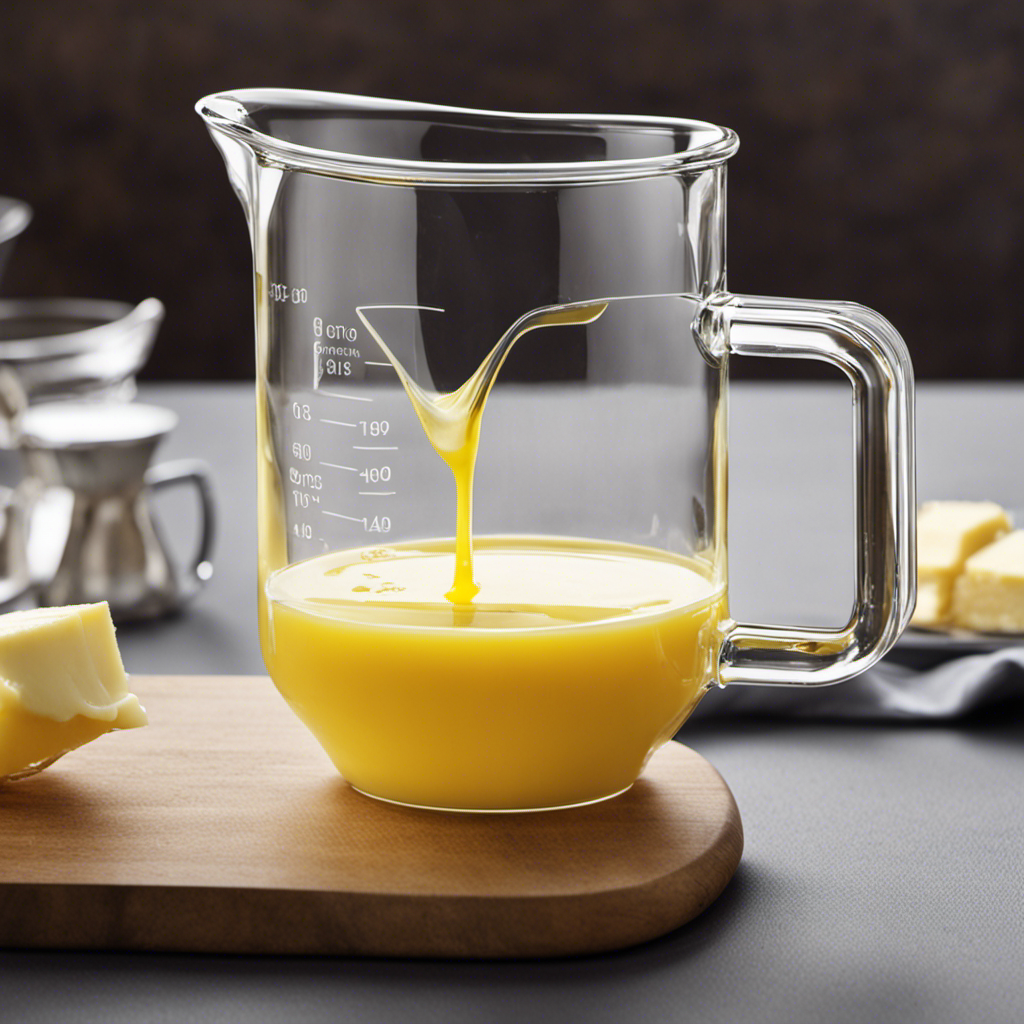
Separating the Butter From the Buttermilk
To separate the butter from the buttermilk, gently pour the mixture into a cheesecloth-lined strainer. The cheesecloth will catch the butter solids, allowing the liquid buttermilk to pass through.
Here are some important steps to follow when separating butter from buttermilk:
- Pour the mixture into a cheesecloth-lined strainer
- Allow the liquid buttermilk to drain through the cheesecloth
- Gently press the butter solids with a spoon to remove any excess buttermilk
- Rinse the butter under cold water to remove any remaining buttermilk
- Squeeze the butter in the cheesecloth to remove any excess liquid
Separating the butter from the buttermilk is a crucial step in the butter-making process. It ensures that you are left with pure, creamy butter while also preserving the liquid buttermilk for other culinary uses.
Storing and Using Homemade Butter
Now that you have successfully separated the butter from the buttermilk, let’s talk about storing and using your homemade butter.
Storing butter is quite simple. You can keep it in the refrigerator, wrapped in wax paper or stored in an airtight container. This will help maintain its freshness and prevent any unwanted odors from seeping in. If you have made a large batch, you can even freeze it for future use.
When it comes to using homemade butter, the possibilities are endless. You can spread it on warm toast, melt it over steamed vegetables, or use it as a flavorful base for cooking and baking. Additionally, you can experiment with different flavor variations by incorporating herbs, spices, or even citrus zest into the butter. This will give your butter a unique and delicious twist.
Frequently Asked Questions
Can I Use Any Type of Milk for Butter Churning?
Yes, you can use any type of milk for butter churning. Different types of milk might yield different flavors and textures. Additionally, leftover buttermilk can be used in various recipes like pancakes or biscuits.
What Temperature Should the Milk Be When Preparing It for Churning?
When preparing milk for churning into butter, it’s important to consider the temperature range. The ideal temperature is around 55-65°F. Additionally, you can experiment with alternatives to cow’s milk, like goat or sheep milk.
Is It Necessary to Use a Specific Type of Churning Equipment for Making Butter?
It’s not necessary to use a specific type of churning equipment for making butter. There are alternatives, like traditional methods, that work well. The milk type and temperature can affect churning duration. Leftover buttermilk can be used in various ways. Different dairy products can also create flavor variations.
How Long Does the Churning Process Typically Take?
Typically, the churning process takes anywhere from 15 to 30 minutes, depending on the churning speed and techniques used. It’s important to find a rhythm and technique that works best for you to achieve that creamy, delicious butter.
Can I Use the Leftover Buttermilk for Other Recipes?
Sure, I can definitely use leftover buttermilk for other recipes! It’s great for baking, adding a tangy flavor to cakes and biscuits. And for savory dishes, it can be used in marinades or dressings, giving them a delicious twist.
Conclusion
In conclusion, churning butter from milk is a simple yet rewarding process. By selecting the right milk, preparing it properly, and using the correct equipment, you can create delicious homemade butter.
The churning process itself requires patience and persistence, but the end result is worth it. Separating the butter from the buttermilk is like uncovering a hidden gem, while storing and using the homemade butter adds a touch of nostalgia to your culinary endeavors.
So why not give it a try and experience the joy of churning butter for yourself?