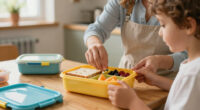
This guide helps parents and students choose the right lunch containers, pack meals efficiently, and keep containers clean. It covers selecting suitable containers, packing food properly, and maintaining hygiene to ensure fresh, organized lunches. Follow these steps to streamline lunch packing and avoid common mistakes.

Get kitchen staples and gadgets delivered free with Prime
- Fast, free delivery on millions of items
- Prime Video, Amazon Music and more included
- Member-only deals all year
Difficulty: Beginner | Time: 20-30 minutes
What You’ll Need
Tools & Materials:
- set of reusable lunch containers
- waterproof lunch bags or boxes
- ice packs or cooling elements
- clean sponge or cloth
- mild dish soap
Knowledge:
- basic understanding of food storage and hygiene
Measure lunch sizes and check container sizes to match meal portions. Prepare a cleaning routine to maintain hygiene.
BPA-free plastic lunch containers
As an affiliate, we earn on qualifying purchases.
As an affiliate, we earn on qualifying purchases.
Before You Start
Ensure all containers are clean before packing. Check for any damage or cracks. Decide on the type of containers best suited for your child’s meals (e.g., compartments, insulation). Confirm that the lunch bag is large enough to hold the containers and ice packs comfortably.
Step-by-Step Instructions
Step 1: Choose the right containers
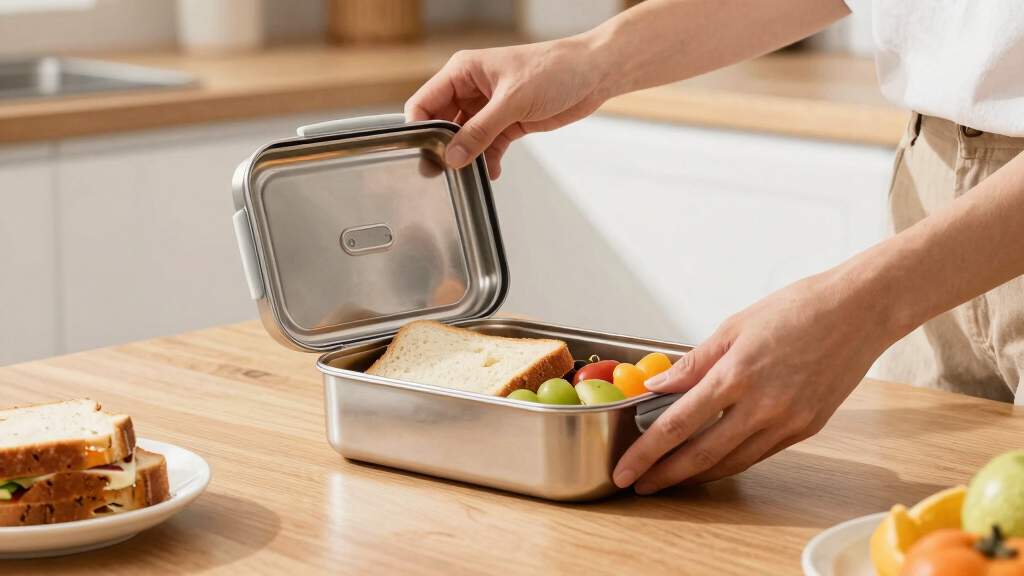
Select containers with appropriate size, compartments, and material (preferably BPA-free plastic or stainless steel). Ensure they are leak-proof and microwave-safe if needed.
Tip:
Opt for containers with secure lids and multiple compartments to separate different food items.
Check:
Containers fit the meal portions, are leak-proof, and close securely without gaps.
Step 2: Prepare and pack the food
Pack each food item into its designated compartment or container. Use smaller containers or sections for sauces or dips. Place cold items on ice packs and hot items in insulated containers.
Tip:
Wrap delicate foods with parchment paper or use silicone cups to prevent spills and maintain freshness.
Check:
All items are securely packed, separated, and fit comfortably within the lunch bag.
Step 3: Add cooling elements
Place ice packs or cooling elements in the lunch bag around the containers to keep perishable foods cold.
Tip:
Use insulated lunch bags for better temperature retention and place ice packs at the bottom or sides for even cooling.
Check:
Lunch remains cool until mealtime, preventing spoilage and maintaining food quality.
Step 4: Seal and pack the lunch bag
Close all containers securely, then pack them into the lunch bag or box. Ensure the bag is properly sealed and that the containers are stable.
Tip:
Arrange containers to prevent shifting during transport to avoid spills or damage.
Check:
Lunch is organized, and all items are secure, with no leaks or spills evident.
Step 5: Clean and maintain containers regularly
Wash containers with warm water and mild dish soap after each use. Dry thoroughly before the next packing.
Tip:
Use baking soda or vinegar for tough stains or odors. Avoid abrasive scrubbers that can damage containers.
Check:
Containers are spotless, odor-free, and free of food residues or stains.
Common Mistakes to Avoid
- Using damaged or cracked containers — Inspect containers regularly and replace any that are cracked or damaged to prevent leaks.
- Overfilling containers or bags — Pack only the appropriate amount of food to avoid spills and difficulty closing the bag.
- Not cooling perishable foods adequately — Always include ice packs and use insulated bags for cold items to prevent spoilage.
- Neglecting cleaning containers — Wash containers thoroughly after each use to prevent odors and bacteria buildup.
Troubleshooting
Problem: Food arrives warm or spoiled
Solution: Ensure ice packs are frozen solid and placed correctly; verify the insulation of the bag and the temperature of the food before packing.
Problem: Leaking containers during transport
Solution: Check the lids for secure fitting; replace any that do not seal properly; consider double sealing with plastic wrap if necessary.
Problem: Containers develop odors over time
Solution: Clean containers thoroughly with baking soda or vinegar; avoid storing leftover food for extended periods.
What Success Looks Like
The lunch containers are clean, well-organized, leak-proof, and keep food at the proper temperature until mealtime. The lunch fits comfortably into the bag, and the lunch remains fresh and appealing.
Next Steps
Establish a cleaning routine after each use, replace damaged containers promptly, and consider upgrading to containers with better insulation or compartments for easier packing. Regularly check and replenish ice packs to maintain freshness.
Frequently Asked Questions
How do I prevent my containers from leaking?
Choose containers with tight-fitting, leak-proof lids. Always close lids securely and test for leaks before packing. Use plastic wrap or sealing bags for extra protection if needed.
Can I microwave food directly in the containers?
Use microwave-safe containers to reheat food. Check the manufacturer’s instructions to ensure safety. Avoid microwaving containers with metal parts or non-microwave-safe materials.
How often should I replace my lunch containers?
Replace containers when they become cracked, stained, or retain odors despite cleaning. Regular inspection helps avoid leaks and contamination.
What is the best way to clean stubborn stains or odors?
Use a mixture of baking soda and water or vinegar and water. Let sit for a few hours or overnight, then scrub and rinse thoroughly.
Fall Picks
fall essentials
As an affiliate, we earn on qualifying purchases.