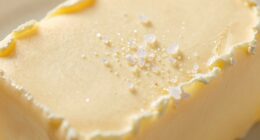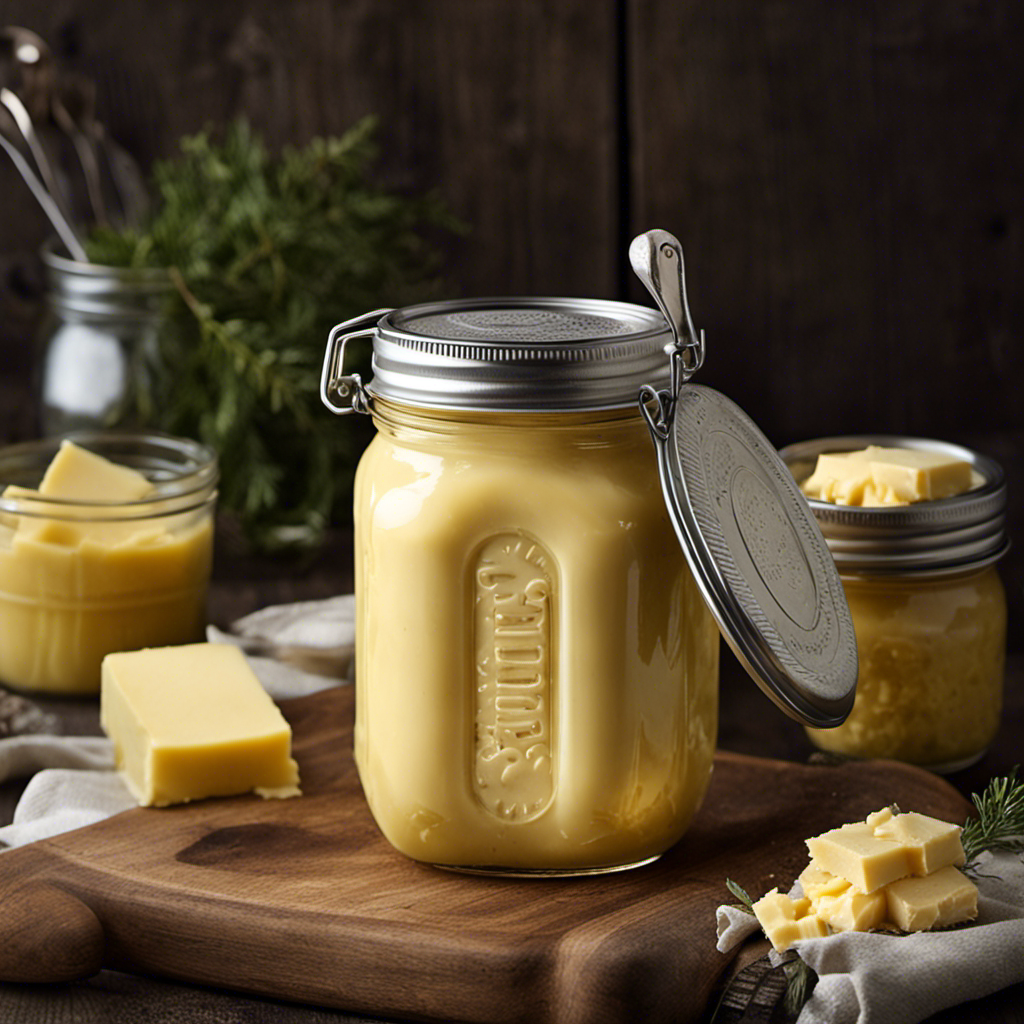
I have always been intrigued by the craft of canning, and there is no feeling quite like the joy of preserving your own homemade butter.
In this article, I’ll guide you through the step-by-step process of canning butter, from preparing the butter to sealing the jars.
With the right equipment and a little know-how, you can ensure your butter stays fresh and delicious for an extended period.
So, let’s dive in and discover how you can can butter like a pro!
Key Takeaways
- Glass canning jars and a canner or large stockpot with a rack are needed for water bath canning of butter.
- The butter should be melted and clarified using a butter melter or double boiler for a smooth consistency and longer shelf life.
- Jars should be properly sterilized by boiling them in water for 10 minutes and then allowed to cool on a clean towel.
- When filling and sealing the jars, it is important to use new lids for each canning session, tightly screw on the lids, and wipe the jar rim clean for a proper seal.

BISSELL Little Green Mini Portable Carpet and Upholstery Deep Cleaner, Car/Auto Detailer, with HydroRinse Self-Cleaning Tool and 4" Tough Stain Tool, Tea Green, 4075
EVERY PURCHASE SAVES PETS. Every purchase makes it possible for BISSELL to continue our support of BISSELL Pet...
As an affiliate, we earn on qualifying purchases.
Equipment Needed for Canning Butter
To can butter, you’ll need a few key pieces of equipment. Equipment selection is crucial to ensure the canning process goes smoothly and the butter is preserved properly.
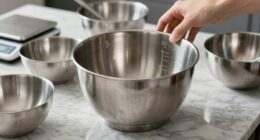
First, you’ll need glass canning jars with tight-fitting lids. Mason jars are a popular choice and come in different sizes to accommodate your needs.
Additionally, a canner or large stockpot with a rack is essential for water bath canning. This will allow you to submerge the jars in boiling water to create a seal.
A thermometer is also necessary to monitor the temperature accurately.
Lastly, a butter churn or food processor will help you achieve a smooth consistency before canning.

Shark StainStriker Portable Carpet Upholstery & Area Rug Cleaner, Stain & Odor Remover, Perfect for Car Interiors, Nordic Blue, PX202BRN
Shark StainStriker is a portable carpet and upholstery cleaner with pet mess extractor, bonus XL tool, and full-size...
As an affiliate, we earn on qualifying purchases.
Preparing the Butter for Canning
Start by melting the butter before canning. This step is crucial in ensuring that the butter is properly preserved and stored.
Here are the equipment needed and proper storage instructions for canning butter:
-
Equipment Needed:
-
Canning jars: Choose jars that are specifically designed for canning to ensure proper sealing and storage.
-
Butter melter or double boiler: Use a dedicated butter melter or a double boiler to melt the butter gently and evenly.
-
Ladle or funnel: These tools will help you transfer the melted butter into the canning jars without any spills.
-
Canning tongs: Use these tongs to handle and lift the hot jars safely during the canning process.
-
Proper Storage:
-
Once the butter is melted and poured into the jars, make sure to leave some headspace to allow for expansion during storage.
-
Seal the jars tightly with canning lids and rings.
-
Store the canned butter in a cool, dark place, such as a pantry or a basement.
-
Check the jars regularly for any signs of spoilage or improper sealing.
BISSELL Little Green Multi-Purpose Portable Carpet and Upholstery Cleaner, Car and Auto Detailer, with Exclusive Specialty Tools, Green, 1400B
AMERICA'S #1 BRAND IN PORTABLE DEEP CLEANING: Trusted by over 7 million households.
As an affiliate, we earn on qualifying purchases.
Sterilizing Jars for Canning Butter
First, make sure that you have all the necessary equipment for sterilizing the jars. Sterilizing the jars is an important step in the canning process to ensure that your butter stays fresh and safe to consume.
To sterilize the jars, you will need a large pot with a rack or a canning pot, clean jars with lids, and a jar lifter. Fill the pot with water and place the jars inside, making sure they are fully submerged. Bring the water to a rolling boil and let the jars boil for 10 minutes.
Remove the jars from the pot using the jar lifter and place them on a clean towel to cool.
Now that the jars are sterilized and ready, it’s time to move on to melting and clarifying the butter, which will be discussed in the next section.
Resolve Carpet Cleaner, 22 fl oz Multi-Fabric Cleaner and Upholstery Stain Remover, Carpet Cleaner Spray
Directions: Product Usage: Resolve Upholstery Cleaner Is Safe To Use On Most Household Fabrics Such As Polyester, Nylon...
As an affiliate, we earn on qualifying purchases.
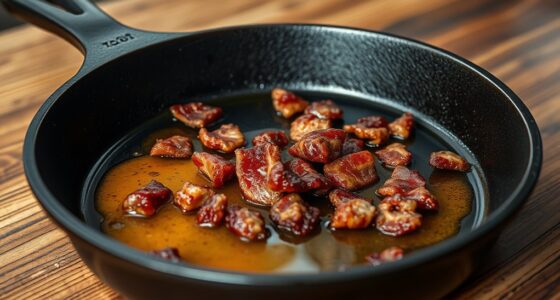
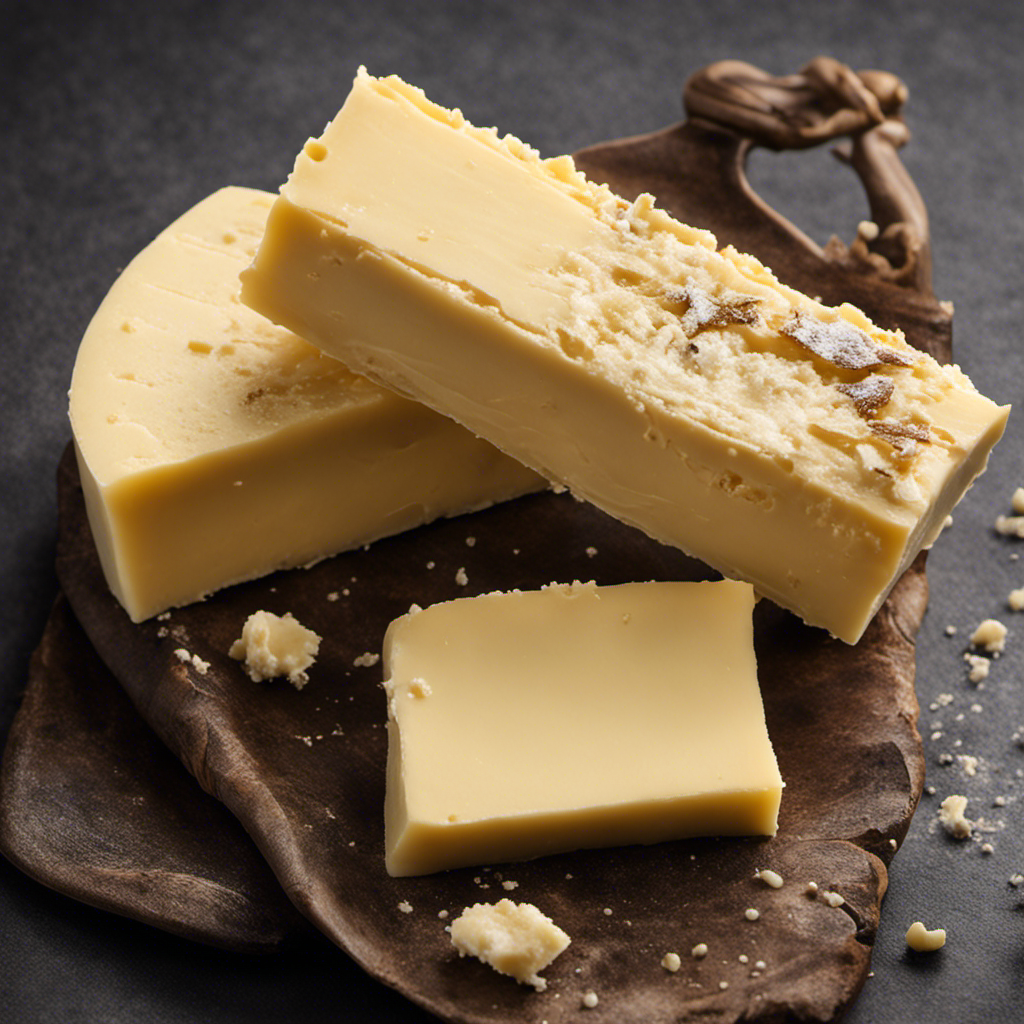
Melting and Clarifying the Butter
Now that the jars are sterilized and ready, it’s time to move on to melting and clarifying your butter, ensuring it becomes smooth and clarified.
To achieve the perfect texture and flavor for your canned butter, follow these steps:
- Start by melting the butter over low heat in a saucepan.
- Allow the butter to melt slowly, ensuring it doesn’t burn or brown.
- As the butter melts, you will notice that it separates into three layers: foam on top, clarified butter in the middle, and milk solids at the bottom.
- Skim off the foam using a spoon or ladle, removing any impurities and leaving behind the clarified butter.
By clarifying the butter, you remove any water content and impurities, resulting in a butter that has a longer shelf life and a richer flavor.
Once your butter is melted and clarified, you are ready to proceed with the canning process.
Filling and Sealing the Jars
Before filling and sealing the jars with butter, it’s crucial to ensure proper jar sterilization. This involves thoroughly cleaning the jars and lids, as well as boiling them in water to eliminate any bacteria or impurities.
Once the jars are sterilized, it’s important to use the correct techniques for sealing to ensure the butter remains fresh and safe for consumption. These techniques may include using a hot water bath or pressure canner, as well as properly tightening the lids to create a secure seal.
Proper Jar Sterilization
To properly sterilize the jar, you’ll need to follow these steps.
- First, wash the jar and lid with hot, soapy water.
- Rinse thoroughly to remove any soap residue.
- Place the jar and lid in a large pot filled with water.
- Bring the water to a boil and let it boil for 10 minutes.
Properly sterilizing the jar is crucial for jar storage and butter preservation. By following these steps, you ensure that any bacteria or contaminants are eliminated, creating a safe environment for your homemade butter.
Sterilization helps to extend the shelf life of your butter and prevents spoilage. It is important to always use clean, sterilized jars when canning butter to maintain its quality and flavor.
Techniques for Sealing
One important technique for sealing the jar is to make sure the lid is tightly screwed on to prevent any air or bacteria from entering. This step is crucial in the canning process to ensure the long-term storage and preservation of the butter.
Additionally, it is recommended to wipe the jar rim clean before placing the lid to ensure a proper seal.
Another effective sealing technique is using a water bath canner. This involves submerging the jar filled with butter in boiling water for a specific amount of time. The heat from the water creates a vacuum seal, further preventing any microbial growth.
It is also important to use new lids for each canning session to ensure the best seal possible.
These sealing techniques are essential for safely preserving butter and extending its shelf life.
Processing the Canned Butter
After the butter is canned, it can be processed using different methods. This step is crucial to ensure the safety and quality of the canned butter.
There are several equipment needed for processing the canned butter effectively:
- Pressure canner: This is used to heat the canned butter to a high temperature, killing any potential bacteria or pathogens.
- Thermometer: To accurately monitor the temperature inside the pressure canner.
- Timer: To keep track of the processing time.
- Clean towels: To wipe the jars and lids before processing.
Here are some troubleshooting tips to consider during the processing:
- Check the seal: Ensure that the jars are properly sealed before processing.
- Monitor the pressure: Maintain a consistent pressure level throughout the processing.
- Follow processing times: Adhere to the recommended processing times to ensure proper preservation.
Storing and Shelf Life of Canned Butter
When it comes to storing canned butter, it’s important to understand the proper storage conditions to ensure its longevity.
The shelf life of canned butter can vary depending on various factors such as temperature and humidity.
However, the benefits of canning butter are numerous. These include convenience, preservation of taste and texture, and the ability to have a long-lasting food supply.
Proper Storage Conditions
To keep your butter fresh, make sure you store it in an airtight container in the refrigerator. Proper storing techniques are essential to maintain the quality and flavor of your butter. Here are the best containers for butter storage:
-
Glass jars with tight-fitting lids: Glass is non-reactive and will not absorb odors or flavors from the butter. The tight lid ensures that no air can get in, keeping the butter fresh for a longer time.
-
Ceramic butter dishes with a lid: These dishes are designed specifically for butter storage. The ceramic material helps to keep the butter cool and the lid provides an airtight seal.
-
Stainless steel containers: Stainless steel is durable, easy to clean, and does not react with the butter. Look for containers with a tight-fitting lid to prevent air exposure.
-
Plastic containers with airtight seals: Opt for food-grade, BPA-free plastic containers with secure seals to keep the butter fresh and prevent any contamination.
Shelf Life Duration
Now that we’ve discussed the proper storage conditions for canned butter, let’s move on to the shelf life duration.
Canned butter has an impressive shelf life of up to 3 years when stored in a cool, dark place. This is one of the many benefits of canning. By sealing the butter in airtight containers, we are able to preserve its freshness and flavor for an extended period of time.
This is especially useful for those who like to stock up on butter or live in areas where access to fresh butter may be limited. Additionally, the long shelf life of canned butter allows for greater convenience and flexibility in meal planning.
Benefits of Canning?
One of the benefits of canning is that it allows for greater convenience and flexibility in meal planning. With canning, I can preserve butter and have it readily available whenever I need it. Canned butter can be stored for long periods, extending its shelf life. It provides a convenient way to have homemade butter on hand, especially during the off-season when fresh butter may not be readily available. Canning allows for portion control, ensuring that I have just the right amount of butter needed for a recipe. It also helps in reducing food waste, as I can can small amounts of butter and use them as needed without any leftovers going to waste.
Now, let’s move on to some tips and troubleshooting for canning butter.
Tips and Troubleshooting for Canning Butter
If you’re having trouble with your canned butter, try adjusting the processing time or checking the seals on your jars. These troubleshooting tips can help ensure that your canned butter turns out perfectly every time.
When it comes to canning butter, it’s important to follow the proper canning techniques to achieve the best results. First, make sure you are using clean and sterilized jars and lids. Next, melt the butter and pour it into the jars, leaving about ½ inch of headspace. Wipe the rims of the jars with a clean cloth and place the lids on tightly. Process the jars in a water bath canner for the recommended time.
If you’re experiencing issues with your canned butter, adjusting the processing time or checking the seals can often solve the problem.
Frequently Asked Questions
Can I Use Any Type of Butter for Canning, or Is There a Specific Type That Works Best?
Yes, you can use any type of butter for canning, but it’s important to choose one with a high fat content to ensure proper preservation. Salted or unsalted butter can be used, depending on your preference.
How Long Does the Sterilization Process for the Jars Typically Take?
The sterilization process for jars typically takes around 10-15 minutes. It’s crucial to ensure proper sealing to prevent spoilage and maintain food safety. Attention to detail during this step is essential.
Can I Reuse the Jars and Lids for Canning Butter, or Do I Need to Use New Ones Each Time?
I can reuse jars and lids for canning butter, but it’s best to follow proper sterilization practices each time. This ensures that the butter stays fresh and safe to consume.
How Long Should I Wait Before Opening a Jar of Canned Butter to Ensure It Is Properly Sealed?
To ensure proper sealing of a jar of canned butter, it’s crucial to wait for the right duration. Sterilization is also key for optimal results. Let me explain how to achieve this.
Are There Any Specific Storage Conditions I Need to Follow to Prolong the Shelf Life of Canned Butter?
To prolong the shelf life of canned butter, it’s important to follow specific storage recommendations. Properly sealed jars should be stored in a cool, dry place away from direct sunlight or heat sources.
Conclusion
In conclusion, canning butter is a simple and effective way to preserve this delicious dairy product. By following the steps outlined in this article, you can ensure that your canned butter stays fresh and flavorful for an extended period of time.
Did you know that properly canned butter can have a shelf life of up to three years? This statistic emphasizes the long-lasting benefits of canning butter and the convenience it provides for future use.
So why not give it a try and enjoy the taste of homemade canned butter all year round?