I will demonstrate how to determine when the magic butter maker is finished. Creating butter with this device is akin to observing a culinary transformation. From collecting the necessary ingredients to assessing the consistency, I will lead you through each stage.
By setting the appropriate time and temperature and determining the desired level of infusion, you’ll create the perfect batch of homemade butter.
So, let’s dive into the magical world of the butter maker and discover the secrets of its completion.
Key Takeaways
- The magic butter maker uses infusion to extract desired compounds from ingredients and infuse them into the butter.
- The timer indicates when the butter is ready, with a distinct aroma and flavor.
- Adjust the heat settings according to preference and ingredients used.
- Achieve desired potency and flavor by setting the right time and temperature.

Peanut Butter Maker Machine, Electric Grain Grinder Peanut Butter Maker Sesame Sauce Grinder, Cashew Nut and Sesame 110V 33lb/h 1100W for Groundnut Almond Cashew Nut
- Durable Construction: Stainless steel housing and aluminum bin
- Powerful Grinding: 1100W copper motor for fine grinding
- Low Noise Operation: Quiet grinding for home or commercial use
As an affiliate, we earn on qualifying purchases.
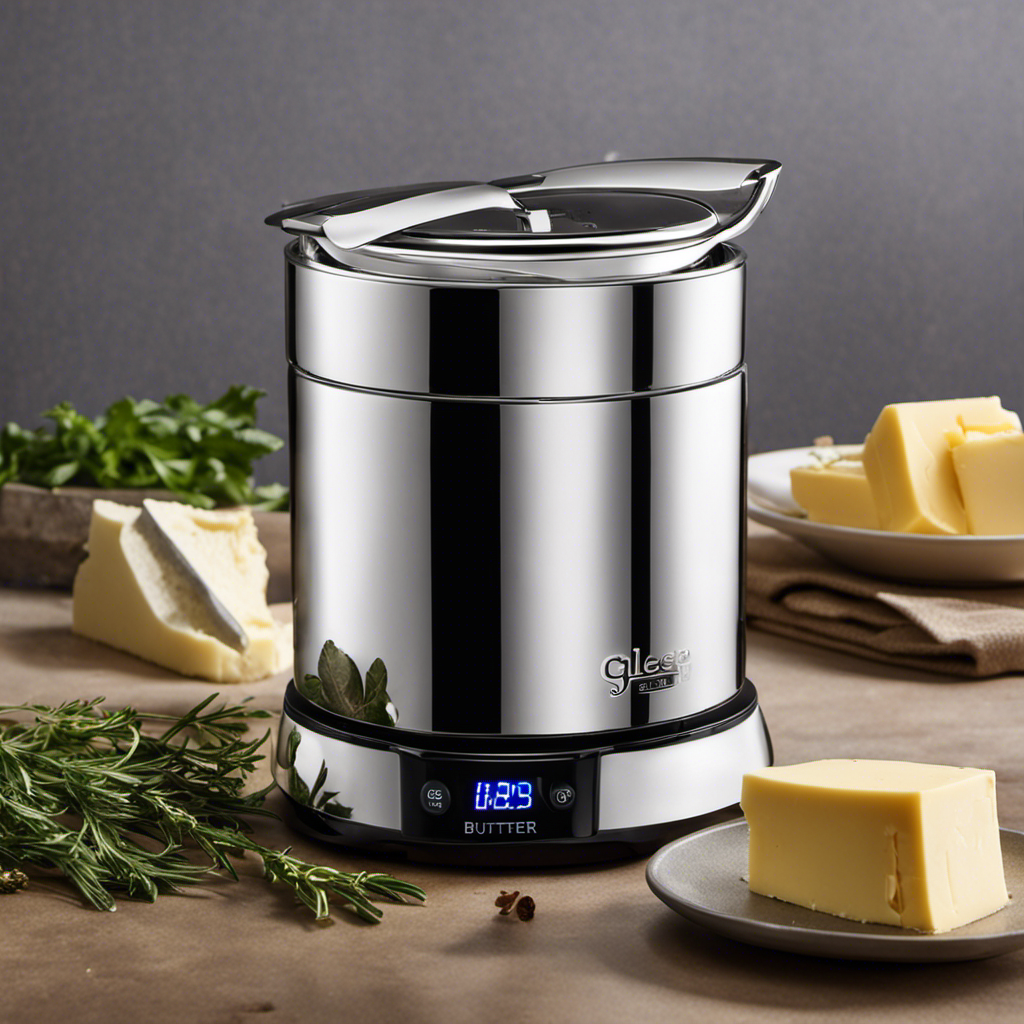
Understanding the Magic Butter Maker’s Process
To understand when the magic butter maker is done, you’ll need to pay attention to the timer and wait for it to go off. The magic butter maker utilizes a process called infusion to extract the desired compounds from the ingredients and infuse them into the butter. Infusion is a method that involves the transfer of flavors, aromas, and other components from one substance to another. In the case of the magic butter maker, it involves extracting the active compounds from herbs or other botanicals and infusing them into the butter.
The magic butter maker consists of a heating element and a mixing mechanism. Once you have added the ingredients to the machine, you set the desired temperature and time on the timer. The heating element gradually heats the mixture, allowing the compounds to be released and infused into the butter. The mixing mechanism ensures that the ingredients are evenly distributed throughout the butter, maximizing the infusion process.
As the timer counts down, the magic butter maker completes the infusion process. When the timer goes off, it indicates that the butter is ready. The infused butter will have a distinct aroma and flavor, indicating that the infusion has been successful. It is important to follow the instructions provided with the magic butter maker to ensure optimal results and to avoid over-infusing the butter.
Understanding the science behind infusion allows you to evaluate the effectiveness of the magic butter maker. By following the timer and paying attention to the aroma and flavor of the butter, you can determine when the infusion process is complete and enjoy the delicious infused butter in your recipes.
Gathering the Necessary Ingredients
Once you’ve gathered all the necessary ingredients, it’s time to start making the magic butter.
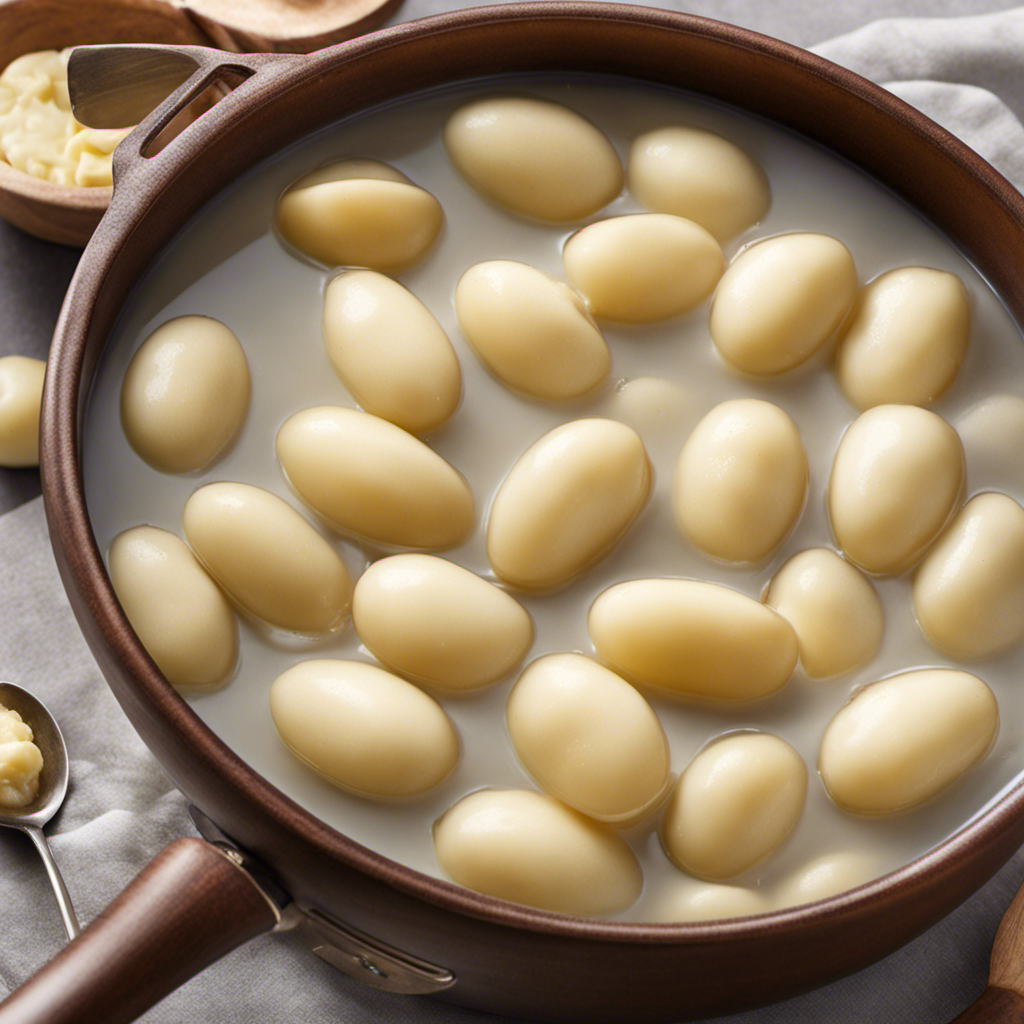
The first step in the process is gathering the ingredients and preparing them for infusion. For this recipe, you’ll need one cup of unsalted butter, four grams of dried cannabis flower, and a tablespoon of sunflower lecithin. It’s important to choose high-quality ingredients to ensure the best results.
To prepare the ingredients, start by decarboxylating the cannabis flower. This step activates the cannabinoids and makes them more potent. Preheat your oven to 240°F (115°C) and spread the dried cannabis flower evenly on a baking sheet. Bake it for 40 minutes, stirring occasionally to ensure even heat distribution. Once done, let it cool before proceeding.
Next, melt the butter in a saucepan over low heat. Once melted, add the decarboxylated cannabis and sunflower lecithin. Stir well to combine and ensure that all the cannabis is evenly coated with the butter. Let the mixture simmer on low heat for 2 to 3 hours, stirring occasionally to prevent burning.
After the infusion time is up, strain the mixture through a fine-mesh strainer or cheesecloth to remove the plant material. Squeeze out as much butter as possible from the cannabis before discarding it. Transfer the infused butter into a container and let it cool at room temperature. Once cooled, you can use it in your favorite recipes or store it in the refrigerator for future use.
Gathering the necessary ingredients and preparing them properly is crucial for making the perfect batch of magic butter. Take your time and follow the steps carefully to achieve the best results.
Preparing the Magic Butter Maker for Use
When it comes to infusing with the Magic Butter Maker, understanding the heat settings is crucial for achieving the desired results.
In this discussion, I will provide detailed instructions on how to use the different heat settings effectively to infuse your ingredients.
Additionally, I will share some valuable cleaning and maintenance tips to ensure the longevity and optimal performance of your Magic Butter Maker.
Heat Settings for Infusing
You’ll want to keep an eye on the heat settings as you’re infusing with the magic butter maker. The heat control is crucial to ensure that the infusion process goes smoothly and the desired results are achieved. The magic butter maker offers a range of heat settings that can be adjusted according to your preference and the ingredients you are using.
To help you understand the heat settings better, here is a table that outlines the different options available:
| Heat Setting | Temperature Range | Recommended Use |
|---|---|---|
| Low | 160°F – 180°F | Gentle infusions |
| Medium | 180°F – 200°F | Balanced infusions |
| High | 200°F – 220°F | Strong infusions |
It’s important to note that the infusion process will vary depending on the recipe and ingredients being used. Always follow the instructions provided in your recipe or the magic butter maker’s manual for best results. Monitoring the heat settings throughout the infusion process will help you achieve the desired potency and flavor in your infused butter or oil.
Cleaning and Maintenance Tips
To clean and maintain your magic butter maker, simply wipe it down with a damp cloth after each use. This ensures that any residue or spills are removed, preventing them from becoming stubborn stains later on. Make sure to pay attention to the crevices and corners to ensure a thorough cleaning.
For more stubborn stains, you can use a gentle dish soap and warm water solution. Avoid using abrasive cleaners or scrubbing pads as they may damage the surface of the machine.
Additionally, it is important to regularly check the power cord and plug for any signs of wear or damage. If you notice any issues, it’s best to contact the manufacturer for further guidance.
Setting the Appropriate Time and Temperature
When it comes to cooking with the Magic Butter Maker, it’s crucial to understand the optimal cooking duration and ideal temperature range.
The cooking duration plays a significant role in extracting the desired compounds from the ingredients. It’s important to give the ingredients enough time to infuse their flavors and properties into the butter or oil.
On the other hand, the temperature range ensures that the infusion process is efficient and effective. Cooking at too low a temperature may not fully extract the desired compounds, while cooking at too high a temperature can degrade the ingredients and compromise the quality of the end product.
Finding the perfect balance between the cooking duration and temperature range will result in a high-quality end product. It will be both potent, containing the desired compounds, and flavorful, with the infused flavors from the ingredients.
Optimal Cooking Duration
Once the magic butter maker has reached its optimal cooking duration, the butter will be ready to use. The ideal cooking time for the magic butter maker is typically around 2 hours. However, it is important to note that this can vary depending on the recipe and personal preference. To ensure that the butter is not overcooked, it is crucial to pay attention to certain signs. One of the key indicators of overcooking is a burnt or bitter smell. Additionally, if the butter starts to turn a dark brown color, it may be a sign that it has been cooked for too long. It is important to keep a close eye on the butter during the cooking process to prevent overcooking and ensure the best results.
| Signs of Overcooking |
|---|
| Burnt or bitter smell |
| Dark brown color |
Ideal Temperature Range?
After understanding the optimal cooking duration, let’s now talk about the ideal temperature range when using the Magic Butter Maker. This is crucial to ensure the best results for your infused creations.
The Magic Butter Maker operates within a temperature range of 160°F to 190°F (71°C to 88°C). This range allows for efficient extraction of the desired compounds from your ingredients, while minimizing the risk of overheating or scorching them. Maintaining the right temperature is essential for achieving the perfect infusion.
Here are a couple of emotional responses you may experience while understanding the ideal temperature range:
-
Excitement: The anticipation of creating perfectly infused butter or oils is thrilling, especially knowing that the Magic Butter Maker’s temperature range ensures optimal results.
-
Confidence: Having the recommended cooking time and ideal temperature range at your fingertips gives you the confidence to experiment with different ingredients and flavors, knowing you’re following the best practices for infusion.
Adding the Ingredients to the Magic Butter Maker
To make the magic butter, simply gather all the necessary ingredients and add them to the butter maker. The key to a successful batch of magic butter lies in the precise combination of ingredients. Start by measuring out the desired amount of butter and placing it in the butter maker. Next, add in the decarboxylated cannabis, making sure to distribute it evenly throughout the butter. This step is crucial as it ensures that the cannabis is properly infused into the butter. Finally, add any additional ingredients such as lecithin or flavorings to enhance the taste and potency of the magic butter.
Once all the ingredients are added, it’s time to start the butter maker. Set the desired temperature and time according to the recipe or your preferences. As the butter maker works its magic, it’s important to monitor the progress and assess the readiness of the butter. Keep an eye on the machine, checking for any signs of overheating or irregularities. Additionally, take note of the time as it progresses to ensure that the butter is infused for the appropriate duration.
In the next section, we will discuss how to monitor the progress of the butter making and determine when the magic butter is ready to be strained and used in your favorite recipes.
Monitoring the Progress of the Butter Making
When it comes to monitoring the progress of butter making, there are a few key indicators to look out for.
First, visual cues for doneness can be observed by closely examining the texture and color of the butter. A perfectly made butter will have a smooth and creamy consistency with a pale yellow color.
Additionally, temperature and timing indicators can also play a significant role in determining the readiness of the butter. Using a thermometer to check the internal temperature of the butter can ensure that it has reached the desired temperature, while following the recommended cooking time can help achieve optimal results.
Visual Cues for Doneness
You’ll see the magic butter maker’s light turn off when it’s done. However, there are also other visual cues that can indicate the doneness of the butter.
Here are some important doneness indicators to look for:
-
Color: The butter will transform from a creamy, pale yellow to a rich, golden hue when it’s done. This change in color is a clear visual cue that the butter has reached the desired consistency.
-
Texture: As the butter cooks, it will become smoother and thicker. When it reaches the right consistency, it will have a creamy and spreadable texture. You can check the texture by using a spoon or spatula to see if it easily glides and spreads.
Temperature and Timing Indicators
One way to determine the doneness of the butter is by checking its temperature and timing.
The magic butter maker has a built-in heat control system that allows you to set the desired temperature for the infusion process. This is crucial because different herbs and ingredients require different temperatures to extract their flavors and properties effectively.
Once you have set the temperature, the magic butter maker will start the infusion process, and you can monitor the timing. The recommended time for infusion can vary depending on the recipe and ingredients. However, it is essential to follow the instructions provided with your magic butter maker to ensure optimal results.
Examining the Consistency of the Mixture
After checking the consistency of the mixture, you can determine if the magic butter maker is done. Evaluating the taste and texture of the final product is crucial in this assessment. Here’s what you need to know:
-
Taste assessment:
-
Richness: The taste should be smooth and creamy, with a rich and full-bodied flavor. It shouldn’t have any bitter or burnt aftertaste.
-
Infusion: The magic butter maker should have successfully infused the desired flavors into the mixture. Whether it’s herbs, spices, or other ingredients, the taste should reflect a well-balanced infusion.
-
Texture assessment:
-
Creaminess: The texture of the butter should be velvety and spreadable. It shouldn’t be grainy or have any lumps.
-
Consistency: The butter should hold its shape without being too hard or too soft. It should be easy to work with and melt smoothly when heated.
When evaluating the taste and texture, trust your senses. Take a small amount and savor it, paying attention to the flavors and mouthfeel. The magic butter maker is done when the taste is delicious, and the texture is perfect for your desired application.
Testing the Aroma of the Butter
When evaluating the taste and texture of the butter, don’t forget to assess its aroma by taking a moment to inhale its enticing scent. Testing the aroma is an important step in evaluating the quality of butter. The fragrance can give you valuable information about the freshness and flavor profile of the butter.
To evaluate the aroma, start by bringing the butter close to your nose. Take a deep breath and let the scent envelop your senses. Is it rich and creamy, with a hint of sweetness? Or does it have a slightly tangy or nutty aroma? Pay attention to any off-putting or rancid smells, as these can indicate that the butter is past its prime.
The aroma of butter can vary depending on factors such as the cow’s diet, the processing method, and the age of the butter. Freshly churned butter often has a sweet, grassy aroma, while aged butter may have a more complex and slightly fermented scent.
Evaluating the fragrance of butter is an important step in determining its overall quality. It can provide clues about its taste and freshness. So, when testing the aroma of butter, take your time and let your senses guide you in evaluating its enticing scent.
Checking for Any Remaining Solid Particles
After evaluating the aroma of the butter, the next step in determining if the Magic Butter Maker is done is to check for any remaining solid particles. This step is crucial as it ensures that the butter is smooth and free from any unwanted lumps or impurities.
To assess the texture of the butter, I gently run a spoon through the mixture, feeling for any resistance or grittiness. If there are no solid particles left, the butter will have a velvety smooth texture, indicating that it is ready.
Evaluating the taste of the butter is also an important aspect of determining its readiness. I take a small amount of the butter and spread it onto a piece of bread or cracker, allowing the flavors to fully develop on my palate. The taste should be rich, creamy, and well-balanced, with no noticeable off-flavors or bitterness.
By carefully assessing both the texture and taste of the butter, I can confidently determine if the Magic Butter Maker has completed its process. If both elements meet my expectations, it’s a clear sign that the butter is ready to be enjoyed.
Now, let’s move on to the next step and assess the color of the butter to ensure it has reached its desired state.
Assessing the Color of the Butter
When it comes to assessing the color of butter, there are a few key points to keep in mind.
First, the color of butter can serve as an indication of its quality and freshness.
Second, visually assessing the butter can help determine its readiness for use in various recipes.
Lastly, color can be used as a readiness indicator, with different shades indicating different levels of firmness or softness.
Butter Color Indication
The butter maker is done when it turns a golden brown color. This indicates that the butter has reached the perfect consistency and is ready to be enjoyed.
The rich, creamy texture of the butter is achieved through the careful churning process, which breaks down the fat molecules and incorporates air. As the butter churns, it undergoes a transformation from a pale yellow to a beautiful golden brown hue. This change in color is not only visually appealing but also signals that the butter has developed a deeper, more complex flavor.
The aroma of the butter becomes more pronounced as it browns, filling the air with a delicious, nutty scent. When the butter maker reaches this golden brown color, you can be confident that you have created a truly delightful batch of homemade butter.
-
The sight of the golden brown butter evokes a sense of satisfaction and accomplishment.
-
The aroma of the butter fills the kitchen with a warm, inviting scent, creating a cozy and comforting atmosphere.
Visual Butter Assessment
After considering the color of the butter, another way to assess whether the magic butter maker is done is by visually examining its appearance. The visual appearance of the butter can give valuable clues about its readiness.
When the butter is done, it should have a smooth and creamy texture, free from any lumps or grains. It should also have a glossy and uniform surface. Additionally, the color of the butter should be consistent throughout. A pale yellow color is typically desirable, indicating that the butter has been adequately churned. However, if the butter appears too pale or too dark, it may be a sign of under or over-churning.
Color as Readiness Indicator
To determine if it’s ready, you should check the color of the butter for a smooth and creamy texture. The color changes can be a visual cue that the butter is done.
Here are some emotional responses you might experience when assessing the color of your butter:
-
Excitement:
The golden yellow hue of perfectly churned butter can evoke feelings of anticipation and joy, knowing that your homemade butter is ready to be enjoyed. The vibrant color can make you feel accomplished and proud of your culinary skills. -
Disappointment:
If the butter is too pale, it may not be fully churned, leaving you feeling disappointed that it is not yet ready. A dark or burnt color may evoke frustration or sadness, as it indicates that the butter has been overcooked.
The color of the butter serves as an important visual indicator of its readiness, allowing you to adjust the churn time accordingly and achieve the desired consistency.
Considering the Taste of the Butter
Once you’ve set the timer, you’ll know when the magic butter maker’s done by tasting the butter. Evaluating the flavor profile is an important step in determining the readiness of the butter.
As you take a small amount of the freshly churned butter and let it melt on your tongue, pay attention to the different notes and nuances that come through. Is the flavor rich and full-bodied, with a hint of sweetness? Or is it more subtle and delicate, with a creamy undertone? These are the factors that will help you gauge the quality of the butter.
Next, examine the smoothness and creaminess of the butter as it glides across your palate. Is it velvety and luxurious, melting effortlessly? Or does it feel slightly grainy or gritty? A smooth, creamy texture is indicative of a well-made butter, while a rougher texture may suggest that it needs more time in the butter maker.
Remember to take your time and savor the experience. Truly tasting and experiencing the butter will give you the most accurate assessment of its readiness. Trust your palate and intuition, and soon you’ll become an expert in determining when the magic butter maker has created the perfect batch of butter.
Evaluating the Texture of the Butter
As you glide the freshly churned butter across your palate, take note of its smoothness and creaminess. Evaluating the creaminess of the butter is an important step in determining its quality. A perfectly creamy butter should melt effortlessly in your mouth, coating your taste buds with a rich and velvety texture. It should feel indulgent and luxurious, leaving a lingering richness that is hard to resist.
When evaluating the texture of the butter, it is crucial to check for any lumps in the mixture. Smoothness is key, and any lumps or unevenness can indicate improper churning or inadequate mixing. A lump-free butter will ensure a consistent and enjoyable experience, allowing the flavors to shine through without any distractions.
To truly appreciate the creaminess of the butter, I encourage you to imagine spreading it onto warm, freshly baked bread. Picture the butter slowly melting, seeping into the porous surface, and creating a heavenly combination of flavors and textures. This creamy delight is not only a treat for your taste buds but also a source of comfort and satisfaction.
Determining the Desired Level of Infusion
When determining the desired level of infusion, you can experiment with different ingredients and flavor combinations to find the perfect balance for your taste preferences. Evaluating infusion levels is crucial in achieving the desired potency of your infusion. The potency refers to the strength or concentration of the infused ingredients in your butter or oil. It determines how potent your final product will be and how it will affect your culinary creations.
To determine infusion potency, you can consider factors such as the amount of time you let the ingredients infuse, the temperature at which you infuse, and the ratio of ingredients to base substance. Longer infusion times generally result in stronger flavors and increased potency. However, you need to ensure that the infusion does not become overpowering or unpleasant. Adjusting the temperature and ratio of ingredients can also impact the potency.
To evaluate the infusion levels, start by tasting small samples of your infused butter or oil. Take note of the strength and flavor profile. If the infusion is too weak, you may need to increase the infusion time or add more ingredients. On the other hand, if the infusion is too strong, you can dilute it with plain butter or oil. Keep experimenting until you find the perfect balance that suits your taste preferences.
Determining the desired level of infusion is a process of trial and error. It requires patience and a willingness to experiment with different combinations until you achieve the desired potency. Remember to keep track of your methods and adjustments for future reference.
Straining and Storing the Finished Butter
To strain and store your finished butter, you’ll need a fine-mesh strainer or cheesecloth to separate the infused ingredients from the butter. Straining the butter is an important step to ensure a smooth, creamy texture. Here are some straining techniques and storing methods to help you achieve the best results:
-
Straining Techniques:
-
Place a fine-mesh strainer over a clean bowl or jar.
-
Pour the melted butter through the strainer, allowing the liquid to pass through while catching any solid particles.
-
Gently press the solids with the back of a spoon to extract as much butter as possible.
-
Storing Methods:
-
Once strained, transfer the butter into an airtight container or jar.
-
Store it in the refrigerator to maintain freshness and extend its shelf life.
-
You can also freeze the butter in an ice cube tray for convenient portioning.
Troubleshooting Common Issues With the Magic Butter Maker
If you’re experiencing any issues with the Magic Butter Maker, here are some common troubleshooting tips to help you resolve them.
Troubleshooting can be frustrating, but with a little patience and these techniques, you’ll be back to making delicious butter in no time.
First, make sure you have followed the instructions carefully. Check that you have added the correct amount of ingredients and that the machine is plugged in properly. Sometimes, simple mistakes can cause the machine to not work as expected.
If the Magic Butter Maker is not starting or turning on, check the power source. Ensure that the outlet is working and try plugging the machine into a different outlet. It could be an issue with the power supply.
If the machine is turning on but not blending or mixing the ingredients, check the blades. Make sure they are properly attached and not clogged with any residue. Clean the blades if necessary and try again.
If the Magic Butter Maker is making strange noises or vibrating excessively, it could be a sign of an imbalance. Check that the ingredients are distributed evenly inside the machine and adjust if needed.
If you are still experiencing issues after trying these troubleshooting techniques, it may be best to contact the manufacturer for further assistance. They will be able to provide you with more specific troubleshooting steps or arrange for a repair or replacement if necessary.
Frequently Asked Questions
Can I Use the Magic Butter Maker for Making Other Types of Infused Products, Like Oils or Tinctures?
Yes, you can use the magic butter maker for making other types of infused products. It’s great for making tinctures and exploring different oils. The possibilities are endless with this versatile machine.
How Long Does It Take for the Magic Butter Maker to Reach the Desired Temperature?
To check the temperature of the magic butter maker during the infusion process, simply use the built-in thermometer. Yes, the magic butter maker can be used for making cannabis infused butter. It’s a versatile tool!
Can I Add Additional Ingredients to the Magic Butter Maker After the Initial Infusion Process Has Started?
During the infusion process, I can add additional ingredients to the Magic Butter Maker. To adjust the infusion time, I simply extend it to ensure all the ingredients are properly infused.
How Long Can I Store the Finished Butter Before It Goes Bad?
The shelf life of finished butter depends on various factors such as storage conditions and the presence of additional ingredients. Proper food preservation techniques can extend the longevity of the butter.
What Happens if I Accidentally Exceed the Recommended Temperature Setting on the Magic Butter Maker?
If I accidentally exceed the recommended temperature setting on the Magic Butter Maker, I might encounter some issues. Troubleshooting tips are essential to rectify any mishaps and ensure the best results.
Conclusion
As I carefully strain and pour the velvety smooth, infused butter into a jar, I can’t help but be amazed at the magic that just took place.
The aroma of freshly baked cookies fills the air, as memories of warm kitchens and happy times flood my mind.
The Magic Butter Maker has truly worked its enchantment, transforming simple ingredients into a culinary masterpiece.
With its user-friendly design and customizable options, this remarkable machine has become an indispensable tool in my kitchen.
So, if you’re ready to add a touch of magic to your culinary adventures, don’t hesitate to embrace the wonders of the Magic Butter Maker.