You might be under the impression that creating butter at home is a challenging endeavor. However, I want to convince you that, thanks to the Pampered Chef Whipped Cream Maker, it’s simpler than you anticipate.
In just a few simple steps, you can transform cream into delicious homemade butter. From gathering the ingredients to churning and storing the butter, I’ll guide you through each stage of the process.
So get ready to impress your family and friends with your own homemade butter creation!
Key Takeaways
- Different types of cream can be used in the whipped cream maker to achieve different flavors and textures of butter.
- Accurately measure the cream and follow recommended mixing time guidelines to achieve the desired consistency of butter.
- Ensure the lid is securely fastened to prevent leakage during the butter-making process.
- Rinse the butter under cold water to remove excess buttermilk and enhance its shelf life.
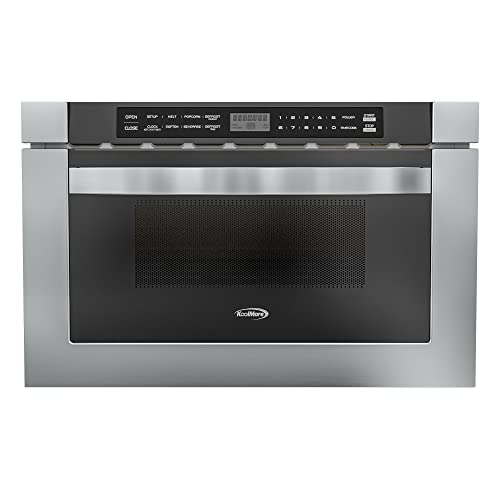
KoolMore 24 Inch Stainless-Steel Microwave Drawer with 1.2 cu. ft. Capacity, 1000W Power with 10 Custom Cooking Levels, Memory, and Timer Functions, Wall-Mounted with Flat Bottom (KM-MD-1SS)
Pull-Out Microwave Drawer – A smart, stylish way to utilize a microwave oven in the kitchen without leaving...
As an affiliate, we earn on qualifying purchases.
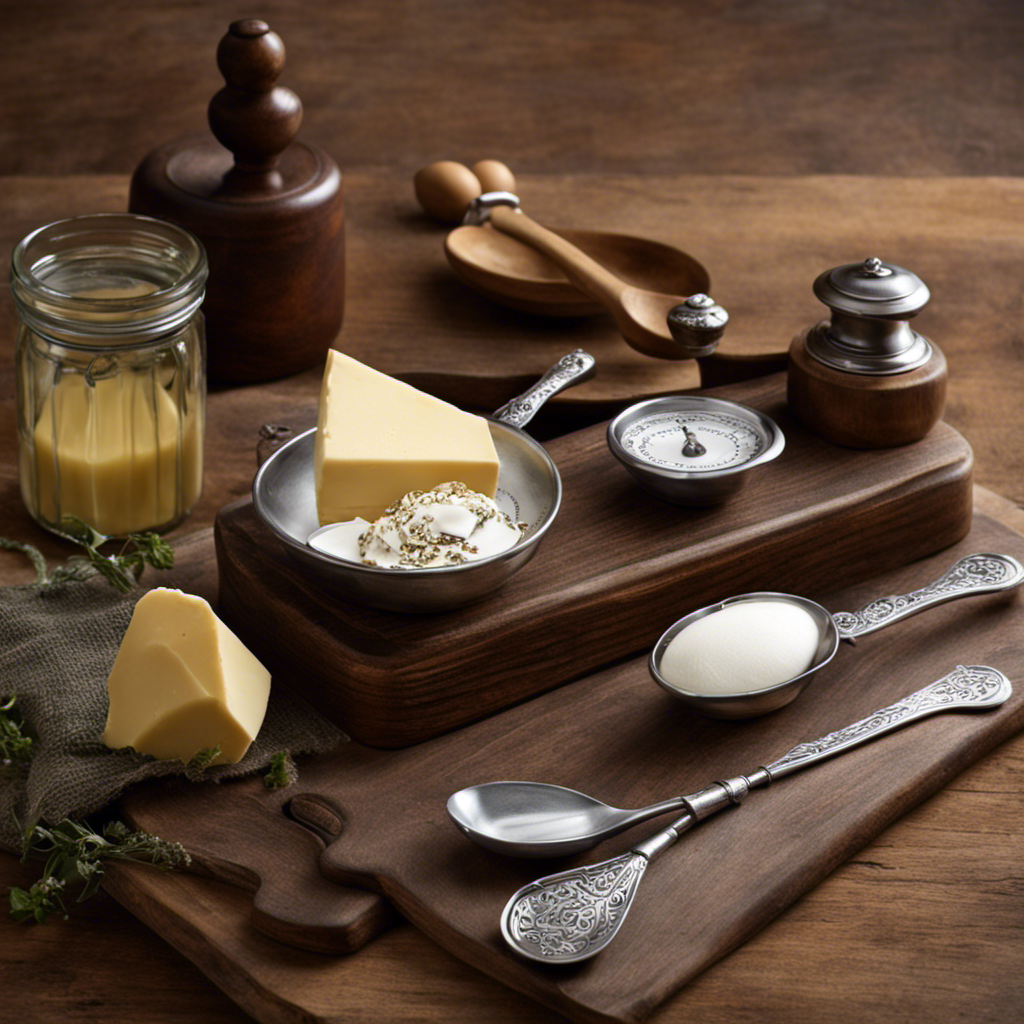
Gathering the Necessary Ingredients
To make butter in the Pampered Chef whipped cream maker, you’ll need to gather the necessary ingredients.
Butter making techniques vary, but the most common method involves using heavy cream. It is important to note that the type of cream you choose will affect the flavor and texture of the butter. For a rich and creamy butter, opt for heavy cream with a high fat content. If you prefer a lighter butter, you can use light or whipping cream. Additionally, you may want to add a pinch of salt for flavor.
Now that you have gathered the cream and salt, it’s time to move on to preparing the Pampered Chef whipped cream maker.

Sharp SMD2420MS 24-Inch Built-In Microwave Drawer Oven, 1.2 Cu. Ft, Stainless Steel, Touch Control Panel, Sensor Cook Technology, Under-Counter Installation
VERSATILE INSTALLATION: Built-in microwave drawer can be installed in walls, islands, peninsulas, or under-counter with no additional hardware...
As an affiliate, we earn on qualifying purchases.
Preparing the Pampered Chef Whipped Cream Maker
Before starting, make sure you have all the necessary ingredients and equipment for using the Pampered Chef whipped cream maker. When it comes to preparing the equipment, it’s important to understand the functionality of the whipped cream maker. This handy tool consists of a canister, a plunger, and a cap. The canister is where you will pour in the cream and other ingredients to make butter. The plunger is used to pump air into the canister, creating the creamy consistency. The cap seals the canister, ensuring a mess-free experience. To engage the audience, here is a table that outlines the key components of the Pampered Chef whipped cream maker:
| Component | Functionality |
|---|---|
| Canister | Holds cream and ingredients |
| Plunger | Pumps air into the canister |
| Cap | Seals the canister for mess-free operation |
Understanding the functionality of each component will help you make butter effortlessly using the Pampered Chef whipped cream maker.
Amazon Product B0BRJM8KJN
As an affiliate, we earn on qualifying purchases.
Adding the Cream to the Whipped Cream Maker
When it comes to adding cream to the Pampered Chef Whipped Cream Maker, there are a few important guidelines to follow.
First, it’s crucial to measure the cream accurately using the provided measurement lines on the canister. This ensures the perfect consistency and texture of your whipped cream.
Additionally, it’s essential to pay attention to the recommended mixing time to achieve the desired results.
Lastly, in case you encounter any issues during the process, we will discuss troubleshooting common problems to help you overcome any obstacles and enjoy delicious homemade whipped cream.
Cream Measurement Guidelines
Cream measurement guidelines can help ensure that you achieve the desired consistency when making butter in a Pampered Chef whipped cream maker. Accurately measuring the cream is essential for successful butter making.
Here are some key guidelines to follow:
- Use a measuring cup specifically designed for liquids to measure the cream accurately.
- Pour the cream into the measuring cup until it reaches the desired quantity. Be sure to level off the top of the cream for precise measurements.
- Different types of cream can be used to make butter, such as heavy cream, whipping cream, or double cream. Each type of cream will yield slightly different results in terms of texture and flavor.
- Experiment with different types of cream to find the one that best suits your taste preferences.
Mixing Time Recommendations
To achieve the desired consistency, it’s important to follow the recommended mixing time guidelines. The mixing time for making butter in a Pampered Chef whipped cream maker will vary depending on the amount of cream used and the desired firmness of the butter. Here is a table outlining the recommended mixing times for different quantities of cream:
| Cream Amount | Mixing Time |
|---|---|
| 1 cup | 3-4 minutes |
| 2 cups | 5-6 minutes |
| 3 cups | 7-8 minutes |
| 4 cups | 9-10 minutes |
These mixing times are approximate and may vary slightly depending on the specific model of the whipped cream maker. It’s important to monitor the cream closely during the mixing process and stop as soon as the desired consistency is reached. By following these mixing techniques and achieving the desired consistency, you will be able to make delicious homemade butter in no time.
Troubleshooting Common Issues
When it comes to fixing equipment issues and troubleshooting measurement problems with the Pampered Chef whipped cream maker, there are a few common problems that may arise. Here are some key troubleshooting tips to help you overcome these challenges:
- Ensure that the lid is securely fastened to prevent leakage during the whipping process.
- Make sure that you are using the correct measurements of heavy cream and any additional ingredients.
- Check that the cream is cold and that the whisk is clean and dry before starting.
If the cream is not thickening properly, try increasing the speed or whipping for a longer duration. If the whipped cream turns into butter too quickly, reduce the mixing time or decrease the speed.
By following these troubleshooting tips, you can overcome equipment issues and measurement problems, ensuring a successful butter-making process.
Now, let’s move on to the next section, where we will learn how to operate the whipped cream maker to create butter.
Amazon Product B0DJLNKP1M
As an affiliate, we earn on qualifying purchases.
Operating the Whipped Cream Maker to Create Butter
When it comes to making butter, understanding the butter-making process steps is crucial. From the initial step of churning the cream to the final transformation of whipped cream into butter, each stage plays a vital role in achieving a successful outcome.
To ensure a smooth and hassle-free butter-making experience, I will also provide some helpful tips that will guarantee delicious and perfectly-textured homemade butter every time.
Butter-Making Process Steps
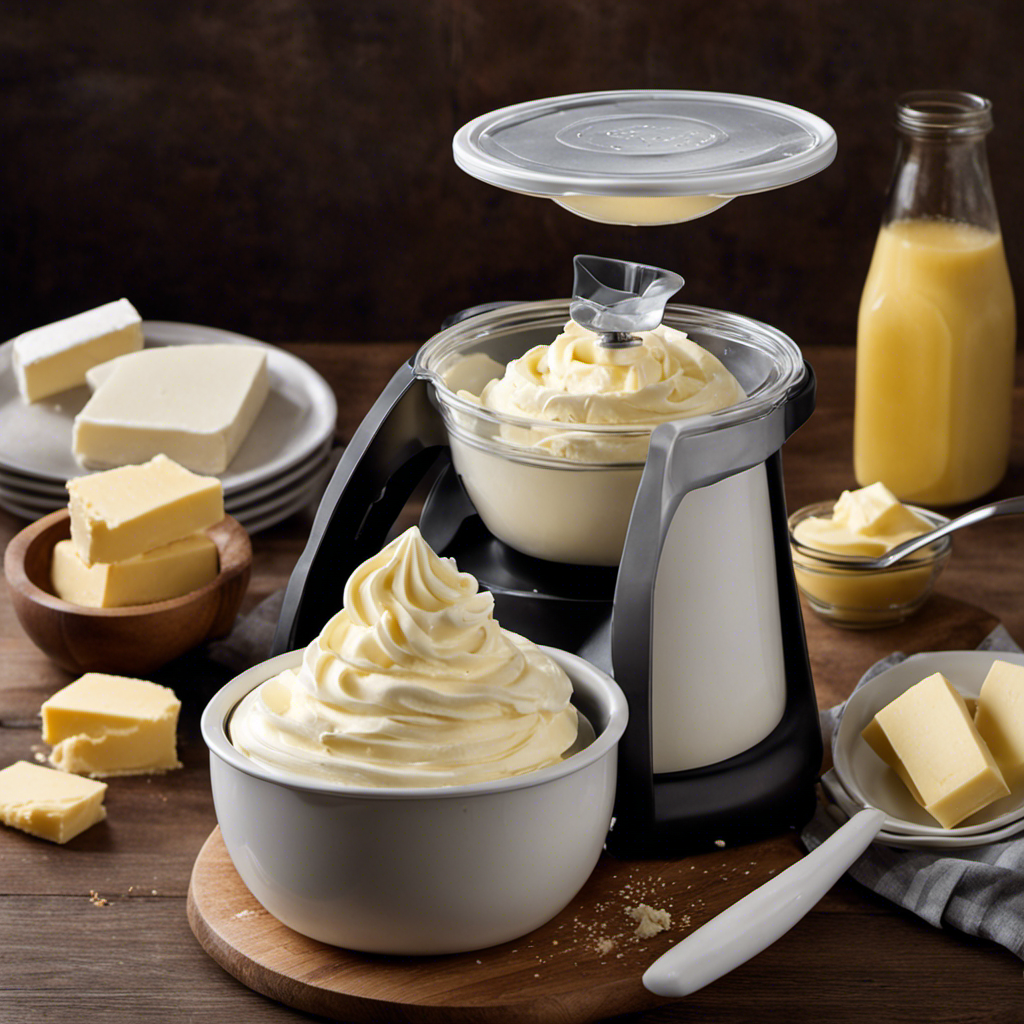
The first step in making butter in a Pampered Chef whipped cream maker is to pour the heavy cream into the container.
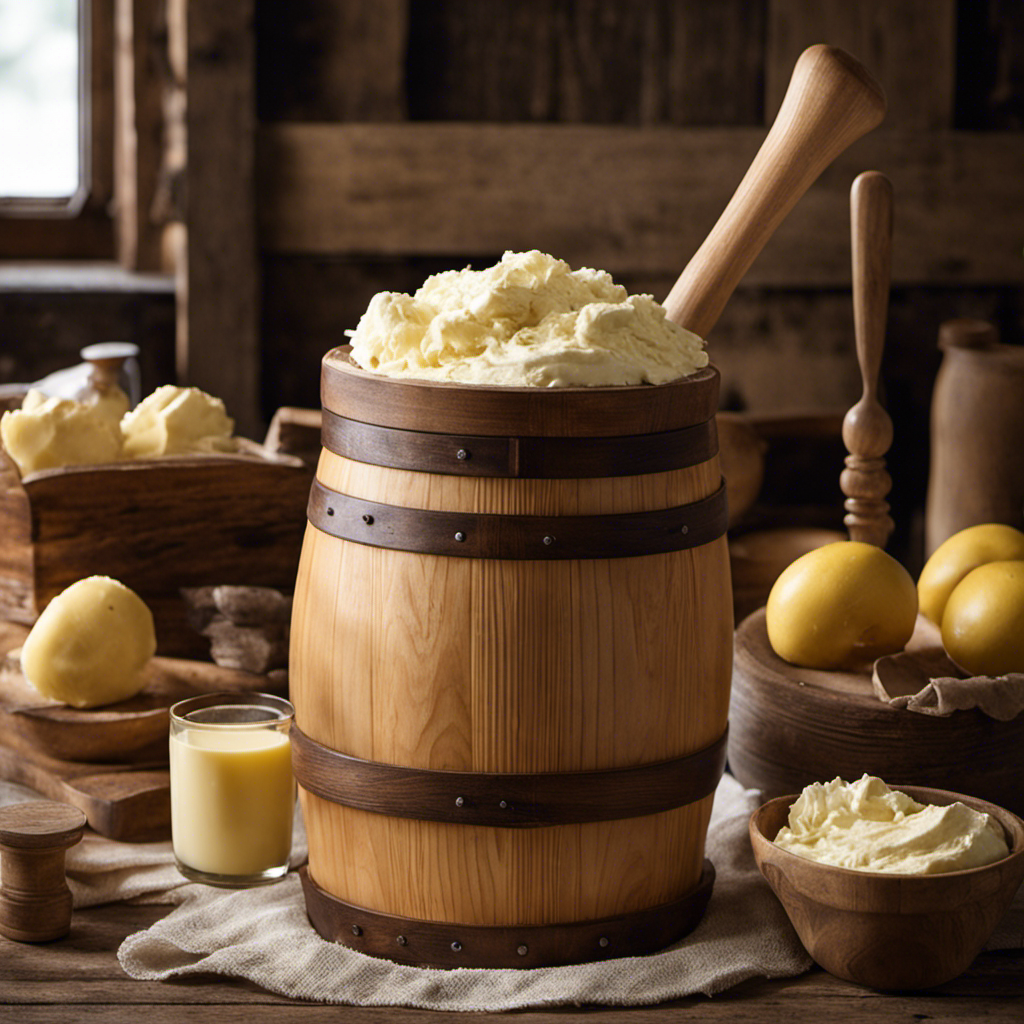
Making butter at home is a fascinating process that dates back centuries. People have been making butter since ancient times, using various methods such as shaking cream in containers or churning it in wooden barrels. Homemade butter not only carries the rich history of butter making but also offers several health benefits. When you make butter at home, you have control over the ingredients, ensuring that no additives or preservatives are present. Additionally, homemade butter is often richer in nutrients like vitamins A, D, and E.
The process of making butter in a whipped cream maker is simple and enjoyable. Here are the steps:
- Pour the heavy cream into the whipped cream maker container.
- Attach the lid securely.
- Begin pumping the handle up and down, creating a whipping motion.
Whipped Cream to Butter
To transform plain heavy cream into homemade butter, simply attach the lid securely and start pumping the handle up and down in a whipping motion. The Pampered Chef whipped cream maker is a great tool for making butter at home.
This method provides an alternative to using whipped cream and allows you to control the ingredients in your butter. The heavy cream will go through different stages as you pump the handle. At first, it will turn into whipped cream with soft peaks. Keep pumping, and you will notice the cream thickening even more.
Eventually, the liquid will separate, leaving behind solid butter and a milky liquid called buttermilk. Strain the butter and rinse it under cold water to remove any excess buttermilk. Your homemade butter is now ready to be enjoyed!
Tips for Successful Butter-Making
When it comes to making butter in a Pampered Chef whipped cream maker, there are a few tips and tricks that can help ensure success. Here are some pointers I’ve learned along the way:
- Start with heavy cream that has a high fat content, as this will result in a richer and creamier butter.
- Be patient and keep whipping until you see the cream turn into butter and buttermilk separates.
- Rinse the butter under cold water to remove any remaining buttermilk, as this will help it last longer.
- To add flavor to your butter, try mixing in herbs, spices, or even honey. This can elevate the taste and make it more versatile for different dishes.
Alternative uses for homemade butter:
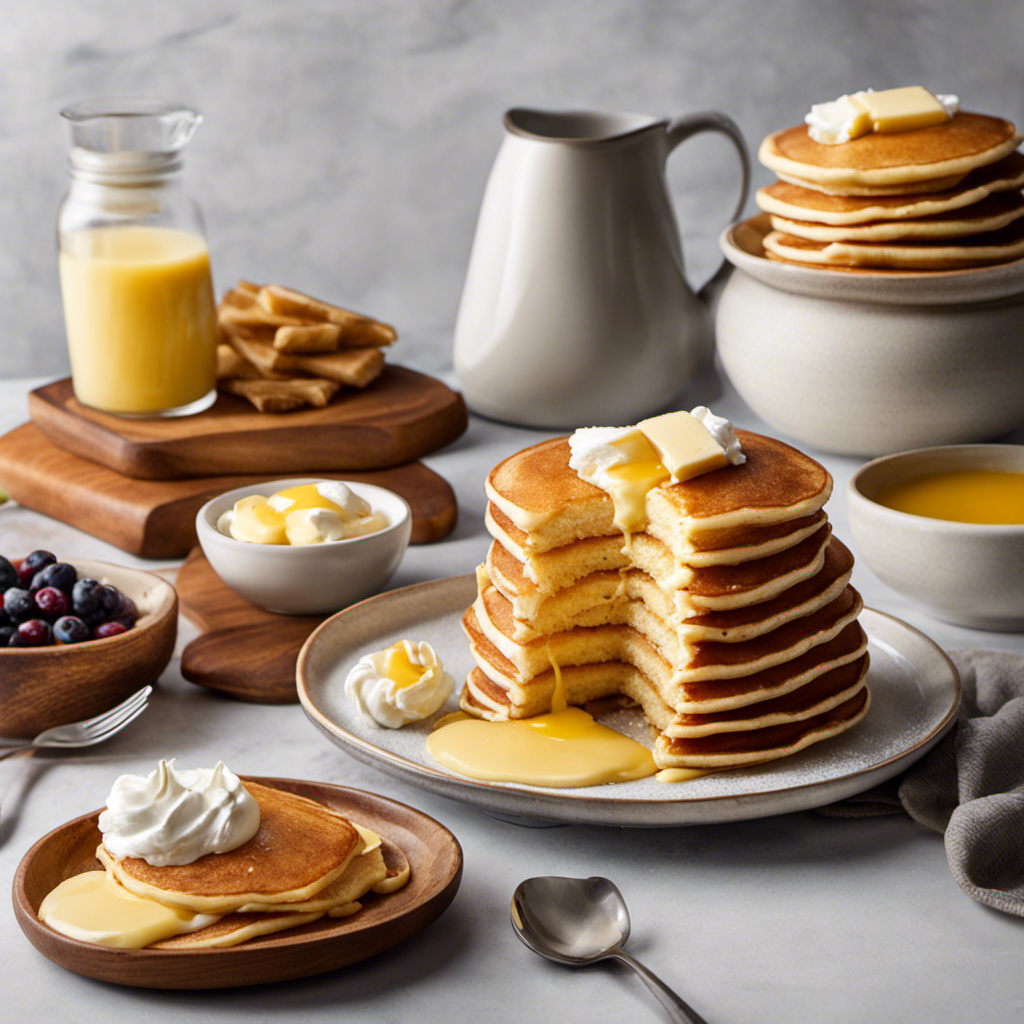
- Spread it on toast or freshly baked bread for a delicious breakfast treat.
- Use it as a base for sauces or melted over vegetables for added richness.
- Incorporate it into baking recipes for a buttery and moist texture.
Separating the Butter From the Buttermilk
After shaking the whipped cream maker vigorously, you’ll notice the butter separating from the buttermilk. This is the first step in the process of separating the butter from the buttermilk.
The shaking action causes the fat molecules in the cream to clump together, forming butter. The buttermilk, on the other hand, remains separate from the butter.
Once the separation is complete, you can remove the butter from the whipped cream maker and transfer it to a separate container. To ensure that all the buttermilk is removed, you can rinse the butter with cold water and knead it gently. This will help to remove any remaining buttermilk and improve the quality of the butter.
The separating butter process is a crucial step in butter making techniques and is essential for achieving a smooth and creamy final product.
Washing and Churning the Butter
Once the butter has separated from the buttermilk, you’ll need to wash and churn it to improve its texture. Washing the butter involves rinsing it with cold water to remove any trace of buttermilk. This step is crucial as it helps prevent the butter from spoiling quickly. Here are some washing techniques to consider:
-
Cold water method: Place the butter in a bowl and cover it with cold water. Gently knead the butter with your hands to release any remaining buttermilk. Change the water and repeat the process until the water remains clear.
-
Ice water method: Similar to the cold water method, but using ice water instead. This helps to firm up the butter and yield a creamier texture.
-
Salting method: Add a small amount of salt to the cold water or ice water to enhance the flavor of the butter.
After washing, it’s time to churn the butter. There are different churning methods to choose from:
-
Hand churning: This traditional method involves using a wooden butter churn or a jar with a tight-fitting lid. Shake or churn the butter vigorously until it comes together.
-
Blender or food processor method: If you prefer a quicker method, you can use a blender or food processor. Pulse the butter until it forms a solid mass.
-
Whipped cream maker method: Using a Pampered Chef whipped cream maker, simply pour the washed butter into the container and pump the handle until the butter forms.
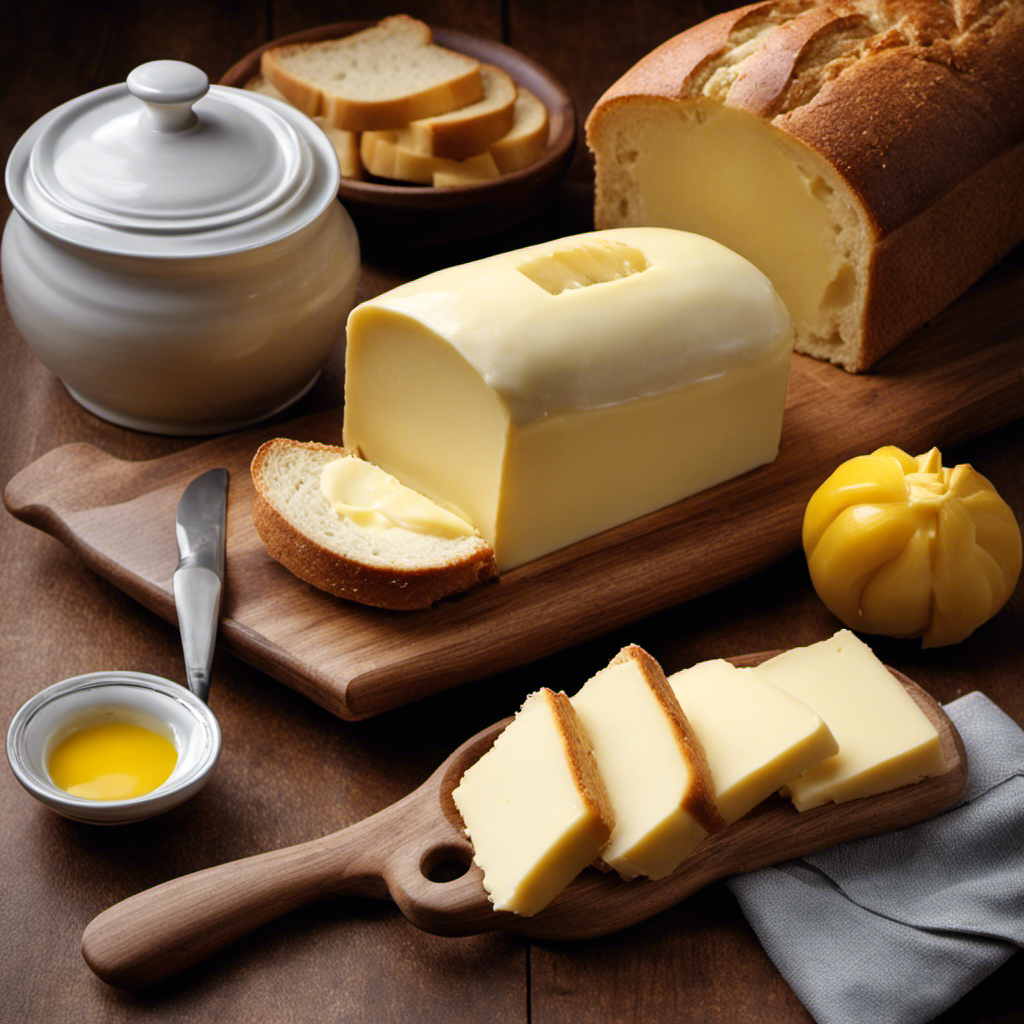
Storing and Using the Homemade Butter
To store and use your homemade butter, simply place it in an airtight container and refrigerate it for up to two weeks. This will keep your butter fresh and ready to use in a variety of recipes. Homemade butter adds a rich, creamy flavor to baked goods, sauces, and even simple dishes like mashed potatoes. It can be used as a spread on bread or toast, enhancing the taste of any meal. When using homemade butter in recipes, make sure to adjust the amount of salt or seasoning accordingly, as homemade butter may have a higher salt content than store-bought options. Experiment with different flavors by adding herbs, spices, or even fruit zest to your homemade butter for a personalized touch.
| Recipes to Use Homemade Butter | ||
|---|---|---|
| Buttermilk Biscuits | Garlic Herb Butter | Brown Butter Chocolate Chip Cookies |
Conclusion
Well, there you have it folks! Making butter in the Pampered Chef whipped cream maker is truly a life-changing experience.
Who needs store-bought butter when you can create your own creamy, delicious masterpiece?
From gathering the ingredients to operating the machine, it’s a journey filled with excitement and satisfaction.
So why settle for ordinary butter when you can pamper yourself with homemade goodness?
Get your hands on a whipped cream maker and let the butter-making adventures begin!
Your taste buds will thank you, and so will your inner chef.