Elevate your Halloween celebration with captivating butter sculptures that seamlessly blend spooky artistry and delectable edibility, delighting your guests with a unique blend of creativity and culinary craftsmanship. Originating in the 19th century, butter sculptures have evolved over the years, becoming popular for their ability to create memorable experiences through impressive designs like ghosts, pumpkins, or bats. Shaping room-temperature unsalted butter into these intricate creations requires creativity and patience, but the results are well worth it – your guests will be amazed by the visual and edible qualities of these Halloween masterpieces. Discover more about this delightful tradition and how you can unleash your own artistic expression.
Key Takeaways
- Butter sculptures have a rich history dating back to the 19th century, evolving into captivating centerpieces for Halloween celebrations.
- Sculpting high-quality, room-temperature unsalted butter into spooky shapes like ghosts, pumpkins, or bats creates edible and visually impressive decorations.
- Chilling the shaped butter and using optional food coloring or sculpting tools can enhance the intricate designs and details.
- Incorporating edible accents like flowers, fruit, or chocolate shavings can add depth, color, and thematic flair to the butter sculptures.
- Expanding creativity and honing sculpting techniques can unlock new artistic expressions in butter sculptures for various occasions beyond Halloween.
History
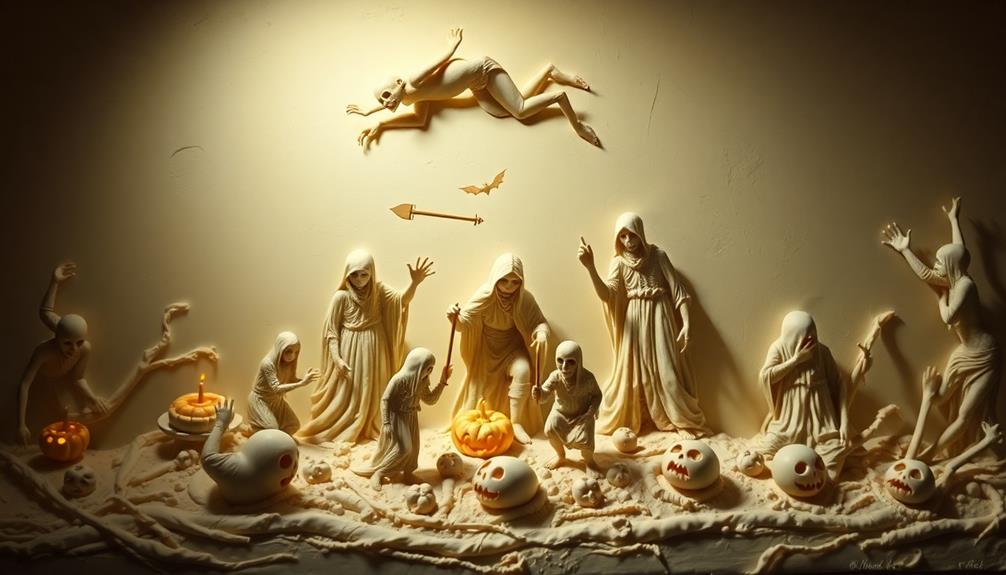
Butter sculptures have a rich history dating back to the 19th century, when they were first showcased at agricultural fairs. These intricate and delicate creations captivated audiences, who marveled at the skill and artistry required to shape butter into elaborate designs.
Over the years, the tradition of butter sculpting has evolved, with artists pushing the boundaries of what's possible with this versatile medium.
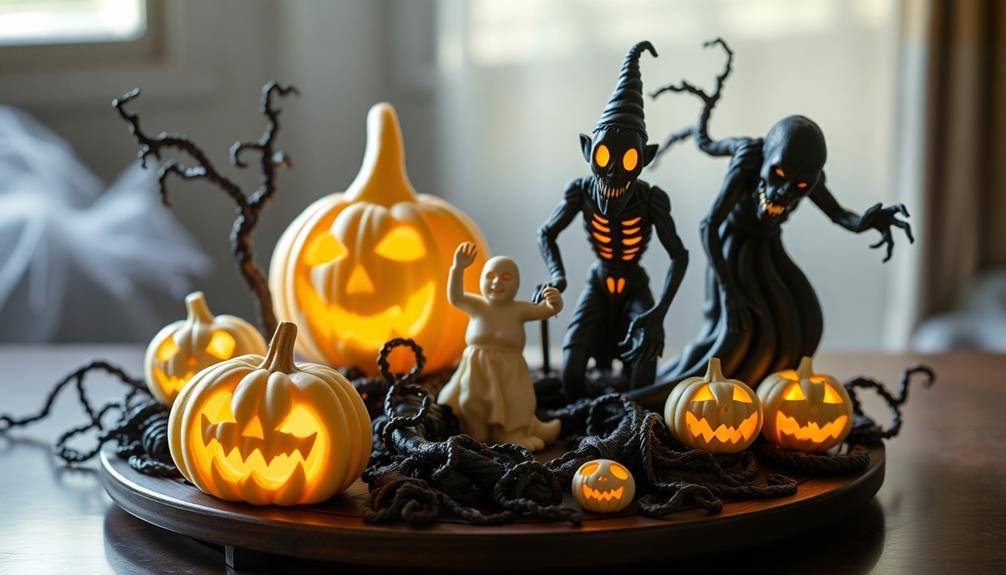
Today, butter sculptures are a beloved part of many Halloween celebrations, with carvers crafting ghosts, goblins, and other spooky characters to adorn tables and delight guests.
These edible works of art not only add a festive touch to your Halloween decor, but they also provide a unique conversation piece that your guests are sure to remember long after the party is over.
Recipe
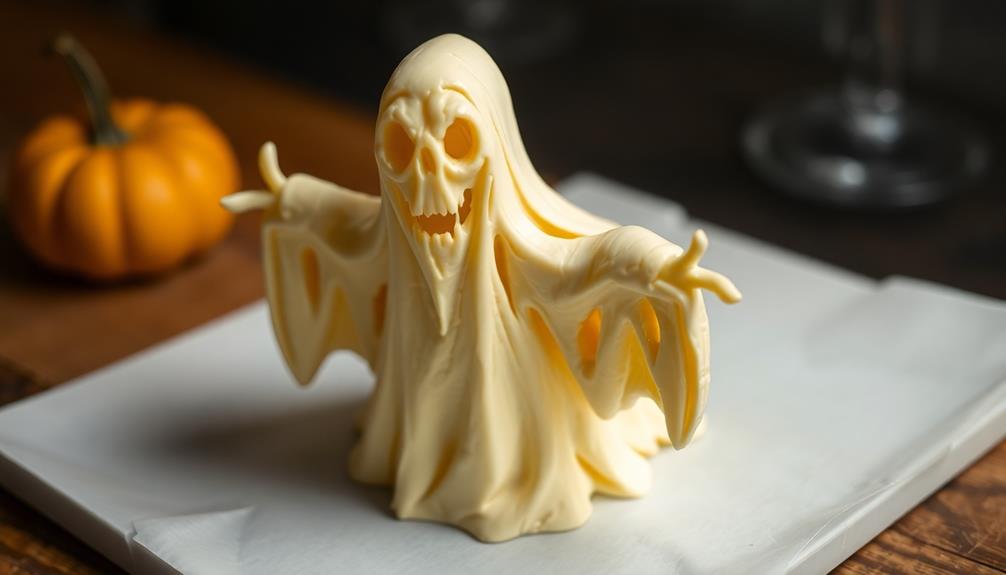
Butter is a versatile ingredient that can be transformed into a wide range of culinary creations, including festive Halloween-themed sculptures. These whimsical butter sculptures not only add a touch of holiday flair to your table but also serve as a delightful conversation starter.
Whether you're hosting a Halloween party or simply want to add a unique twist to your autumn decor, creating your own butter sculptures can be a fun and rewarding experience. You can even incorporate elements from your Halloween decorations, such as using natural elements like leaves or branches, to enhance the overall theme and presentation of your butter creations creative Halloween decoration ideas.
Sculpting butter into intricate Halloween designs requires a bit of patience and attention to detail, but the process is relatively straightforward. The key is to work with high-quality, room-temperature butter that's soft and pliable, allowing you to mold and shape it into your desired forms.
Ingredients:
- 1 lb unsalted butter, softened to room temperature
- Food coloring (optional)
- Toothpicks or small sculpting tools (optional)
Instructions:
Gather your softened butter and, if desired, divide it into separate portions to create multicolored sculptures. Use your hands to gently knead and shape the butter into your desired Halloween-themed designs, such as pumpkins, ghosts, or spiders.
For added detail, use toothpicks or small sculpting tools to create intricate features and textures. Once your sculptures are complete, you can display them as festive centerpieces or serve them alongside your Halloween feast.
When creating butter sculptures, remember to work quickly and avoid overhandling the butter, as this can cause it to become too soft and difficult to manipulate. Additionally, consider refrigerating your finished sculptures to help them maintain their shape and prevent melting.
With a little creativity and a steady hand, you can transform ordinary butter into enchanting Halloween masterpieces that will delight your guests and add a touch of whimsy to your seasonal celebrations.
Cooking Steps
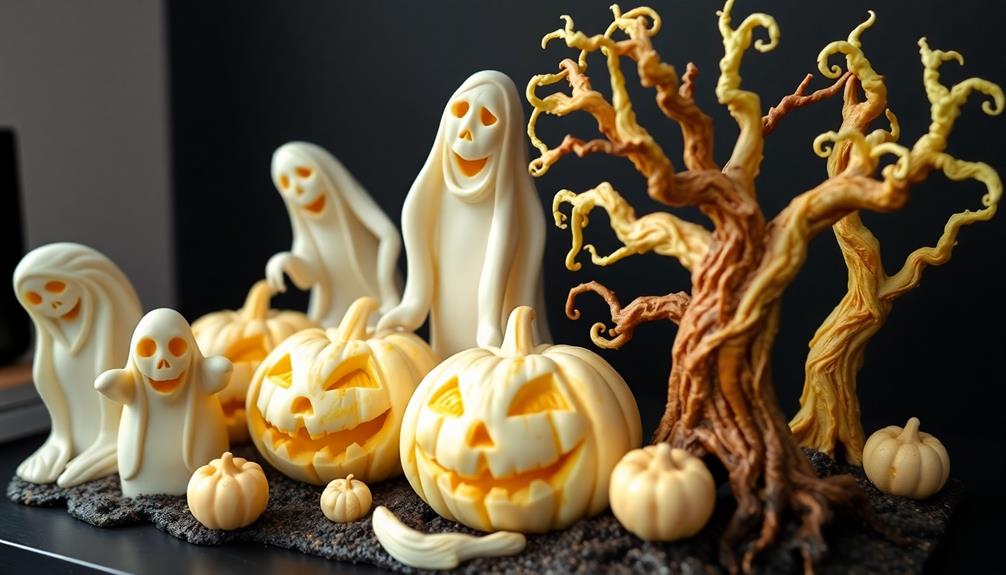
First, you'll need to soften the butter at room temperature until it's smooth and pliable. This is important because butter's rich, creamy texture allows for easy sculpting and creates a delightful mouthfeel in your edible decorations.
Then, knead the butter until it's easy to shape. From there, let your creativity shine as you mold the butter into spooky Halloween designs.
You can also experiment with herb-infused butter variations to add a unique flavor twist to your sculptures, enhancing your guests' experience with savory flavor transformations.
Don't forget to pop those sculpted creations in the fridge to harden up before garnishing them with fun, edible accents.
Step 1. Soften Butter at Room Temperature
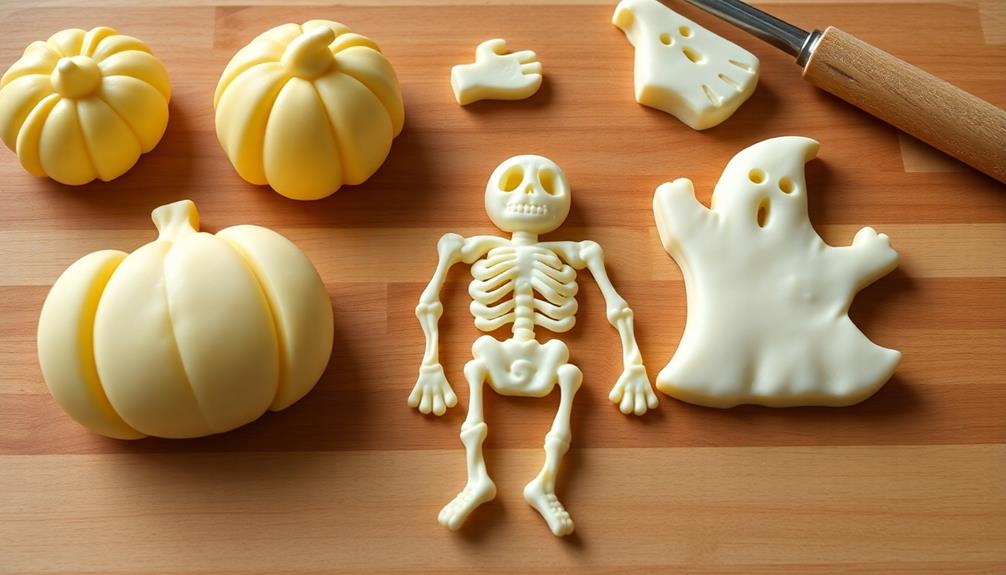
To begin the process, you'll want to let the butter sit at room temperature for about 30 minutes. This gentle warming will soften the butter, making it pliable and easier to mold into your desired Halloween shapes.
You can place the stick of butter on the counter or a plate, ensuring it's not directly in the sun or near a heat source, which could cause it to melt too quickly. It's important to note that butter is a dairy product made from churning cream, and its quality can greatly impact your sculptures.
As the butter softens, you can start visualizing the spooky designs you'd like to create. Maybe you envision a haunting ghost, a wicked witch, or a smiling jack-o'-lantern.
Keep in mind that the butter will firm up again once it's chilled, so you'll want to work relatively quickly once it reaches that perfect, spreadable consistency. Gently press and shape the butter with your fingers, smoothing out any lumps or uneven edges.
The soft, malleable texture will allow you to bring your Halloween visions to life in delightful, edible sculptures. Remember, butter adds flavor and moisture to baked goods, which can enhance the overall presentation of your spooky creations.
Step 2. Knead Butter Until Smooth and Pliable
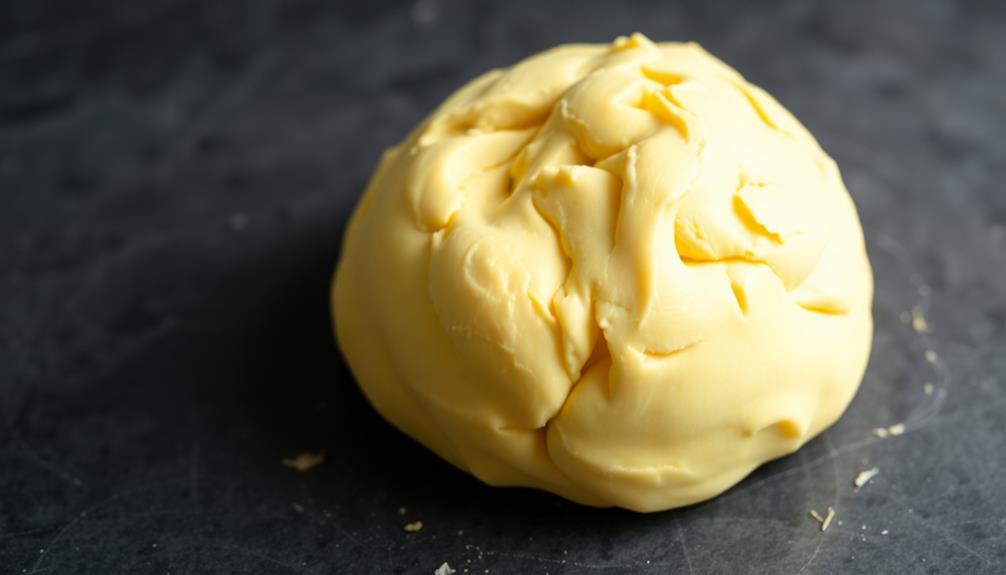
With the butter softened to the perfect consistency, it's time to knead it until smooth and pliable.
Grab the butter and start working it with your hands. Gently press and fold the butter, letting your fingers do the work. As you knead, the texture will transform from firm and chunky to soft and uniform.
Imagine kneading bread dough – you want that same smooth, supple quality. Keep at it, kneading for a couple of minutes until the butter is completely devoid of any lumps or graininess.
You'll know it's ready when it feels silky and moldable in your hands. This step ensures your butter sculptures will have a professional, polished appearance.
With the butter prepped, you can now begin shaping and sculpting your spooky Halloween creations. Get creative and have fun bringing your ghostly visions to life!
Step 3. Shape Butter Into Designs
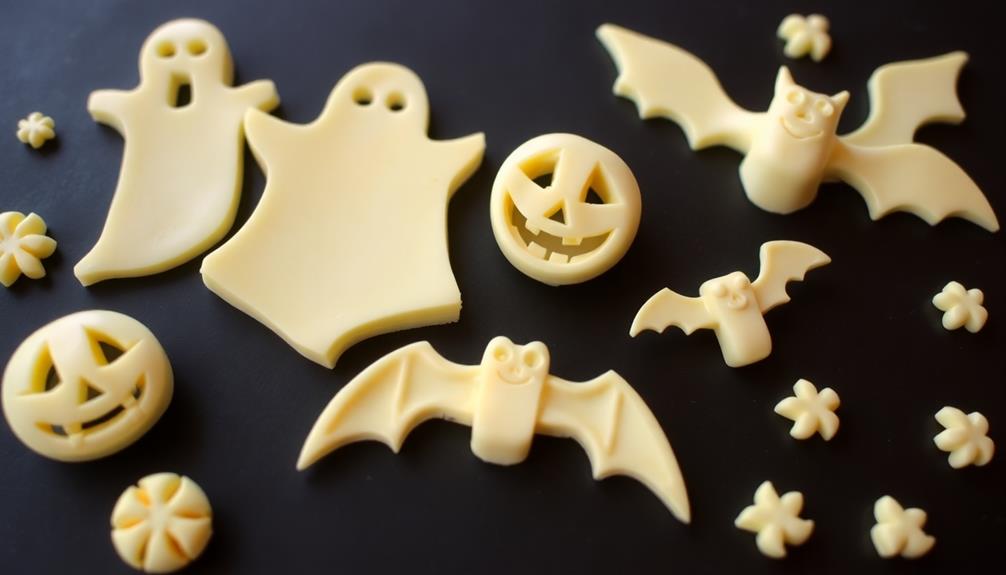
Next, grab a small piece of the softened butter and begin gently molding it between your palms.
Slowly shape the butter into your desired design, whether it's a spooky jack-o'-lantern, a ghastly ghost, or a haunting black cat. Use your fingertips to pinch, squeeze, and smooth the butter, gradually building up the details.
Add depth and dimension by creating grooves, ridges, and textures. Envision the final sculpture in your mind, and let your hands bring that vision to life.
As you work, be mindful of maintaining the integrity of the butter. Avoid overhandling or squeezing too tightly, as this can cause the butter to become misshapen or lose its smooth, pliable texture.
If needed, gently re-knead the butter to restore its workability. Take your time and have fun with the process, allowing your creativity to shine through in the unique butter sculptures you create.
With a little patience and a touch of artistry, you'll soon have a delightfully eerie display that's sure to impress your Halloween guests.
Step 4. Refrigerate Sculpted Butter for Hardening
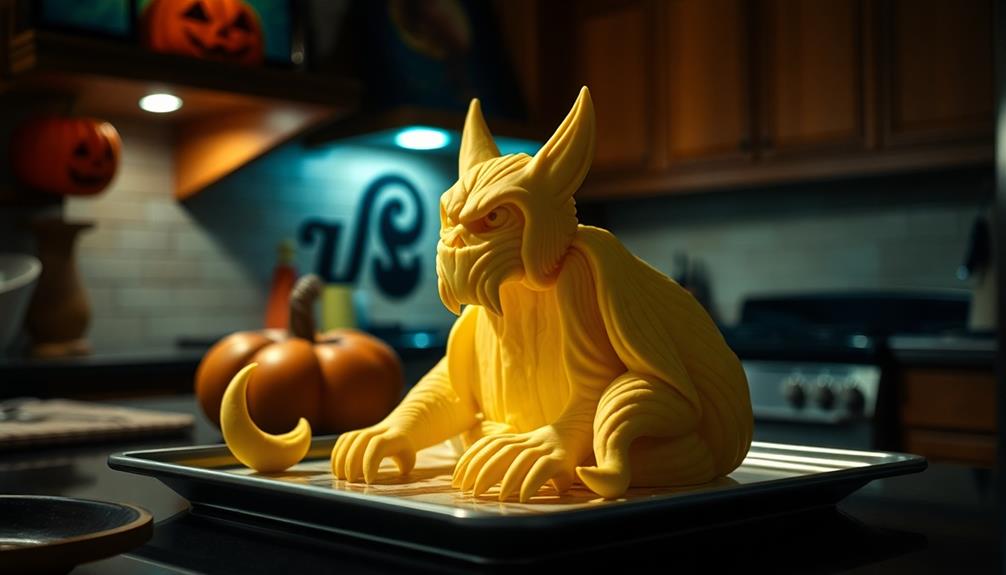
Once your butter sculptures are shaped to your liking, it's time to harden them. Gently transfer the intricate forms to a baking sheet or plate, making sure they're not touching each other. This will prevent the pieces from sticking together during the refrigeration process.
Now, pop the sheet into the fridge and let the butter chill for at least 30 minutes, or until it's firm to the touch. The cooler temperature will cause the sculptures to solidify, ensuring they maintain their spooky shapes. You can even place them in the freezer for a few minutes if you want an extra-hard finish.
Once the butter is chilled and sturdy, your Halloween decorations are ready to display! Set them on a serving platter or table, and let your guests marvel at your ghostly, pumpkin-shaped, or bat-inspired creations.
Just be sure to keep them refrigerated until you're ready to serve, so the butter stays fresh and intact.
Step 5. Garnish With Edible Accents
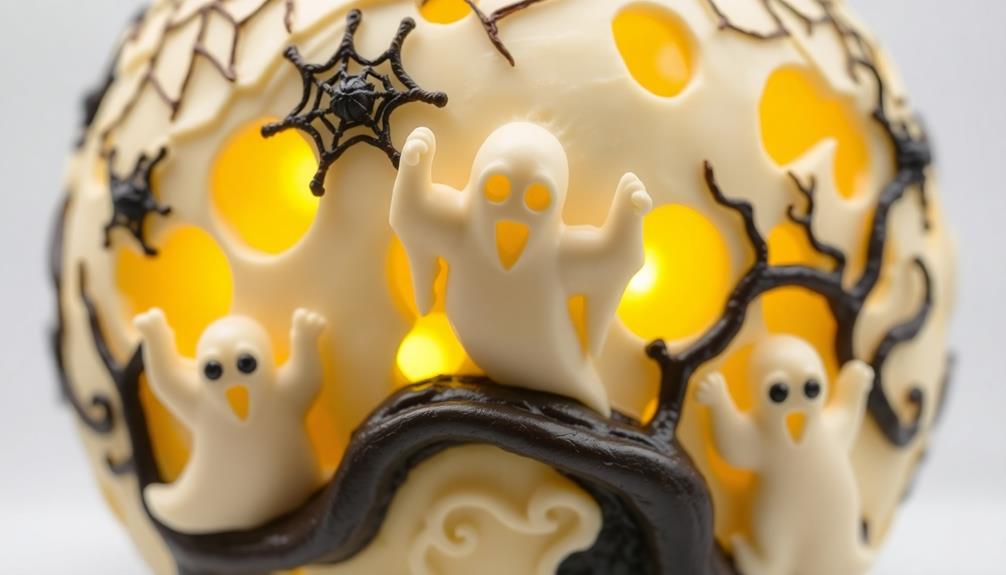
To take your butter sculptures to the next level, consider garnishing them with edible accents. These little touches can really make your creepy-crawly creations pop and impress your guests.
Try using edible flowers, like tiny marigolds or pansies, to add a splash of color. You can even carve small shapes out of fruit or vegetables, like pumpkins or spiders, and carefully place them around your butter sculpture.
For a spookier look, use dark chocolate shavings or cocoa powder to create shadows and highlights. Get creative with edible glitters, sprinkles, or even crushed nuts or seeds to add extra texture and interest.
Just be sure to use food-safe, edible materials that complement the Halloween theme. With a little imagination, you can transform your butter sculptures into truly unique and captivating centerpieces that will have everyone reaching for their cameras.
Have fun experimenting and let your creativity shine!
Final Thoughts
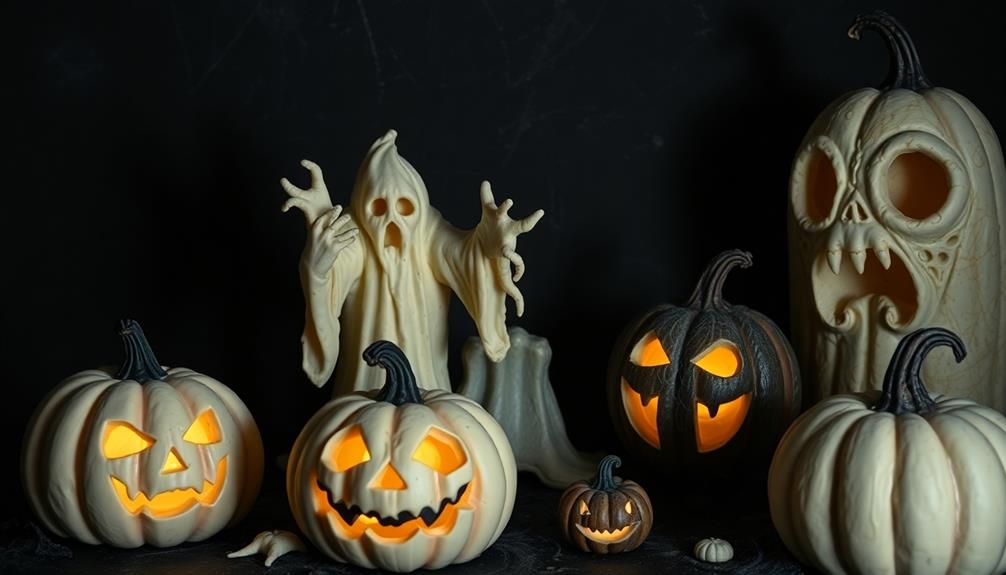
As the season draws to a close, it's clear that these butter sculptures have captured the imagination of all who've laid eyes on them.
Whether you crafted a spooky jack-o'-lantern or a whimsical ghost, these delightful creations have brought a touch of magic to your Halloween celebrations.
As you clean up the kitchen and put away your tools, take a moment to bask in the satisfaction of your accomplishments.
These butter sculptures weren't just decorations – they were edible works of art that delighted your guests and left a lasting impression.
Looking ahead, consider how you can expand your butter sculpting skills for future holidays.
Perhaps a turkey for Thanksgiving or a snowman for the winter season?
The possibilities are endless, and with each new creation, you'll hone your technique and unlock new levels of artistic expression.
Frequently Asked Questions
How Long Do Butter Sculptures Last Before Needing to Be Replaced?
Butter sculptures don't last long, typically only a few days before needing replacement. The delicate nature of butter means they'll quickly soften and lose their shape, so you'll want to monitor them closely and replace as needed.
Can Butter Sculptures Be Made in Advance and Frozen?
Yes, you can make butter sculptures in advance and freeze them. Freezing helps preserve the shape and texture, so you can display them for longer without worrying about them melting or degrading. Just be sure to thaw them properly before serving.
What Are Some Common Tools Used to Create Butter Sculptures?
You'll commonly use sculpting tools like knives, spoons, and spatulas to create butter sculptures. These tools allow you to shape, mold, and refine the butter into intricate designs and detailed figures.
Can Butter Sculptures Be Displayed in Direct Sunlight?
Butter sculptures shouldn't be displayed in direct sunlight. The heat will cause the butter to melt, ruining the intricate details and shape of your creation. For the best results, keep your butter sculpture in a cool, shaded area.
Are There Any Health Concerns With Consuming Butter Sculptures?
Consuming butter sculptures isn't recommended as they may harbor bacteria that could make you sick. The fat content and potential temperature abuse also pose risks. It's best to admire these decorative pieces rather than eat them.
