Making Amish-style butter is a rewarding process that connects you to tradition and flavor. Start with fresh, high-quality cream, ideally with a 36% fat content. Gather essential tools like a churn, strainer, and ice water. Churn the cream until it thickens and separates into butter and buttermilk, typically taking 10-20 minutes. Once done, rinse the butter under cold water and add salt to your taste. You can even add herbs or sweeteners for a personal touch. This hands-on experience not only enriches your cooking but also strengthens community ties. Explore more techniques to enhance your butter-making journey!
Key Takeaways
- Gather essential ingredients: fresh cream, salt, and ice water to start the butter-making process.
- Use traditional equipment like a hand-crank churn or modern options like a stand mixer for efficient churning.
- Churn the cream for 10-20 minutes until it separates into buttermilk and butter, then rinse the butter under cold water.
- Flavor your butter by adding herbs, spices, or sweeteners to customize its taste for various dishes.
- Store homemade butter in airtight containers; refrigerate for up to two weeks or freeze for longer preservation.
Understanding Amish Butter Tradition
Rooted in centuries of tradition, Amish butter making reflects a deep connection to community and simplicity. When you step into an Amish household, you'll find that butter making isn't just a task; it's a cherished ritual that brings families together. Each member plays a role, from churning to packaging, reinforcing bonds and fostering teamwork.
You might notice that the process is often done by hand, using traditional churns that have been passed down through generations. This method not only honors their ancestors but also guarantees a quality product, rich in flavor and texture. You'll appreciate the care and attention that goes into every batch, as it's a labor of love, not just a means to an end.
The community aspect is also crucial, as neighbors often gather to share tips, recipes, and stories while making butter together. This practice reinforces a sense of belonging and support among families.
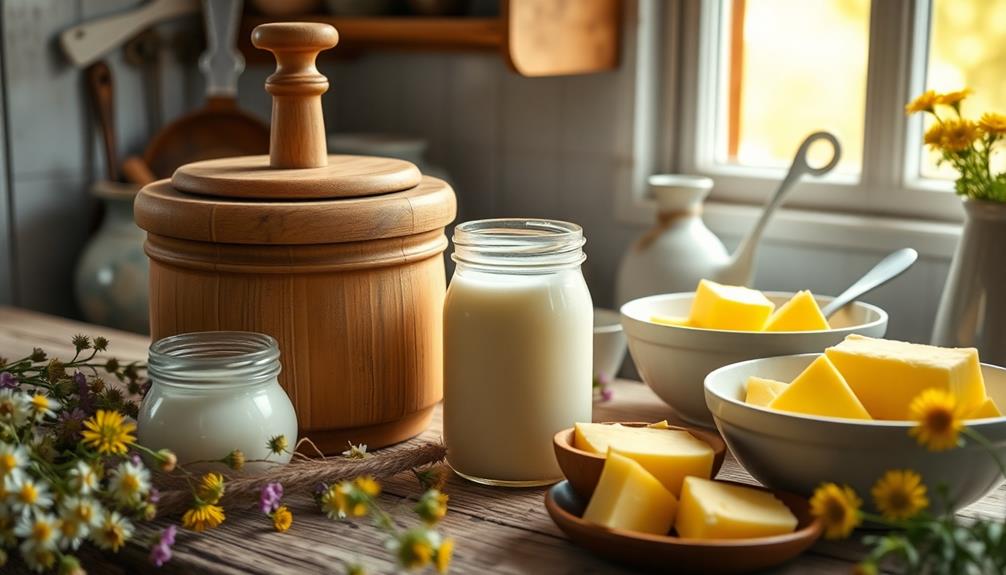
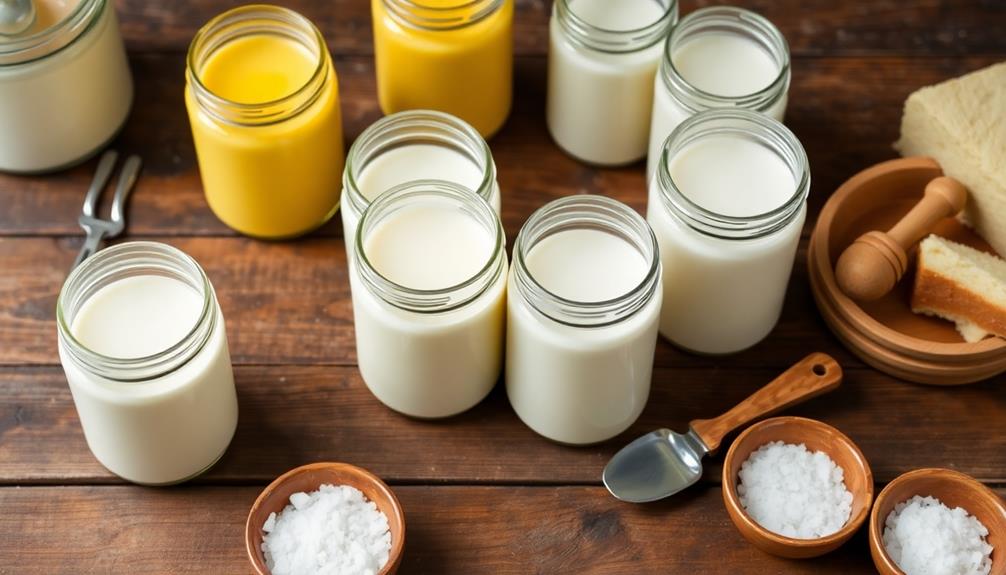
Essential Ingredients Needed
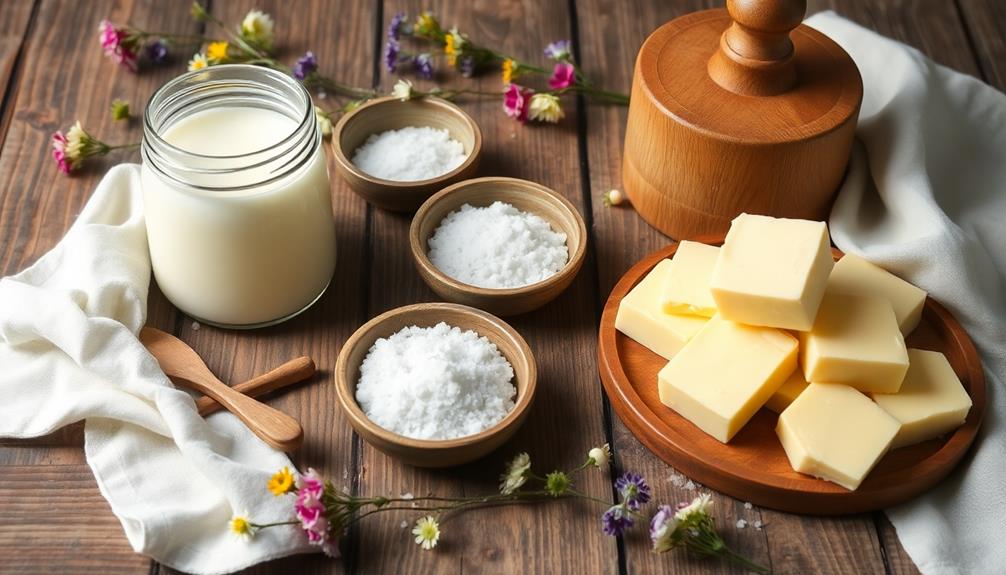
To make authentic Amish-style butter, you'll need just a few essential ingredients that focus on quality and simplicity. The beauty of this traditional method lies in using fresh, wholesome components that enhance the flavor and texture of your butter.
Here's what you'll need to gather before you start the process:
- Fresh cream: The star ingredient, rich and full of flavor, sets the foundation for your butter.
- Salt: Just a pinch can elevate the taste, but you can adjust according to your preference.
- Ice water: This helps to cool the cream during the churning process and maintains the right consistency.
- Glass or wooden container: For churning, you'll want a sturdy container that suits your style—either a glass jar or a traditional butter churn.
- Muslin cloth or fine strainer: This is essential for separating the buttermilk from the solid butter once churning is complete.
With these ingredients in hand, you're well on your way to creating delicious, homemade Amish-style butter that captures the essence of tradition.
Enjoy the experience!
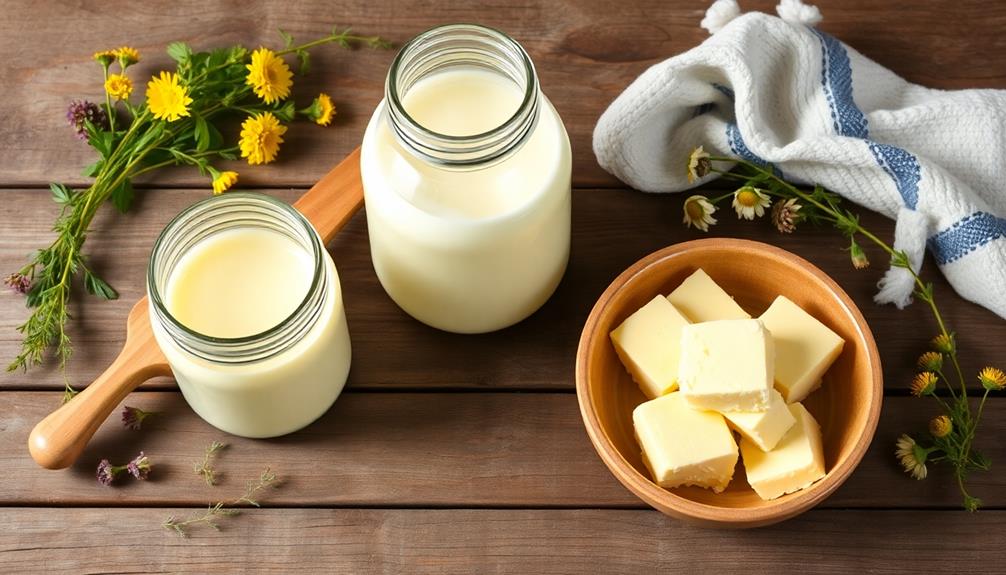
Choosing the Right Cream
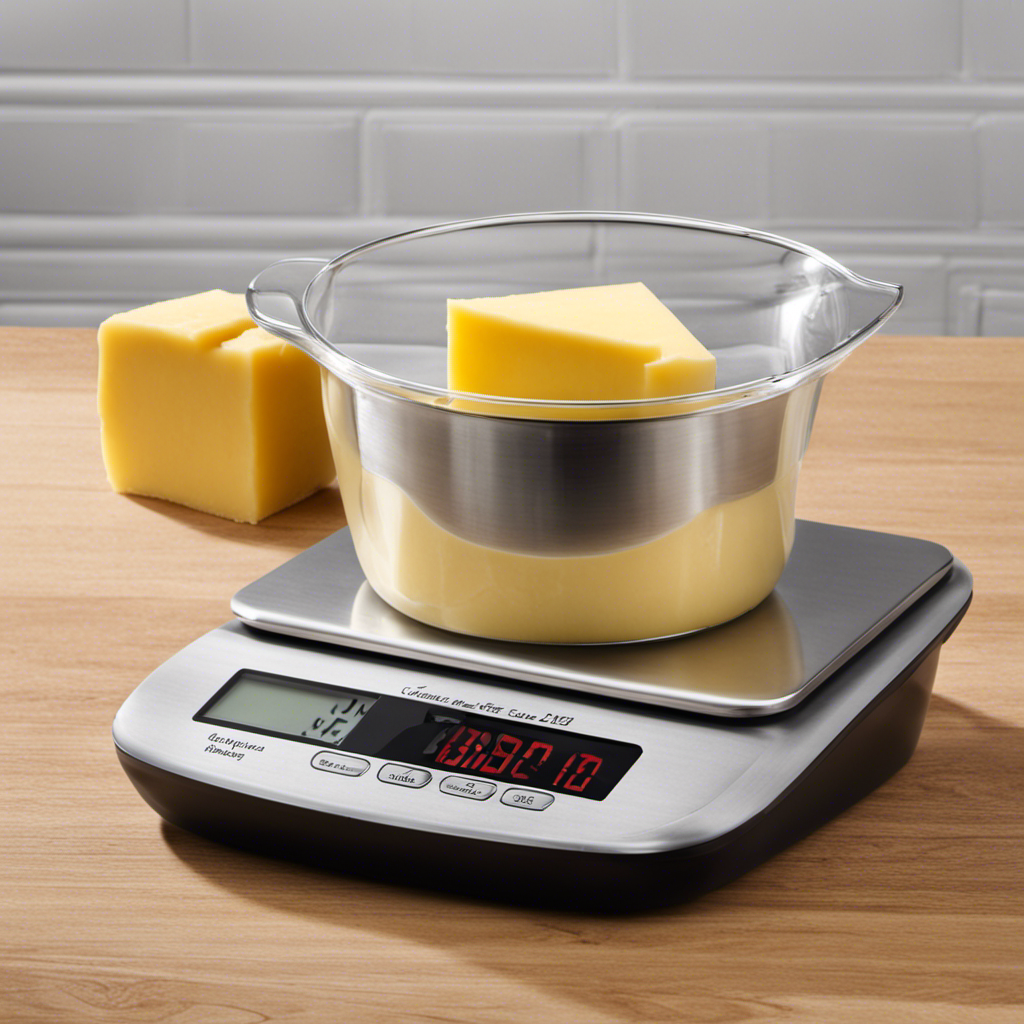
Choosing the right cream is essential for making delicious Amish-style butter, as it directly affects the flavor and texture of your final product. Start by looking for high-quality heavy cream, which typically has a fat content of around 36% or more. This higher fat content will give your butter a rich, creamy consistency and a satisfying mouthfeel.
Additionally, ensuring a clean environment while preparing your butter can enhance the final product, similar to how air purifier maintenance dos and don'ts can improve indoor air quality during cooking.
You'll want to avoid ultra-pasteurized cream if possible, as it can alter the taste and make it harder for the butter to properly whip. Fresh, locally sourced cream is a great choice, as it often retains more of its natural flavor. If you're buying from a store, check the label for freshness and consider organic options to avoid additives.
When selecting cream, pay attention to its smell and taste. A fresh, pleasant aroma is ideal; any sour or off odors can indicate spoilage.
It's also wise to sample different brands to find one that suits your palate. Remember, the cream you choose lays the foundation for your butter, so take your time and pick wisely for the best results.
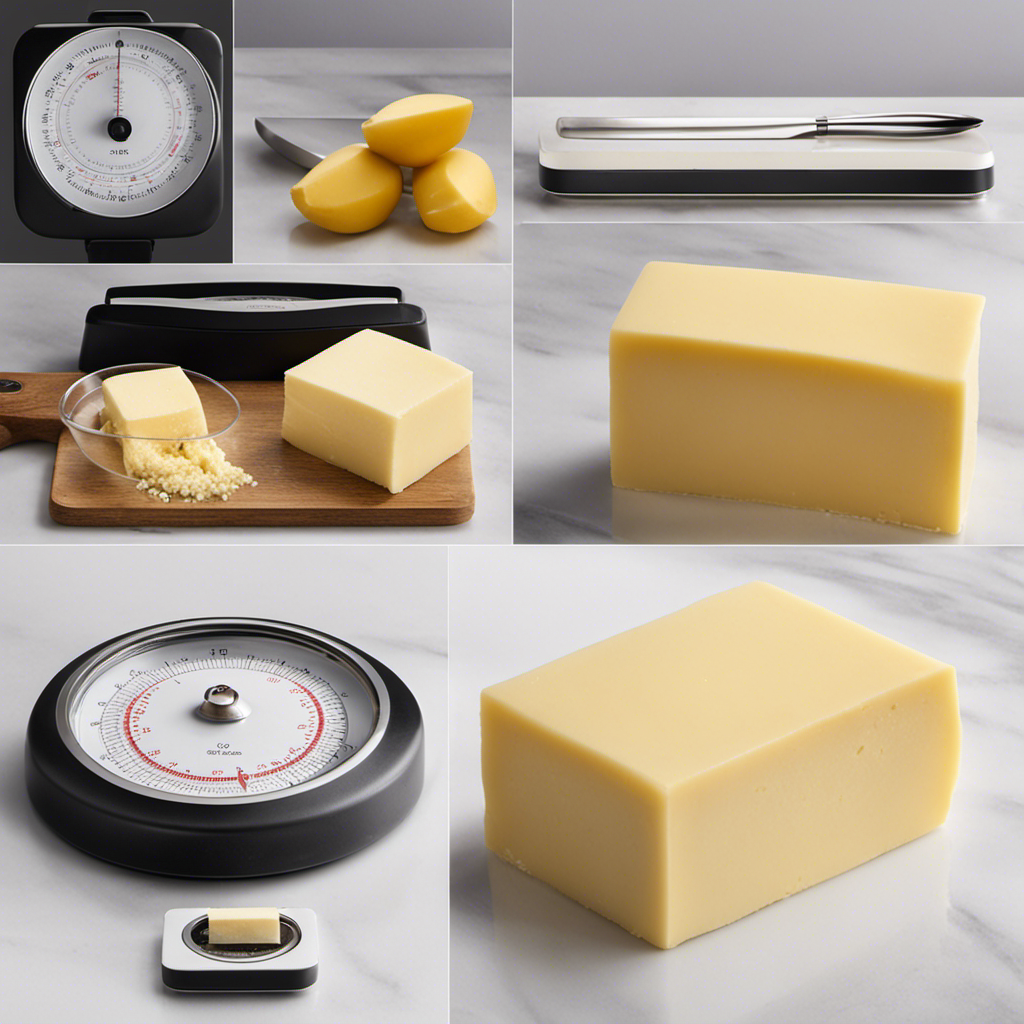
Equipment for Butter Making
To make delicious Amish-style butter, you'll need a few essential tools.
Understanding the different types of butter churns can help you choose the best option for your needs.
Let's explore the equipment that will turn your cream into creamy, rich butter.
Essential Tools Needed
When making Amish-style butter, you'll often find that having the right tools on hand makes the process smoother and more enjoyable.
These vital items help you achieve the perfect texture and flavor, ensuring your butter is just as delightful as you envision.
Here's a quick list of tools you'll need to get started:
- Milk or Cream Separator: This tool helps you separate cream from milk, giving you the rich base needed for butter.
- Butter Churn: A traditional churn can create the best butter, but any churn will do if it's effective.
- Thermometer: Keeping track of temperatures is essential, especially if you're pasteurizing your cream.
- Measuring Cups: Accurate measurements are necessary for consistency in your butter-making process.
- Cheesecloth: Use this to strain your butter and remove any excess liquid, ensuring a smooth texture.
With these tools in your arsenal, you'll be well-equipped to engage in the art of Amish-style butter making.
Recommended Butter Churn Types
With so many options available, finding the right butter churn can elevate your Amish-style butter-making experience. You'll want to examine a few popular types to suit your needs.
First, the traditional hand-crank churn is a favorite among purists. It allows you to control the churning speed and gives you a sense of connection to the process. Most are made of wood, giving that authentic feel.
If you're looking for something a bit more efficient, contemplate an electric butter churn. These models take the labor out of churning, allowing you to multitask while your butter forms. They often come with various settings to customize your texture.
For those short on space, a small mason jar churn might be perfect. Just pour in your cream, shake it up, and you'll have butter in no time. It's simple and requires minimal cleanup.
Lastly, you might explore the option of using a stand mixer with a whisk attachment. It's versatile and can be used for other baking tasks, making it a valuable addition to your kitchen.
Choose the churn that fits your lifestyle, and enjoy the delicious results!
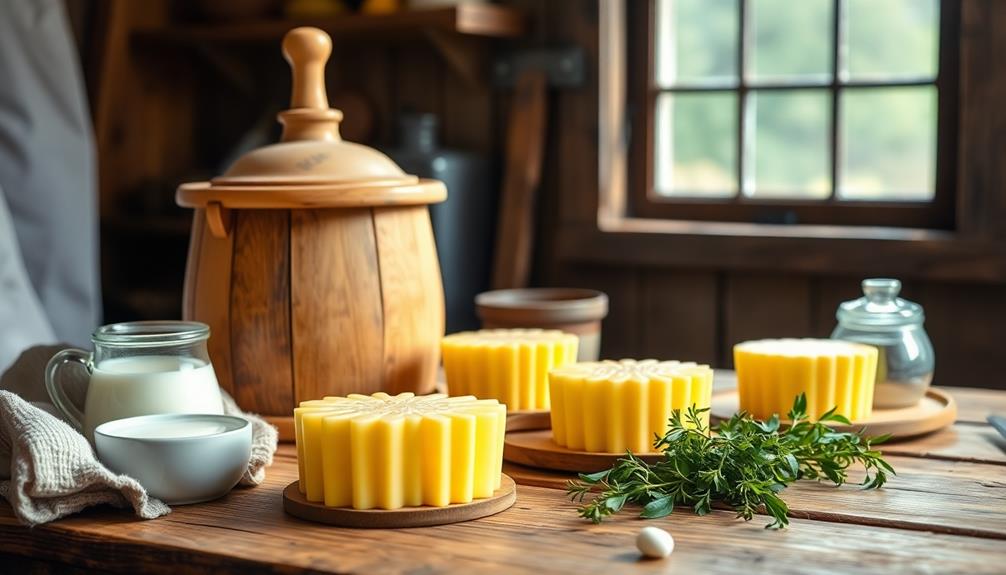
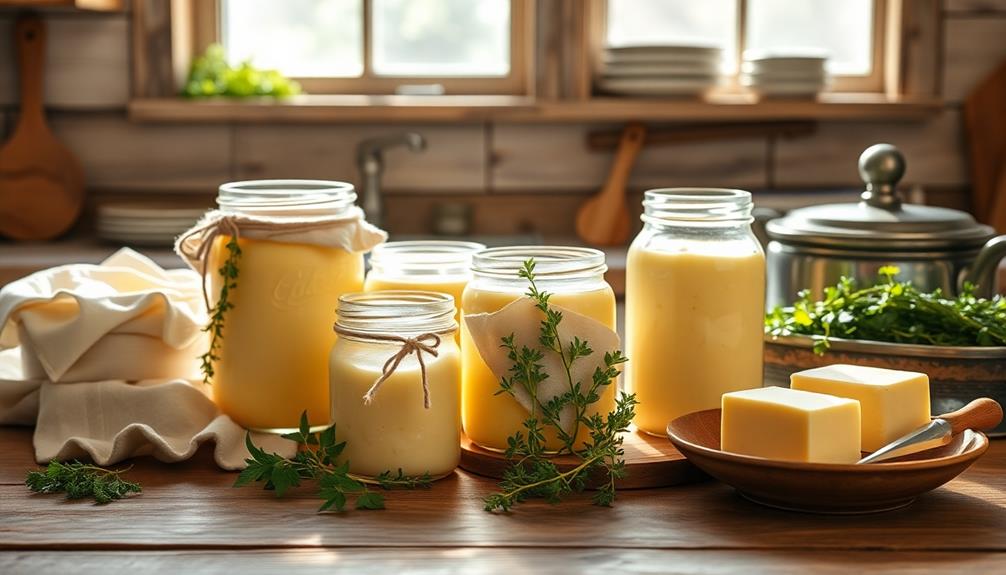
Step-by-Step Butter Churning

Churning butter is a rewarding and surprisingly simple process that transforms fresh cream into a rich, creamy spread. To get started, you'll need to gather your supplies and find a quiet spot to work.
Butter is essential for enhancing flavor in various dishes, making your homemade version even more special when used in savory dishes. Here's a step-by-step guide to help you on your way:
- Fresh cream, preferably from a local dairy
- A butter churn or a glass jar with a lid
- A fine strainer or cheesecloth
- Ice water for rinsing
- Salt, if you want to season your butter
Begin by pouring the fresh cream into your churn or jar, filling it about halfway. Start churning by either turning the handle or shaking the jar vigorously.
Keep going until you notice the cream thickening and eventually separating into buttermilk and clumps of butter. This process usually takes about 10 to 20 minutes.
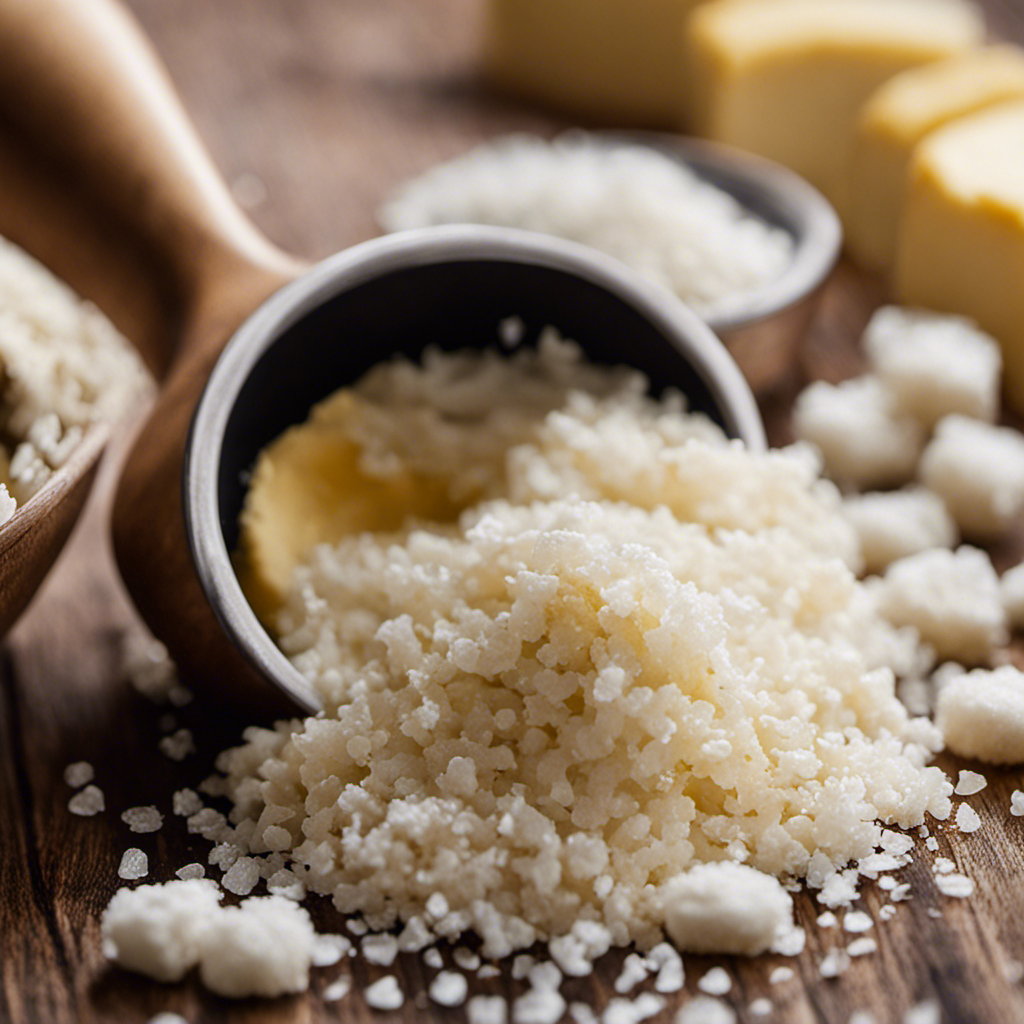
Once you see the butter forming, pour off the buttermilk and rinse the butter under cold water to remove any remaining buttermilk.
Press it gently to remove excess water. Finally, if desired, mix in salt for flavor, and enjoy your homemade butter on your favorite bread or dish!
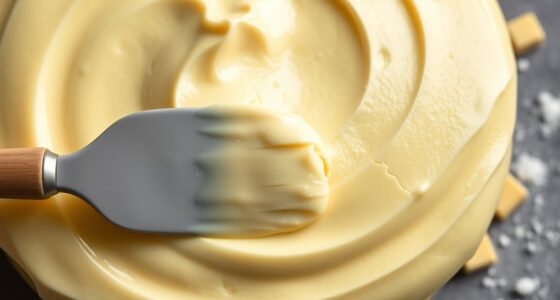
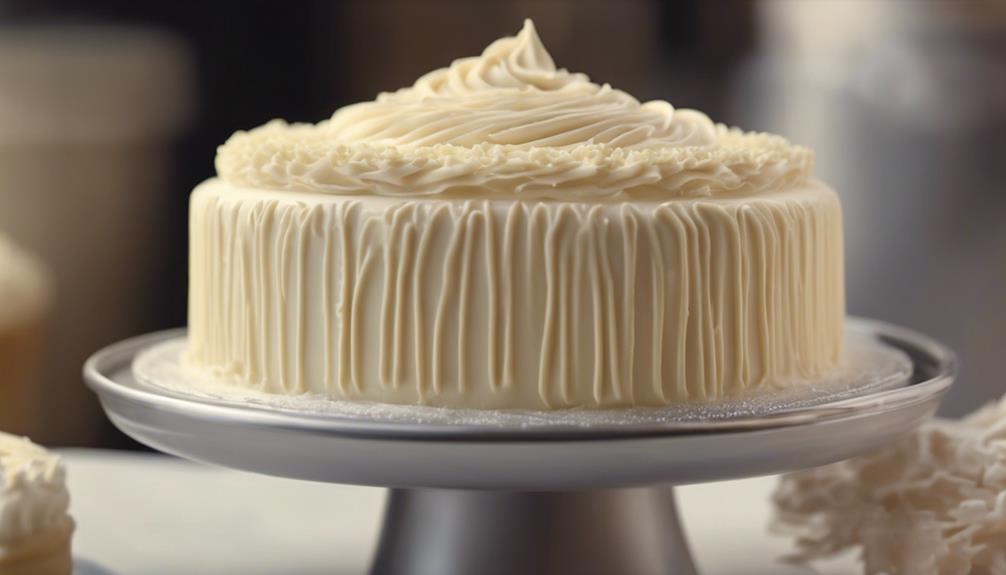
Flavoring Your Butter
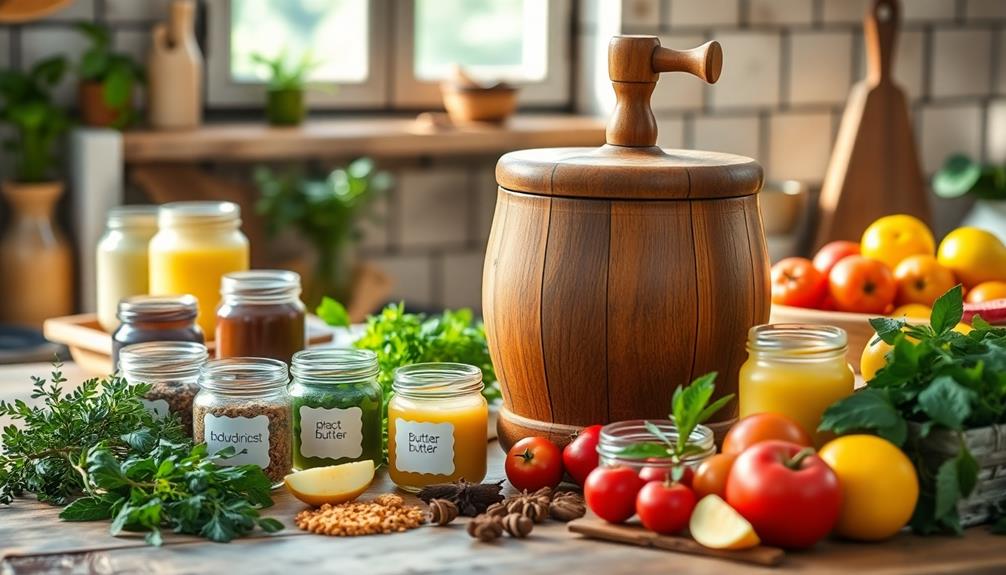
Adding flavors to your butter can elevate its taste and make it even more versatile in your cooking. You can easily customize your homemade butter to complement a variety of dishes. Start by deciding on your flavor profile. Popular options include herbs, spices, and sweeteners.
For herb-infused butter, simply mix in finely chopped fresh herbs like chives, parsley, or rosemary. This adds a fragrant burst of flavor that's perfect for spreading on bread or melting over vegetables.
If you prefer a spicy kick, consider adding minced garlic, cayenne pepper, or smoked paprika.
On the sweeter side, you can incorporate honey, maple syrup, or cinnamon for a delightful treat. To do this, mix in your desired sweetener and a pinch of salt to balance the flavors.
Once you've chosen your flavorings, make sure to blend them thoroughly into your softened butter until well combined.
You can shape your flavored butter into a log using parchment paper, making it easy to slice and serve later. These flavored butters not only enhance your meals but also make wonderful gifts for friends and family.
Enjoy experimenting with different combinations!
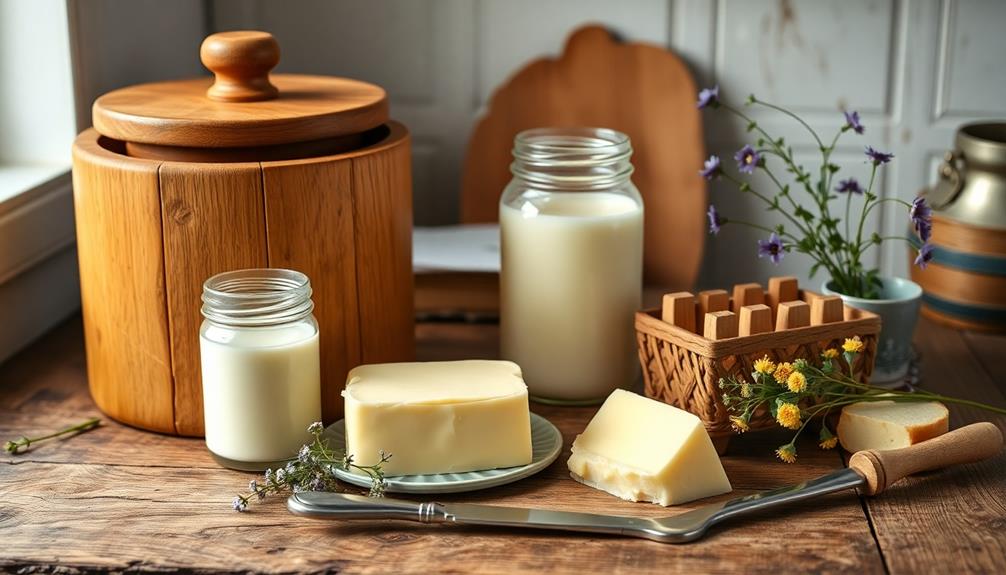
Storing Your Homemade Butter
Now that you've made your delicious homemade butter, it's essential to know how to store it properly.
Choosing the right containers, understanding when to refrigerate or freeze, and knowing the shelf life can help you enjoy your butter at its best.
Let's explore these key storage tips to keep your butter fresh and flavorful.
Best Storage Containers
When it comes to storing your homemade Amish-style butter, choosing the right container is essential for maintaining its freshness and flavor. The right storage solution won't only keep your butter tasty but also help prevent it from absorbing other odors in your fridge.
Here are some great options for containers that work well for homemade butter:
- Glass Jar: A tightly sealed glass jar preserves flavor and prevents odors from seeping in.
- Butter Dish: A classic butter dish with a lid keeps your butter easily accessible while protecting it from contaminants.
- Parchment Paper: Wrapping your butter in parchment paper allows for flexibility and easy slicing.
- Plastic Container: An airtight plastic container is lightweight and great for storing butter in bulk.
- Silicone Mold: If you want to shape your butter, a silicone mold lets you create fun shapes while providing a seal.
No matter which container you choose, make certain it's clean and airtight. This will guarantee your homemade butter stays delicious and fresh for as long as possible, ready to enhance your favorite dishes.
Refrigeration vs. Freezing
Deciding between refrigeration and freezing for your homemade butter can considerably impact its quality and longevity.
If you plan to use your butter within a week or two, refrigeration is your best option. By keeping it in the fridge, you maintain its creamy texture and fresh flavor. Just make sure to store it in an airtight container to prevent it from absorbing other odors.
On the other hand, if you've made a large batch and need to store it for an extended period, freezing is the way to go. Freezing butter preserves its taste and texture for several months, but you'll want to wrap it tightly in plastic wrap or foil before placing it in a freezer-safe container. This prevents freezer burn and keeps your butter fresh.
When you're ready to use frozen butter, it's best to thaw it in the refrigerator for several hours or overnight. Avoid defrosting it in the microwave, as this can change its consistency.
Ultimately, the choice between refrigeration and freezing depends on how soon you plan to enjoy your delicious homemade butter. Choose wisely to savor its rich flavor!
Shelf Life Tips
Properly storing your homemade butter is essential for maximizing its shelf life and maintaining its delicious flavor. To enhance the richness and flavor of your butter, consider using high-fat content butter as a base; it will keep your homemade version tasting fresh and delightful.
Here are some tips to guarantee your butter stays fresh and tasty for as long as possible:
- Use airtight containers: Store your butter in a glass or plastic container with a tight seal to prevent exposure to air and moisture.
- Keep it cold: Always refrigerate your butter, ideally at a temperature of around 32°F to 36°F (0°C to 2°C). This helps slow down spoilage and maintains its creamy texture, maximizing its quality for use in various recipes like baking with butter.
- Divide and conquer: If you've made a large batch, consider dividing it into smaller portions. This way, you only expose a portion to air and warmth each time you take some out.
- Label and date: Write the date you made the butter on the container. This helps you keep track of its freshness and guarantees you use it before it spoils.
- Freezing for long-term storage: If you want to keep your butter for an extended period, wrap it tightly in foil or freezer-safe bags and store it in the freezer.
Tips for Perfect Butter
Creating perfect butter starts with selecting the right ingredients and equipment. Use high-quality cream, ideally raw or minimally processed, for the richest flavor. If you can't find raw cream, opt for heavy whipping cream with a fat content of at least 36%.
Next, make certain your equipment is clean and ready. A stand mixer or a hand mixer works well, but you can also use a food processor. Make sure your mixing bowl is chilled, as cooler temperatures help create better texture.
When whipping the cream, start at a low speed and gradually increase it. This helps avoid splattering and allows the cream to emulsify properly. Keep an eye on the texture; you'll want to stop once the butter separates from the buttermilk, typically around 8-10 minutes.
Don't forget to rinse the butter thoroughly under cold water to remove any leftover buttermilk, which can spoil your butter.
For an extra touch, you can incorporate salt to enhance flavor. Finally, store your butter in an airtight container to maintain its freshness.
Follow these tips, and you'll enjoy a batch of perfect Amish-style butter!
Enjoying Your Creation
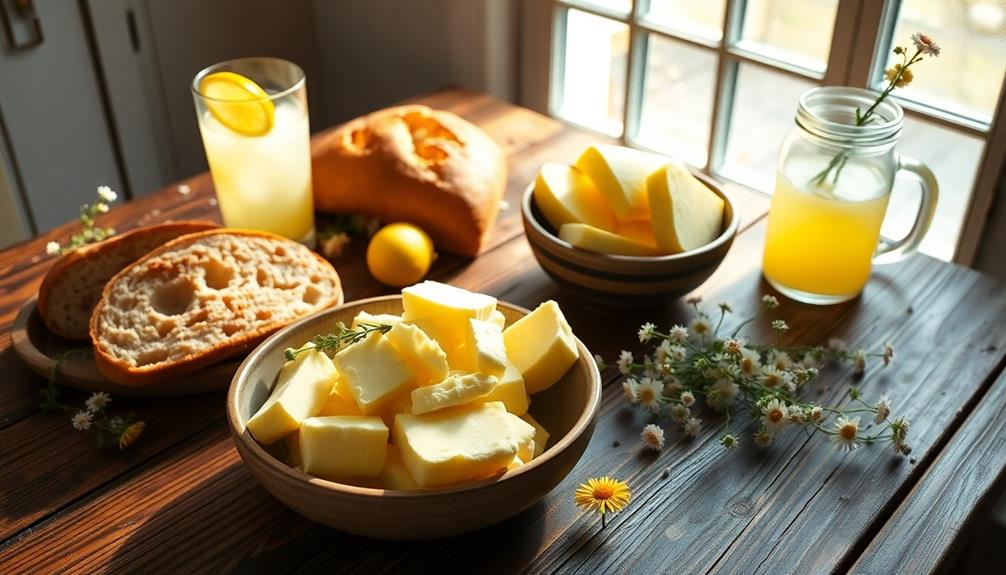
There's nothing quite like the satisfaction of spreading your homemade Amish-style butter on fresh bread or warm biscuits. The rich, creamy texture and the delightful flavor elevate every bite, making it an experience you'll cherish.
As you enjoy your creation, consider pairing it with various dishes to truly savor its goodness.
Imagine this:
- Warm, crusty sourdough bread: The tanginess of the bread complements the sweetness of your butter.
- Fluffy pancakes: A pat of your butter melting on top enhances the breakfast delight.
- Freshly baked muffins: Slathering butter on blueberry or banana muffins takes them to the next level.
- Corn on the cob: Smearing your butter over sweet corn elevates summer barbecues.
- Homemade popcorn: Drizzling melted butter on popcorn creates a luscious movie night snack.
Each of these pairings allows you to appreciate your hard work and creativity.
Frequently Asked Questions
Can I Use Non-Dairy Substitutes for Butter Making?
You can use non-dairy substitutes for butter making, but the texture and flavor might differ. Experiment with options like coconut oil or vegan margarine to see what works best for your recipes.
How Long Does Homemade Butter Last in the Fridge?
When it comes to homemade butter, it's best to keep it tightly wrapped to avoid a short shelf life. Generally, it lasts about one to two weeks in the fridge, so use it up quickly!
Is It Necessary to Pasteurize the Cream First?
You don't necessarily have to pasteurize the cream before making butter, but doing so can eliminate harmful bacteria and enhance flavor. If you prefer a richer taste, raw cream provides that unique, traditional experience.
Can I Make Butter Without a Churn?
You might think you need a churn, but you don't! Grab a jar, some cream, and shake away. In just a few minutes, you'll be surprised by the creamy goodness you create. Enjoy!
What Is the Best Time of Year to Make Butter?
The best time to make butter is during cooler months when milk's fresher and cream separates easily. You'll enjoy better flavor and texture. Plus, it's a great way to warm up your kitchen with delicious aromas!
Conclusion
Now that you're equipped with the knowledge of Amish-style butter making, you can enjoy the rich, creamy taste of homemade butter right in your kitchen. Did you know that one pound of butter requires about 20 cups of cream? Imagine churning away, transforming that luscious cream into a delightful spread. With your newfound skills, you'll savor the satisfaction of creating something truly special. So, roll up your sleeves and enjoy every buttery moment!