Are you a fan of the flavor of fresh, creamy butter?
Did you know that using a butter bell can keep your butter soft and ready to use at all times?
With over 85% of butter lovers experiencing frustration with hard, cold butter, learning how to properly use a butter bell is essential.
In this article, we will guide you through the step-by-step instructions, provide tips for maintenance and cleaning, and even share creative ways to store and display your butter bell.
Get ready to enjoy the perfect spread every time!
Key Takeaways
- Butter bells preserve the flavor and texture of butter while keeping it fresh and spreadable for longer periods.
- Using a butter bell eliminates the need for microwave or countertop methods to soften butter.
- Butter bells add elegance to the kitchen decor and provide a creative way to store and display butter.
- Maintaining and cleaning a butter bell is easy with gentle washing and thorough drying after each use.
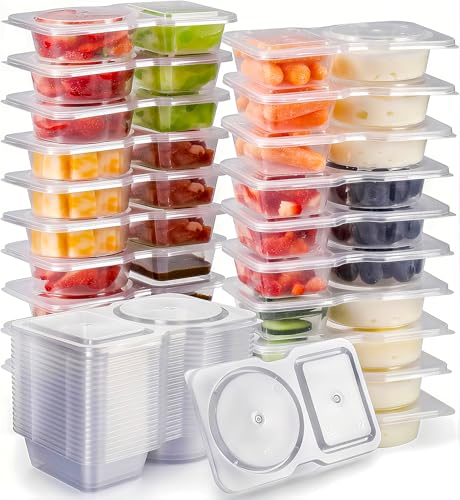
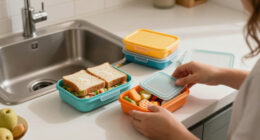
Reusable Snack Containers with Lids: Snack Pack Containers 20Pcs - Snackle Box Container Portion Control - Meal Prep Containers - Double Compartment Snack Containers for Travel - Camping Essentials
- Two-Compartment Design: Separate compartments for different foods
- Lidded Snack Containers: Secure lids for on-the-go use
- Reusable & Food-Grade: BPA-free plastic for safety and reuse
As an affiliate, we earn on qualifying purchases.
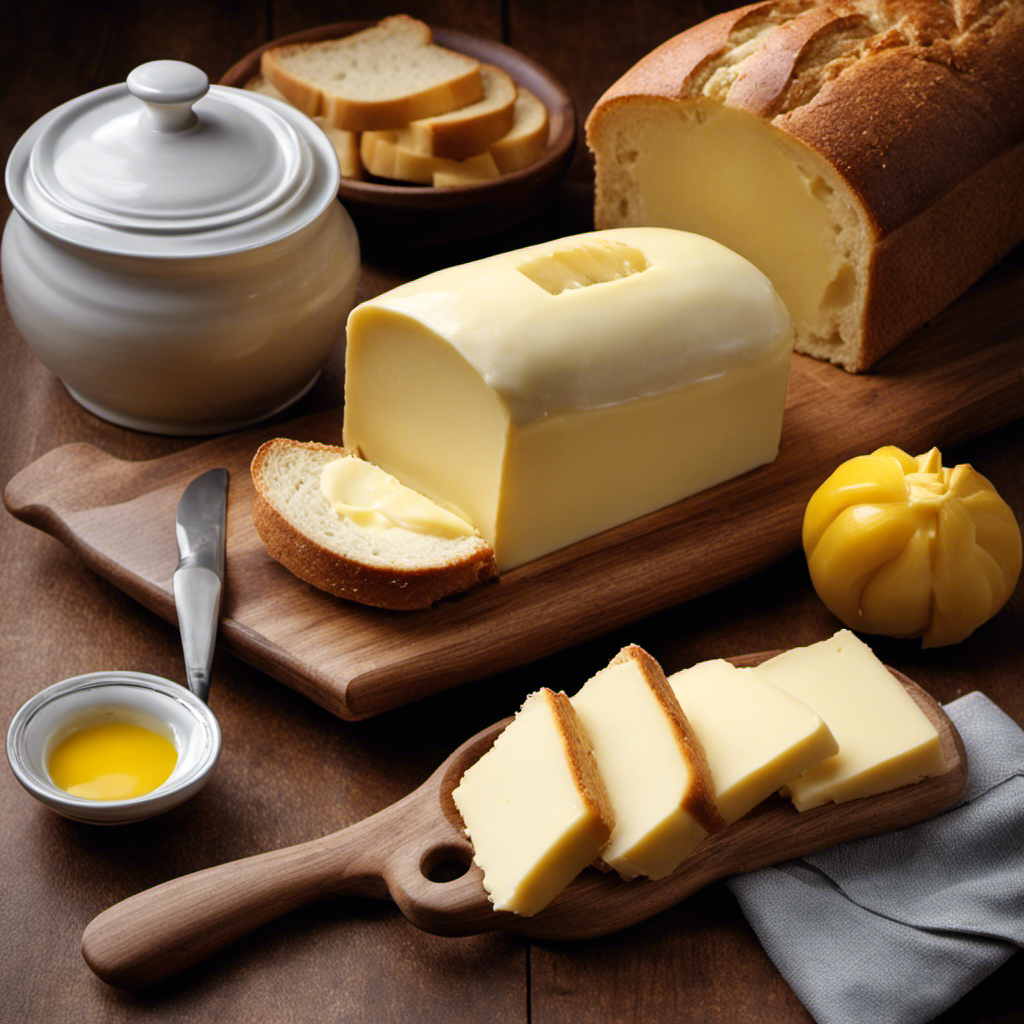
Benefits of Using a Butter Bell
Using a butter bell is a convenient way to keep your butter fresh and spreadable. The benefits of using a butter bell are numerous.
Firstly, it helps to preserve the flavor and texture of the butter. By keeping it at a consistent temperature, the butter stays soft and easy to spread, eliminating the need for microwave or countertop methods.
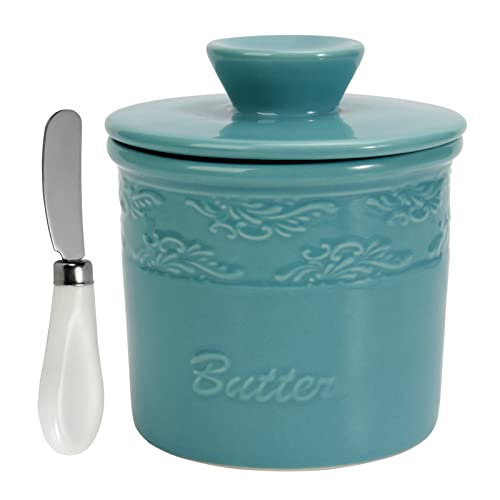
Secondly, a butter bell adds a touch of elegance to your kitchen. With their beautiful designs and various color options, you can find a butter bell that matches your style and decor.
Lastly, a butter bell is a creative way to store and display your butter. Whether you choose a traditional ceramic butter bell or a modern glass one, it becomes a functional and decorative piece on your table or countertop.
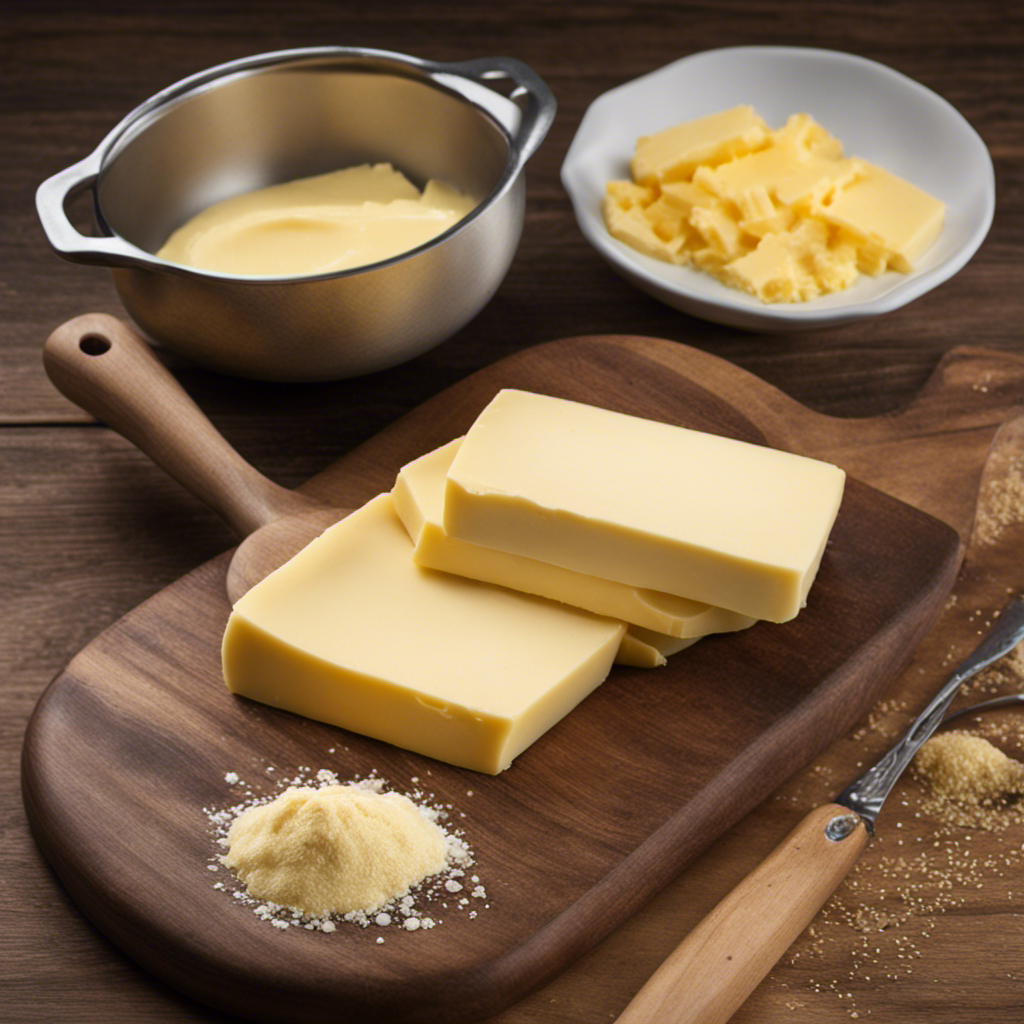
Choosing the Right Butter for Your Butter Bell
To ensure your butter stays fresh and spreadable, it’s important to select the right type of butter for your butter bell. There are various butter brands available in the market, each offering different types of butter. Here is a comparison of some popular butter brands and the types of butter they offer:
| Butter Brand | Types of Butter |
|---|---|
| Brand A | Salted, Unsalted, European Style, Whipped |
| Brand B | Organic, Grass-fed, Cultured |
| Brand C | Light, Flavored (Garlic, Herb, Honey) |
| Brand D | Vegan, Ghee, Clarified |
Choosing the right butter for your butter bell largely depends on your personal preference. If you prefer a richer and creamier taste, European-style butter from Brand A might be your best choice. If you value organic and grass-fed options, Brand B has you covered. For those looking for unique flavors, Brand C offers a variety of options. And for individuals with dietary restrictions, Brand D provides vegan and dairy-free alternatives. Consider your taste preferences and dietary needs when selecting the perfect butter for your butter bell.
Step-by-Step Instructions for Using a Butter Bell
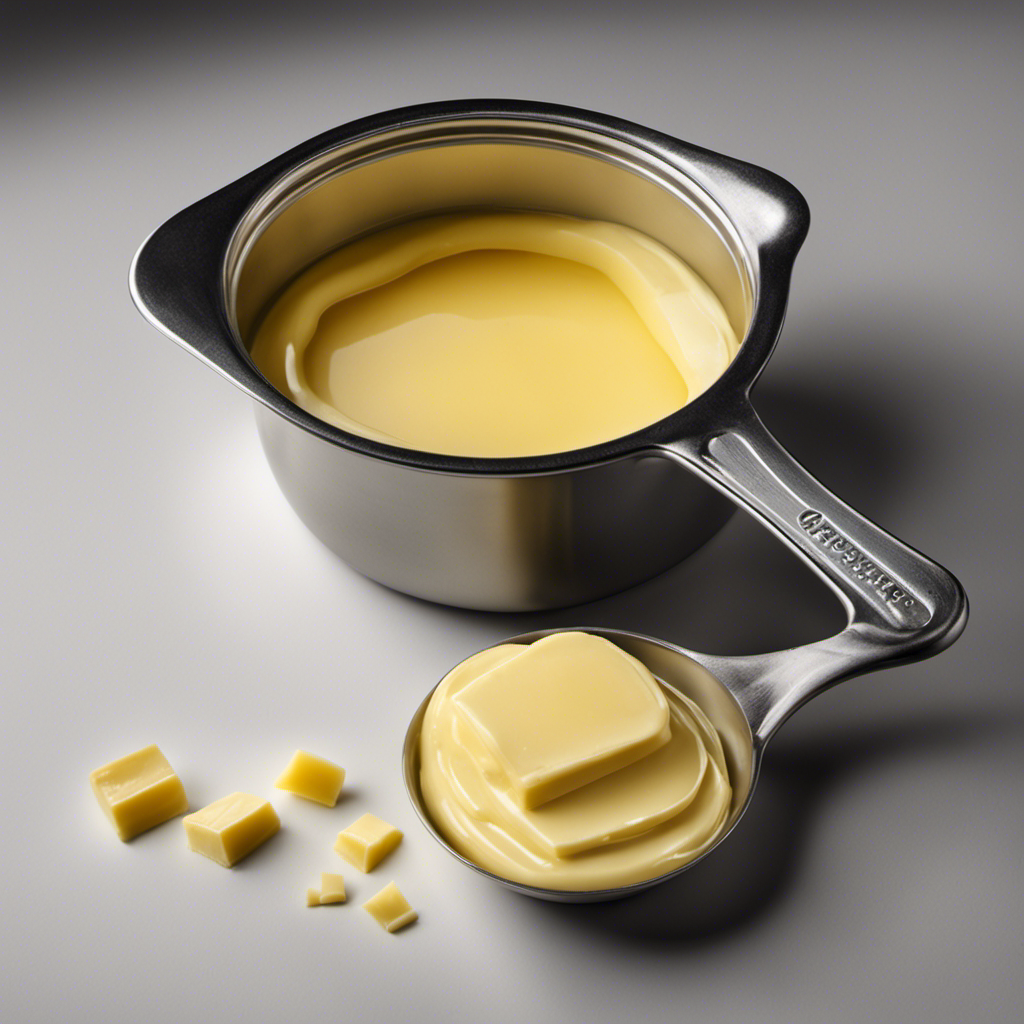
When you’re ready to start, it’s important to first gather all the necessary ingredients and materials for your butter bell. Here’s what you’ll need:
- A small dish or bowl to hold the butter.
- Softened butter that is at room temperature.
- Cold water for the water reservoir.
- A butter bell, which is a two-piece ceramic container designed for alternative butter storage.
Now that you have everything ready, let’s begin using your butter bell. Start by filling the bottom of the butter bell with cold water, making sure not to overfill it. Next, pack the softened butter into the top section of the bell, ensuring it is tightly packed and free of air pockets. Then, carefully place the top section onto the bottom section, creating a seal. The cold water in the bottom section will keep the butter cool and fresh, while the butter stays soft and spreadable on the top section.
Now that you know how to use your butter bell, let’s move on to some tips for maintaining and cleaning it.
Tips for Maintaining and Cleaning Your Butter Bell
Remember to regularly clean your butter bell by gently washing both the top and bottom sections with warm, soapy water, making sure to remove any residue or build-up.
Maintaining your butter bell is essential to keep it in good condition and ensure the freshness and quality of your butter.
After each use, it is recommended to clean the bell thoroughly to prevent any bacterial growth or unpleasant odors. By cleaning it regularly, you can also prevent any clogging or blockage in the bell’s mechanism.
Take care not to use abrasive cleaners or scrubbers, as they may damage the delicate surface of the bell.
Additionally, it is important to dry the bell completely before refilling it with fresh butter.
Creative Ways to Store and Display Your Butter Bell
Looking for alternative ways to store and display your butter bell?
In this discussion, we will explore some creative options that not only keep your butter fresh and easily accessible but also add a touch of style to your kitchen.
From unique butter dishes to innovative storage solutions, you’ll discover exciting ideas to make your butter display stand out.
Alternative Butter Storage
To store your butter in a different way, try using an airtight container in the refrigerator. This alternative butter storage method not only helps preserve the freshness of your butter but also provides convenience and easy access when needed.
Here are a few reasons why using an airtight container is a great option for storing your butter:
-
Keeps butter fresher for longer: The airtight seal prevents exposure to air and moisture, which can accelerate spoilage.
-
Protects against odors: An airtight container prevents the absorption of strong odors from other foods in the refrigerator.
-
Allows for easy measurement: Many airtight containers come with measurement markings, making it simple to portion out the desired amount of butter.
-
Minimizes mess: The container keeps the butter contained, preventing any accidental spills or messes in the refrigerator.
Stylish Butter Display?
Now that you know about alternative butter storage options, let’s talk about how you can display your butter in a stylish and elegant way.
Butter dishes come in a variety of designs and materials, allowing you to find one that matches your personal style and kitchen decor. From classic ceramic dishes to modern glass containers, there are options to suit every taste.
To add even more flair to your butter display, you can also consider investing in butter bell accessories. These accessories can include decorative covers or personalized labels that add a touch of customization to your butter dish. You can find a wide range of options online or at kitchen supply stores.
With your stylish butter dish and accessories, your butter will not only be preserved but also presented beautifully on your table or countertop.
Now, let’s move on to the next section where we will discuss troubleshooting common issues with your butter bell.
Troubleshooting Common Issues With Your Butter Bell
Are you experiencing some common issues with your butter bell? One problem you might be facing is your butter turning rancid too quickly. This could be due to improper storage or using butter that is past its expiration date.
Another issue you may encounter is the lid not staying secure on your butter bell, causing air to enter and spoil the butter.
Lastly, you might find that your butter is sticking to the lid, making it difficult to remove and use.
In the following discussion, we will explore some troubleshooting tips to help you overcome these challenges and enjoy fresh, spreadable butter.
Butter Turning Rancid
If you leave your butter out too long, it’ll start to turn rancid. To prevent this from happening and extend the shelf life of your butter, follow these four simple steps:
-
Store it properly: Keep your butter in an airtight container or a butter bell to protect it from exposure to air and light, which can accelerate spoilage.
-
Keep it cool: Butter should be stored in a cool place, away from heat sources like stoves or direct sunlight. The ideal temperature is around 55°F (13°C).
-
Use clean utensils: Always use a clean knife or butter spreader when taking butter from the container to avoid introducing bacteria or contaminants that can spoil the butter faster.
-
Don’t mix flavors: Avoid storing butter with strong-smelling foods, as it can absorb odors and flavors, affecting its taste and quality.
Lid Not Staying Secure
The lid isn’t staying secure, so you might need to find a different container to store your butter. It can be frustrating when the lid of your butter container doesn’t seal properly, leading to potential messes and wasted butter. But don’t worry, there are a few simple steps you can take to tighten the lid and ensure a secure seal. First, make sure the container is clean and free from any leftover butter or debris. Next, check the threads on both the lid and the container for any damage or obstructions. If necessary, gently clean and dry the threads to remove any residue. Finally, firmly twist the lid onto the container, making sure it is tightened all the way. This will help create a tight seal and keep your butter fresh and delicious for longer. See the table below for a visual guide on how to tighten the lid:
| Step 1 | Step 2 | Step 3 |
|---|---|---|
| Clean the container | Check for damage | Twist the lid firmly |
Butter Sticking to Lid
If you’ve been struggling with your butter bell lid sticking, don’t worry, you’re not alone. It can be frustrating when you go to open your butter bell and find that the lid is stuck. But fear not, there are some simple steps you can take to prevent this from happening.
-
Keep the butter bell lid clean: Regularly wash the lid with warm soapy water to remove any residue that may cause sticking.
-
Apply a thin layer of butter to the lid: Before adding the fresh butter to the bell, spread a small amount of butter on the inside of the lid. This will create a barrier and prevent sticking.
-
Store the butter bell in a cool place: Heat can cause the butter to melt and stick to the lid. Keep your butter bell in a cool location, away from direct sunlight or heat sources.
-
Use quality butter: Some butter brands have a higher water content, which can contribute to sticking. Opt for a higher quality butter with less water content for best results.
Conclusion
So there you have it, now you know all about how to use a butter bell! By investing in a butter bell, you can enjoy the many benefits of having spreadable, soft butter at your fingertips.
Remember to choose the right type of butter for your butter bell and follow the step-by-step instructions for proper use.
Don’t forget to maintain and clean your butter bell regularly to ensure its longevity.
And if you’re feeling creative, explore different ways to store and display your butter bell.
So go ahead, try out this handy kitchen tool and never struggle with hard butter again!