If your butter churn isn’t turning into butter, start by checking your cream quality and temperature; it should be fresh, high-fat, and between 55°F and 65°F. Make sure your equipment is clean, well-maintained, and functioning properly. Adjust your churning speed and duration for steady, gentle agitation. If problems persist despite these steps, it might be time to inspect or replace your equipment. Keep going to uncover more tips that can help you troubleshoot successfully.
Key Takeaways
- Ensure the cream has high fat content and is at the correct temperature (55°F–65°F) for optimal churning.
- Check that the churn is clean, well-maintained, and free of rust or damage to facilitate proper agitation.
- Verify that the churn is operating at a steady, moderate speed suitable for effective fat separation.
- Confirm the equipment is functioning correctly, with no mechanical issues or irregular noises indicating damage.
- Adjust the cream temperature and churn settings as needed; persistent issues may require professional inspection or repair.

Kilner Beech Wood Butter Paddles | Set of 2
As an affiliate, we earn on qualifying purchases.
As an affiliate, we earn on qualifying purchases.
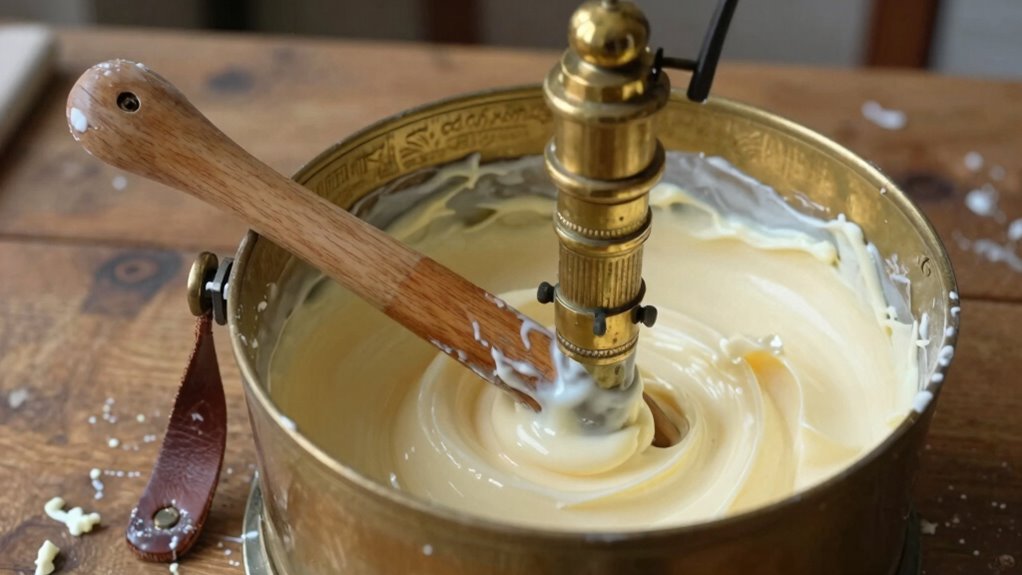
Why Isn’t My Butter Churn Making Butter?
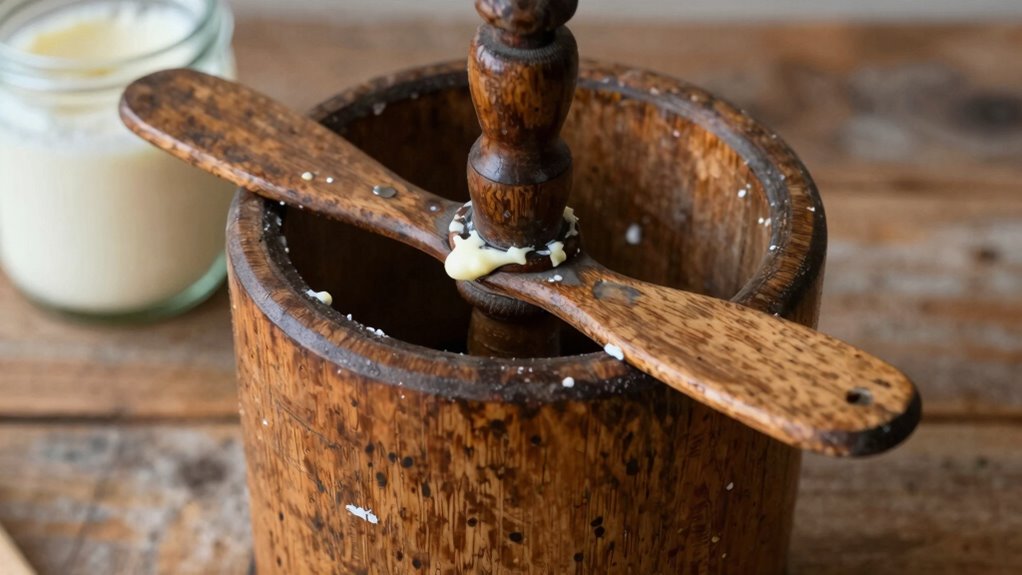
Have you ever wondered why your butter churn isn’t producing butter? Often, the issue comes down to cream separation and churn maintenance. If the cream isn’t properly separated from the milk, it won’t have the right fat content to turn into butter. Make certain your cream is fresh and has been adequately separated before churning. Additionally, check your churn for any buildup or residue that could hinder movement. Regular churn maintenance is essential—clean all parts thoroughly and ensure the paddles or dasher are functioning smoothly. If your churn is dirty or rusty, it can prevent the cream from agitating properly, stopping butter formation. Proper churn technology can also influence the efficiency of butter production. Ensuring you use the correct cream quality and handling it properly can significantly improve your butter yield. Using the right churn speed can also help achieve better butter consistency. Additionally, using the right churn materials can prevent corrosion and wear that impede operation. Being aware of proper maintenance procedures can further prevent common issues that hinder butter production. Address these factors, and you’ll improve your chances of successful cream separation and butter creation.

Kilner Vintage Glass Butter Churn; Delicious Homemade Butter in as Little as Ten Minutes; Large 34-Fluid Ounce Capacity Butter Churner, 1 EA
Easy to use—all you need is heavy or whipping cream!
As an affiliate, we earn on qualifying purchases.
As an affiliate, we earn on qualifying purchases.
Is My Cream and Temperature Right for Butter?

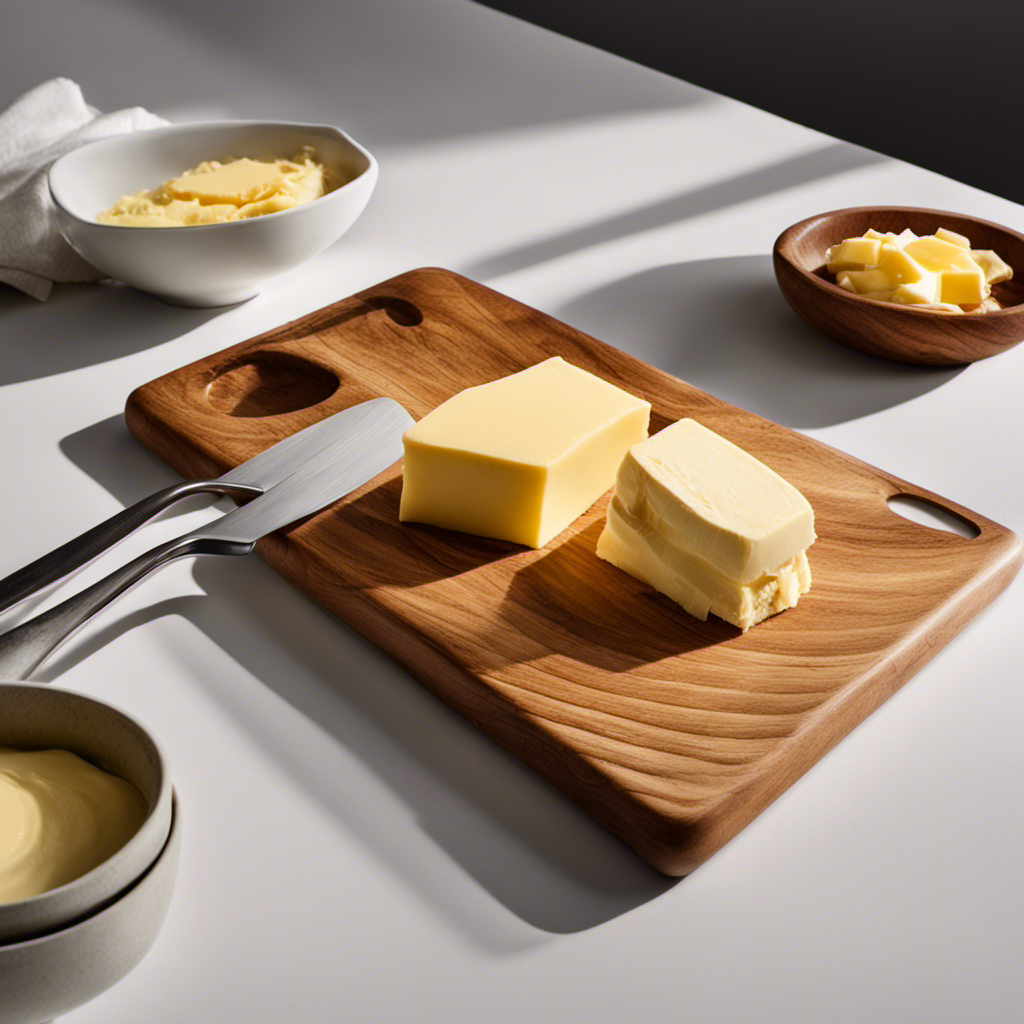
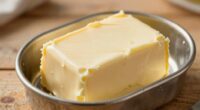
Ensuring your cream and temperature are just right is essential for making butter. The cream quality matters—fresh, high-fat cream from a reliable milk source yields better results. If the cream is too old or low in fat, churning becomes difficult. Temperature also plays a critical role; ideally, keep the cream between 55°F and 65°F. Too cold, and the fat won’t emulsify properly; too warm, and the cream may spoil or not churn properly. Before starting, check the cream’s freshness and adjust the temperature if necessary. Using cream that’s too thin or too thick can hinder the churning process. Properly selecting high-quality cream from a trusted milk source and maintaining the right temperature helps guarantee your churn will turn into butter smoothly. Additionally, understanding yarn weight and stitch type can help you better gauge the desired consistency needed for successful churning. Ensuring proper equipment maintenance can also impact the efficiency of your churning process. Maintaining the correct airflow around your equipment can also prevent overheating and ensure efficient churning.
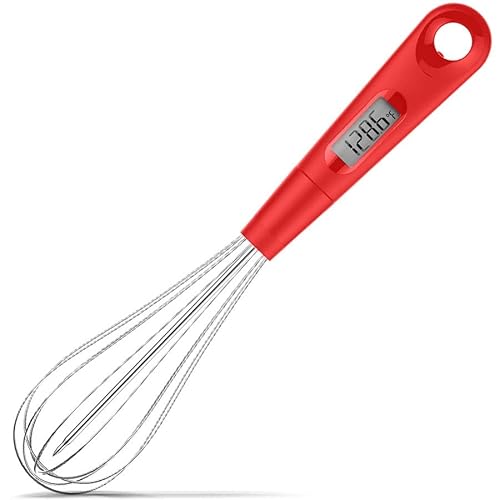
2 in 1 Stainless Steel Whisk Egg Beater & Instant Thermometer Probe 12 inch for Cooking Candy, Yogurt, Chocolate, Butter Cream, Sause, Cake
2 in 1 design: it can measure the temperature while blending.
As an affiliate, we earn on qualifying purchases.
As an affiliate, we earn on qualifying purchases.
How Can I Adjust My Churn’s Technique?
If your churn isn’t producing butter smoothly, adjusting your technique can make a big difference. Focus on proper churn maintenance by regularly cleaning and lubricating the mechanism. Also, refine your ingredient selection; fresh, high-quality cream with the right fat content yields better results. Try varying your churning speed and duration to find what works best with your specific equipment and ingredients.
| Technique Adjustment | Expected Outcome |
|---|---|
| Slow and steady churning | Better fat separation, smoother butter |
| Shorter churning bursts | Prevents overworking the cream |
| Consistent pace | Ensures uniform butter formation |
Tweaking these elements improves efficiency and helps you produce butter with less frustration.

Retro Manual Butter Churn Kit – Wooden Hand-Crank Butter Maker with Glass Jar, Perfect for Fresh Cream, Keto Butter & Sustainable Homesteading (Farmhouse Must-Have) (51 OZ)
Butter Churn – Just add whipping cream and turn the handle,Make fresh home-made butter in minutes,The butter should…
As an affiliate, we earn on qualifying purchases.
As an affiliate, we earn on qualifying purchases.
Are Equipment Problems Stopping My Butter?
If your butter isn’t turning out right, equipment issues might be be the cause. Make sure you’re using proper churning techniques and that your equipment is in good condition. Also, check that your temperature settings are correct to guarantee smooth and consistent butter formation. Additionally, ensuring that your air quality is optimal can help prevent any moisture or contaminants from affecting the churning process. Maintaining a clean environment can also reduce the risk of microbial contamination that might interfere with the butter-making process. Incorporating effective storytelling into your maintenance routines can help reinforce best practices and improve overall equipment performance. Moreover, paying attention to sound healing science principles, such as reducing vibrations and noise around your equipment, can help maintain optimal functioning during the churning process. Being aware of environmental factors like humidity levels can also contribute to more reliable butter production.
Proper Churning Technique
Proper churning technique is essential for preventing equipment problems from hindering your butter-making process. Start with proper ingredient preparation by ensuring your cream is at the right temperature—around 55°F to 60°F—for *ideal* whipping. When churning, use consistent, steady whipping techniques to create uniform agitation, which helps break down fat molecules efficiently. Avoid rushing or applying uneven force, as this can strain your equipment or cause inconsistent results. Keep the churn moving at a steady pace, ensuring the cream doesn’t overheat or become too cold. Properly prepared ingredients and controlled whipping techniques help your churn work smoothly, preventing mechanical issues and ensuring a successful transformation from cream to butter. Additionally, understanding the importance of free floating in the process can help you maintain the right environment for optimal butter formation. Focus on technique to keep your equipment functioning properly and your butter-making on track.
Quality of Equipment
Are your equipment issues causing delays or inconsistent results in your butter-making? Poor equipment quality or neglecting equipment maintenance can substantially impact your churn’s performance. Worn or damaged churn material may prevent proper agitation, reducing butter yield and consistency. Regularly inspecting and maintaining your equipment ensures smooth operation and prevents breakdowns. If your churn is rusty, cracked, or has loose parts, it’s time for repairs or replacement. Using high-quality, appropriate churn material helps create a tight seal and effective churning process. Neglecting equipment maintenance can lead to inefficiencies and inconsistent butter texture. Proper cleaning and lubrication are essential components of equipment upkeep to keep your churn functioning optimally. Investing in well-maintained, durable equipment improves your chances of successful butter production and minimizes troubleshooting, saving you time and frustration in the long run. Additionally, paying attention to equipment quality and choosing durable materials can significantly enhance your overall results. Ensuring your equipment is made from appropriate materials can also prevent unexpected failures during churning. Regular preventive maintenance can also extend the lifespan of your equipment and ensure consistent performance. Maintaining your equipment with proper maintenance routines can help prevent costly repairs and downtime.
Correct Temperature Settings
Incorrect temperature settings can directly hinder your butter-making process, causing poor churning and inconsistent results. Milk composition varies, so maintaining the right temperature helps maximize fat separation. Too cold, and the fat won’t coalesce properly; too warm, and the milk may spoil or produce greasy butter. Check your churn maintenance regularly—cleanliness and proper temperature controls are essential. Generally, ideal butter-making temperatures range between 50°F and 55°F (10°C to 13°C). Use a thermometer to monitor milk temperature closely, especially if you’re working with raw or store-bought milk. Adjust your environment or refrigeration settings as needed. Proper temperature control guarantees the fat separates efficiently, resulting in smoother, more consistent butter. Don’t overlook this step; it’s critical for successful churning. Ensuring the right temperature helps you maximize fat separation and focus on the process. Maintaining consistent temperature control is vital for optimal butter texture and quality. Regularly checking and adjusting your refrigeration settings ensures the milk stays within the ideal range for churning.
Additionally, understanding the importance of equipment maintenance can prevent temperature fluctuations caused by malfunctioning or dirty churn components.
Tips to Get Your Butter Churn Working Right
To get your butter churn working smoothly, start by setting the proper churn speed—too fast or too slow can affect the cream’s transformation. Make sure the temperature is just right; too warm or too cold can hinder the churning process. Adjusting these factors will help you achieve better results and prevent common issues.
Proper Churn Speed
Maintaining the right churn speed is essential for making smooth, high-quality butter. If you churn too fast, the butter may become greasy or break apart. Too slow, and it won’t properly agitate the cream, resulting in poor butter consistency. Find a steady, moderate pace to ensure the best results.
| Churn Speed | Effect on Butter Consistency |
|---|---|
| Fast | May produce greasy or uneven butter |
| Moderate | Creates smooth, well-formed butter |
| Slow | Results in incomplete churning |
Adjust your speed based on the stage of churning, aiming for a consistent motion that encourages proper butter formation without overworking the cream.
Correct Temperature Settings
Have you ever wondered why your butter isn’t coming together as it should? The key often lies in correct temperature settings. Proper temperature calibration ensures the cream is at the ideal temperature for churning, typically between 55°F and 65°F. If the cream is too cold, it won’t whip properly; too warm, and it won’t separate into butter and buttermilk. To troubleshoot, measure and adjust the cream temperature before starting. Keeping the cream at the right temperature allows the fat globules to coalesce efficiently.
- Use a reliable thermometer to check cream temperature regularly
- Chill or warm the cream to the recommended temperature range
- Avoid rapid temperature fluctuations during churning
- Calibrate your thermometer periodically for accuracy
When Should I Get Expert Help or Replace My Churn?
Sometimes, despite your best efforts, your butter churn may continue to have issues that you can’t fix on your own. If troubleshooting doesn’t improve performance, it’s time to consider expert consultation or a churn replacement. Persistent mechanical problems, unusual noises, or difficulty turning the handle indicate worn or damaged parts beyond simple fixes. If your churn is outdated or shows signs of rust and corrosion, replacing it might be the best choice.
| Issue | Solution |
|---|---|
| Continual malfunction after troubleshooting | Seek expert consultation |
| Excessive wear or damage to parts | Consider churn replacement |
| Persistent noise or difficulty turning | Professional repair or replacement |
| Rust or corrosion affecting performance | Replace for safety and efficiency |
Frequently Asked Questions
Can I Use Non-Dairy Cream in My Butter Churn?
You can use non-dairy cream in your butter churn, but it may not churn as effectively because of churn compatibility issues. Non-dairy creams often contain stabilizers and emulsifiers that prevent proper butter formation. If you want to try, confirm your churn is compatible with non-dairy ingredients and be prepared for a different texture or consistency. Experiment carefully, and consider adjusting churn speed or duration for the best results.
How Long Should I Churn Before Butter Forms?
You should churn for about 15 to 20 minutes before butter starts to form, but this can vary like a rollercoaster ride. Keep an eye on the consistency; once the butter separates from the buttermilk and clumps together, you’ll know it’s time. The churning duration depends on your cream’s temperature and fat content, so stay patient and attentive during the butter formation time.
Does the Type of Churn Affect Butter Quality?
Yes, the type of churn affects butter quality. Different churn materials, like wood or metal, influence the butter texture you get. Wooden churns tend to produce creamier, more traditional butter, while metal churns might create a slightly firmer texture. Your choice of churn material impacts how evenly the cream is agitated, ultimately affecting the butter’s consistency and flavor. So, selecting the right churn can make a noticeable difference in your final product.
Can Ambient Humidity Impact Butter Making?
Did you know that ambient humidity can influence butter making? Humidity effects are significant because high moisture levels can prevent cream from whipping properly, leading to poor butter formation. Environmental factors like humidity cause the cream to retain excess water, making the butter less ideal in texture and flavor. To get the best results, aim for a controlled environment with moderate humidity, ensuring your churn operates efficiently and produces quality butter.
What Are Common Signs of a Faulty Churn Motor?
If your churn motor isn’t working properly, you’ll notice signs of faulty motor symptoms like the motor not starting, making unusual noises, or running intermittently. You might also see the motor overheating or smelling burnt. These churn motor issues indicate a faulty motor that needs repair or replacement. Check the power connection first, but if the problem persists, it’s likely a mechanical or electrical fault within the motor itself.
Conclusion
If your butter churn isn’t working, don’t give up. Most issues stem from cream temperature or technique, not faulty equipment—so double-check those first. Did you know that about 60% of home churns face issues due to improper handling? By tweaking your approach and maintaining your gear, you’ll boost your chances of success. If problems persist, seeking expert help or considering a replacement could save you time and frustration. Keep experimenting—you’ll get that butter eventually!