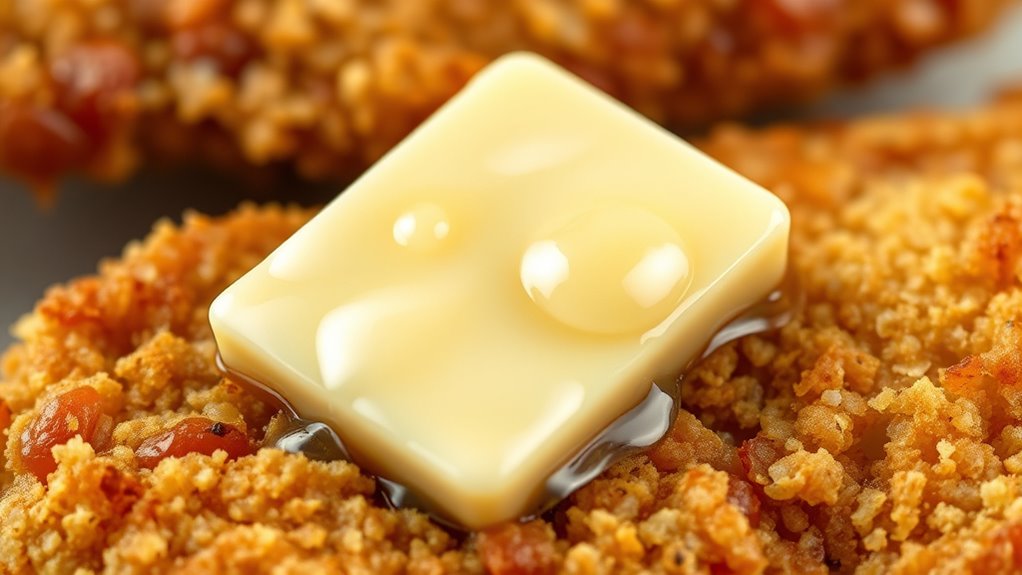
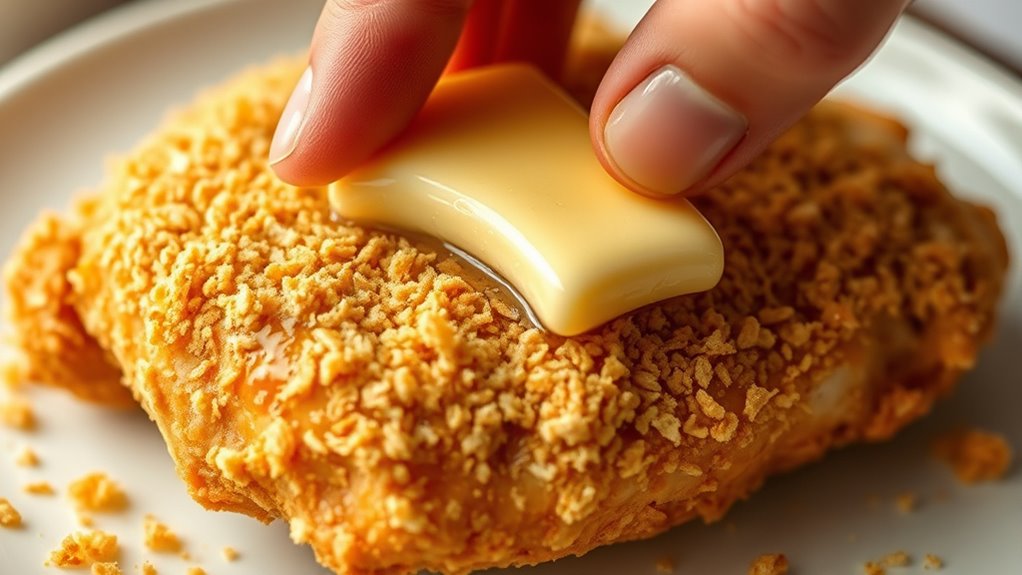
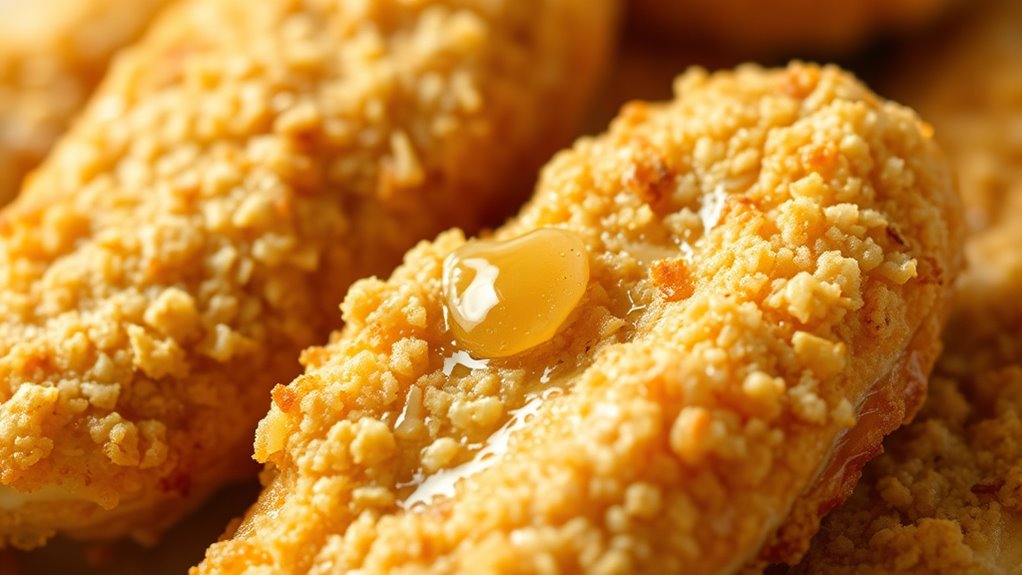
Breading with butter is a moisture-lock technique that adds rich flavor and creates a crispy, golden crust while keeping your food moist. By applying melted butter before coating, you help the breading stick better and fuse into a flavorful layer. Proper prep—like drying ingredients and using the right type of butter—ensures even adhesion and excellent crispiness. Want to perfect this technique and elevate your frying game? Keep exploring for step-by-step tips and insights.
Key Takeaways
- Use melted, room-temperature butter to brush evenly onto food for enhanced flavor and moisture retention.
- Pat ingredients dry thoroughly before breading to ensure proper adhesion and crispness.
- Dip coated items quickly into seasoned breadcrumbs to create a consistent, moisture-locking crust.
- Maintain proper frying temperature (350°F–375°F) to prevent sogginess and ensure crispy coating.
- Incorporate herbs or spices into breadcrumbs for added flavor and better coating adhesion.

Maine Man Butter Warmer Set, For Serving Melted Butter, Seafood Dipping Sauces, and Condiments, 3-Ounce Capacity
Maine Man Butter Warmer Set: warms and melts butter to serve with seafood feasts; keeps butter warm throughout…
As an affiliate, we earn on qualifying purchases.
As an affiliate, we earn on qualifying purchases.
Understanding the Benefits of Butter in Breading
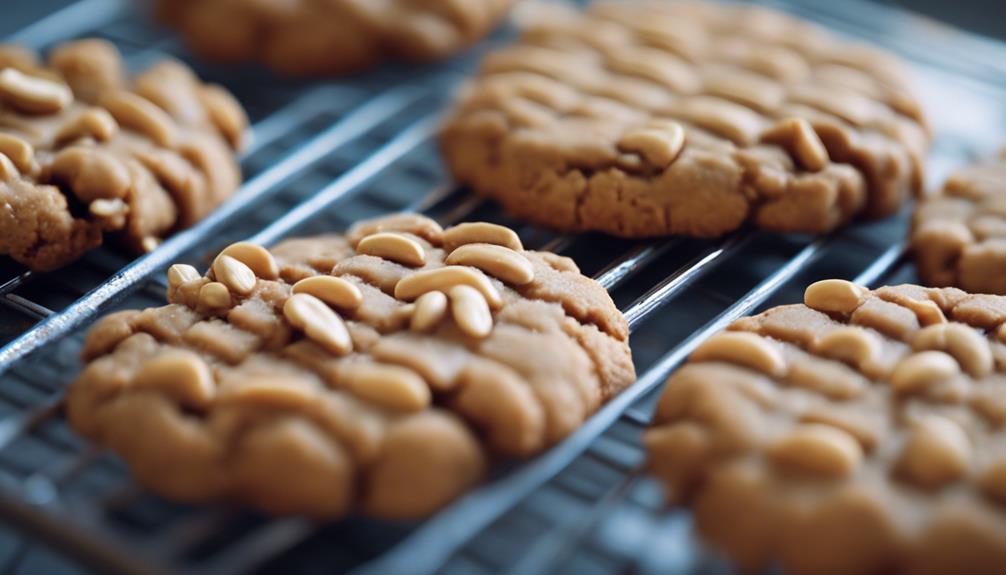
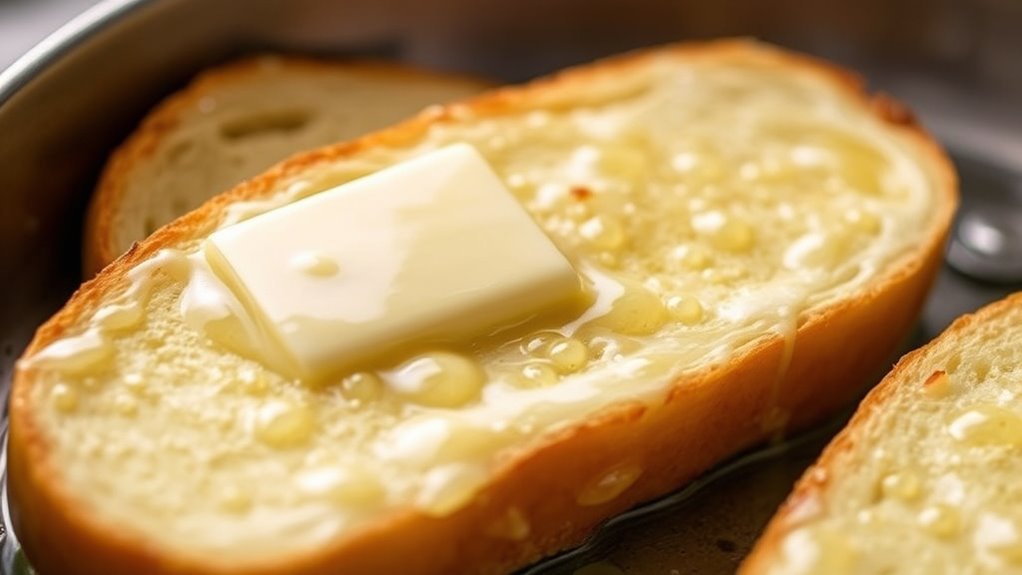
Using butter in breading offers several key advantages that can elevate your cooking. One benefit is its rich flavor, which adds depth and a golden crust to your dishes. Proper butter storage guarantees it stays fresh and maintains its quality, preventing spoilage that could affect taste. When you use fresh butter, you also maximize its nutritional content, providing healthy fats and essential vitamins like A and E. Butter’s natural fats help create a crispy, appealing coating while locking in moisture, resulting in juicy, tender bites. Unlike other fats, butter adds a distinctive richness that enhances the overall dish. Additionally, understanding AI safety measures can help ensure that technological tools support your culinary innovations safely and effectively. By understanding how to store butter properly and appreciating its nutritional benefits, you can confidently incorporate it into your breading process for consistently delicious results.
4C Premium Gluten Free Bread Crumbs, Seasoned, 12 Ounces (Pack of 1)
GLUTEN FREE – 4C Gluten Free Crumbs are made with rice flour, the perfect way to enjoy your…
As an affiliate, we earn on qualifying purchases.
As an affiliate, we earn on qualifying purchases.
Selecting the Right Type of Butter for Breading
Choosing the right type of butter is essential for achieving the best breading results. You want butter that melts smoothly and creates a flavorful, moist coating. Regular unsalted butter is ideal because it offers a clean taste and consistent melting properties. If you’re looking for healthier options, consider butter substitutes like margarine or plant-based spreads, but be aware they may alter the flavor and texture. Alternatively, some cooks use alternative oils such as clarified butter or ghee, which have higher smoke points and can enhance moisture retention. Avoid overly processed or flavored butters unless they complement your dish. Select a butter or substitute that matches your recipe’s flavor profile and melting consistency, ensuring your breading stays moist and adheres well. High-quality projectors can also improve your visual experience when preparing and following recipes or watching cooking videos.

CRAFT911 Candy Thermometer with Pot Clip – Deep Fry Oil Thermometer for Frying and Candle Making (White)
ACCURATE FAST READINGS (No More Burned Candy) — Our candy deep fry thermometer provides instant and accurate temperature…
As an affiliate, we earn on qualifying purchases.
As an affiliate, we earn on qualifying purchases.
Preparing Your Ingredients for the Moisture-Lock Technique
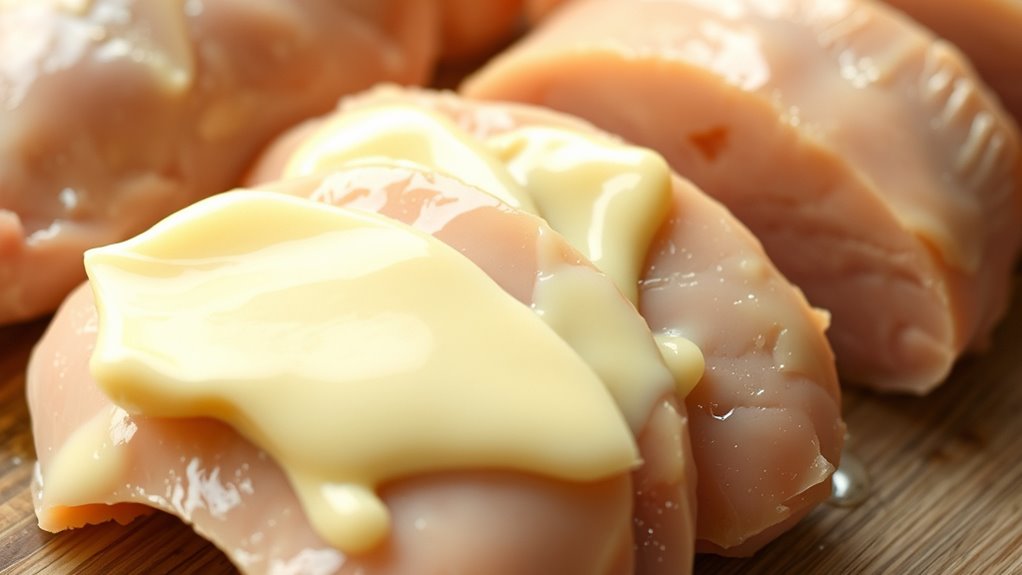
Before starting, make sure your ingredients are fresh and high-quality to guarantee the best results. Properly preparing each item, like patting them dry or trimming excess, helps the moisture-lock technique work effectively. When your ingredients are prepped correctly, your breading will stick better and stay crispier. Additionally, understanding pinball machine weight can be useful if you plan to set up a pinball machine at home, ensuring safe transportation and installation.
Selecting Fresh Ingredients
Selecting fresh ingredients is essential to guarantee the moisture-lock technique works effectively. Focus on seasonal ingredients, as they’re at their peak flavor and moisture content, helping your dish stay juicy and tender. Opt for organic produce whenever possible, since it’s often fresher and free from preservatives that can interfere with moisture retention. When choosing vegetables or herbs, look for vibrant colors, firm textures, and a fresh aroma. For proteins, select cuts that are recently sourced and have a moist surface. Fresh ingredients naturally contain higher water content, which helps the butter-based breading adhere better and lock in moisture during cooking. By prioritizing seasonal, organic produce, you set a strong foundation for the success of your moisture-locking technique. Additionally, paying attention to ingredient quality ensures optimal moisture retention and flavor in your dish.
Proper Ingredient Preparation
Proper ingredient preparation sets the stage for the moisture-lock technique to succeed. First, season your ingredients thoroughly using smart seasoning strategies—this enhances flavor without overpowering. Pat ingredients dry to remove excess moisture, ensuring even coating and better adhesion. When considering ingredient substitutions, choose options that maintain moisture content; for example, swap in tender cuts or moisture-rich vegetables. If you’re using poultry or fish, brine or marinate beforehand to boost juiciness. Uniformly cut ingredients help ensure even cooking and moisture retention. Keep your ingredients at the right temperature—cold ingredients work best for breading. Additionally, understanding ingredient quality can significantly impact moisture retention and overall dish success. By prepping with these strategies, you optimize moisture retention, making your butter-breading technique more effective and flavorful. Proper preparation is the foundation for perfect, juicy results every time.

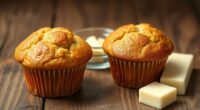
Amazon Grocery, Sweet Cream Butter, Unsalted, 16 Oz
One 16-ounce box of Unsalted Sweet Cream Butter
As an affiliate, we earn on qualifying purchases.
As an affiliate, we earn on qualifying purchases.
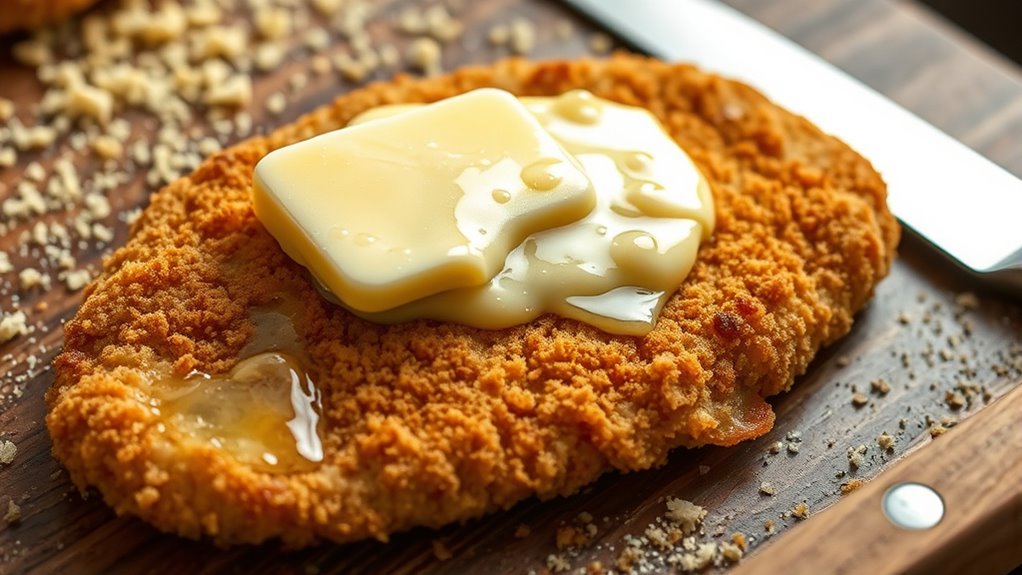
Step-By-Step Guide to Breading With Butter
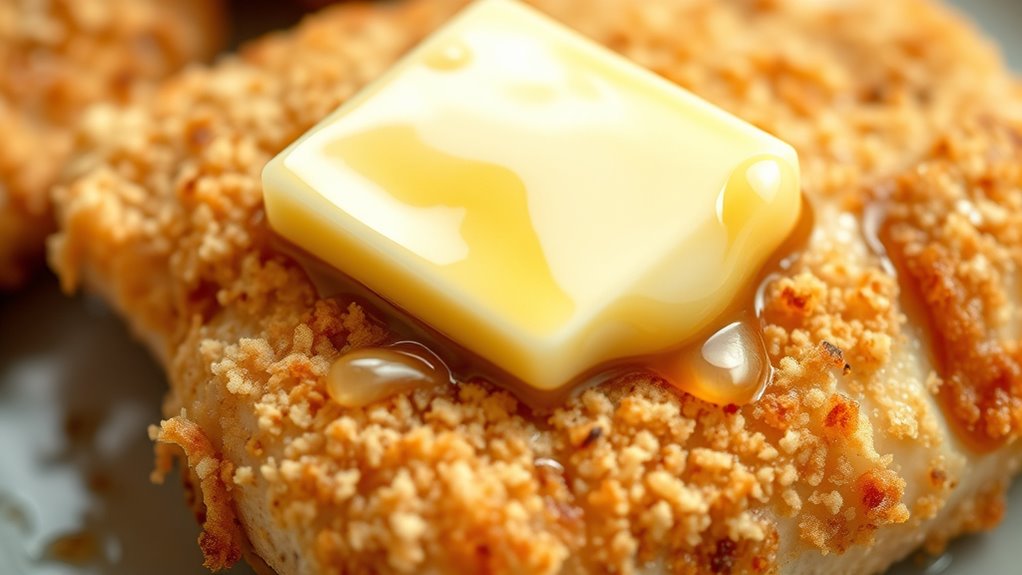
Breading with butter adds rich flavor and a golden finish to your dishes, but achieving the perfect coating requires a careful process. First, melt the butter and brush it directly onto your food, ensuring an even layer. Next, dip the item into seasoned breadcrumbs, pressing gently to promote adhesion. For extra flavor infusions, mix herbs or spices into the breadcrumbs beforehand. Use this table as a quick reference:
| Step | Action | Tips |
|---|---|---|
| 1 | Brush with melted butter | Use a pastry brush for even coverage |
| 2 | Coat with breadcrumbs | Press gently to stick well |
| 3 | Optional flavor infusions | Mix herbs/spices into breadcrumbs |
Mastering these breading techniques results in a moist, flavorful crust that locks in moisture. Additionally, understanding Southern traditions can inspire unique and memorable flavors in your breading process.
Tips for Achieving Even and Adherent Coatings
To make certain your coating stays even and adheres well, focus on the consistency and application techniques during each step. Use a thick, but smooth batter to ensure even coverage without excess pooling. When applying flavor pairings, consider complementary ingredients that enhance both taste and texture, helping the coating stick better. Dipping and coating should be done quickly to prevent the batter from slipping off. Patience is key—avoid rushing, which can lead to uneven layers. Presentation tips include arranging your coated items neatly and avoiding overcrowding on the plate, which can cause smudging or uneven coating. Proper technique ensures your breading remains adherent, flavorful, and visually appealing, elevating your dish to restaurant quality with a professional finish. Additionally, understanding the importance of moisture‑lock techniques can help you maintain optimal moisture levels and improve overall coating adhesion.
How to Incorporate Butter Effectively Into Your Breading Process
Incorporating butter into your breading process can add richness and improve flavor, but doing so effectively requires attention to temperature and technique. To prevent melting or clumping, use softened, but not melted, butter and mix it thoroughly with your dry ingredients or coating mixture. If you prefer a dairy-free option, consider butter substitutes like margarine or coconut oil; just make sure they’re solid enough to blend well. Alternatively, you can use alternative oils, such as olive or canola oil, to mimic butter’s moisture-locking properties. Apply the butter or its substitutes evenly to ensure consistent coating. Keep the mixture chilled before breading, and avoid hot ingredients that could cause premature melting, which would compromise your coating’s absorption and adherence.
Common Mistakes to Avoid When Breading With Butter

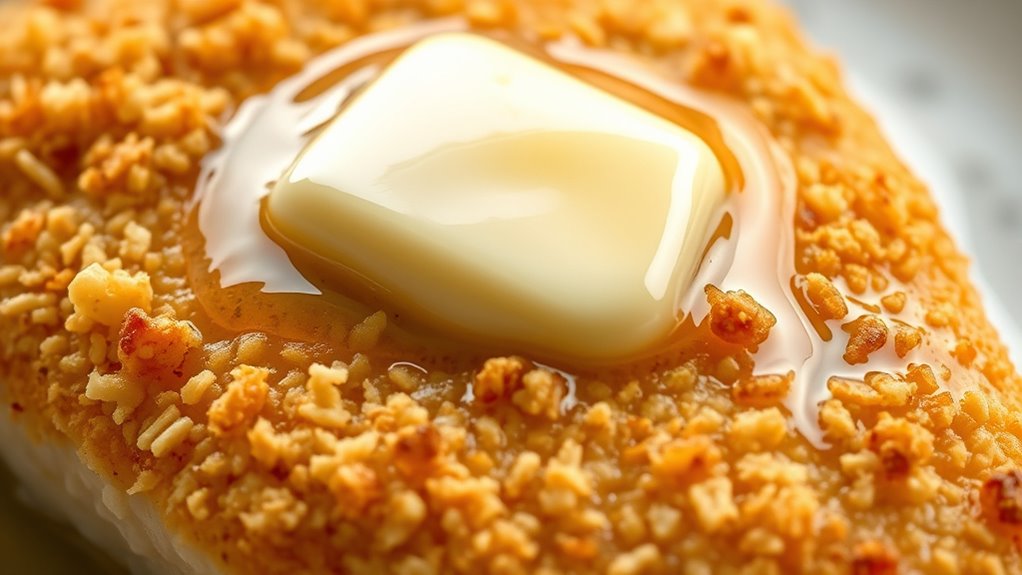
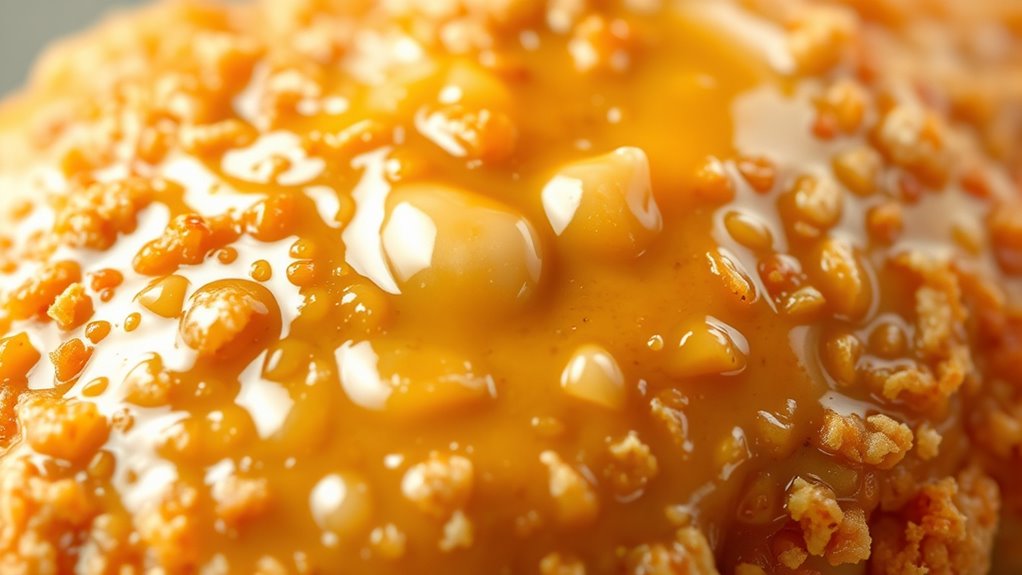
One common mistake is using too much butter, which can make your coating greasy and heavy. Skipping the drying process can cause the butter to slide off and prevent proper adhesion. Paying attention to these details helps guarantee a crisp, flavorful breading every time.
Using Too Much Butter
Using too much butter when breading can easily result in a greasy, heavy coating that overpowers the dish’s texture and flavor. When butter melts excessively, it creates excess butter that clings to the surface, making the breading soggy instead of crisp. This can cause the coating to slide off during cooking or leave a greasy film on your plate. To avoid this, use just enough butter to lightly moisten the surface without pooling or dripping. Applying a thin, even layer ensures the butter locks in moisture without overwhelming the breading. Remember, less is more—excess butter doesn’t improve adhesion; it only adds unwanted grease and weight. Controlling the amount you use helps you achieve a balanced, flavorful crust that’s perfectly moist and crisp. Being aware of gaslighting tactics can also help you stay confident in your cooking techniques and avoid second-guessing your methods.
Skipping Proper Drying
Skipping proper drying before breading is a common mistake that can ruin the final texture. When your surface isn’t thoroughly dried, excess moisture can interfere with the breading’s adhesion, leading to uneven coating and sogginess. A dried surface helps create a barrier that promotes moisture retention inside the food while preventing the outside from becoming soggy. If you skip this step, the moisture from the surface will hinder the breading’s ability to stick properly, resulting in a less crispy crust. Always pat your ingredients dry with a paper towel or a clean cloth before breading. This simple step ensures a dried surface, which is crucial for maximum moisture retention and a crisp, well-formed coating that holds up during cooking. Proper drying is essential for achieving a consistent and delicious crust.
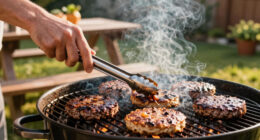
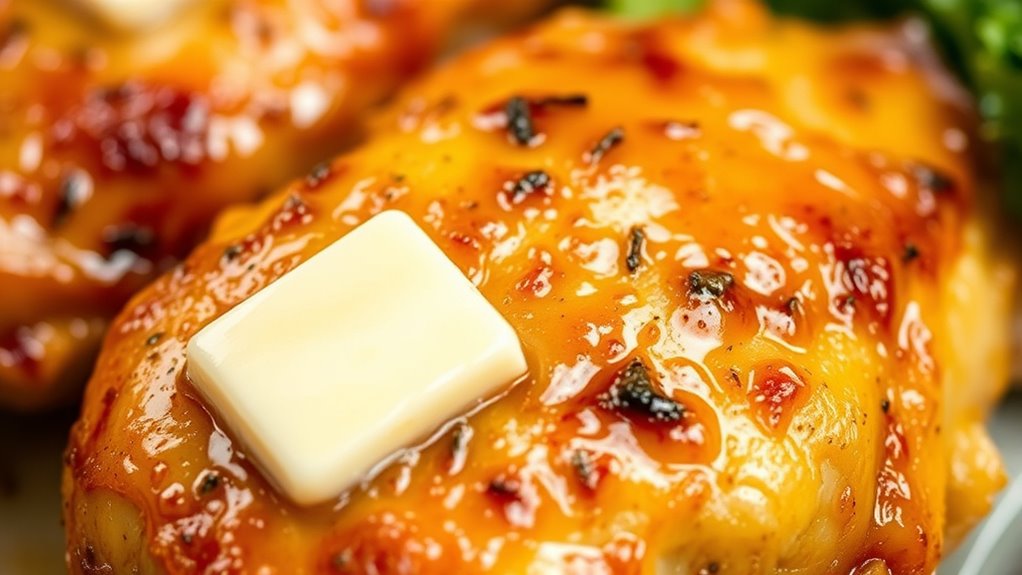
Best Practices for Frying With Butter-Coated Breads
To achieve perfectly crispy butter-coated breads when frying, controlling the heat carefully is vital. Maintain a moderate temperature to prevent burning the butter and guarantee even cooking. Keep the dough consistency firm but not stiff; this helps reduce oil absorption and creates a better crust. Use a thermometer to monitor oil temperature, ideally between 350°F and 375°F.
| Tip | Why it Matters | Result |
|---|---|---|
| Moderate heat | Prevents burning and uneven browning | Crispy, golden crust |
| Proper dough consistency | Controls oil absorption | Less greasy, better texture |
| Consistent frying time | Ensures even cooking | Uniform crispiness |
Following these practices guarantees your butter-coated breads come out irresistibly crispy without excess oil.
Flavor Variations and Enhancements for Butter Breading
Enhancing the flavor of butter-breaded fried goods is easy with a few simple tweaks. One effective method is adding herb infusions to your butter before coating. Fresh herbs like thyme, rosemary, or basil can elevate the aroma and add depth to your breading. For a spicy twist, mix in chili powder, cayenne, or crushed red pepper flakes into the butter or breading mixture. These spicy variations not only boost flavor but also give your dish a lively kick. You can experiment with different herb and spice combinations to match your cuisine or personal taste. Just remember to keep the balance so the added flavors complement, rather than overpower, the crispy butter coating. These simple enhancements turn a basic butter breading into a flavorful, memorable dish.
Troubleshooting and Perfecting Your Moisture-Lock Breading Technique
Achieving a perfectly moisture-locking breading can be tricky, but with the right technique, you’ll prevent common issues like sogginess or falling off during frying. To troubleshoot, check your seasoning enhancements—sometimes too much or unevenly applied can cause uneven adhesion. Make sure the coating is evenly pressed onto the meat or vegetables. If you notice sogginess, consider using alternative fats like clarified butter or oil with a higher smoke point, which can improve crispness while maintaining moisture. Avoid overcrowding the pan, as excess moisture can cause the breading to loosen. Consistently dry your ingredients before breading, and don’t skip the initial coating of seasoned flour or cornstarch, which acts as a barrier to moisture. With practice, these adjustments will help perfect your moisture-lock technique.
Frequently Asked Questions
Can I Use Margarine Instead of Butter for Breading?
Yes, you can use margarine instead of butter for breading. Margarine substitution works well, but keep in mind there are flavor differences; margarine tends to be less rich and may have a slightly different taste. It’s a good alternative if you’re looking for a dairy-free option or want to vary flavor. Just make sure the margarine is softened for even coating, and your breading will turn out delicious.
How Long Can I Store Breaded Items With Butter Coating?
You can store breaded items with butter coating for up to 24 hours in the refrigerator. To keep them fresh, follow proper refrigeration tips: place them in an airtight container or wrap tightly with plastic wrap. Avoid storing for longer than a day, as butter can spoil and cause bacteria growth. If you plan to hold them longer, consider freezing, but note that texture may change upon thawing.
Is Butter-Breaded Food Suitable for Baking or Only Frying?
Ever wondered if butter-breaded food is only for frying? You might be surprised that it’s actually quite versatile for baking too. While frying gives a crispy, golden crust, baking offers a different texture, often softer but still flavorful. Butter enhances the moisture-lock technique, making baked dishes tender and rich. So, yes, butter-breaded foods can be baked, providing you with more baking versatility and delightful texture differences.
Does Butter-Breading Work Well With All Types of Proteins?
You might wonder if butter-breading suits all proteins. While it works well for chicken and fish, protein compatibility varies. Butter adds richness and helps lock in moisture, creating a crispy exterior with pleasing texture variation. However, some proteins, like beef or pork, may not benefit as much due to their thicker textures. Experimenting can help you determine which proteins achieve the best results with this moisture-lock technique.
Can I Prepare Butter-Breaded Items in Advance?
Think of preparing butter-breaded items in advance like setting a trap—careful timing guarantees the best results. You can do it, but keep in mind that immediate cooking after preparation preserves flavor enhancement and crispiness. If you prep too early, the coating might soften or become soggy. For ideal results, plan your preparation timing close to cooking time, ensuring your dish stays flavorful and perfectly crunchy.
Conclusion
Don’t let concerns about butter’s melting point hold you back. When done correctly, breading with butter creates a delicious, moisture-locked coating that stays crisp and flavorful. By following the right steps, you’ll enjoy perfectly coated foods every time, with minimal mess. Give it a try—you might find it’s your new go-to technique for irresistible, golden-brown bites. Once you master it, butter-breaded dishes will become your secret weapon in the kitchen.