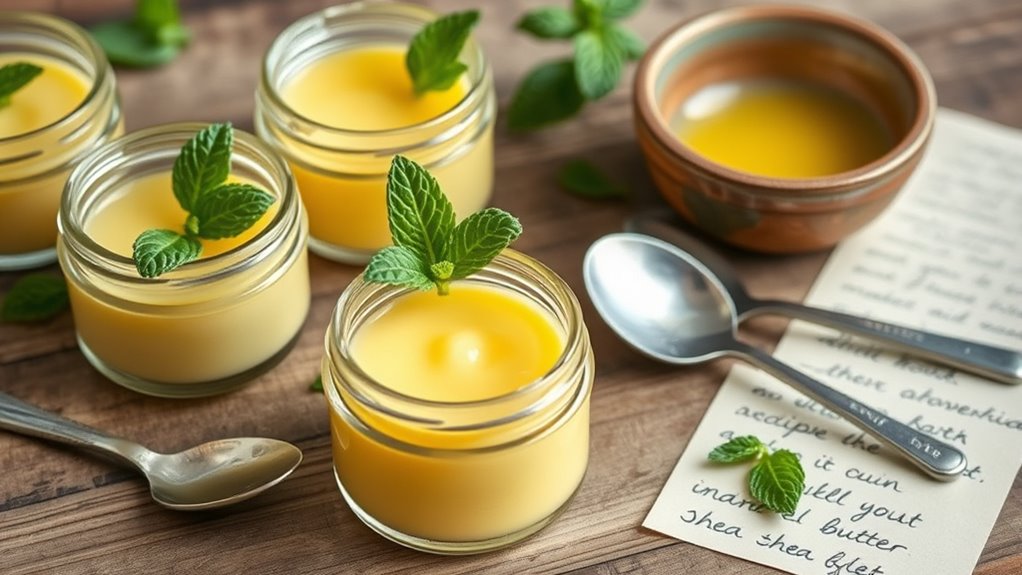
To improve your DIY butter lip balm’s stability and shelf life, choose stable, natural ingredients like jojoba or almond oil, and incorporate natural preservatives such as vitamin E or rosemary extract. Use proper manufacturing techniques, like melting ingredients gently and maintaining a pH between 4.5 and 6.0. Store your balm in airtight, non-reactive containers in a cool, dry place, and label with production and expiration dates. Keep these tips in mind to extend freshness and quality. Continue and you’ll discover even more expert strategies.
Key Takeaways
- Incorporate natural preservatives like vitamin E and rosemary extract to extend shelf life and prevent oxidation.
- Use stable, water-free oils such as jojoba or almond oil to resist spoilage and maintain product integrity.
- Maintain a pH between 4.5 and 6.0 to inhibit microbial growth and ensure ingredient stability.
- Store in airtight, non-reactive containers like glass or BPA-free plastics, kept in a cool, dry, dark place.
- Practice strict hygiene during preparation and clearly label expiration dates and storage instructions for safety.
Storeganize Flour Sugar Storage Containers (5.3L/4pk) Great Rice Canisters Sets For The Kitchen pantry, Large Food Storage Containers With Lids Airtight
COMPLETE CONTAINER SET: This set comes with 4 premium large rice airtight containers (5.3L/179oz), a 4pc measuring scoop...
As an affiliate, we earn on qualifying purchases.
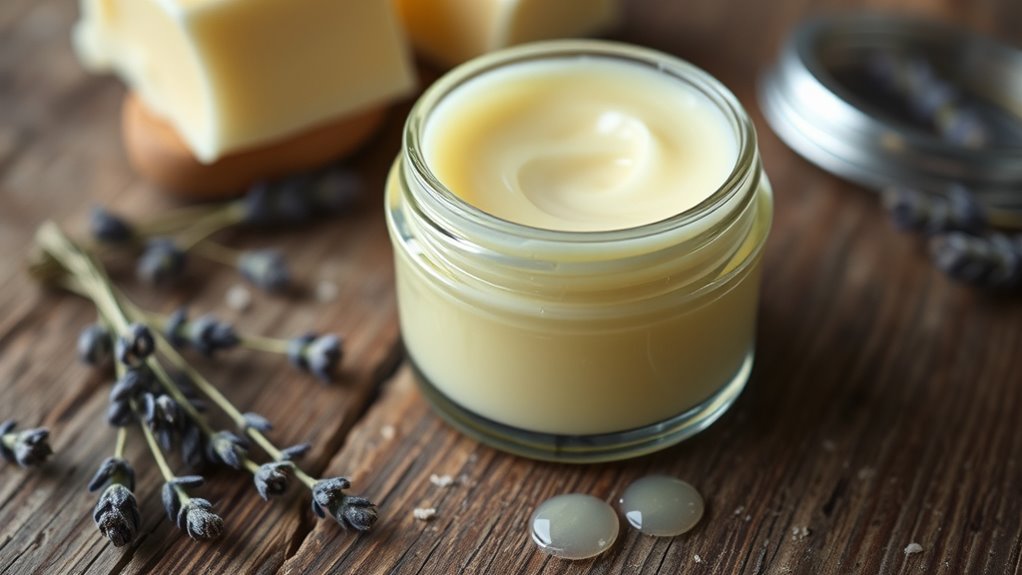
Choosing the Right Ingredients for Longevity
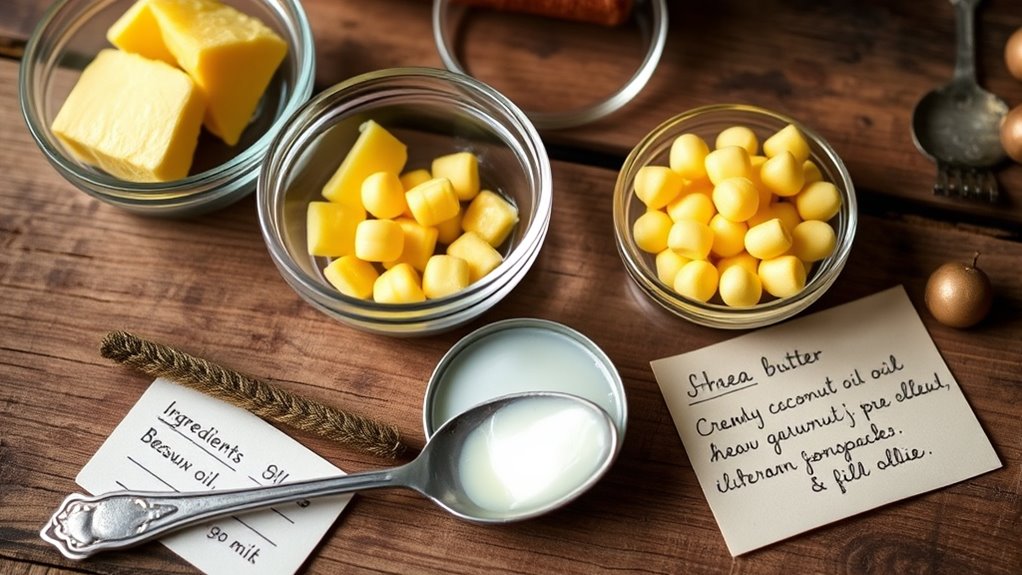
To guarantee your DIY butter lip balm lasts longer and maintains its effectiveness, selecting the right ingredients is essential. Focus on natural preservatives that help extend shelf life without synthetic chemicals. Ingredients like vitamin E act as antioxidants, protecting your balm from rancidity and ensuring ingredient stability. Use high-quality butters and oils that are fresh and have a long shelf life, as these naturally resist spoilage better. Avoid water-based ingredients unless you include a reliable preservative, since moisture can promote bacterial growth. Opt for stable natural oils like jojoba or almond oil, which resist oxidation. Additionally, choosing ingredients with a long shelf life can help ensure your lip balm remains effective and safe over time.

Progressive ProKeeper Baker's Airtight Kitchen Storage Canister Container Set for Flour, Sugar & More, Keeps Ingredients Fresh, with Accessories (Multicolor, 6- Piece)
Set includes: (1) 4 Qt. Flour Keeper (8" L x 6.5" W x 8.25" H) holds 5 lbs...
As an affiliate, we earn on qualifying purchases.
Incorporating Natural Preservatives
Incorporating natural preservatives into your butter lip balm is a smart way to extend its shelf life without relying on synthetic chemicals. Natural preservatives, like vitamin E or rosemary extract, help prevent oxidation and microbial growth, keeping your balm fresh longer. These ingredients work by fighting bacteria and mold, which can cause spoilage and reduce shelf life. To use them effectively, add small amounts during the mixing process, ensuring they’re evenly distributed throughout the balm. While natural preservatives may not last as long as synthetic ones, they offer a safer alternative for your skin and the environment. Properly incorporating these ingredients can considerably improve the durability of your homemade lip balm, giving you peace of mind and extending its usability. Understanding preservation methods is essential for maintaining the quality and safety of your natural skincare products.

CHEFSTORY Airtight Food Storage Containers with Lids, 8 PCS Plastic Storage Canisters for Kitchen & Pantry Organization,Dry Food Canisters for Flour, Sugar and Cereal
Perfect Combination of Variety Sizes — Our 8 Pcs airtight food containers come in 4 sizes for all...
As an affiliate, we earn on qualifying purchases.
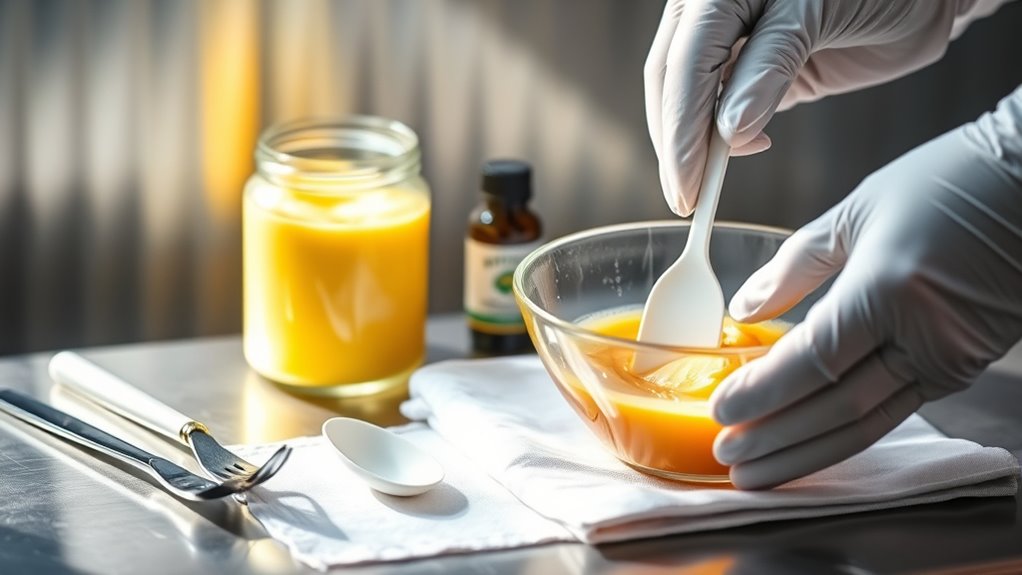
Properly Melting and Mixing Your Ingredients
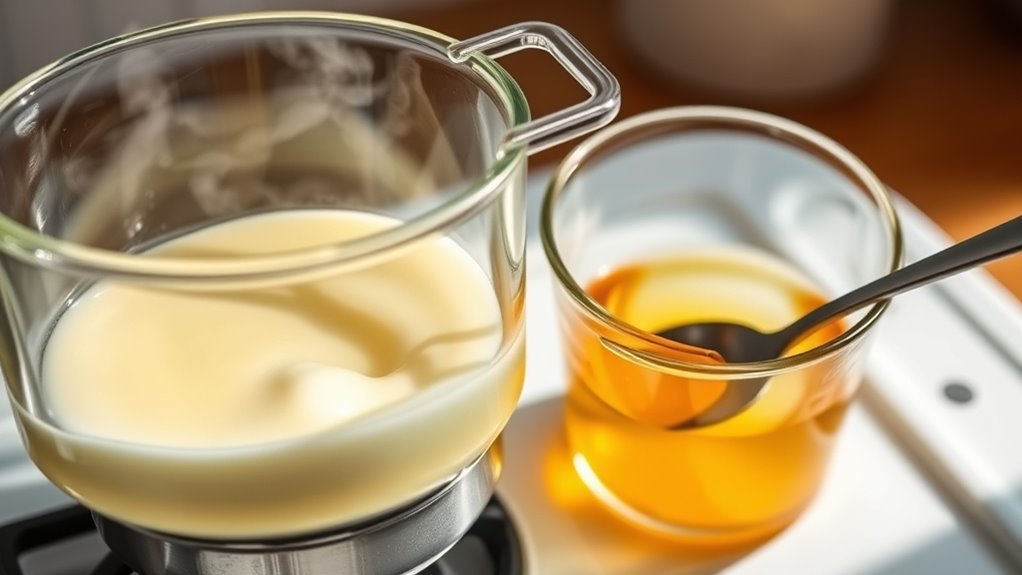
When melting your ingredients, use gentle heat to prevent burning or separation. Stir thoroughly and often to guarantee everything combines smoothly. Make sure to avoid water contamination, as moisture can spoil your lip balm. Additionally, maintaining a consistent temperature helps ensure the stability and shelf-life of your product.
Use Gentle Heat
Gently heating your ingredients guarantees they melt evenly without degrading their beneficial properties. Using gentle heat ensures that the melting temperature stays within a safe range, preventing overheating that could diminish the quality of your lip balm. To achieve this, use a double boiler or a heat-safe container placed in hot water, rather than direct heat. Keep the temperature low, around 40-45°C (104-113°F), to maintain the integrity of sensitive ingredients like natural waxes and oils. Stir frequently to promote uniform melting. Avoid rushing the process, as high heat can cause separation or a change in texture. By controlling the heat carefully, you preserve the beneficial properties of your ingredients and create a smooth, well-mixed lip balm. Additionally, understanding the importance of proper tuning techniques can help ensure your final product remains stable and effective over time.
Stir Thoroughly Often
To guarantee your lip balm turns out smooth and well-blended, it’s essential to stir the mixture thoroughly and often as it melts. This ensures even heat distribution and prevents ingredients from sticking or burning. Keep in mind that frequent mixing helps incorporate all components seamlessly, resulting in a silky texture. During melting, gently stir every few seconds to break up clumps. Incorporating proper storage practices can also extend the shelf-life of your homemade lip balm. Use a spatula or spoon for consistent mixing. Watch for melting points of different ingredients. Keep the heat low to avoid overheating. Avoid rushing the process; patience ensures smooth blending. Check for uniform consistency before pouring. Stir thoroughly often to maintain control over the melting process. Consistent stirring guarantees a well-mixed, stable lip balm with an even texture.
Avoid Water Contamination
Maintaining a clean setup is key to preventing water from contaminating your lip balm mixture. Water contamination can introduce microbes that promote microbial growth, reducing shelf life and potentially causing spoilage. To avoid this, guarantee all utensils, containers, and tools are thoroughly dried before use. When melting ingredients, use a double boiler or heat-safe bowl over simmering water, but be cautious to prevent water from splashing into the mixture. Never add water directly to the melted ingredients. Stir continuously to keep ingredients well combined and prevent moisture from settling at the bottom. Additionally, properly controlling humidity and keeping everything dry and sanitized help reduce the risk of microbial growth, ensuring your DIY lip balm remains safe, stable, and effective for longer periods.

VEVOR 27 Gallon food storage containers 500 Cup Ingredient Bin with Scoop and Sliding Lid Commercial Food Container Ideal for rice storage, dog food container, flour, and sugar containers, White
【HIGH-QUALITY PP MATERIAL】- The rice bin on wheels adopts high-quality and PP material. With a lightweight and strong...
As an affiliate, we earn on qualifying purchases.
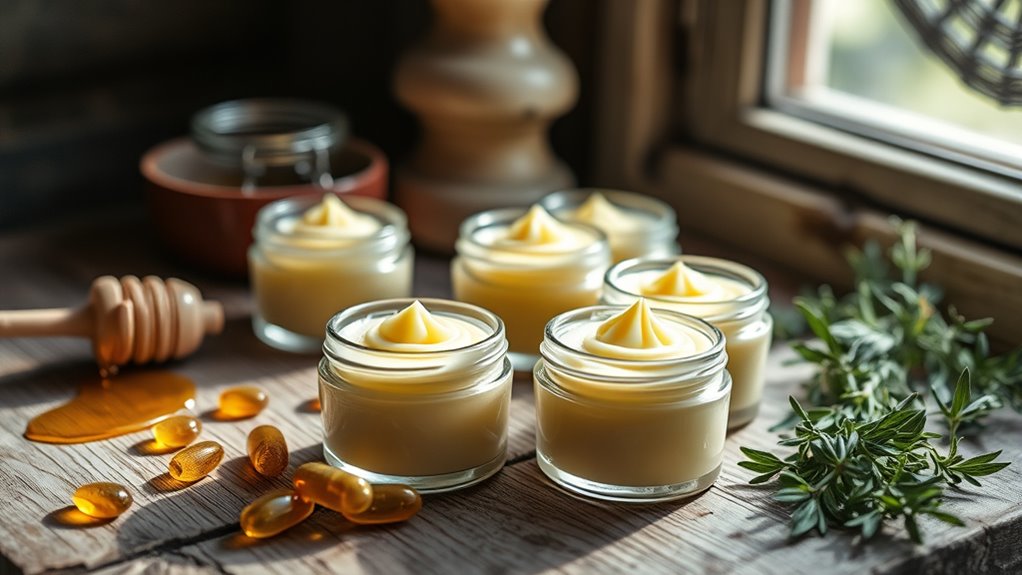
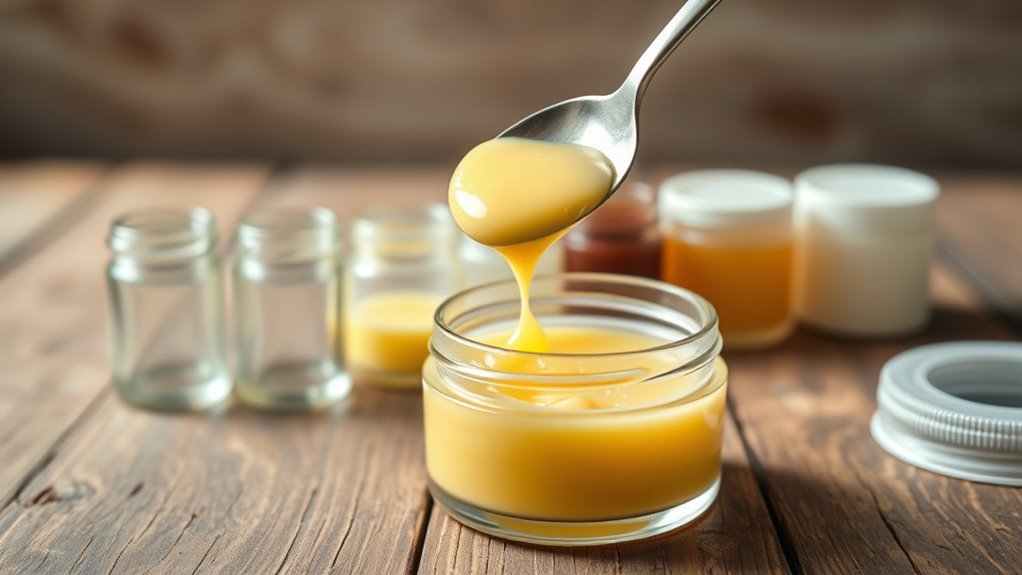
Optimal Container Selection for Storage
Choosing the right container is key to keeping your lip balm fresh and effective. You should consider material compatibility to prevent reactions and guarantee safety. Also, think about size and portability to make sure it’s convenient for everyday use. Additionally, selecting containers that incorporate data privacy considerations can help protect your personal information from potential breaches.
Material Compatibility Considerations
Selecting the right container for storing your homemade butter lip balm is essential to guarantee product stability and safety. Material compatibility affects ingredient stability and preservative effectiveness, making sure your balm remains safe and effective over time. Choose containers made from non-reactive materials like glass or BPA-free plastic to prevent chemical interactions that could degrade ingredients. Avoid metals or uncoated plastics, which may cause unwanted reactions or leach substances. Proper container selection helps maintain the balm’s texture and prevents contamination. Keep in mind, the container’s material should also be resistant to lip balm’s oils and waxes. This ensures your formulation stays pure, effective, and safe for lips. Additionally, selecting appropriate storage containers that are designed for cosmetics can further enhance product longevity and safety.
Proper Seal Ensures Freshness
A proper seal is essential to keep your homemade butter lip balm fresh and effective. Airtight packaging prevents air exposure, which can cause oxidation and spoilage. Choosing containers with secure lids ensures no air enters, maintaining the balm’s quality. For added protection, consider vacuum sealing your lip balm. Vacuum sealing removes excess air, creating an airtight environment that extends shelf life and preserves the product’s texture and scent. Make sure the container is made from compatible, non-reactive materials to avoid contamination or degradation. Proper sealing not only preserves freshness but also prevents contamination from bacteria or dust. Always check that lids are tightly closed and consider vacuum sealing for maximum freshness, especially if you plan to store your lip balm for an extended period. According to Jack, maintaining the right storage conditions is crucial for product stability and shelf life.
Size and Portability Factors
When it comes to storing your homemade butter lip balm, size and portability are key to guaranteeing convenience and usability on the go. Choosing the right container helps keep your balm secure and easy to carry. Look for portable packaging that fits comfortably in pockets, bags, or purses. Travel friendly sizes prevent spills and make application simple wherever you are. Small jars or tins are ideal for quick use, while slim tubes offer mess-free application. Consider airtight containers to preserve freshness and prevent contamination. Lightweight options make it easier to carry your balm without adding bulk. Ultimately, selecting the right size ensures your DIY butter lip balm stays accessible, fresh, and ready whenever you need it.
Ensuring Hygiene During Preparation
To guarantee your homemade butter lip balm is safe to use, maintaining proper hygiene during preparation is essential. Follow strict sanitization practices to prevent contamination and ensure product safety. Always wash your hands thoroughly before starting, and sanitize all utensils, containers, and tools. Keep your workspace clean and free from dust or debris. Use sterilized equipment to avoid introducing bacteria. Here’s a quick guide to contamination prevention:
| Step | Action | Purpose |
|---|---|---|
| Handwashing | Wash with soap and water | Remove germs |
| Sterilize tools | Boil or disinfect utensils | Prevent bacteria growth |
| Workspace cleaning | Wipe surfaces with alcohol | Minimize cross-contamination |
| Storage | Use clean, airtight containers | Preserve hygiene and freshness |
Consistent sanitization practices help keep your lip balm safe and prolong its shelf life. Proper hygiene practices are crucial in DIY cosmetic preparation to maintain product quality and safety.
Maintaining Correct Ph Levels for Stability
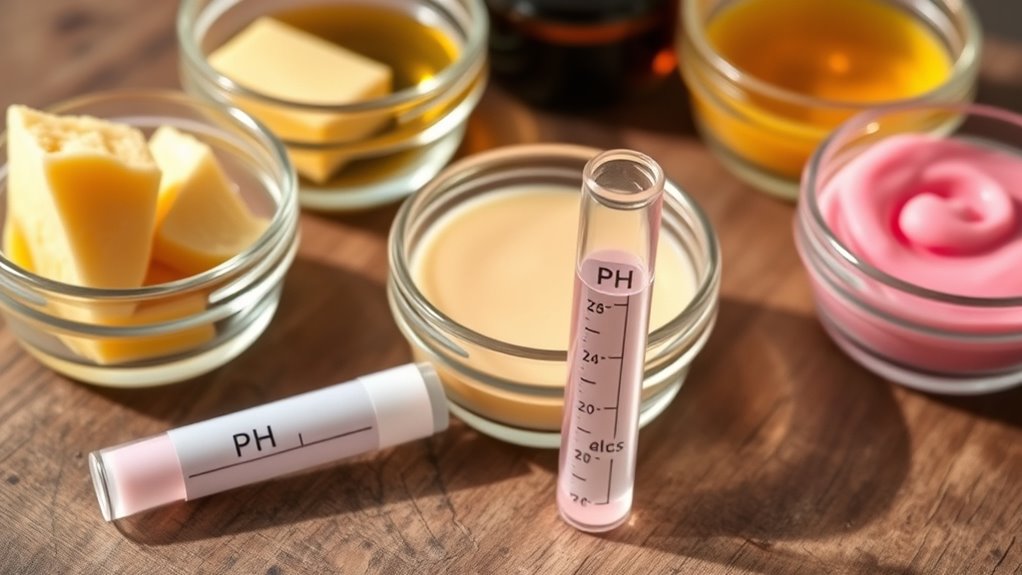
You need to keep the pH level of your lip balm within the ideal range to guarantee it stays stable and safe. An imbalance can cause ingredients to separate or even irritate your lips. Adjusting the pH as needed helps your balm maintain its quality and effectiveness.
Optimal Ph Range
Maintaining the correct pH level is essential for ensuring your homemade lip balm remains stable and safe for use. The ideal pH range typically falls between 4.5 and 6.0, which helps prevent microbial growth and ingredient breakdown. Proper pH balancing ensures your ingredients stay compatible, preserving texture and effectiveness. To achieve this, always test your mixture’s pH and adjust as needed with gentle acids or bases. Keeping within the ideal range minimizes the risk of separation or rancidity. Remember, ingredient compatibility depends on pH; some oils and waxes perform best at specific levels. Regular pH checks during formulation help you maintain stability and prolong shelf life. Focus on maintaining this optimal range to create a safe, effective, and long-lasting lip balm.
Effects of Ph Imbalance
When the pH level of your lip balm falls outside the ideal range, it can lead to several stability issues that compromise both safety and effectiveness. An improper pH balance can cause the balm to become unstable, leading to separation or changes in texture. It may also promote microbial growth, increasing the risk of spoilage. Maintaining proper acidity control is vital to prevent these problems and ensure your lip balm remains safe for use over time. If the pH is too high or too low, active ingredients might degrade faster, reducing their effectiveness. By monitoring and adjusting the pH, you help preserve the product’s consistency, safety, and shelf life. Proper pH balance is a simple but essential step in creating a stable, long-lasting DIY lip balm.
Adjusting for Stability
To guarantee your DIY lip balm remains stable and effective, adjusting the pH level to the correct range is essential. Proper pH prevents microbial growth and maintains product integrity. You can achieve this by testing the pH regularly and making ingredient substitutions if needed, such as adding a small amount of citric acid or baking soda to fine-tune acidity. Consider packaging innovations like airtight containers to limit exposure to air and contaminants, helping preserve the pH balance. Keep in mind that some ingredients may naturally shift pH over time, so selecting stable components is key. Monitoring and adjusting pH ensures your lip balm stays safe, effective, and long-lasting. Staying vigilant with pH management is your best defense against instability.
Storing Your Lip Balm in a Cool, Dry Place
Storing your lip balm in a cool, dry place helps maintain its quality and extend its shelf life. Your choice of lip balm packaging plays a significant role in protecting the product from heat and moisture. Opt for containers with tight-fitting lids to prevent contamination and exposure to air. The ideal storage environment is away from direct sunlight, heat sources, and humidity, which can cause the oils to spoil or separate. Keep your lip balm in a cabinet or drawer, rather than the bathroom, where moisture levels fluctuate. Consistent, controlled storage conditions help sustain the balm’s texture, scent, and effectiveness. By paying attention to these factors, you ensure your homemade butter lip balm stays fresh and safe for longer periods.
Monitoring Your Lip Balm for Signs of Spoilage
Regularly checking your homemade butter lip balm for signs of spoilage helps guarantee it remains safe and effective to use. Look out for changes that could affect flavor enhancement and packaging aesthetics. Discoloration or a strange odor indicates spoilage, so discard if noticed. Mold or a watery texture suggests bacterial growth, making it unsafe. Any separation or graininess could be a sign of ingredient breakdown. Changes in scent or taste, such as sourness, also signal spoilage. Keep an eye on your balm’s appearance and aroma to maintain quality. Regular inspection ensures your balm stays fresh and appealing, preserving its benefits and aesthetics. Staying vigilant helps prevent using compromised products and keeps your lip care routine safe and satisfying.
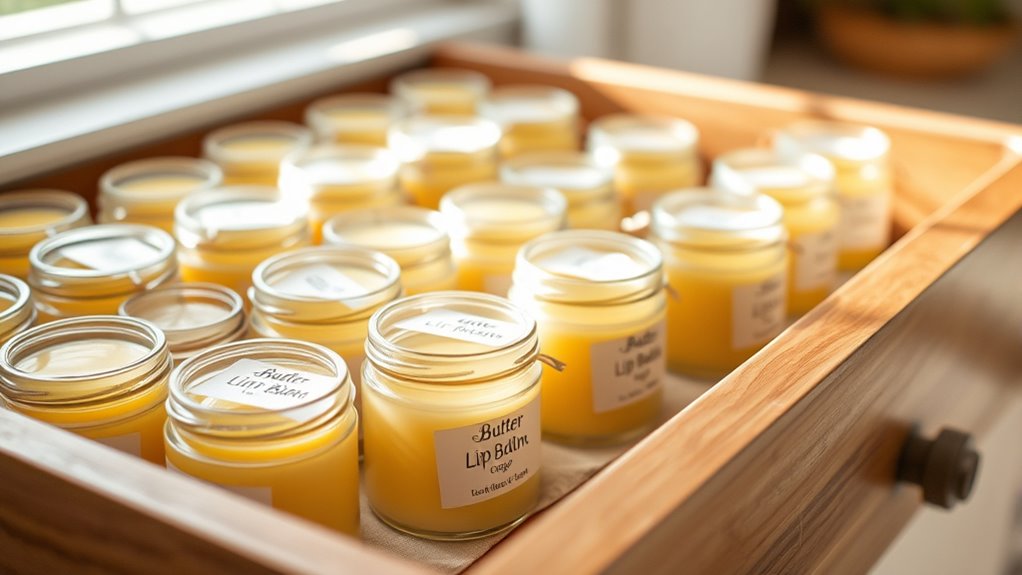
Using Small Batches for Freshness
Creating your butter lip balm in small batches guarantees it stays fresh and effective. Small batch benefits include quicker turnover, reducing the risk of spoilage and preserving potency. When considering batch size, think about how often you’ll use or gift the balm. Larger batches may save time initially but can lead to waste if unused.
| Batch Size | Consideration |
|---|---|
| Small | Ensures maximum freshness |
| Medium | Balance between quantity and freshness |
| Large | Risk of spoilage, longer shelf life |
Choosing the right batch size depends on your usage habits and storage options. Smaller batches maintain the product’s quality, making your homemade lip balm more enjoyable and safe to use over time.
Extending Shelf Life With Proper Labeling and Dates
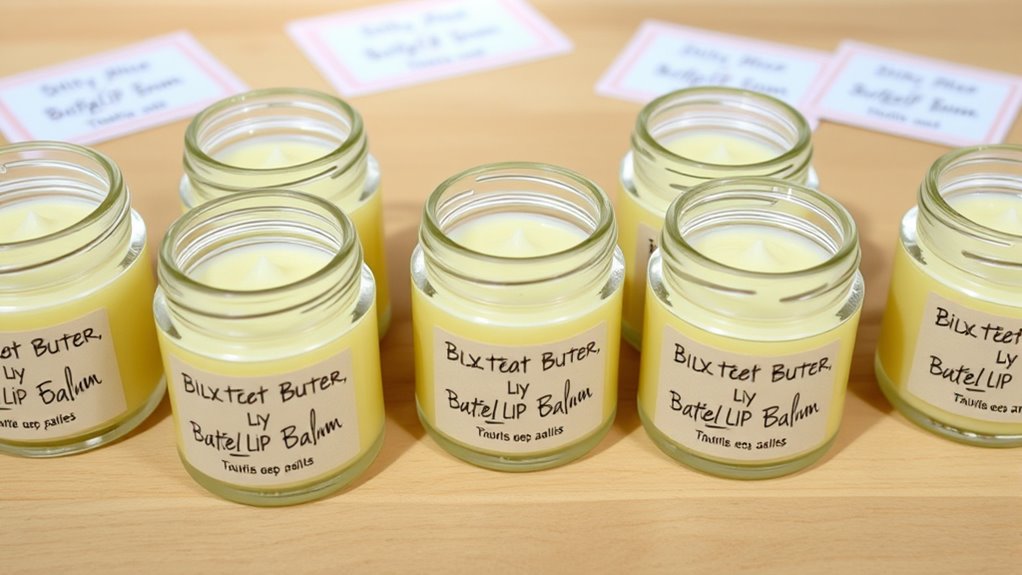
To keep your homemade butter lip balm fresh for longer, proper labeling and dating are key. Good labeling practices help you track when you made it and when it might expire. Clearly mark the date of production and recommended expiration date on each container. This ensures you use the balm while it’s still safe and effective. Use waterproof markers or labels to prevent smudging. Keep a small log or digital record of your batches for easy reference. Remember, proper expiration dating can prevent potential skin irritation or spoilage. Consider including storage instructions and ingredients on your labels as well. Staying organized with accurate labels helps maintain quality, avoid waste, and enjoy your DIY lip balm safely for months to come.
Frequently Asked Questions
How Can I Tell if My Homemade Lip Balm Has Gone Bad?
You can tell if your homemade lip balm has gone bad by checking for changes in smell, texture, or color. If it develops a sour or off odor, becomes overly greasy, or changes hue, it’s time to discard it. Follow storage tips like keeping it in a cool, dry place, and verify your ingredients are fresh before making it. Regularly inspecting your balm helps maintain safety and effectiveness.
What Are Common Signs of Mold or Bacterial Growth?
You should watch for mold detection and bacterial indicators in your homemade lip balm. Signs include visible fuzzy or discolored spots, an unusual odor, or a change in texture. If the balm feels slimy, develops a sour smell, or shows any mold growth, it’s best to discard it. Regularly inspect your lip balm to catch these signs early, ensuring your product remains safe and effective for use.
Can I Add Essential Oils Without Compromising Shelf Life?
Adding essential oils to your lip balm is like adding a splash of color to a painting—you want it to enhance, not ruin. While they can boost your balm’s scent, they may weaken essential oil potency over time, risking spoilage. To keep it safe, consider preservative options or use smaller amounts. Always test for stability and store your balm in a cool, dark place to prolong shelf life.
How Do Environmental Factors Affect Lip Balm Stability?
Environmental factors like air pollution and humidity effects considerably impact your lip balm’s stability. Higher humidity can cause melting or microbial growth, while air pollution introduces contaminants that may degrade ingredients. You should store your lip balm in a cool, dry place away from direct sunlight and pollution sources. Proper storage helps extend shelf life, prevents spoilage, and maintains the balm’s texture and effectiveness over time.
Is Refrigeration Necessary for Homemade Butter Lip Balm?
Thinking refrigeration’s the only way to keep your homemade butter lip balm fresh? Think again! You probably won’t need to obsess over storage temperatures unless your ingredients are particularly finicky. Most natural oils and butters stay stable at room temperature, so just keep your balm in a cool, dark place. Refrigeration might extend shelf life slightly, but it’s not essential unless you want your lip balm to stay fresh for ages.
Conclusion
Now that you know the key tips to keep your DIY butter lip balm fresh and effective, the real test is in your hands. Will your next batch stand the test of time? Remember, a little care and attention can make all the difference. Keep an eye on your creations, and don’t be surprised if they surprise you with their longevity. Ready to craft your perfect, long-lasting lip balm? The choice is yours—are you prepared for what’s next?