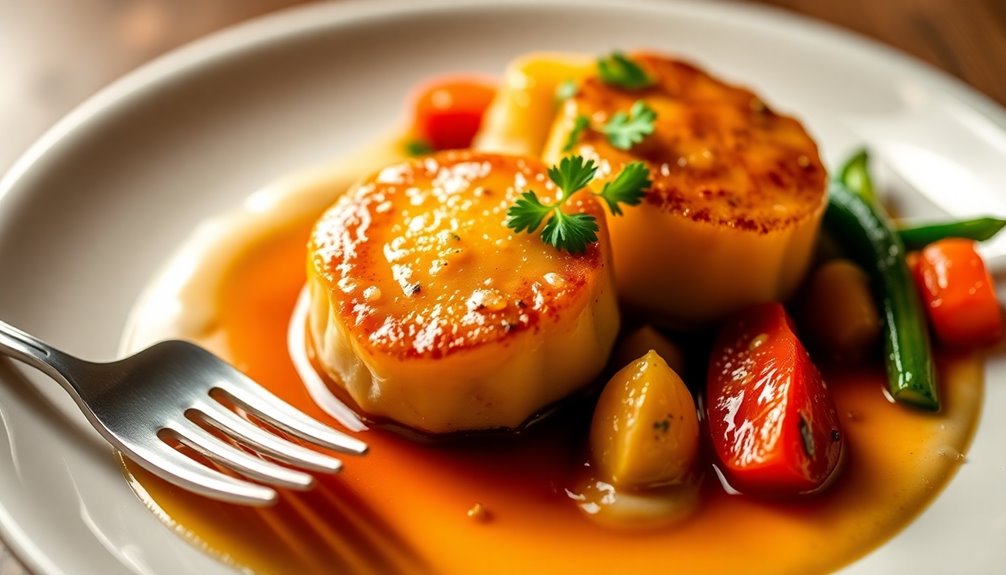
I have a special ingredient that will elevate the flavor of your dishes to a new level of deliciousness.
Are you ready? It’s honey butter glaze!
This heavenly combination of sweet honey and creamy butter adds a mouthwatering touch to everything it touches.
Whether you’re drizzling it over roasted vegetables or brushing it onto freshly baked bread, this glaze is sure to elevate your culinary creations.
So, let’s dive into the steps and learn how to make this irresistible honey butter glaze.
Get ready to tantalize your taste buds!
Key Takeaways
- Use measuring cups and spoons for accurate measurements.
- Experiment with different flavor combinations to enhance the taste.
- Gradually add liquid ingredients to achieve the desired consistency of the glaze.
- Store the glaze in an airtight container in the refrigerator for up to two weeks.

Brod & Taylor Bread Steel Original for Baking Bread & Cooking Pizza (14" x 14" x 0.1")
BAKERY-QUALITY BREAD AT HOME – The Bread Steel helps you achieve bakery-quality bread with a crisp crust and...
As an affiliate, we earn on qualifying purchases.
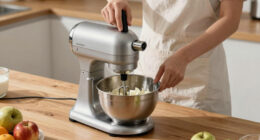
Gathering the Ingredients
Now, you’re going to need to gather all of the ingredients for your honey butter glaze.
To make sure your measurements are accurate, I recommend using measuring techniques such as using a set of measuring cups and spoons.
For this recipe, you’ll need one cup of unsalted butter, softened, three tablespoons of honey, and a pinch of salt.
If you don’t have unsalted butter, you can use salted butter, but remember to adjust the amount of salt accordingly.
Additionally, if you prefer a richer flavor, you can use maple syrup instead of honey.
Once you have all the ingredients ready, it’s time to move on to the next step and start making your delicious honey butter glaze.
![TIMBER TASTE® Exotic BBQ Sauce Gift Set for Men [5x40 ml] - BBQ Sauce Variety Pack with Barbeque Sauce Sampler Blends | Food Gift Sets | Hot Sauce Gift Sets Style Grill Picks for Dad Birthday](https://m.media-amazon.com/images/I/51t-BfbLt9L._SL500_.jpg)
TIMBER TASTE® Exotic BBQ Sauce Gift Set for Men [5x40 ml] - BBQ Sauce Variety Pack with Barbeque Sauce Sampler Blends | Food Gift Sets | Hot Sauce Gift Sets Style Grill Picks for Dad Birthday
UNIQUE BBQ EXPERIENCE - This bbq sampler set features 5 exotic barbecue sauces inspired by global grilling traditions,...
As an affiliate, we earn on qualifying purchases.
Measuring the Honey and Butter
First, grab your measuring cups and spoons to accurately portion out the honey and butter. Measuring techniques are crucial in achieving the perfect balance of sweetness and richness in your honey butter glaze. Here are four tips to help you measure with precision:
-
Use a liquid measuring cup for the honey. This will ensure an accurate measurement, as honey can be sticky and difficult to level off with a dry measuring cup.
-
Soften the butter to room temperature before measuring. This will make it easier to scoop and level off with a dry measuring cup.
-
Pack the brown sugar firmly into the measuring cup to get an accurate measurement. Lightly tap the cup on the counter to remove any air pockets.
-
Adjust the sweetness by adding more or less honey to the glaze. Taste as you go and make modifications according to your preference.
With these measuring techniques and the ability to adjust sweetness, you’ll be able to create a honey butter glaze that is perfectly balanced and delicious.

Smokehouse by Thoughtfully, Gourmet BBQ Sauce Sampler Variety Pack in Glass Bottles, Vegan and Vegetarian, Flavors Range from Full-Bodied Pitmaster Classics to Foodie-Inspired Creations, Pack of 14
VARIETY SAMPLER - Includes fourteen uniquely flavored barbecue grilling sauces in glass bottles
As an affiliate, we earn on qualifying purchases.
Melting the Butter
To melt the butter, you’ll need to place it in a microwave-safe bowl and heat it until it’s completely liquid.
Melting butter may seem simple, but there are a few techniques and troubleshooting tips that can help you achieve the perfect consistency.
First, make sure to use a microwave-safe bowl to prevent any accidents.
Cut the butter into smaller chunks for faster and more even melting.
Start by microwaving the butter for 30 seconds on high power.
Check the butter and stir it with a spoon to distribute the heat.
If it’s not completely melted, continue microwaving in 10-second intervals, stirring in between, until it becomes smooth and liquid.
Be careful not to overheat the butter, as it can easily burn.

Smokehouse by Thoughtfully, Gourmet BBQ Sauce Sampler Set, Vegan and Vegetarian, Flavors Include Honey Chipotle, Smoky Bourbon, Sweet and Spicy, and Bacon BBQ Sauce, Pack of 4
VARIETY SAMPLER - Includes a set of four uniquely flavored barbecue grilling sauces in glass bottles
As an affiliate, we earn on qualifying purchases.
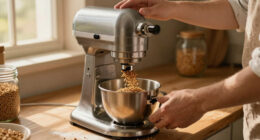
Mixing the Honey and Butter
For a smooth and sweet mixture, you’ll want to thoroughly combine the honey and melted butter. The mixing techniques are crucial in achieving the perfect honey butter glaze. Here are some tips to ensure your glaze turns out deliciously decadent:
-
Use a whisk or a spoon to blend the honey and melted butter together. This will help evenly distribute the flavors and create a cohesive mixture.
-
Mix the ingredients until they are fully incorporated. You want to avoid any lumps or clumps of honey or butter in the glaze.
-
Experiment with different flavor combinations by adding a pinch of salt or a splash of vanilla extract. These additions can enhance the overall taste and take your honey butter glaze to the next level.
-
Adjust the consistency of the glaze by adding more honey for a sweeter and thicker glaze, or more melted butter for a thinner and smoother texture.
Adding Flavor Enhancements
Don’t forget to experiment with different flavor combinations to enhance the taste of your honey butter glaze. Adding a touch of flavor to your glaze can take it from ordinary to extraordinary.
There are so many delicious options to consider when it comes to flavor pairings. For a hint of warmth and spice, try adding a sprinkle of cinnamon or a pinch of nutmeg. If you prefer a citrusy twist, a squeeze of fresh lemon juice or a zest of orange can do wonders.
You can also try incorporating other recipe substitutions to customize your glaze. Instead of regular butter, why not use browned butter for a nuttier flavor? Or replace the honey with maple syrup for a rich and earthy sweetness.
The possibilities are endless, so don’t be afraid to get creative and make your honey butter glaze truly unique and delicious.
Preparing the Glaze for Application
When it comes to preparing a glaze, achieving the right consistency is key to getting that perfect finish. In this discussion, I will share some valuable tips on how to achieve the ideal glaze consistency, ensuring that your baked goods look and taste amazing.
Additionally, I will explain various application techniques that can help you achieve different effects, whether you want a smooth and glossy glaze or a textured and rustic finish.
Lastly, we will explore the exciting world of enhancing glaze flavors, exploring different ingredients and techniques that can elevate the taste of your glazes to a whole new level.
Get ready to take your glazing skills to the next level!
Glaze Consistency Tips
To achieve the perfect glaze consistency, it’s important to gradually add the liquid ingredients to the butter mixture. This ensures that the glaze will have the right texture and thickness.
Here are some tips to help you achieve the desired results:
-
Start with softened butter: Softened butter is easier to mix and will result in a smoother glaze.
-
Add liquid ingredients slowly: Pouring the liquid too quickly can cause the glaze to become thin and runny. Gradually incorporate the liquid while constantly stirring to achieve the desired thickness.
-
Adjust the liquid amount: If the glaze is too thick, add a little more liquid. If it’s too thin, add more powdered sugar to thicken it up.
-
Test the consistency: Dip a spoon into the glaze and let it drip off. The glaze should have a smooth and steady flow without being too thin or too thick.
Application Techniques Explained
Using a spoon, gently drizzle the glaze over the baked goods for an even distribution of flavor.
When it comes to applying glaze, there are a few techniques that can help you achieve the perfect finish.
First, make sure your glaze is at the right consistency. It should be thick enough to cling to the spoon but thin enough to easily spread. If it’s too thick, you can add a little bit of milk or water to thin it out.
Once you have the desired consistency, start by spooning the glaze onto the center of the baked goods. Then, use the back of the spoon to spread it outwards in a circular motion. This will help ensure that the glaze covers the entire surface evenly.
Take your time and be gentle to avoid any dripping or clumping.
Now that you know how to apply the glaze, let’s move on to enhancing its flavors.
Enhancing Glaze Flavors
Now that you know how to apply the honey butter glaze, let’s talk about how to enhance its flavors. Adding different ingredients to the glaze can take it to a whole new level of deliciousness. Here are some flavor pairing suggestions to try:
-
Citrus Zest: Add a burst of freshness by incorporating lemon, orange, or lime zest into the glaze. The zesty aroma will complement the sweetness of the honey and butter.
-
Spices: Experiment with spices like cinnamon, nutmeg, or cardamom to add warmth and depth to the glaze. These aromatic spices will give your pastries a cozy, comforting flavor.
-
Extracts: Vanilla, almond, or even coconut extracts can add a delightful twist to the glaze. Just a few drops of these extracts will infuse the glaze with a subtle, yet enticing, flavor.
-
Alternative Sweeteners: If you want to switch things up, try using maple syrup or agave nectar instead of honey. These alternative sweeteners bring their unique flavors to the glaze, giving it a different taste profile.
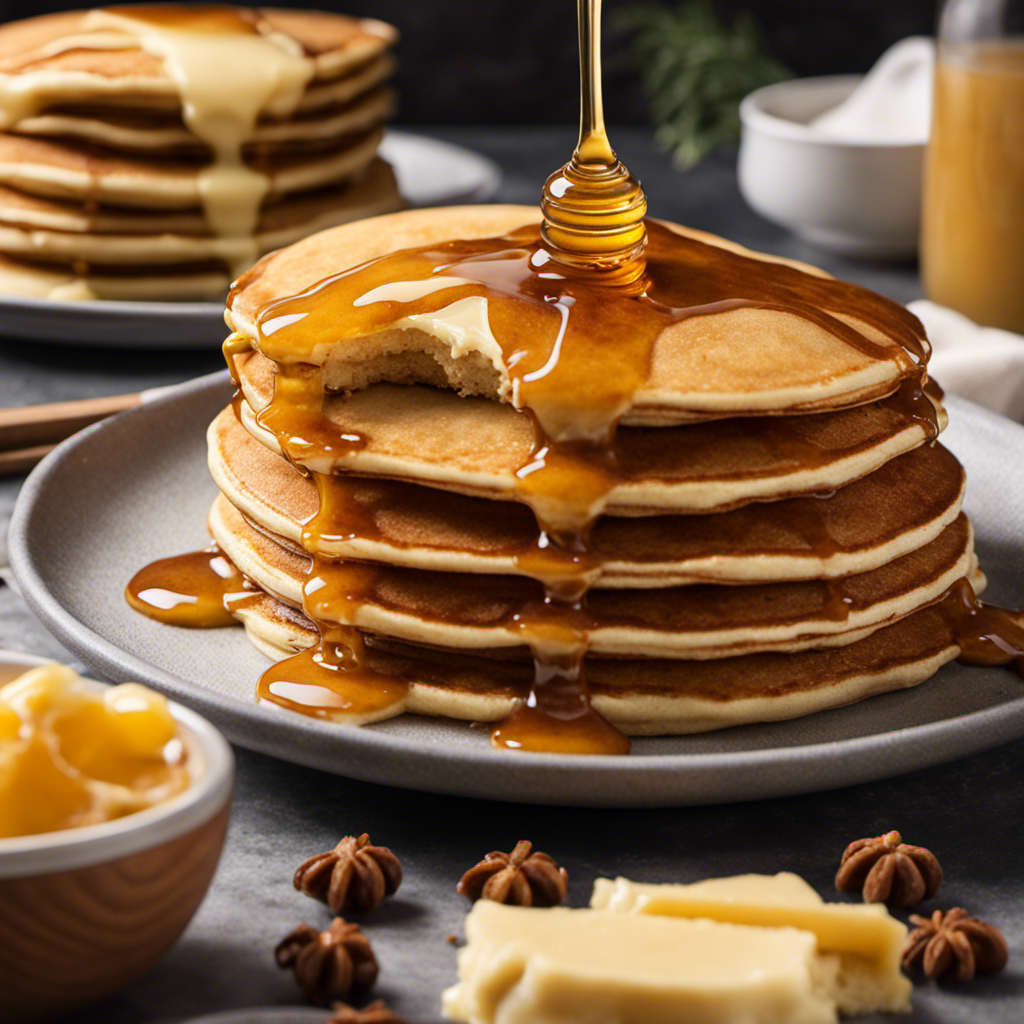
Applying the Glaze to Baked Goods
When spreading the honey butter glaze, be sure to gently brush it onto your freshly baked goods. This will ensure that the glaze evenly coats every surface, creating a delicious and visually appealing finish.
For a more precise application, you can use a pastry brush or a silicone brush.
The glaze should be warm but not hot, as it can melt the baked goods. If you prefer a thicker glaze, you can let it cool slightly before applying. Alternatively, you can adjust the consistency by adding more powdered sugar or honey.
Experimenting with different glaze alternatives, such as lemon or maple, can also add unique flavors to your baked goods.
Now that you know the basics of applying the honey butter glaze, let’s move on to baking with it to create mouthwatering treats!
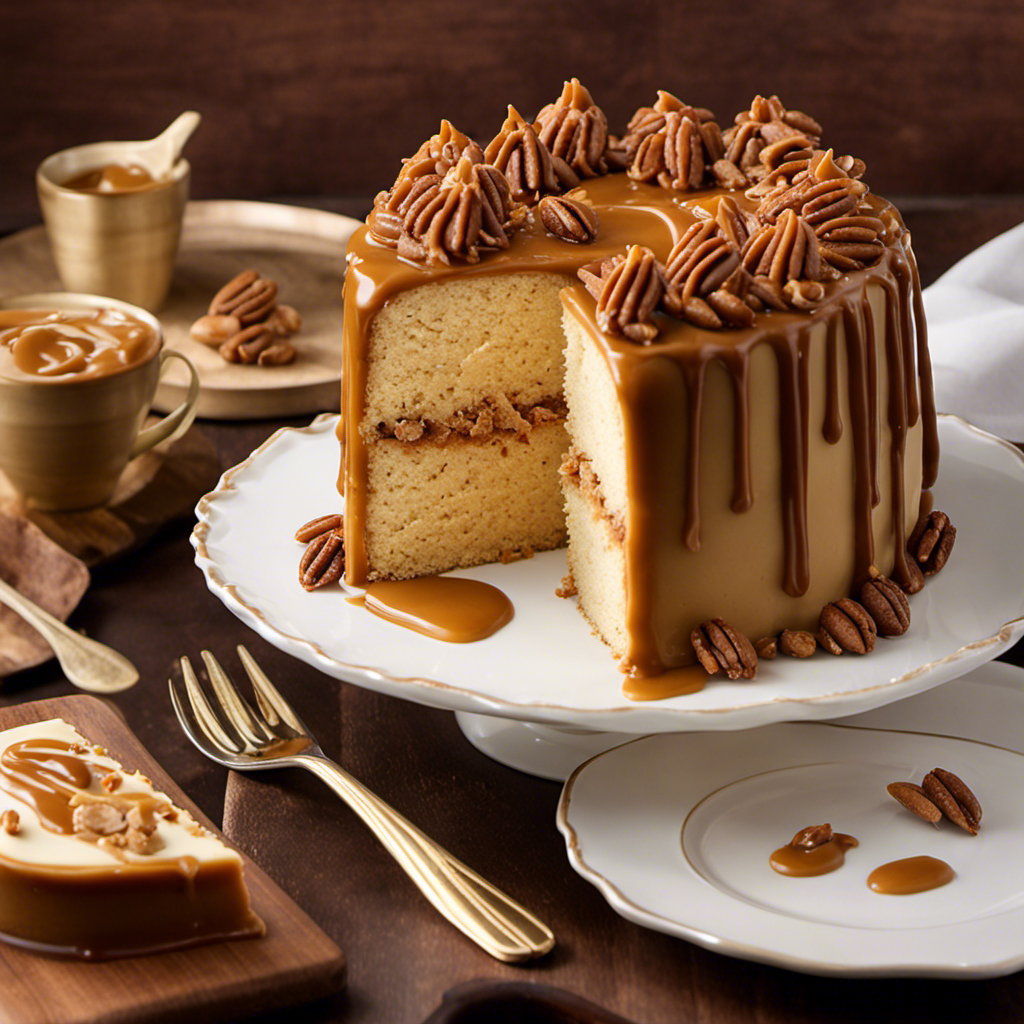
Baking With the Honey Butter Glaze
For a delectable twist on your favorite baked goods, try incorporating the honey butter glaze into your recipes. This versatile glaze adds a rich, sweet flavor that complements a variety of treats.
Here are four ways to use the honey butter glaze in your baking:
-
Drizzle it over warm cinnamon rolls for an extra burst of sweetness. The glaze will melt into the nooks and crannies, creating a gooey, indulgent treat.
-
Brush it onto freshly baked bread for a glossy finish and a touch of sweetness. The honey butter glaze will give your loaves a beautiful golden color and a subtle honey flavor.
-
Mix it into your cake batter for a moist and flavorful dessert. The glaze will add depth and richness to your cakes, making them irresistible.
-
Dip your homemade donuts into the honey butter glaze for a decadent treat. The glaze will coat the donuts in a sweet, buttery goodness that will have you coming back for more.
With these baking techniques and recipe alternatives, you can elevate your baked goods to a whole new level of deliciousness. So go ahead, grab that jar of honey butter glaze and get creative in the kitchen!
Storing the Honey Butter Glaze
To keep the honey butter glaze fresh and ready for your next baking adventure, simply store it in an airtight container in the refrigerator. This will not only help preserve its flavor and texture but also extend its shelf life.
When it comes to storing techniques, it’s important to make sure that the container is sealed tightly to prevent any air from entering and causing the glaze to spoil. The refrigerator provides a cool and controlled environment, which helps maintain the quality of the glaze for a longer period of time.
As for the shelf life, the honey butter glaze can typically last for up to two weeks when stored properly in the refrigerator. So, next time you make a batch of this delicious glaze, remember to store it in an airtight container in the fridge for maximum freshness and longevity.
Tips and Tricks for Perfect Glaze Consistency
Remember, achieving the perfect consistency for your glaze is all about the ratio of ingredients and the time you dedicate to whisking it together. Here are some tips and tricks to help you troubleshoot and achieve the desired thickness for your honey butter glaze:
-
Adjust the amount of powdered sugar: If your glaze is too thin, add more powdered sugar gradually, whisking it in until you reach the desired thickness.
-
Use cold butter: Softened butter can make the glaze too thin. Using cold butter will help maintain a thicker consistency.
-
Chill the glaze: If your glaze is too thin, pop it in the refrigerator for a few minutes to allow it to thicken up before using.
-
Whisk vigorously: Whisk the glaze vigorously for a longer period of time to incorporate air and thicken it up.
By following these glaze thickness techniques, you’ll be able to troubleshoot any issues and achieve the perfect consistency for your honey butter glaze.
Now, let’s move on to exploring variations and customizations for this delicious glaze.
Variations and Customizations for the Honey Butter Glaze
Now that we’ve mastered the art of achieving the perfect consistency for our honey butter glaze, let’s explore the exciting world of variations and flavor combinations!
One of the great things about this glaze is its versatility. You can easily customize it to suit your taste preferences or to complement different dishes.
For a touch of warmth and spice, try adding a pinch of cinnamon or nutmeg to the glaze. If you prefer a tangy twist, a squeeze of fresh lemon juice or a dollop of citrus zest will do the trick.
For a more indulgent flavor, consider incorporating a drizzle of caramel or a sprinkle of toasted nuts. The possibilities are endless, and experimenting with different variations and flavor combinations will surely elevate your honey butter glaze to new heights of deliciousness!
Frequently Asked Questions
Can I Use Margarine Instead of Butter in the Honey Butter Glaze?
Yes, you can use margarine as a substitute for butter in the honey butter glaze. It will give a slightly different flavor, but still delicious. Just make sure to use the same amount as specified in the recipe.
Can I Use Maple Syrup Instead of Honey in the Glaze?
Substituting maple syrup in the glaze has its pros and cons. While it adds a distinct flavor to the dish, it may alter the overall taste profile. Experimentation is key to finding the perfect balance of sweetness.
Can I Use Salted Butter Instead of Unsalted Butter?
Using salted butter instead of unsalted butter in the glaze will add a subtle savory flavor. However, it may also make the glaze slightly saltier. Consider adjusting the amount of salt in the recipe accordingly.
Can I Use the Glaze on Savory Dishes?
Yes, the glaze can be used on savory dishes. It adds a touch of sweetness and richness to meats, vegetables, and even grilled cheese sandwiches. You can also experiment with alternative sweeteners for different flavor profiles.
Can I Freeze the Honey Butter Glaze for Later Use?
Can I freeze the honey butter glaze? How long does it last in the freezer? Reheating frozen honey butter glaze is easy and convenient. It stays good for several months and tastes just as delicious when thawed.
Conclusion
I can’t believe how easy it is to make this irresistible honey butter glaze! With just a few simple steps, you can transform your baked goods into something truly extraordinary.
The combination of sweet honey and creamy butter creates a flavor explosion that will leave your taste buds begging for more. And the best part? You can customize this glaze to suit your preferences, adding in your favorite spices or extracts for a unique twist.
So go ahead, give it a try and experience the magic of honey butter glaze for yourself. You won’t be disappointed!