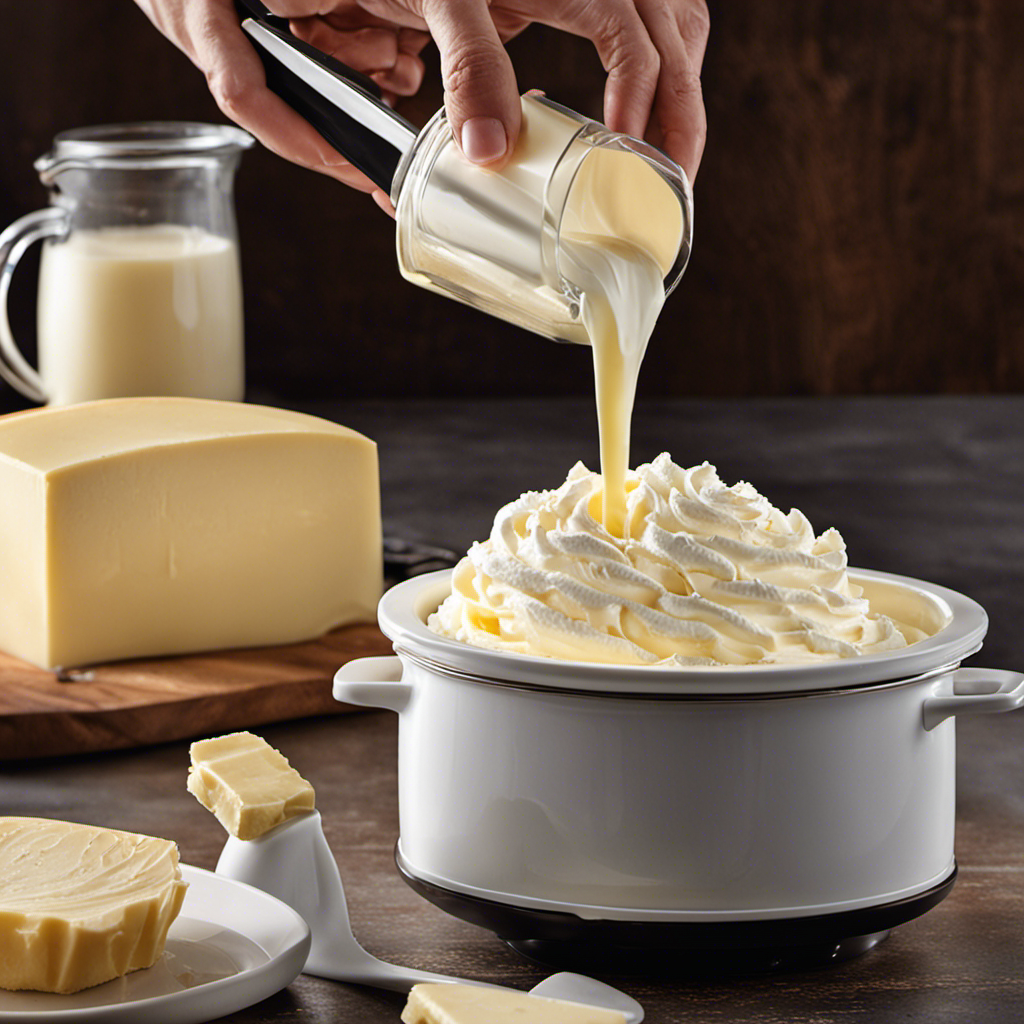
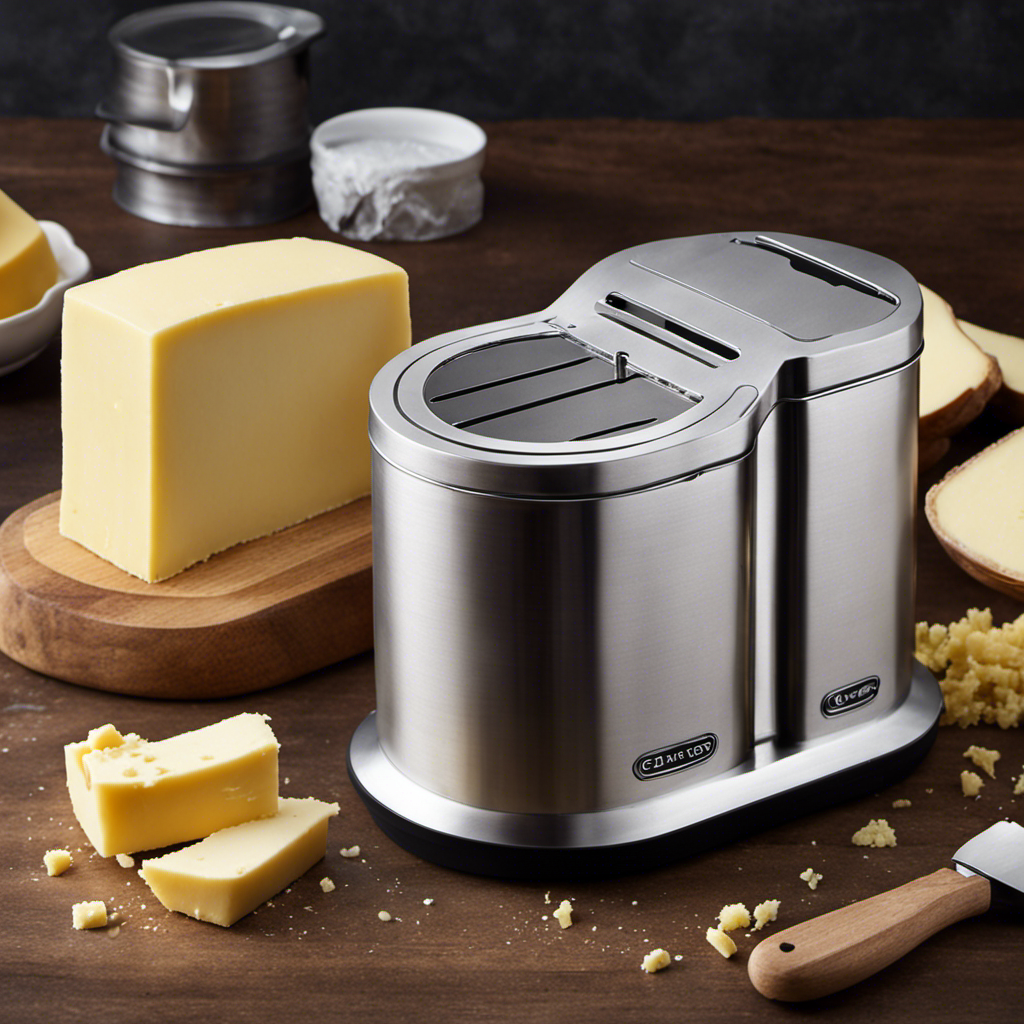
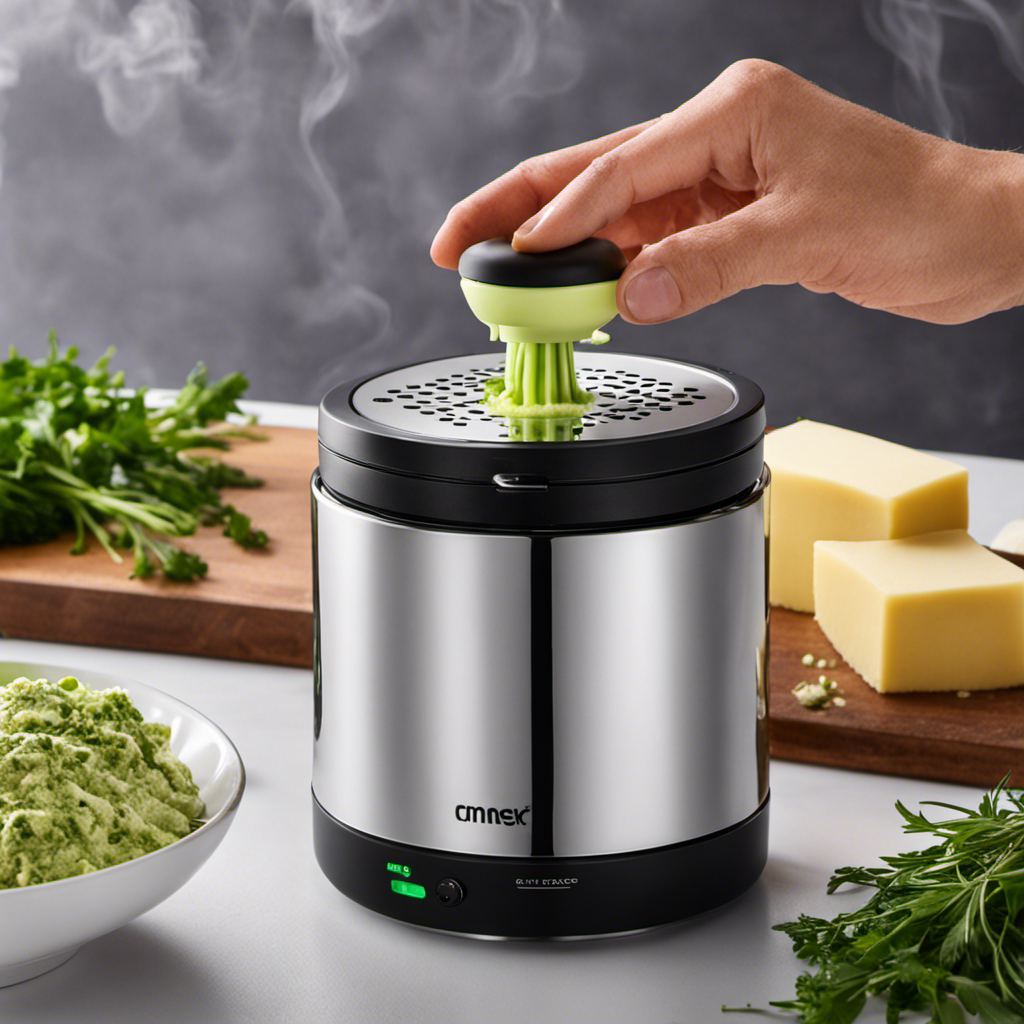
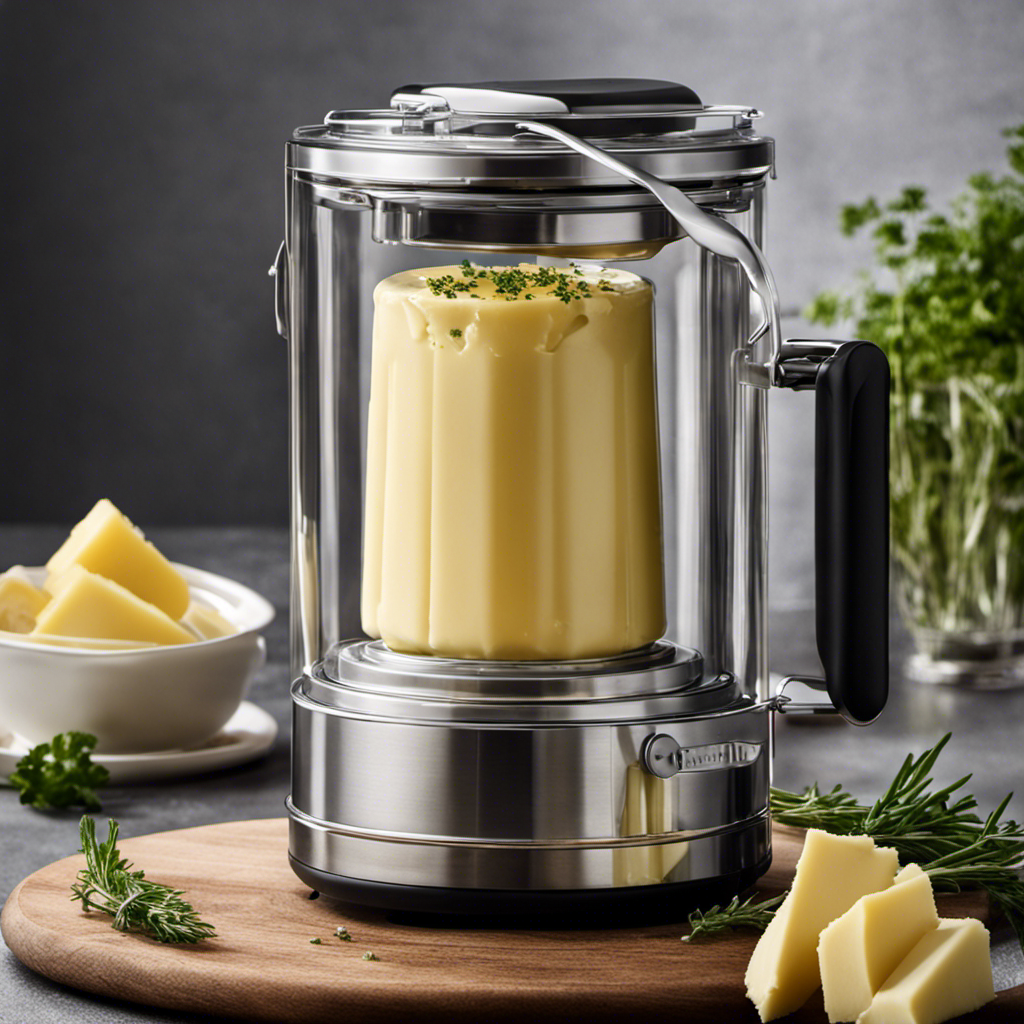
I am going to share the secret to making the most delicious, smooth butter using my favorite Pampered Chef Whip Cream Maker. Prepare yourself for a culinary journey that will impress your taste buds.
With precise measurements and expert techniques, I’ll guide you through the fascinating science of butter making. From assembling the whip cream maker to adding flavorful twists, this article is your ultimate guide to mastering the art of homemade butter.
Get ready to indulge in a buttery masterpiece like never before.
Key Takeaways
- Select the right cream with a high fat content for making butter.
- Ensure the cream is fresh and not expired.
- Properly assemble and operate the whip cream maker for optimal results.
- Clean and maintain the whip cream maker regularly to prevent contamination.
Choosing the Right Ingredients
To make butter with your Pampered Chef whip cream maker, you’ll need to choose the right ingredients. The most important ingredient is cream, and there are different types to consider.
Heavy cream, with its high fat content, is ideal for making butter as it will yield a rich and creamy result. You can also use whipping cream, which has a slightly lower fat content but will still produce delicious butter. Avoid using light or half-and-half cream, as they have too little fat to separate into butter.
It’s also important to use fresh cream that hasn’t expired. By selecting the right cream and ensuring its freshness, you’ll be well on your way to making butter with your whip cream maker.
Assembling Your Pampered Chef Whip Cream Maker
Start by attaching the different parts of your whip cream maker together. First, connect the handle to the lid of the canister by twisting it firmly into place. Next, attach the canister to the base of the whip cream maker by aligning the grooves and twisting it clockwise until it locks into position.
Once the whip cream maker is assembled, you are ready to move on to the next step: preparing the cream for churning.
To ensure the best results, choose high-quality heavy cream with a fat content of at least 35%. This will ensure a rich and creamy butter. Measure out the desired amount of cream according to the capacity of your whip cream maker and pour it into the canister. Secure the lid tightly to prevent any leaks during the churning process.
Now that your whip cream maker is assembled and your cream is prepared, you are ready to start churning.
Preparing the Cream for Churning
Once you’ve measured out the desired amount of cream, make sure to secure the lid tightly to prevent any leaks during the churning process.
Preparing the cream is a crucial step in making butter with a pampered chef whip cream maker. Start by using fresh, high-quality heavy cream, as this will yield the best results. Pour the cream into the whip cream maker, ensuring that it doesn’t exceed the maximum fill line.
Next, attach the whipper head securely, making sure it is properly aligned with the cream container. Shake the whip cream maker vigorously for about 2-3 minutes, or until the cream starts to thicken. The churning process will cause the fats in the cream to separate from the liquid, forming butter. It is important to monitor the cream closely during this stage to prevent over-churning.
Once the butter has formed, release any remaining pressure by pressing the valve on the whip cream maker. Remove the whipper head and strain the butter, discarding the liquid (buttermilk). Rinse the butter with cold water to remove any remaining liquid.
Your freshly churned butter is now ready to be enjoyed!
Operating the Whip Cream Maker
When operating a whip cream maker, proper assembly and disassembly are essential for achieving optimal results. Understanding the importance of each component and how they fit together ensures a smooth and efficient butter-making process.
Additionally, achieving the right whipping cream consistency is crucial for successful butter production. The proper amount of air incorporation and the right stiffness of the cream will determine the texture and quality of the final product.
Lastly, maintaining a clean and well-maintained whip cream maker is key to ensuring its longevity and preventing any contamination that could affect the butter’s flavor and shelf life. Regular cleaning and maintenance will keep the equipment in optimal condition for future use.
Proper Assembly and Disassembly
To properly assemble and disassemble the Pampered Chef whip cream maker, make sure you follow the provided instructions. Here are some key steps to keep in mind:
-
Disassembling the whip cream maker:
-
Start by removing the canister from the base of the whip cream maker.
-
Twist and remove the cap from the canister.
-
Carefully detach the plunger assembly from the canister.
-
Separate the gasket from the plunger assembly and set it aside.
-
Troubleshooting common assembly issues:
-
If the canister is difficult to remove, try twisting it gently while pulling upwards.
-
If the plunger assembly is stuck, check if the gasket is properly aligned and securely in place.
-
If the cap is hard to remove, try using a gentle twisting motion while pulling upwards.
Whipping Cream Consistency
For achieving the desired consistency, make sure you chill the cream before whipping it. This is an important step in butter making, as cold cream whips up faster and holds its shape better.
When using a pampered chef whip cream maker, it is crucial to follow the instructions precisely to ensure successful results. The key to achieving the perfect consistency lies in the cream itself. Look for whipping cream with a fat content of at least 35%. This will ensure a rich and creamy butter. If you’re looking for alternatives, you can also use heavy cream or double cream.
Troubleshooting whipping cream consistency can be done by adjusting the mixing time. Over-whipping can lead to a grainy texture, while under-whipping will result in a runny consistency. To avoid these issues, keep a close eye on the cream as you whip it, and stop once you reach the desired thickness.
Cleaning and Maintenance
Properly maintaining and cleaning your cream whipper is essential to ensure its longevity and optimal performance. Here are some cleaning techniques and troubleshooting tips to help you keep your whip cream maker in top shape:
-
Cleaning Techniques:
-
Disassemble the whipper and remove any leftover cream.
-
Rinse the parts with warm water to remove any residue.
-
Use a small brush or pipe cleaner to clean the nozzle and other small crevices.
-
Wash the parts with mild soap and water, ensuring all soap is rinsed off.
-
Allow the parts to air dry before reassembling.
-
Troubleshooting Tips:
-
If the whipper is not dispensing properly, check for clogs in the nozzle and clean it thoroughly.
-
If the cream is not coming out fluffy, make sure the cream is properly chilled and the whipper is properly assembled.
By following these cleaning techniques and troubleshooting tips, you can ensure that your cream whipper is always in excellent condition and ready to make delicious butter.
Now, let’s move on to the next step: churning the cream into butter.
Churning the Cream Into Butter
Start by pouring the cream into your Pampered Chef whip cream maker and attaching the lid securely. This step is crucial to ensure that the cream stays in place during the churning process. Once the cream is securely in the whip cream maker, it’s time to start churning. Turn on the whip cream maker and let it run for about 5-7 minutes. This will agitate the cream and begin the process of turning it into butter. Keep an eye on the cream as it churns, looking for the moment when it starts to separate into butter and buttermilk. Once you see this separation, stop the whip cream maker and carefully strain out the buttermilk using a fine mesh strainer. The remaining solids are your homemade butter! Now it’s time to give it a good rinse and squeeze out any remaining buttermilk. You can also add salt or other flavorings at this point, if desired. Enjoy your freshly made butter!
| Churning Techniques | Troubleshooting Tips |
|---|---|
| – Let the whip cream maker run for 5-7 minutes | – If the cream is not separating into butter and buttermilk, try increasing the churning time |
| – Keep an eye on the cream for signs of separation | – If the butter is too soft, refrigerate it for a few minutes before straining out the buttermilk |
| – Strain out the buttermilk using a fine mesh strainer | – If the butter is too firm, let it sit at room temperature for a few minutes to soften |
| – Rinse and squeeze out any remaining buttermilk | – Experiment with different flavors and additions to customize your butter |
Draining and Washing the Butter
To drain and wash the butter, you’ll want to carefully strain out any remaining buttermilk using a fine mesh strainer. Here are some techniques and methods to ensure your butter is perfectly drained and washed:
-
Drain the butter:
-
Place the butter in the strainer and gently press it with a spatula to remove excess buttermilk.
-
Let the butter sit in the strainer for a few minutes to allow any remaining liquid to drain off.
-
Wash the butter:
-
Fill a bowl with ice-cold water and submerge the butter in it.
-
Gently knead the butter in the water, changing the water as it becomes cloudy.
-
Repeat this process until the water remains clear, indicating that all the buttermilk has been washed away.
Adding Salt or Flavorings (optional
If desired, you can enhance the flavor of your homemade butter by adding salt or other optional flavorings.
Adding salt not only enhances the taste but also helps to preserve the butter. Start by making sure your butter is at room temperature. For every pound of butter, add about 1/4 teaspoon of salt.
You can also experiment with adding herbs like rosemary or thyme for a savory twist. Simply chop the herbs finely and mix them into the softened butter.
For those with a sweet tooth, try adding a teaspoon of honey or maple syrup for a delicious flavored butter. Remember to adjust the amount of sweetener based on your preference.
Once you have added your desired flavorings, mix them thoroughly into the butter using the whip cream maker until well incorporated.
Enjoy your personalized and flavorful homemade butter!
Storing and Using Your Homemade Butter
When it comes to homemade butter, there are a few key points to keep in mind.
First, understanding the shelf life of butter is important to ensure its freshness and quality.
Secondly, flavoring homemade butter can be a fun and creative way to personalize your butter to your taste preferences.
Lastly, knowing how to cook with homemade butter can elevate your dishes and add a delicious richness to your recipes.
In this discussion, I will delve into these topics, providing precise instructions, knowledgeable insights, and informative tips to enhance your butter-making experience with a pampered chef whip cream maker.
Shelf Life of Butter
You should be aware of the shelf life of butter when using your Pampered Chef whip cream maker. Homemade butter can be a delicious addition to your meals, but it’s important to know how long it will last and how to properly preserve it.
Here are some key points to keep in mind:
-
Store your homemade butter in an airtight container to prevent it from absorbing odors and going rancid.
-
Butter can stay fresh in the refrigerator for up to two weeks, but it’s best to consume it within the first week for optimal taste and quality.
-
If you have excess butter, consider freezing it. Frozen butter can last for up to six months without losing its flavor or texture.
-
To freeze butter, wrap it tightly in plastic wrap or place it in an airtight freezer bag.
-
Before using frozen butter, thaw it in the refrigerator overnight to maintain its quality.
Flavoring Homemade Butter
To add flavor to your homemade butter, try incorporating herbs, spices, or even citrus zest into the mixture. These flavoring options can elevate your butter to a whole new level and make it even more delicious. Not only will it add a burst of flavor, but it will also give your butter a unique and personal touch. To help you get started, here are some ideas for flavor combinations:
| Herb & Spice | Citrus Zest | Other Additions |
|---|---|---|
| Rosemary | Lemon | Honey |
| Thyme | Lime | Cinnamon |
| Basil | Orange | Vanilla |
| Garlic | Grapefruit | Chili |
Experiment with different combinations to find your favorite. Once you’ve added your desired flavors, mix them into the butter using your pampered chef whip cream maker. It’s important to note that while these flavorings will enhance the taste of your butter, they may also affect its shelf life. To preserve your homemade butter, store it in an airtight container in the refrigerator. Enjoy the flavorful goodness of your homemade butter on toast, pancakes, or any other dish you desire.
Cooking With Homemade Butter
Now that you know how to flavor your homemade butter, let’s talk about the many cooking techniques and alternative uses for it. Homemade butter is incredibly versatile and can be used in a variety of dishes to elevate their flavors. Here are some ideas to get you started:
-
Cooking Techniques:
-
Sautéing: Use your homemade butter to sauté vegetables or meats for a rich and flavorful base.
-
Baking: Replace regular butter with your homemade version in recipes to add a unique taste and texture to your baked goods.
-
Alternative Uses:
-
Spread it on toast or freshly baked bread for a delicious breakfast treat.
-
Use it as a topping for pancakes, waffles, or baked potatoes.
-
Make compound butter by mixing in herbs, spices, or citrus zest for a flavorful spread.
Cleaning and Maintaining Your Whip Cream Maker
Cleaning and maintaining your whip cream maker is essential for its longevity and optimal performance. To ensure your whip cream maker stays in top shape, follow these cleaning techniques.
After each use, disassemble the whip cream maker and rinse all parts with warm soapy water. Use a soft brush to remove any residue or cream stuck in the nozzles or valves. Rinse thoroughly and dry completely before reassembling.
For a deeper clean, soak the parts in a mixture of warm water and vinegar for about 30 minutes, then scrub and rinse.
To troubleshoot common issues, such as clogging or weak pressure, check for any blockages in the nozzle or valve and clean them thoroughly.
Regularly inspect the seals and gaskets for any signs of wear or damage and replace if needed.
Frequently Asked Questions
How Long Does It Take to Churn the Cream Into Butter Using the Pampered Chef Whip Cream Maker?
It takes approximately [insert time] to churn cream into butter using the Pampered Chef Whip Cream Maker. To achieve the perfect texture, follow these tips: [insert tips].
Can I Use Any Type of Cream to Make Butter With the Whip Cream Maker?
Yes, you can use different types of cream to make butter with the whip cream maker. Heavy cream is the most common choice, but you can also experiment with other creams like double cream or whipping cream for different results.
Is It Necessary to Add Salt or Flavorings to the Butter After Churning?
In my experience, adding salt or flavorings to homemade butter after churning is a personal preference. Some enjoy the simplicity of unsalted butter, while others like to enhance the flavor with herbs or spices.
Can I Store My Homemade Butter at Room Temperature or Does It Need to Be Refrigerated?
I can store homemade butter at room temperature, but it’s best to refrigerate it to maintain freshness. Room temperature storage may cause the butter to spoil faster due to the presence of moisture and bacteria.
How Often Do I Need to Clean and Maintain My Whip Cream Maker to Ensure Its Longevity?
To properly clean and maintain a whip cream maker for optimal performance, it’s important to follow the manufacturer’s instructions. Regularly disassemble the parts, wash them with warm soapy water, and ensure they are completely dry before reassembling.
Conclusion
In conclusion, making butter with a Pampered Chef Whip Cream Maker is a simple and rewarding process. By following the precise instructions provided by a food scientist or culinary expert, you can achieve the desired results.
Understanding the science behind butter making and the culinary techniques involved will allow you to appreciate the chemical reactions and physical changes taking place.
This informative article offers useful tips, troubleshooting advice, and suggestions for flavor additions, making your homemade butter truly exceptional.
So grab your whip cream maker and embark on this butter-making adventure!
