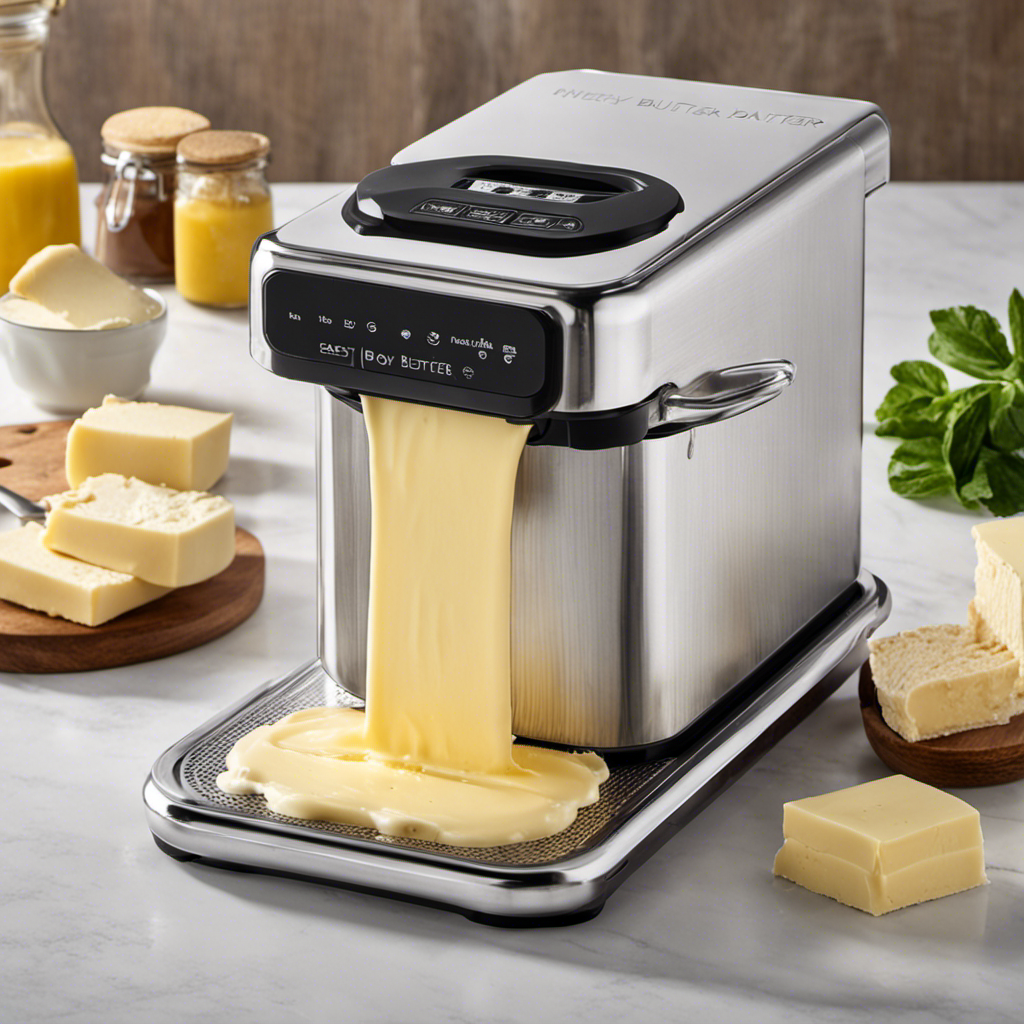
Hello there! Have you ever been interested in making your own butter at home, but didn’t know how to begin? Well, don’t worry, because I have the ideal solution for you: the Easy Butter Maker.
With this handy device, you can effortlessly whip up delicious homemade butter in no time. In this article, I’ll guide you through the process of using the Easy Butter Maker step by step.
So, let’s dive in and get churning!
Key Takeaways
- The Easy Butter Maker simplifies the process of making homemade butter by using heat and pressure for efficient extraction.
- Using fresh, high-quality ingredients and proper preparation techniques will result in the best flavor infusion.
- Operating the Easy Butter Maker is easy with its temperature control feature and simple power button.
- Straining and filtering the homemade butter using different techniques will enhance its flavor and texture.

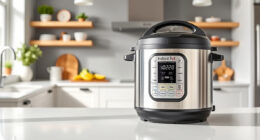
Instant Pot Duo 7-in-1 Electric Pressure Cooker, Slow Cooker, Rice, Steamer, Sauté, Yogurt Maker, Warmer & Sterilizer, Includes App With Over 800 Recipes, Stainless Steel, 6 Quart
- 7-in-1 Cooking Functions: Pressure, slow, sauté, steam, rice, yogurt, warm
- Smart One-Touch Programs: 13 customizable cooking options
- Safe Steam Release: Easy and secure steam switch
As an affiliate, we earn on qualifying purchases.
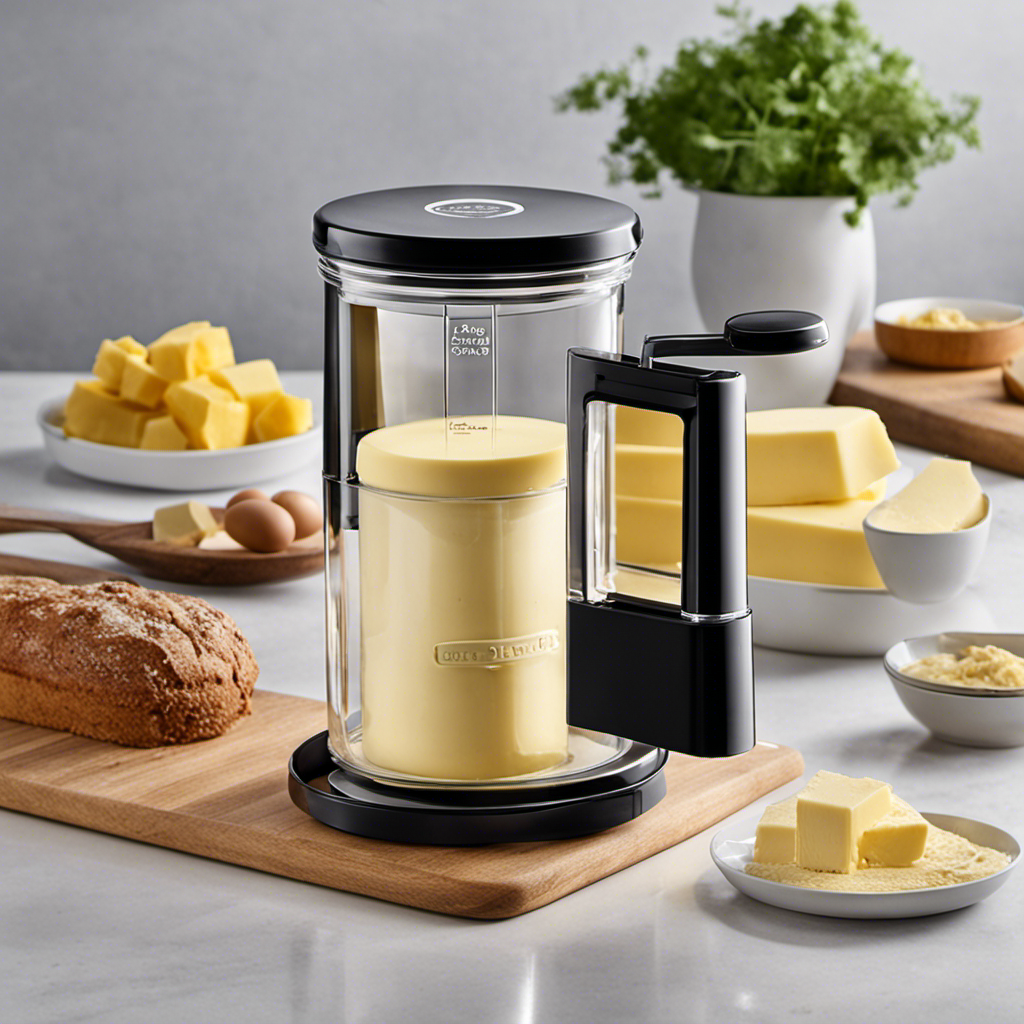
Getting Started With the Easy Butter Maker
To get started with the Easy Butter Maker, you’ll need to gather your ingredients and prepare them for extraction. Before beginning, make sure you store your ingredients in a cool and dry place. This will help preserve their freshness and potency.
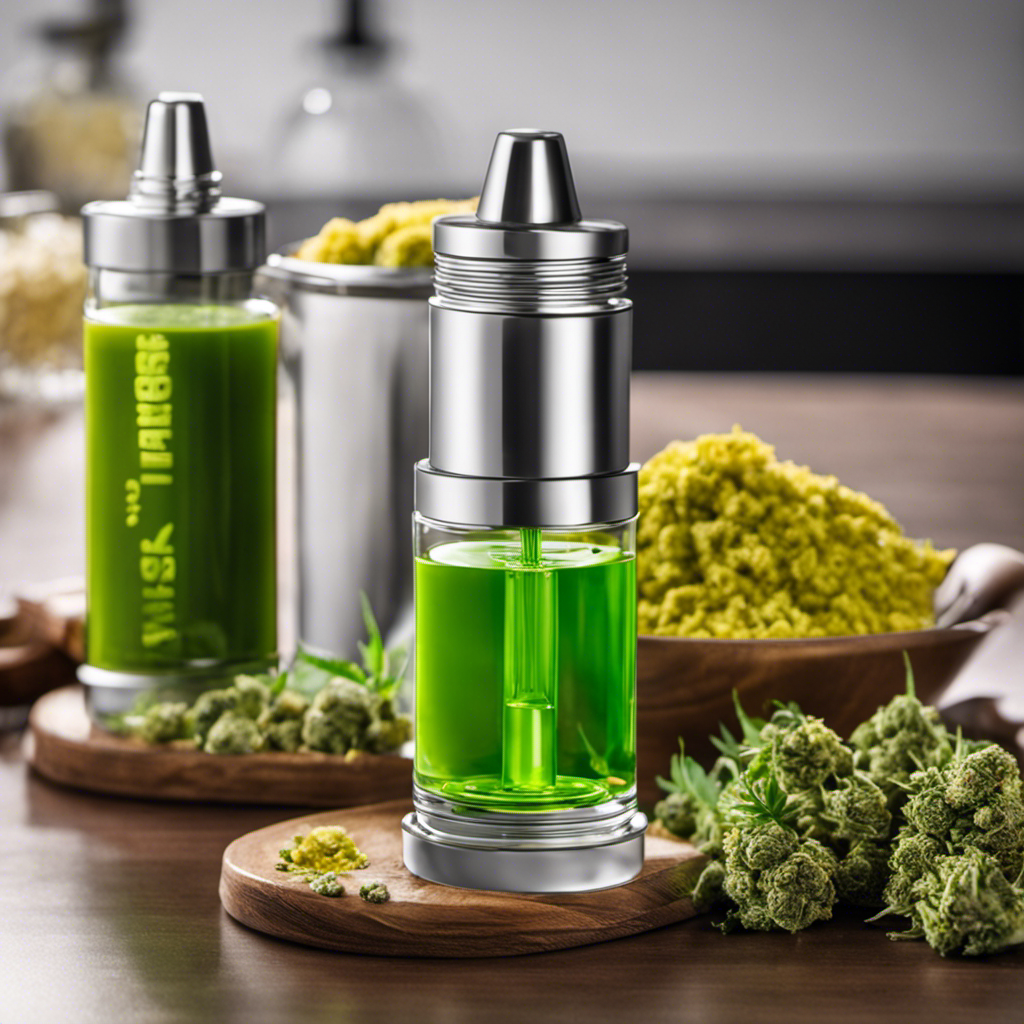
Once you have your ingredients ready, it’s time to explore alternative extraction methods. The Easy Butter Maker offers a simple and efficient way to extract the essential oils and flavors from your ingredients. Unlike traditional methods that can be time-consuming and messy, this device streamlines the process.
It uses heat and pressure to infuse your chosen ingredients into butter or oil. This method ensures a consistent and potent end product without the hassle.
Let’s dive into the details of this innovative extraction process.
Preparing Your Ingredients
When it comes to making the perfect infused butter, ingredient selection is key. I’ll share some tips on how to choose the best quality ingredients that will enhance the flavor and potency of your final product.
Additionally, I’ll guide you through measuring and weighing techniques to ensure accurate and consistent results every time.
Ingredient Selection Tips
Choose your ingredients carefully for the best results when using the easy butter maker. The right ingredients can make a world of difference in the flavor and quality of your infused butter. Here are some tips for selecting the perfect ingredients:
-
Quality Matters: Use fresh, high-quality ingredients to ensure the best flavor infusion. Whether you’re using herbs, spices, or fruits, opt for organic and locally sourced options whenever possible.
-
Experiment with Flavors: Don’t be afraid to get creative with your ingredient choices. Try different combinations of herbs, spices, and fruits to create unique and delicious infused butters. Think outside the box and let your taste buds guide you.
-
Consider the Intensity: Take into account the strength of the flavors you’re using. Some ingredients, like garlic or chili peppers, can be overpowering if used in large quantities. Start with smaller amounts and adjust according to your taste preferences.
Measuring and Weighing Techniques
Measuring and weighing can greatly impact the accuracy and consistency of your infused butter recipes, so make sure to use a reliable scale and measuring tools. Achieving the right measurements is crucial for the success of your butter-making process. It ensures that you have the correct ratio of ingredients, which directly affects the potency and flavor of your infused butter. In addition, measuring accurately allows for better portion control, ensuring that you’re consuming the desired amount of THC or CBD. To help you with measuring accuracy, here is a table that outlines the most commonly used measuring tools and their equivalents:
| Tool | Measurement |
|---|---|
| Cup | 8 fluid oz |
| Tablespoon | 3 teaspoons |
| Teaspoon | 5 ml |
| Gram | 1/28 oz |
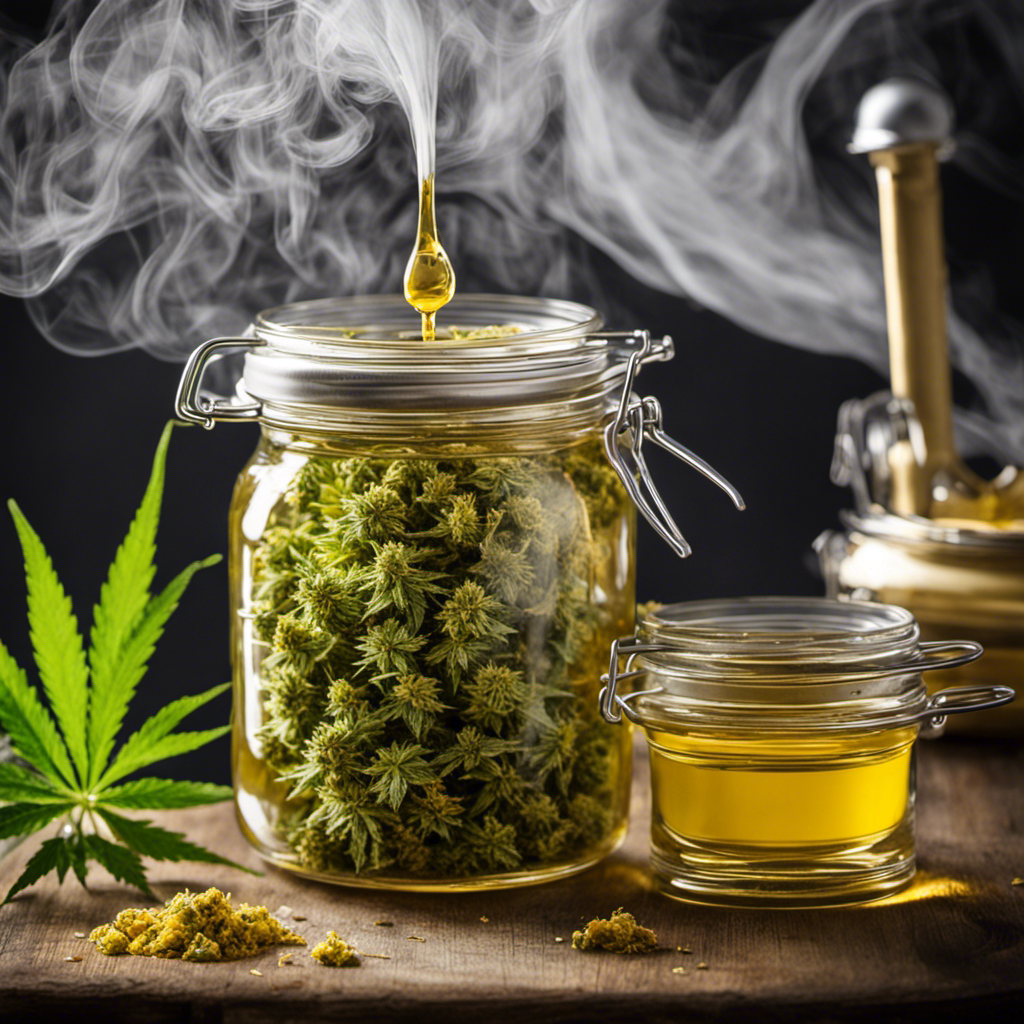
Preparing Ingredients for Extraction
To ensure optimal extraction, make sure you have properly prepared your ingredients before starting the infusion process. Here are three key steps for ingredient preparation:
-
Grind your ingredients: Use a grinder to break down the herbs or spices into smaller, more manageable pieces. This will increase the surface area and allow for better extraction during the infusion process.
-
Measure accurately: Use a scale to measure the precise amount of ingredients needed for your recipe. This will ensure that you achieve the desired potency and flavor in your infused butter.
-
Choose the right extraction method: There are various extraction methods available, such as heat infusion or cold infusion. Research and select the method that best suits your ingredient and desired outcome.
By following these steps, you’ll be able to prepare your ingredients properly, resulting in a more successful and flavorful infusion process.
Happy infusing!
Operating the Easy Butter Maker
When using the Easy Butter Maker, you’ll want to make sure you have all the necessary ingredients on hand. Once you have prepared your ingredients, it’s time to operate the machine.
Start by placing the desired amount of butter or oil into the heating chamber. The Easy Butter Maker comes with a built-in temperature control feature, allowing you to set the temperature according to your preference. It is important to use accurate measuring techniques to ensure precise results.
Once you have set the temperature, simply press the power button and let the machine work its magic. The Easy Butter Maker will heat the butter or oil to the desired temperature and extract the essential ingredients. Remember to monitor the process and adjust the temperature if needed.
With its easy operation and temperature control, the Easy Butter Maker makes the process of making butter or oil a breeze.
Adjusting Temperature and Time Settings
Once you’ve set the desired temperature on the Easy Butter Maker, simply press the button to begin the extraction process. Adjusting the temperature settings is crucial for achieving the perfect infusion. Here’s how to do it:
-
Determine the optimal temperature: Different herbs and ingredients require different temperatures for optimal extraction. Research the recommended temperature range for your specific recipe to ensure the best results.
-
Use the temperature control knob: The Easy Butter Maker features a temperature control knob that allows you to easily adjust the heat. Turn it clockwise to increase the temperature and counterclockwise to decrease it.
-
Consider the extraction time: Along with temperature, the extraction time also plays a role in the final outcome. Experiment with shorter or longer extraction times to find the perfect balance of flavor and potency.
Straining and Filtering the Butter
When it comes to making homemade butter, achieving a smooth and clear texture is crucial.
In this discussion, I will cover the various straining techniques that can be used to ensure the clarity of your butter.
Additionally, I will explore different filtering options that can help remove any impurities and enhance the purity of your final product.
Lastly, we will delve into the importance of achieving the right butter consistency after straining, as it can greatly affect the overall taste and spreadability of your homemade butter.
Straining Techniques for Clarity
To achieve clarity in your homemade butter, use a straining technique that allows any impurities to be removed. This will not only enhance the flavor but also give your butter a smoother texture.
Here are three straining techniques that you can try:
-
Cheesecloth method: Place a double layer of cheesecloth over a bowl and pour the melted butter through it. The cheesecloth will catch any solids or impurities, leaving you with a clear and pure butter.
-
Fine mesh strainer method: Set a fine mesh strainer over a bowl and carefully pour the melted butter through it. The small holes in the strainer will catch any impurities, giving you a clean and clarified butter.
-
Coffee filter method: Fold a coffee filter and place it in a funnel or strainer. Pour the melted butter into the filter, and it will strain out any unwanted particles, resulting in a crystal-clear butter.
Using these straining techniques will ensure that your homemade butter is free from any impurities, allowing the natural flavors to shine through.
Filtering Options for Purity
There are several filtering options available for achieving purity in your homemade butter. When it comes to removing impurities and achieving that smooth, creamy texture, filtering techniques play a vital role.
One popular option is using a fine mesh strainer or cheesecloth. Simply set the strainer or cheesecloth over a container and pour your freshly churned butter through it. This method effectively removes any remaining buttermilk or whey, leaving you with pure, clean butter.
Another filtering option is using a butter muslin or nut milk bag. These specially designed cloths help to strain out any impurities, resulting in a smoother and more refined butter.
Whichever filtering technique you choose, remember that it’s an essential step in the butter-making process to achieve that perfect, pure butter.
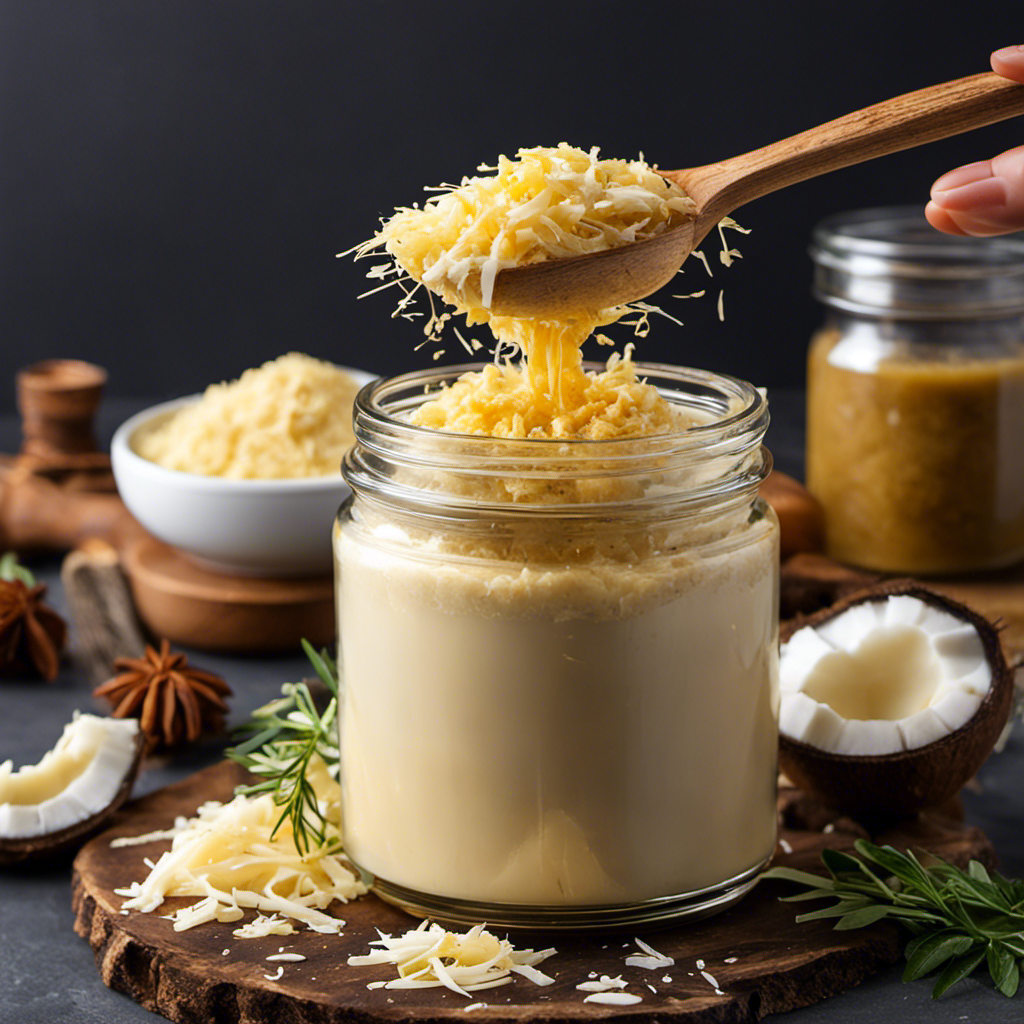
Butter Consistency After Straining
After straining, the butter should have a smooth and creamy consistency. Achieving the perfect butter consistency can be a game-changer for your culinary creations. Here are three straining techniques that will help you achieve that velvety texture:
-
Cheesecloth Method: Place the butter in a bowl lined with cheesecloth. Gently fold the corners of the cheesecloth over the butter and secure them with a rubber band. Allow the butter to strain for a few hours or overnight in the refrigerator. This method removes any excess moisture, resulting in a silky smooth consistency.
-
Fine Mesh Strainer: Pour the melted butter through a fine mesh strainer. This method effectively removes any impurities or solids, leaving you with a pure and creamy butter.
-
Blend and Strain: For a super smooth consistency, blend the butter in a food processor or blender before straining. This technique breaks down any remaining lumps and creates a luxurious texture.
Storing and Preserving Your Homemade Butter
Make sure you store your homemade butter in an airtight container in the refrigerator to keep it fresh and preserve its flavor. Proper storage techniques are essential to maintain the quality and taste of your homemade butter. Here are some tips to help you store and preserve your butter effectively:
| Technique | Description |
|---|---|
| Refrigeration | Store your butter in the refrigerator at temperatures between 32°F and 40°F. |
| Freezing | If you want to extend the shelf life, you can freeze your butter for up to six months. |
| Airtight | Ensure that your storage container is airtight to prevent the butter from absorbing odors. |
Additionally, you can enhance the flavor of your homemade butter by adding various ingredients. Some popular flavoring options include herbs like rosemary or thyme, garlic, or even sweet additions like honey or cinnamon. Experiment with different combinations to create your own unique flavored butters. Remember to label your containers with the date of preparation to keep track of freshness. By following these storing techniques and exploring flavoring options, you can enjoy delicious and preserved homemade butter for an extended period.
Troubleshooting Tips and Tricks
If your homemade butter is too hard to spread, you can try letting it sit at room temperature for a few minutes before using. This will help soften the butter and make it easier to spread on bread or toast.
But what if your butter has other common issues? Don’t worry, I’ve got you covered with some troubleshooting solutions:
-
Grainy Texture: If your butter turns out grainy, it could be due to inadequate mixing. Make sure to thoroughly mix the cream until it reaches a smooth consistency.
-
Excessive Moisture: If your butter has too much moisture, it may become watery or separate. To fix this issue, try draining any excess liquid and then knead the butter to incorporate the moisture evenly.
-
Rancidity: If your butter tastes off or has a strange smell, it might be rancid. Check the expiration date and store it properly in an airtight container in the fridge to prevent rancidity.
Cleaning and Maintenance of the Easy Butter Maker
To clean and maintain your Easy Butter Maker, simply wipe it down with a damp cloth after each use. This will help remove any residue and keep your machine in good condition. Additionally, it’s important to follow a regular maintenance schedule to ensure optimal performance. Here are some cleaning techniques and a suggested maintenance schedule for your Easy Butter Maker:
| Cleaning Techniques | Maintenance Schedule |
|---|---|
| Wipe with damp cloth | After each use |
| Use mild soap and water | Weekly |
| Remove any stuck-on residue with a brush or sponge | Monthly |
Frequently Asked Questions
Can I Use the Easy Butter Maker to Make Infused Oils or Tinctures?
Yes, you can use the Easy Butter Maker to make infused oils and tinctures. It’s a versatile tool that allows you to easily infuse herbs and botanicals into oils for cooking or creating homemade tincture recipes.
How Long Does It Take to Make Butter Using the Easy Butter Maker?
Making butter at home using the Easy Butter Maker is a breeze! It only takes a fraction of the time compared to traditional methods. Plus, the benefits of using this handy device are endless. Get ready to churn out some delicious butter in no time!
Can I Use Margarine or Other Types of Fats Instead of Butter?
Yes, you can use margarine or other types of fats instead of butter in the Easy Butter Maker. There are several benefits to using different fats, such as added flavor or dietary preferences.
Can I Add Flavorings or Spices to My Homemade Butter?
Yes, you can definitely add flavorings or spices to your homemade butter. It’s a great way to create unique and delicious flavored butter recipes. Plus, there are many benefits to adding spices, like enhancing the taste and aroma of your butter.
Is It Safe to Leave the Easy Butter Maker Unattended While It’s Operating?
Yes, it is not safe to leave the Easy Butter Maker unattended while it’s operating. Safety precautions should always be taken when using any kitchen appliance to minimize potential risks and ensure a safe cooking experience.
Conclusion
So there you have it – a simple and convenient way to make your own delicious butter at home with the Easy Butter Maker!
With just a few easy steps, you can transform ordinary ingredients into a creamy and flavorful spread that will elevate your culinary creations to new heights.
Whether you’re a seasoned chef or a novice in the kitchen, this handy device will make the process a breeze.
So why settle for store-bought when you can enjoy the satisfaction of homemade butter?
Give the Easy Butter Maker a try today and elevate your butter game to a whole new level!