I have a secret tip for you: Unsalted butter is a kitchen hero. While it may not be as flashy as its salted counterpart, when used strategically, it can elevate a variety of dishes.
From flaky pastries to creamy sauces, unsalted butter adds a richness and depth of flavor that can elevate any recipe. So, if you’re ready to take your culinary creations to the next level, join me as we explore the many reasons why unsalted butter should have a permanent spot in your pantry.
Key Takeaways
- Unsalted butter is recommended for better flavor in baking and plays a crucial role in achieving desired texture in both pastries and cakes.
- Unsalted butter helps achieve a creamier texture in frostings and allows the true flavor to shine through, while adding flavor enhancers can elevate the taste of icings.
- Butter is preferred for its rich flavor and creamy texture in whipping cream, although alternatives like cream, coconut milk, and Greek yogurt can lend a lighter consistency.
- Unsalted butter is beneficial in sauces and gravies as it helps control overall saltiness, allows for better seasoning control, and offers health benefits with essential fatty acids and vitamins A and E.

Land O Lakes Unsalted Butter in Half Sticks, 8 half sticks, 1 lb pack
- Unsalted Butter: Perfect for delicate baked goods
- Versatile Use: Ideal for baking, cooking, and toppings
- Quality Ingredients: Made with premium sweet cream
As an affiliate, we earn on qualifying purchases.
As an affiliate, we earn on qualifying purchases.
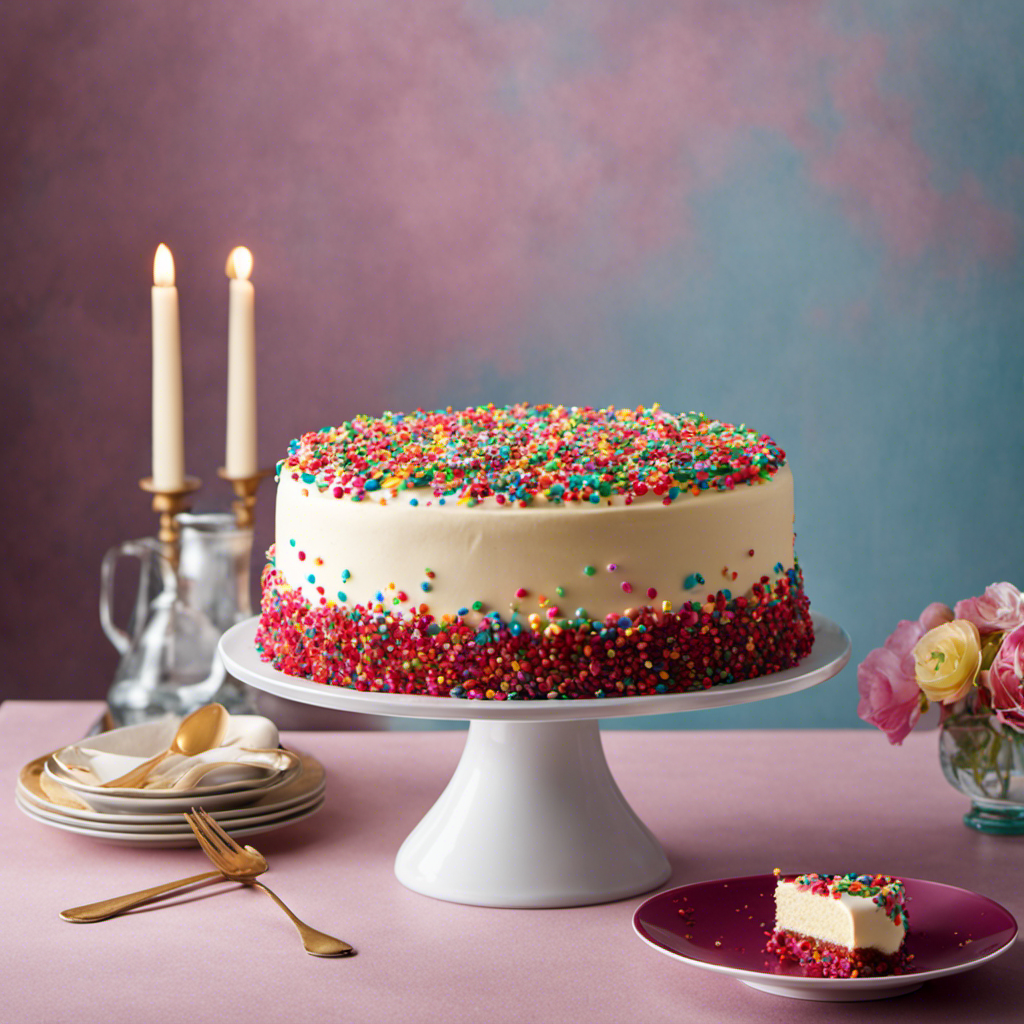
Baking Pastries and Cakes
When baking pastries and cakes, it is recommended to use unsalted butter for a better flavor. The choice of butter can significantly affect the texture of the final product.
In pastries, such as croissants or pie crusts, the goal is to achieve a flaky and delicate texture. Using unsalted butter helps create this texture by allowing bakers to control the amount of salt in the recipe.
On the other hand, cakes require a more tender and moist texture. Unsalted butter is crucial in achieving this because it allows bakers to precisely control the salt content, preventing the cake from becoming overly salty.
The importance of using unsalted butter in baking cannot be overstated, as it plays a vital role in achieving the desired texture and flavor in both pastries and cakes.
Now, let’s move on to making frostings and icings.
Making Frostings and Icings
When it comes to making frostings and icings, there are two key points to consider: achieving a creamier texture in frostings and enhancing the flavor in icings.
The texture of a frosting can greatly affect the overall enjoyment of a cake or pastry, and by using specific techniques such as whipping the butter and adding liquid gradually, a smoother and creamier texture can be achieved.
Additionally, adding flavor enhancers such as extracts, zests, or even coffee can elevate the taste of an icing and make it more delicious.
Creamier Texture in Frostings
Using unsalted butter in frostings creates a creamier texture. The absence of salt in unsalted butter allows the true flavor of the butter to shine through, enhancing the richness and smoothness of the frosting.
When making creamy fillings or smooth ganaches, the addition of unsalted butter helps to achieve a velvety consistency that melts in your mouth. The higher fat content in unsalted butter also contributes to the luxurious texture by providing a richer mouthfeel.
Additionally, unsalted butter gives you more control over the overall flavor of the frosting, as you can adjust the amount of salt to your preference.
Enhanced Flavor in Icings
The absence of salt in butter allows the true flavor to shine through, enhancing the richness and taste of icings.
But did you know that using unsalted butter can also enhance the color and achieve a smoother consistency in icings?
When it comes to enhancing color, unsalted butter serves as a blank canvas, allowing the other ingredients, such as food coloring or natural extracts, to truly pop and create vibrant shades.
Additionally, the absence of salt in unsalted butter can lead to a smoother and creamier texture in icings. The lack of salt helps to prevent any interference with the emulsification process, resulting in a velvety smooth icing that glides effortlessly over cakes and pastries.
Whipping Cream
When it comes to making frostings and icings, one key decision to make is whether to use butter or cream.
Butter is often preferred for its rich flavor and creamy texture, while cream can lend a lighter and smoother consistency.
However, if you’re looking for an alternative to whipped cream, there are several options to consider.
Some alternatives include coconut milk, Greek yogurt, or even a dairy-free whipped topping.
Butter Vs Cream
Butter and cream have different fat content levels. While butter is made by churning cream to separate the fat solids from the liquid, cream is the high-fat component of milk. The fat content in butter ranges from 80% to 82%, while cream typically contains around 30% to 40% fat. Here is a table comparing the fat content of different types of butter and cream:
| Type of Butter/Cream | Fat Content |
|---|---|
| Unsalted Butter | 80-82% |
| Salted Butter | 80% |
| Whipping Cream | 30-40% |
| Heavy Cream | 36-40% |
When it comes to health benefits, unsalted butter is a better choice compared to margarine, as it is a natural product without any artificial additives. It contains essential vitamins such as vitamin A, E, and K, along with beneficial fatty acids. However, moderation is key, as butter is high in saturated fat. Now, let’s explore some alternatives to whipped cream in the next section.
Whipped Cream Alternatives
If you’re looking for a healthier option, you could try using coconut cream or almond milk as alternatives to whipped cream.
These alternatives are often favored by those with special dietary needs or preferences.
Coconut cream is a rich and creamy option that can be used to create a similar texture to traditional whipped cream. It is made from the flesh of mature coconuts and contains healthy fats and nutrients.
Almond milk, on the other hand, is a popular dairy-free alternative that is low in calories and fat. It is made by blending soaked almonds with water and straining the mixture.
Both coconut cream and almond milk can be easily incorporated into a variety of recipes or used as toppings for desserts or beverages.
Creating Sauces and Gravies
Using unsalted butter in sauces and gravies can help control the overall saltiness of the dish. As a chef, I have found that experimenting with flavors is key to creating delicious and well-balanced dishes. Unsalted butter allows me to have better control over the salt content in my sauces and gravies.
By using unsalted butter, I can adjust the seasoning to taste without worrying about the dish becoming too salty. Additionally, unsalted butter offers health benefits. It is lower in sodium compared to salted butter, making it a healthier option for those watching their sodium intake. It also contains essential fatty acids and vitamins A and E, which are beneficial for heart health and overall well-being.
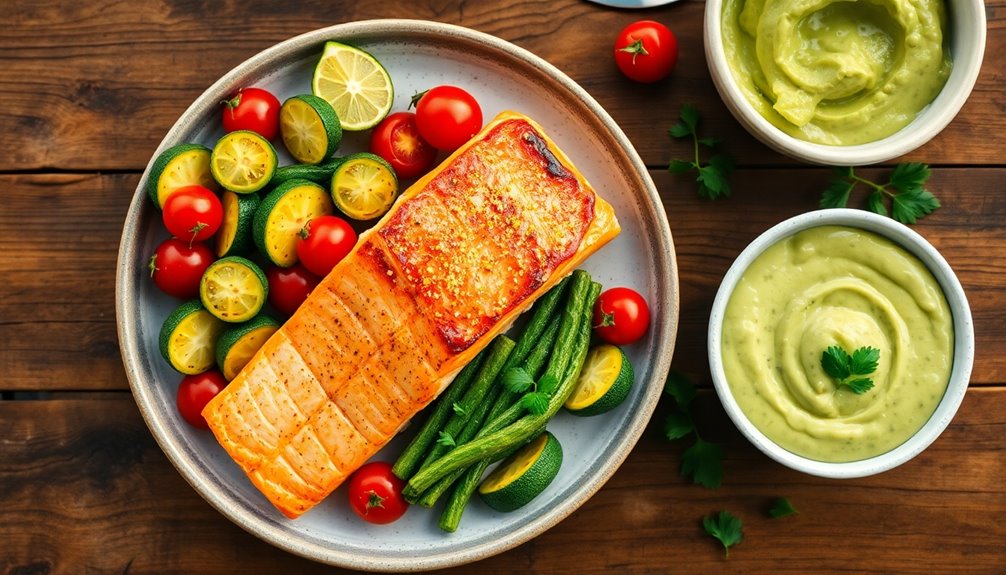
Cooking Savory Dishes
When you’re cooking savory dishes, it’s important to choose ingredients that enhance the flavors of your dish. One way to do this is by using the right cooking techniques and seasoning options. By understanding how to properly cook and season your food, you can elevate the taste and make your dish truly delicious.
Cooking techniques vary depending on the type of dish you’re making. From sautéing and roasting to braising and grilling, each technique brings out different flavors and textures in the ingredients. For example, sautéing vegetables in olive oil can help them develop a caramelized sweetness, while roasting meats can result in a rich and flavorful crust.
When it comes to seasoning options, there are countless possibilities. You can use herbs and spices like rosemary, thyme, or paprika to add depth and complexity to your dish. Salt and pepper are essential for enhancing flavors and balancing the taste. Additionally, incorporating ingredients like garlic, onions, or vinegar can add a tangy and aromatic element to your savory dishes.
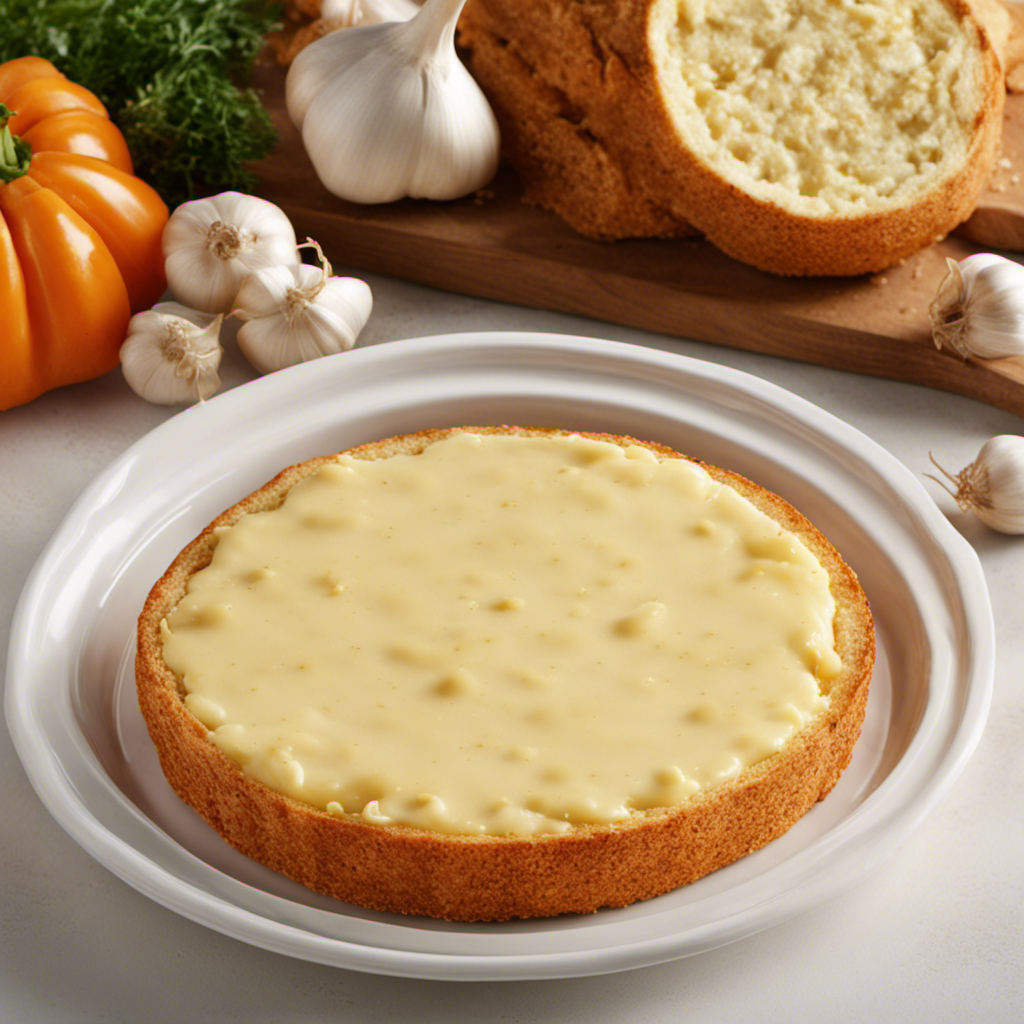
Enhancing the Flavor of Simple Dishes
To make your simple dishes burst with flavor, try experimenting with different herbs and spices. Elevating simple recipes can be as easy as adding a few key ingredients to add depth to basic dishes.
Here are a few ways to enhance the flavor of your meals:
-
Use fresh herbs: Adding a sprinkle of freshly chopped herbs like basil, parsley, or cilantro can instantly elevate the taste of your dish.
-
Explore exotic spices: Experiment with spices like cumin, turmeric, or smoked paprika to add a unique and flavorful twist to your recipes.
Experimenting With Different Flavors
Adding a variety of herbs and spices to your dishes can lead to exciting and unexpected flavor combinations. Experimenting with different flavors is a fun way to enhance the taste of desserts.
By trying out new combinations, you can create unique and delicious desserts that will impress your family and friends. For example, you can add a pinch of cinnamon to your chocolate cake batter to give it a warm and spicy flavor. Or, you can sprinkle some fresh mint leaves on top of a fruit salad to add a refreshing twist.
Don’t be afraid to get creative and take risks with your flavors. You never know what amazing combinations you might discover! So go ahead, start experimenting and let your taste buds be your guide.
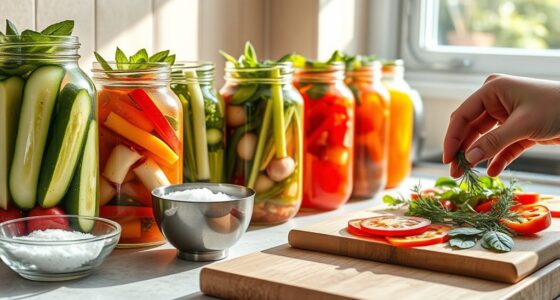
Incorporating Unsalted Butter in Special Diets
Incorporating unsalted butter in my special diet can provide a rich and creamy flavor to my favorite recipes. While some may think that butter is off-limits for those with special dietary restrictions, unsalted butter can actually be a beneficial addition.
Here are some health benefits of incorporating unsalted butter into a special diet:
-
Essential Fatty Acids:
Unsalted butter contains healthy fats such as omega-3 and omega-6 fatty acids, which are essential for brain health and reducing inflammation. -
Vitamin A:
Butter is a good source of vitamin A, an important nutrient for maintaining healthy vision, immune function, and skin health.
Frequently Asked Questions
Can I Use Unsalted Butter in Place of Salted Butter in Baking Pastries and Cakes?
I can use unsalted butter in place of salted butter in baking pastries and cakes. The main difference is the salt content, which may affect the overall taste. In savory dishes, using unsalted butter allows for better control of salt levels.
How Does Using Unsalted Butter Affect the Texture of Frostings and Icings?
Using unsalted butter in frostings and icings gives me control over the flavor by adding salt separately. It also extends the shelf life because unsalted butter has a lower water content.
Can Unsalted Butter Be Used for Whipping Cream, or Is It Better to Use Salted Butter?
Using unsalted butter for whipped cream has its pros and cons. While unsalted butter allows for more control over the flavor, salted butter can add a subtle savory note. It ultimately depends on personal preference.
What Role Does Unsalted Butter Play in Creating Sauces and Gravies?
Unsalted butter plays a crucial role in creating smooth and creamy sauces, while also enhancing the flavors of gravies. Its neutral taste allows the other ingredients to shine, resulting in a more balanced and refined dish.
Are There Any Specific Savory Dishes Where Unsalted Butter Should Not Be Used?
In savory dishes, using unsalted butter can enhance flavors and allow for better control over the dish’s saltiness. It brings a rich and creamy taste without adding unnecessary sodium.
Conclusion
So there you have it, folks! Unsalted butter is not just an ingredient, it’s a game-changer in the culinary world.
From baking pastries to creating mouthwatering sauces, unsalted butter adds that extra oomph to your dishes.
And let’s not forget about its versatility in special diets, making it a must-have in every kitchen.
Trust me, once you start using unsalted butter, you’ll wonder how you ever cooked without it.
So go ahead, unleash your inner chef and let unsalted butter elevate your cooking to a whole new level!