When I first saw my magic butter maker, it felt like unlocking a door to a secret realm of cooking possibilities.
This compact machine, with its intricate mechanics, became my trusted companion in the pursuit of perfect homemade butter.
In this article, I will guide you through the ins and outs of using my magic butter maker, from understanding its mechanics to troubleshooting common issues.
Get ready to elevate your butter-making game and indulge in the rich flavors of homemade goodness.
Key Takeaways
- The Magic Butter Maker is powered by a motor and uses gears to drive the agitation mechanism.
- The machine has a timer for precise control and safety features for safe operation.
- The butter-making process involves separating the butter from the liquid using a separation chamber and filtration system.
- Essential tools for butter making include a whisk, butter mold, mason jars, quality ingredients, and time and patience for flavor infusion.
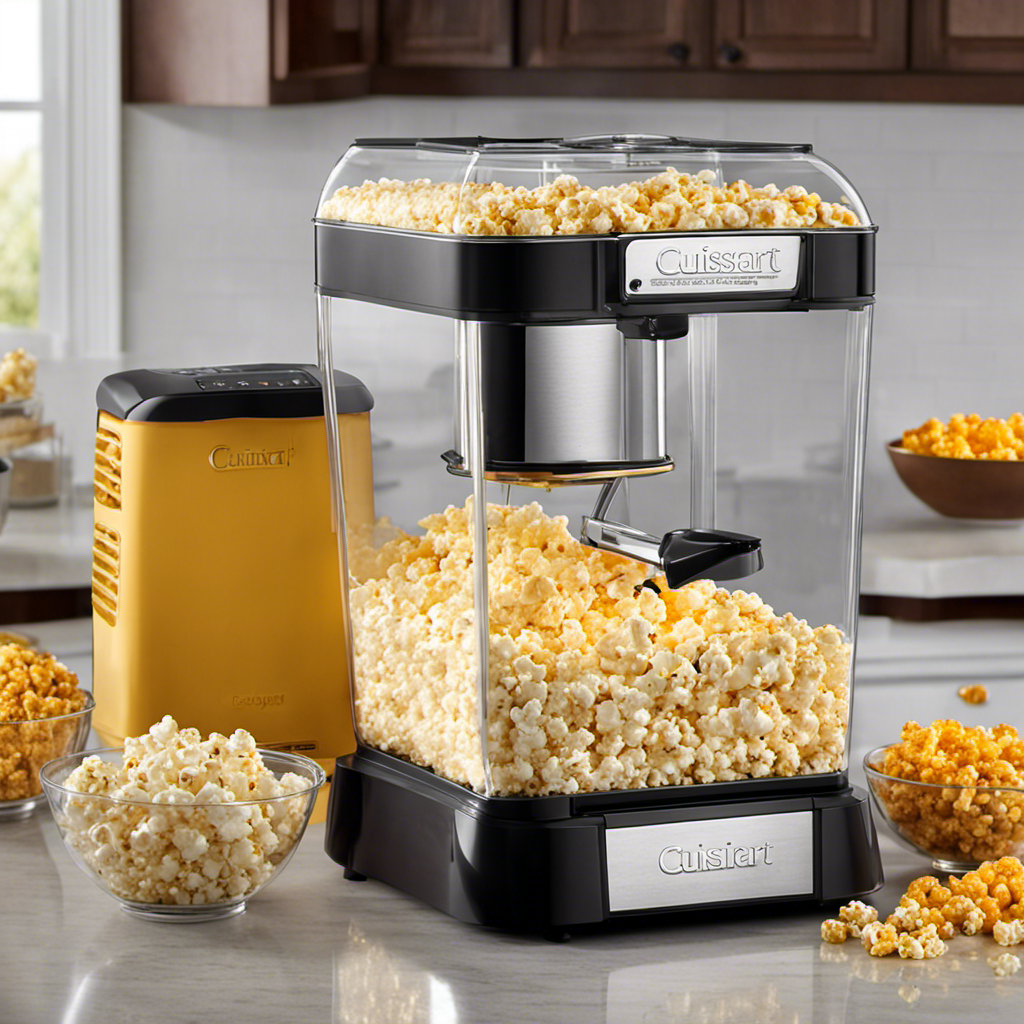
The Basics of My Magic Butter Maker
The magic butter maker makes it easy to create delicious homemade butter. Understanding the process and experimenting with ingredients are key to making the perfect batch.
First, it’s important to gather fresh cream from a local dairy or supermarket. Pour the cream into the butter maker and secure the lid tightly.
Next, turn on the machine and let it do its work. The butter maker will churn the cream, separating the fat from the liquid. After about 15 minutes, the butter will start to form.
Once the process is complete, drain the liquid and remove the butter. Now comes the fun part – experimenting with ingredients! You can add salt, herbs, or even fruit zest to customize the flavor.
Use the butter right away or store it in the refrigerator for later use. With the magic butter maker, the possibilities are endless!
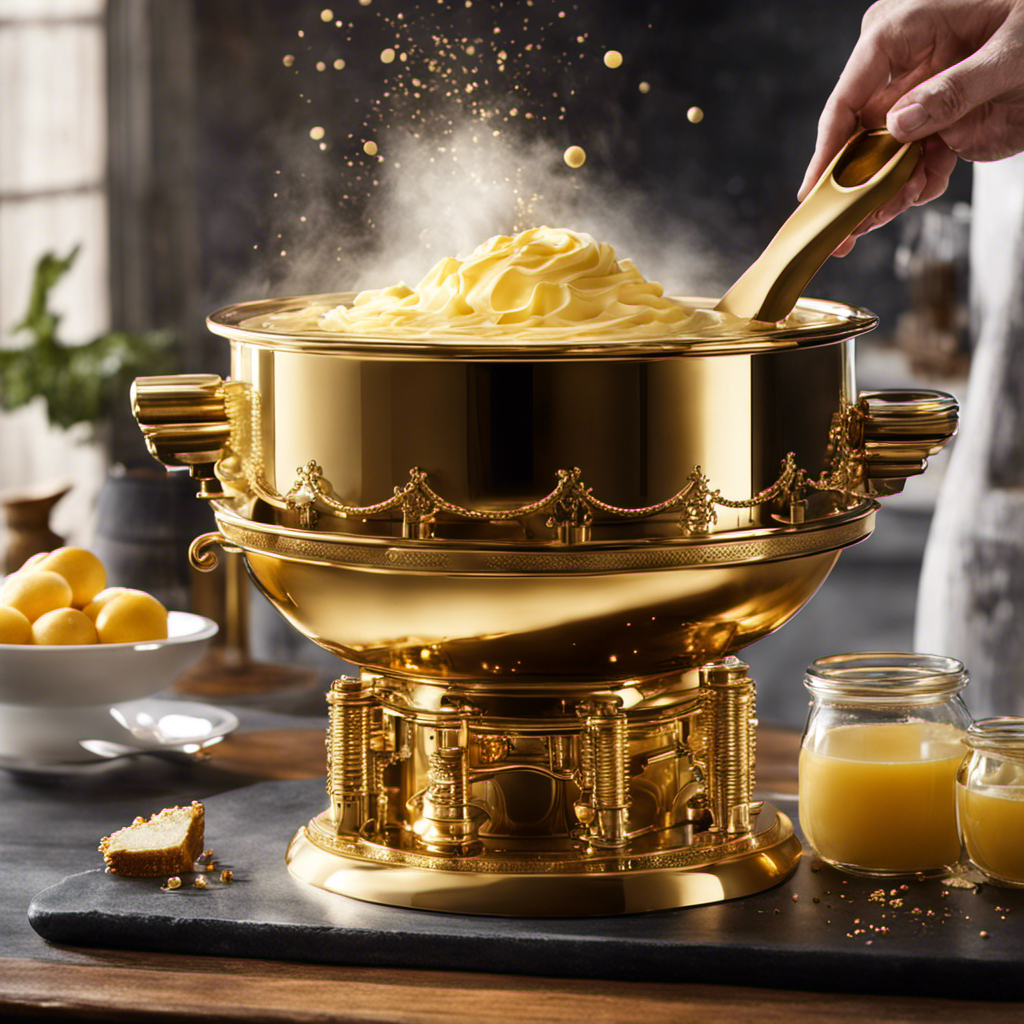
Understanding the Mechanics Behind It
To understand how it works, you just need to take a closer look at how you’re using it. The mechanics behind my magic butter maker involve a combination of mechanical engineering principles and a specialized butter extraction process. This process is designed to efficiently separate the milk solids from the cream, resulting in high-quality homemade butter. Let’s break it down further with a visual representation:
| Mechanical Engineering | Butter Extraction Process |
|---|---|
| Motor | Separation Chamber |
| Gears | Agitation Mechanism |
| Timer | Temperature Control |
| Safety Features | Filtration System |
The motor powers the gears, which in turn drive the agitation mechanism. This ensures thorough mixing and separation of the cream. The timer allows for precise control over the process duration, while safety features ensure safe operation. The separation chamber and filtration system work together to separate the butter from the liquid, leaving you with pure, creamy butter. Now that we understand the mechanics behind it, let’s explore the essential tools and accessories for butter making.
Essential Tools and Accessories for Butter Making
When it comes to making butter, having the right tools is essential. In this discussion, we will explore the must-have butter tools that every aspiring butter maker should have in their kitchen.
We will also explore some innovative butter accessories that can take your butter making experience to the next level. From butter churns to butter molds, these tools and accessories will help you create delicious homemade butter with ease and precision.
Must-Have Butter Tools
You’ll definitely want a whisk and a butter mold for your homemade butter.
When it comes to butter making, having the right tools can make all the difference. There are various butter churning techniques, but regardless of the method you choose, a whisk is essential for achieving that creamy, whipped texture. It helps incorporate air into the butter, resulting in a lighter and fluffier consistency.
A butter mold is also a must-have as it allows you to shape and form your butter into convenient portions. Whether you prefer a traditional rectangular mold or a more decorative one, it adds a touch of elegance to your homemade butter.
These butter making equipment essentials will ensure that your butter-making experience is a success.
Innovative Butter Accessories
Using innovative butter accessories can enhance the process of making homemade butter and add a unique touch to your creations. There are various accessories available in the market that can help you create beautiful and interesting butter molds, as well as creative packaging options.
Innovative Butter Molds
Butter molds come in various shapes and designs, allowing you to create butter in fun and unique shapes. Whether you want to make butter in the shape of animals, flowers, or even your favorite movie characters, there is a mold out there for you. These molds are made from food-grade materials and are easy to use and clean. They can add an extra touch of creativity to your butter-making process.
Creative Butter Packaging
Once you have made your homemade butter, you can use creative packaging options to give it a personalized touch. From mason jars with custom labels to decorative butter dishes, there are many ways to package your butter. You can also consider using waxed paper or parchment paper to wrap individual portions of butter, giving them a rustic and charming look.
| Innovative Butter Molds | Creative Butter Packaging |
|---|---|
| Animal shapes | Mason jars with custom labels |
| Flower shapes | Decorative butter dishes |
| Movie character shapes | Waxed paper or parchment paper wrapping |
Step-by-Step Guide to Using My Magic Butter Maker
First, gather all the necessary ingredients and equipment for making magic butter with your magic butter maker. To fully understand the process and ensure the best results, follow these steps:
- Quality ingredients: Start with high-quality unsalted butter, preferably organic, for the best flavor and texture.
- Herbs and spices: Choose your favorite flavors to infuse into the butter. Popular options include garlic, rosemary, thyme, and chili flakes.
- Magic butter maker: This specialized appliance will help you achieve the perfect consistency and infusion of flavors.
- Time and patience: Infusing flavors takes time, so be prepared to let the butter mix and steep for several hours.
- Storage containers: Have airtight containers ready to store your finished magic butter.
With these tips in mind, you’ll be able to create delicious and flavorful magic butter every time.
Now, let’s move on to some tips and tricks for perfect butter every time.
Tips and Tricks for Perfect Butter Every Time
When it comes to butter, there are several important aspects to consider: storage, flavoring options, and troubleshooting.
In this discussion, I will explore some practical butter storage hacks to keep your butter fresh and delicious for longer periods.
Additionally, I will delve into various flavoring options that can elevate the taste of your butter, from herbs and spices to sweet additions.
Lastly, I will provide a helpful butter-making troubleshooting guide, addressing common issues and offering solutions to ensure your homemade butter turns out perfectly every time.
Butter Storage Hacks
For optimal butter storage, you’ll want to try out these handy hacks:
-
Mason Jars: These versatile containers are perfect for storing butter. Simply scoop the butter into a clean mason jar, seal it tightly, and store it in the refrigerator.
-
Butter Bell: A butter bell is a unique container that keeps butter fresh at room temperature. Fill the bell with softened butter and place it upside down in a small dish filled with water. This creates an airtight seal and prevents the butter from spoiling.
-
Butter Dishes: A classic butter dish is a great option for storing butter on the countertop. Look for a dish with a lid to keep the butter protected and fresh.
-
Silicone Butter Keepers: These innovative containers are designed to keep butter soft and spreadable. They have a water seal that locks in freshness and prevents spoilage.
-
Butter Wrappers: Don’t throw away those butter wrappers! They can be used to wrap and store leftover butter. Simply fold the wrapper around the butter and secure it with a rubber band or clip.
These creative butter containers and storage tips will help you keep your butter fresh and delicious for longer periods of time.
Flavoring Options for Butter
One popular way to add flavor to butter is by mixing in herbs and spices. Adding herbs such as thyme, rosemary, or basil can give your butter a fresh and aromatic taste. Simply chop the herbs finely and mix them into softened butter, then refrigerate until firm.
Another option is to infuse oils with herbs and add them to butter. Infused oils are made by heating oil with herbs to release their flavors. Once the oil has cooled, you can mix it into butter to create a delicious herb-infused spread. Some popular herb-infused oils include garlic-infused oil and chili-infused oil.
Experiment with different herbs and oils to create unique and flavorful combinations for your butter.
Butter-Making Troubleshooting Guide
To troubleshoot any issues with your homemade butter, make sure you have accurately followed the recipe and taken note of the temperature of the ingredients. Sometimes, butter consistency issues can arise due to equipment malfunction. Here are some troubleshooting tips to help you achieve the perfect butter:
-
Check the temperature: Ensure that the cream is at the right temperature before churning. Too cold, and it won’t churn properly. Too warm, and it may turn into whipped cream instead of butter.
-
Inspect the churner: Check for any loose parts or signs of wear and tear that may be affecting the churning process. Tighten any loose screws or replace any damaged components.
-
Adjust churning time: If your butter is too soft or not forming properly, try extending the churning time slightly to allow for more fat separation.
-
Experiment with cream freshness: Using fresher cream could yield better results, as older cream may have a higher water content, leading to a softer butter consistency.
-
Consider the temperature of the room: If your butter is too soft, the room temperature may be too warm. Try chilling the room or refrigerating the churner before use.
Exploring Different Types of Butter Recipes
I’ve been experimenting with various butter recipes in my magic butter maker. It’s been quite a journey exploring different butter flavors and coming up with unique butter recipes.
One of my favorites is garlic herb butter. To make it, I simply blend softened butter with minced garlic, chopped fresh herbs like parsley and thyme, and a pinch of salt. The result is a fragrant and flavorful butter that can be used to enhance the taste of grilled meats, roasted vegetables, or even spread on warm bread.
Another delicious option is honey cinnamon butter. This sweet and spicy combination is made by mixing softened butter with honey and ground cinnamon. It’s perfect for spreading on pancakes, waffles, or even toast.
The possibilities are endless when it comes to creating unique and delicious butter recipes in my magic butter maker.
Troubleshooting Common Issues With My Magic Butter Maker
If you’re experiencing any issues with your magic butter maker, troubleshooting common problems can help you find a solution. Here are some tips to optimize your butter yield and troubleshoot any issues you may encounter:
- Ensure that you are using the correct ratio of ingredients. Too much or too little can affect the final yield.
- Check the temperature settings on your magic butter maker. Adjusting the temperature can help achieve the desired consistency.
- Clean the machine thoroughly before each use. Any residue or build-up can impact the butter-making process.
- Use high-quality ingredients. Fresh herbs or high-fat content dairy can enhance the flavor and yield of your butter.
- Pay attention to the processing time. Over-processing can result in a lower yield, while under-processing may leave you with a grainy texture.
Cleaning and Maintenance for Long-lasting Performance
When it comes to ensuring the long-lasting performance of my magic butter maker, there are three key points to consider: proper cleaning techniques, a regular maintenance schedule, and extending the product’s lifespan.
First and foremost, it is essential to use the right cleaning techniques to prevent any buildup or residue that can affect the machine’s functionality.
Additionally, following a regular maintenance schedule, such as checking for loose screws or lubricating moving parts, can help prevent any potential issues before they arise.
Lastly, taking steps to extend the product’s lifespan, such as storing it in a cool, dry place or avoiding overloading it with ingredients, can contribute to its overall longevity and performance.
Proper Cleaning Techniques
To properly clean your magic butter maker, make sure to follow these techniques:
- Use warm soapy water to clean the exterior of the machine.
- Remove any excess butter or residue from the blades using a soft brush or cloth.
- For stubborn stains, mix a solution of vinegar and water and gently scrub the affected areas.
- Ensure that all parts are completely dry before reassembling the machine.
- Regularly check and clean the filter to maintain optimal performance.
Cleaning your magic butter maker is essential to ensure its longevity and efficiency. By following these techniques, you can remove any buildup or residue that may affect the machine’s performance. Proper maintenance will not only keep your butter maker running smoothly but also prolong its lifespan.
Now, let’s discuss the importance of establishing a regular maintenance schedule.
Regular Maintenance Schedule
Establishing a regular maintenance schedule for your magic butter maker is crucial for ensuring its optimal performance and longevity. By implementing preventive care measures and performing routine maintenance tasks, you can extend the lifespan of your machine and avoid costly repairs. Here are some key maintenance tasks to include in your schedule:
| Maintenance Task | Frequency |
|---|---|
| Cleaning the exterior | After each use |
| Inspecting the blades | Monthly |
| Lubricating moving parts | Every 3 months |
Regularly cleaning the exterior of your magic butter maker helps prevent buildup of residue and ensures hygienic operation. Monthly inspections of the blades allow you to identify any signs of wear or damage. Lubricating the moving parts every 3 months keeps them running smoothly and reduces friction.
By following a regular maintenance schedule, you can keep your magic butter maker in excellent condition and enjoy consistent performance. Now, let’s explore how to extend the product lifespan even further.
Transitioning into the subsequent section about ‘extending product lifespan’, it is important to go beyond regular maintenance and implement additional measures to maximize the longevity of your magic butter maker.
Extending Product Lifespan
By implementing these additional measures, you can significantly extend the lifespan of your machine. Here are some tips to help you in extending the shelf life and preserving the freshness of your products:
- Store the machine in a cool and dry place to prevent moisture buildup.
- Clean the machine thoroughly after each use to remove any residue or buildup.
- Regularly check and replace any worn out or damaged parts to ensure optimal performance.
- Use high-quality ingredients and follow proper recipes to ensure the best results.
- Avoid overloading the machine as it can put unnecessary strain on the motor.
By following these tips, you can ensure that your machine lasts longer and continues to produce high-quality products.
Now, let’s move on to enhancing the flavors of homemade butter.
Enhancing the Flavors of Homemade Butter
When making homemade butter with my magic butter maker, I can enhance its flavors by adding herbs and spices. Flavoring techniques play a crucial role in transforming plain butter into a delicious and aromatic spread.
Experimenting with herbs allows me to create unique flavor combinations that suit my personal taste preferences. One popular method is infusing melted butter with herbs like rosemary, thyme, or basil, which adds a subtle earthy and fragrant note. For a more intense flavor, I can mix in finely chopped garlic or shallots.
Additionally, spices like cinnamon or nutmeg can be incorporated for a sweet and warm twist. By exploring various herbs and spices, I can elevate the taste of my homemade butter and create a truly unforgettable culinary experience.
Taking Your Homemade Butter to the Next Level
To take your homemade butter to the next level, you’ll want to experiment with unique flavor combinations using herbs, spices, and other ingredients. Adding different flavors can elevate the taste of your butter and make it truly extraordinary. Here are some exciting ideas to help you take your butter to new heights:
- Infuse your butter with fresh herbs like rosemary, thyme, or basil for a burst of aromatic flavors.
- Add a pinch of exotic spices such as cinnamon, cardamom, or nutmeg to create a warm and comforting butter.
- Try incorporating savory ingredients like roasted garlic, sun-dried tomatoes, or caramelized onions for a savory twist.
- For a touch of sweetness, mix in some honey, maple syrup, or vanilla extract.
- Get creative with unexpected combinations like chili flakes and lime zest or lavender and lemon zest.
Frequently Asked Questions
How Long Does It Take to Make Butter Using My Magic Butter Maker?
No, it’s not difficult to clean my magic butter maker after making butter. It requires regular washing with warm soapy water. As for ingredients and equipment, it only needs cream and a power source.
Can I Use My Magic Butter Maker to Make Other Types of Spreads, Like Nut Butter or Fruit Spreads?
Sure, I can use my magic butter maker to create a variety of spreads. With some creativity, you can whip up nut butter or fruit spreads that will make your taste buds sing. Let me share some tips for achieving the perfect texture.
Is It Possible to Adjust the Consistency of the Butter Made With My Magic Butter Maker?
Yes, it is possible to adjust the consistency of the butter made with my magic butter maker. By experimenting with different butter making techniques, I can achieve the desired texture and smoothness.
What Is the Maximum Amount of Butter That Can Be Made at Once Using My Magic Butter Maker?
The maximum amount of butter that can be made at once using my magic butter maker depends on the capacity of the machine. The butter making process allows for efficient and large-scale production.
Can My Magic Butter Maker Be Used for Making Plant-Based or Vegan Butter Alternatives?
Yes, my magic butter maker can be used to make plant-based or vegan butter alternatives. It offers benefits like customization and control over ingredients. Here are some tips for making the perfect vegan butter with it.
Conclusion
In conclusion, my magic butter maker has truly been a game-changer in my culinary adventures.
Its mechanics, like a well-choreographed dance, effortlessly transform simple ingredients into velvety, homemade butter.
With the right tools and accessories, the process becomes even more seamless.
Following the step-by-step guide, I have crafted butter that surpasses any store-bought variety.
And when faced with challenges, troubleshooting techniques have saved the day.
With proper cleaning and maintenance, my magic butter maker promises longevity.
By adding unique flavors, I have elevated my butter to an art form.
So, let your imagination run wild and let my magic butter maker take you to new heights in butter-making excellence.