Have you ever felt like you’re not in on the secret to the most delicious pastries and flaky pie crusts? Don’t worry, because we’re going to reveal the mystery to you.
When it comes to baking, cutting in butter is like a magical dance that creates the perfect texture and flavor. In just a few simple steps, you’ll learn how to achieve that heavenly melt-in-your-mouth goodness.
So, get ready to elevate your baking game and become a butter-cutting pro.
Key Takeaways
- Cutting in butter creates layers in the dough, resulting in a light and flaky crust.
- Cold butter is crucial for achieving a flaky texture in baked goods.
- Traditional methods (pastry cutter or two knives) and modern tools (food processor or stand mixer) can be used to cut in butter.
- Working quickly and efficiently is important to prevent the butter from melting and to achieve the desired texture.

King Arthur Baking Company Professional Pastry Brush, Natural Boar Bristles, 2-Inch, For Butter, Egg Wash, Glaze And Baking Prep
King Arthur Baking Company Professional Pastry Brush: gently coats crusts, pastries, and breads with butter, egg wash, water,...
As an affiliate, we earn on qualifying purchases.
The Importance of Cutting in Butter
The most important step in making a flaky pie crust is cutting in the butter until it resembles coarse crumbs. This process involves incorporating the butter into the flour mixture in order to create layers that result in a light and flaky crust.
There are different cutting methods that can be used to achieve this. One method is using a pastry cutter or two knives to cut the butter into small pieces and then mixing it with the flour until it reaches the desired texture. Another method is grating frozen butter into the flour and then gently incorporating it with your fingertips.
The benefits of cutting in butter include creating pockets of fat that melt during baking, resulting in a tender and flaky crust.
Transitioning into the subsequent section, let’s explore different techniques for cutting in butter.
Walfos 600°F Heat Resistant Silicone Basting Brushes BPA Free Pastry Brush, Spread Oil Butter Sauce for BBQ Grill Baking Kitchen Cooking, Dishwasher Safe (2 SIZE)
★Upgraded ONE-PIECE DESIGN & STAINLESS STEEL CORE TECHNOLOGY - Owing to ONE-PIECE design, the silicone bristles will not...
As an affiliate, we earn on qualifying purchases.
Different Techniques for Cutting in Butter
When it comes to cutting in butter, there are two main methods: traditional and modern.
The traditional method involves using a pastry cutter or two knives to blend cold butter into flour.
The modern method uses a food processor or stand mixer.
The importance of using cold butter cannot be overstated, as it helps create flaky and tender baked goods by creating steam pockets during baking.
Traditional Vs. Modern Methods
To achieve the desired texture, you should try using a pastry cutter instead of your hands when cutting in butter for a traditional pie crust. While traditional methods involved using your fingers to mix the butter into the flour, modern tools like pastry cutters provide a more efficient and consistent result.
Here is a comparison between traditional methods and modern tools for cutting in butter:
| Traditional Methods | Modern Tools |
|---|---|
| Using fingers | Pastry cutter |
| Inconsistent results | Consistent results |
| Time-consuming | Time-saving |
| Messy | Neat and clean |
| Requires skill | Easy to use |
Importance of Cold Butter
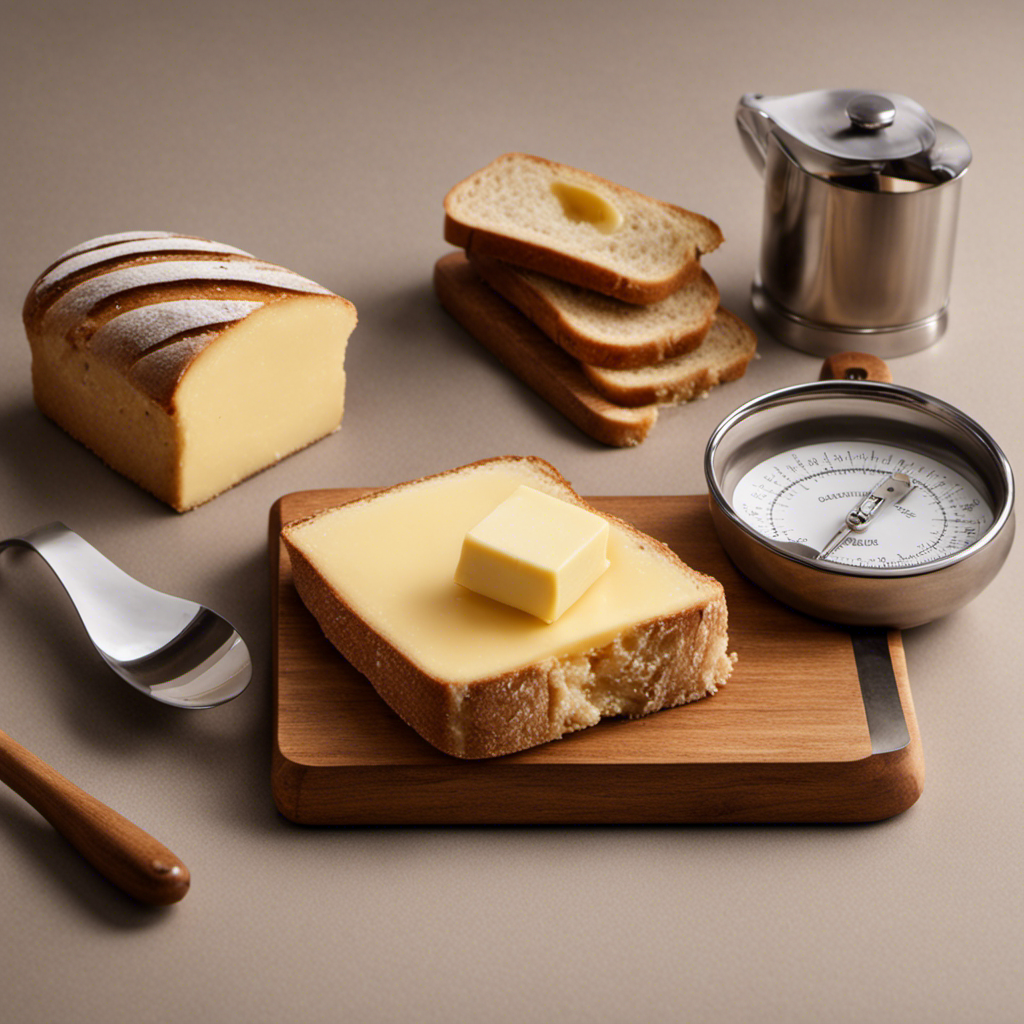
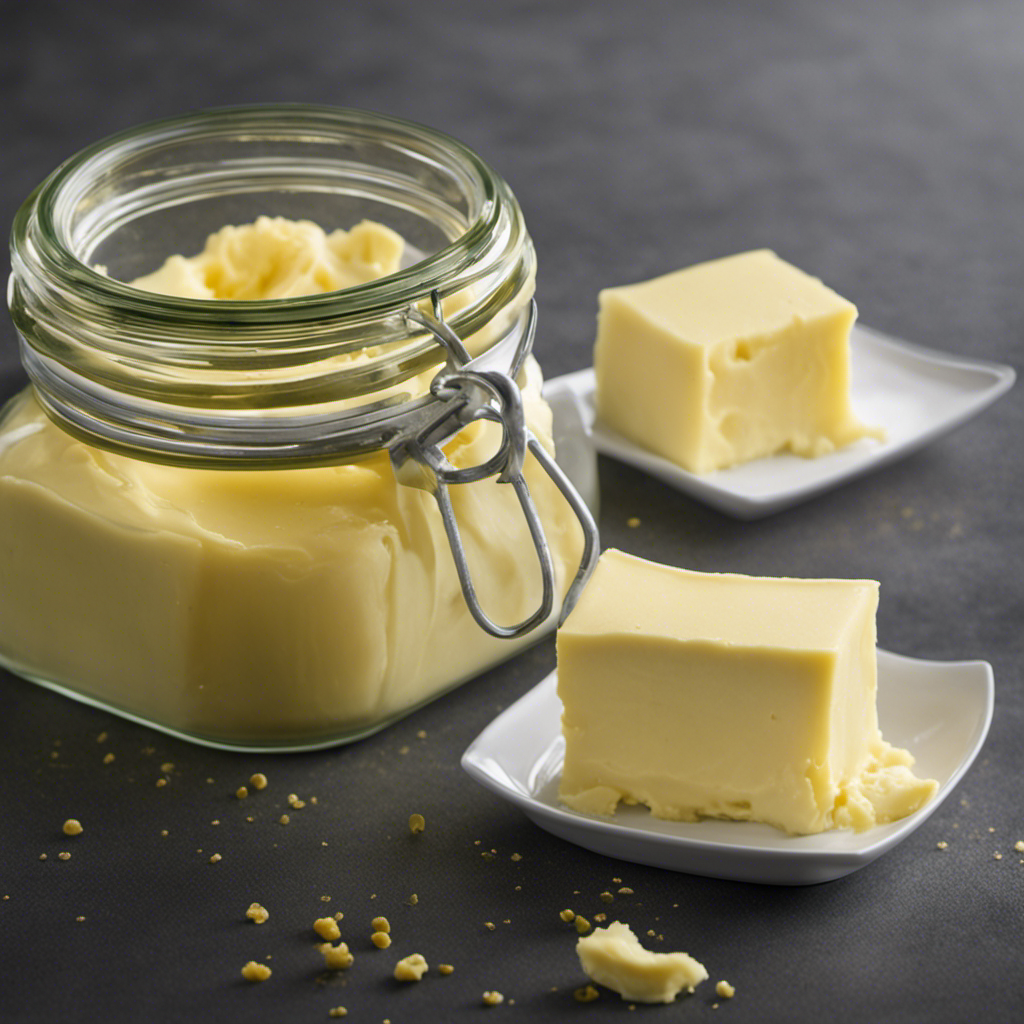
For a perfect pie crust, remember that cold butter is crucial because it helps create that flaky texture you love. The temperature of the butter is of utmost importance when it comes to cutting it into the dry ingredients.
Cold butter is firm and solid, which makes it easier to incorporate into the flour mixture without melting too quickly. This is important because the small pieces of butter create pockets of air when heated in the oven, resulting in a flaky crust. If the butter is too warm, it will blend too thoroughly with the flour, leading to a denser texture. So, make sure to keep your butter cold before cutting it in for the best results.
Now, let’s move on to the tools and equipment you’ll need for cutting in butter.

OXO Good Grips Silicone Basting & Pastry Brush - Small
Unique bristle design won’t retain odors or clump during cleaning
As an affiliate, we earn on qualifying purchases.
Tools and Equipment for Cutting in Butter
The tools you’ll need for cutting in butter include a pastry cutter or two knives. These tools are essential for achieving the desired texture when incorporating butter into dry ingredients.
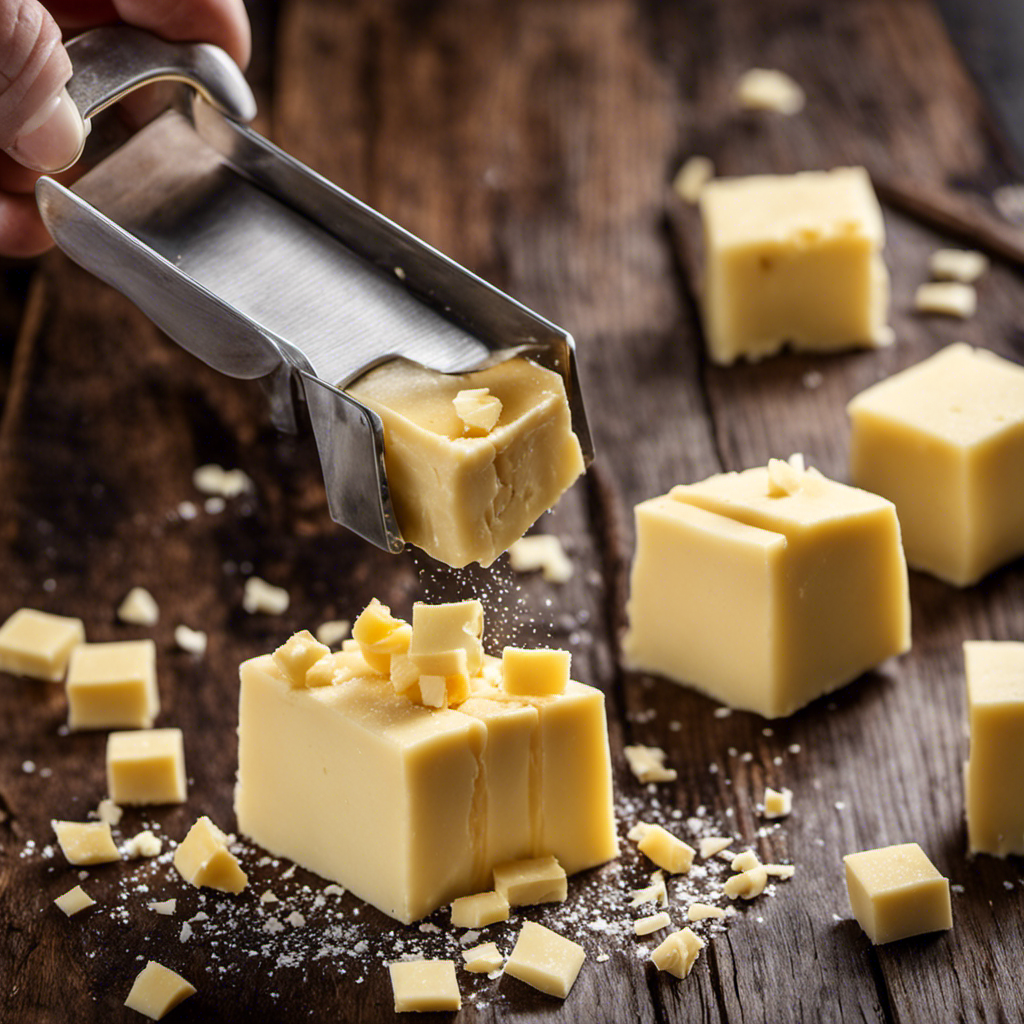
A pastry cutter, also known as a dough blender, is a handheld tool with several curved metal blades. It is specifically designed for cutting cold butter into flour, creating a crumbly texture.
Alternatively, two knives can be used by holding them in each hand and cutting the butter into small pieces, then incorporating it into the dry ingredients. Both techniques require a firm and quick motion to prevent the butter from melting.

HAUSHOF Silicone Basting Pastry Brush, Heat Resistant Pastry Brush Set, One-Piece Design, Perfect for Baking, Grilling, Spreading Oil, Butter, BBQ Sauce, or Marinade, Dishwasher Safe
Food Grade Silicone: The basting brushes are made of high-quality food grade silicone. You could use these silicone...
As an affiliate, we earn on qualifying purchases.
Tips and Tricks for Perfectly Cutting in Butter
To achieve the best cutting techniques and achieve a flaky texture, there are a few key points to keep in mind.
First, make sure your butter is cold and firm before starting. This will make it easier to cut into small pieces and incorporate into the dough.
Next, use a pastry cutter or two knives to cut the butter into the flour mixture, working quickly and efficiently to prevent the butter from melting.
Lastly, be careful not to overmix the dough, as this can lead to a tough and dense final product.
Best Cutting Techniques
When cutting in butter, you’ll want to use a pastry cutter or two knives to achieve a crumbly texture. This technique is commonly used in baking to incorporate cold butter into dry ingredients, creating a flaky and tender result.
To achieve the best results, it’s important to use high-quality butter. Some of the top butter brands known for their excellent flavor and texture include Kerrygold, Plugrá, and Land O’Lakes.
However, if you’re looking for alternative ingredients for cutting techniques, there are a few options you can try. For a vegan alternative, you can use coconut oil or vegetable shortening. These ingredients can be cut into the dry mixture in the same way as butter, resulting in a similar texture and flavor.
Achieving Flaky Texture
Achieving a flaky texture in baking can be accomplished by using a pastry cutter or two knives to cut cold butter into dry ingredients. This technique, known as cutting in butter, has several benefits.
First, it creates small pockets of butter within the dough, which melt during baking and create a light, airy texture.
Second, the cold butter helps to keep the dough cool, preventing it from becoming too soft and sticky. This is crucial for achieving a flaky texture, as it allows the dough to expand and rise properly in the oven.
Lastly, cutting in butter ensures that the fat is evenly distributed throughout the dough, resulting in a consistent flakiness throughout the baked goods.
Common Mistakes to Avoid When Cutting in Butter
One common mistake to avoid is not chilling the butter prior to cutting it into the dough. When the butter is too soft, it will melt quickly during the baking process, resulting in a less flaky texture. To achieve the desired flakiness, it is essential to follow the proper technique.
Here are some common mistakes to avoid when cutting in butter:
-
Using warm hands: Warm hands can soften the butter, making it harder to achieve the desired texture. Always work with cold hands or use a pastry cutter.
-
Overmixing: Overmixing the butter into the dough can lead to the development of gluten, resulting in a tougher texture. Stop mixing as soon as the butter is incorporated.
-
Using too much pressure: Applying excessive pressure when cutting in the butter can cause it to melt and lose its flakiness. Use a gentle, light touch.
-
Cutting the butter too small: Cutting the butter into tiny pieces may result in a uniform texture instead of the desired flaky layers. Aim for pea-sized chunks.
-
Not refrigerating the dough: After cutting in the butter, it is crucial to refrigerate the dough before baking. This helps the butter solidify again and maintain its flakiness during baking.
How to Incorporate Cut-In Butter Into Recipes
Now that you know the common mistakes to avoid when cutting in butter, let’s focus on how to incorporate cut-in butter into your recipes effectively. There are several butter cutting techniques you can use, depending on the recipe and desired outcome.
To help you understand these techniques better, here is a table outlining three common butter cutting methods:
| Technique | Description | Best for |
|---|---|---|
| Pastry blender | Using a pastry blender, cut the butter into small pieces until it resembles coarse crumbs. | Making pie crusts, scones, and biscuits |
| Two knives | Hold two knives parallel to each other and cut the butter in a crisscross motion. | Incorporating butter into dough for flaky pastries and croissants |
| Food processor | Pulse cold butter with dry ingredients in a food processor until it forms a sandy texture. | Making dough for pie crusts, bread, and cookies |
Faqs About Cutting in Butter
Let’s explore some frequently asked questions about cutting in butter. When it comes to incorporating butter into recipes, it’s important to use the right cutting techniques for optimal results. Here are some troubleshooting tips to help you master the art of cutting in butter:
- Start with cold butter: Using chilled butter will make it easier to cut into small pieces without melting too quickly.
- Use a pastry blender or two knives: These tools help you cut the butter into the dry ingredients until it resembles coarse crumbs.
- Don’t overmix: Be careful not to overmix the butter into the dry ingredients, as it can result in a tough texture.
- Watch the temperature: If the butter gets too warm during the cutting process, it can affect the final texture of your baked goods.
- Experiment with different sizes: Depending on the recipe, you may need to cut the butter into different sizes, such as pea-sized pieces or larger chunks.
By following these cutting techniques and troubleshooting tips, you’ll be able to achieve the perfect texture and taste in your baked goods.
Happy baking!
Conclusion
So there you have it, butter-cutter extraordinaire!
You’ve learned the ins and outs of cutting in butter and now you’re armed with all the tips and tricks to achieve that perfectly flaky pastry or crumbly topping.
Remember to keep your knives sharp and your butter cold, and don’t be afraid to experiment with different techniques to find what works best for you.
With a little practice and a lot of butter, you’ll be a cut above the rest in no time.
Happy baking!