
I have always been curious about the versatility of clarified butter. It appears that it can be used for more than just spreading on toast. From cooking and baking to enhancing sauces and soups, this golden delicacy imparts a luxurious, nutty flavor to a range of dishes.
Picture this: you’re cooking up a succulent steak, and you drizzle a spoonful of clarified butter over it, enhancing its juiciness and flavor.
In this article, we’ll explore the many uses of clarified butter and how it can elevate your culinary creations.
Key Takeaways
- Clarified butter enhances the taste of dishes with its rich, nutty flavor and adds a velvety texture and delightful aroma to baked goods.
- It is perfect for sautéing and frying, ensuring golden and crispy results, and can be substituted for regular butter in recipes.
- Clarified butter is a versatile flavor enhancer that adds richness and depth to sauces and soups, and enhances the overall flavor profile of a variety of culinary creations.
- It is widely used in sautéing, baking, roasting, and finishing dishes, and its higher smoke point makes it ideal for high-heat cooking methods.
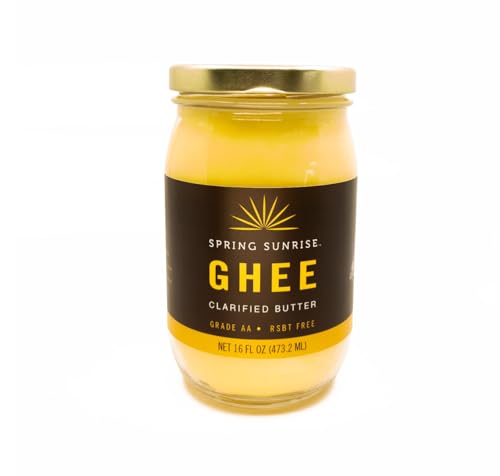
Spring Sunrise Classic Ghee 16 oz Clarified Butter rBST-Free Kosher
- Size: 16 oz jar of ghee
- Pure Clarified Butter: Made from Grade AA butter
- Clean Ingredients: rBST-free, no additives or preservatives
As an affiliate, we earn on qualifying purchases.
As an affiliate, we earn on qualifying purchases.
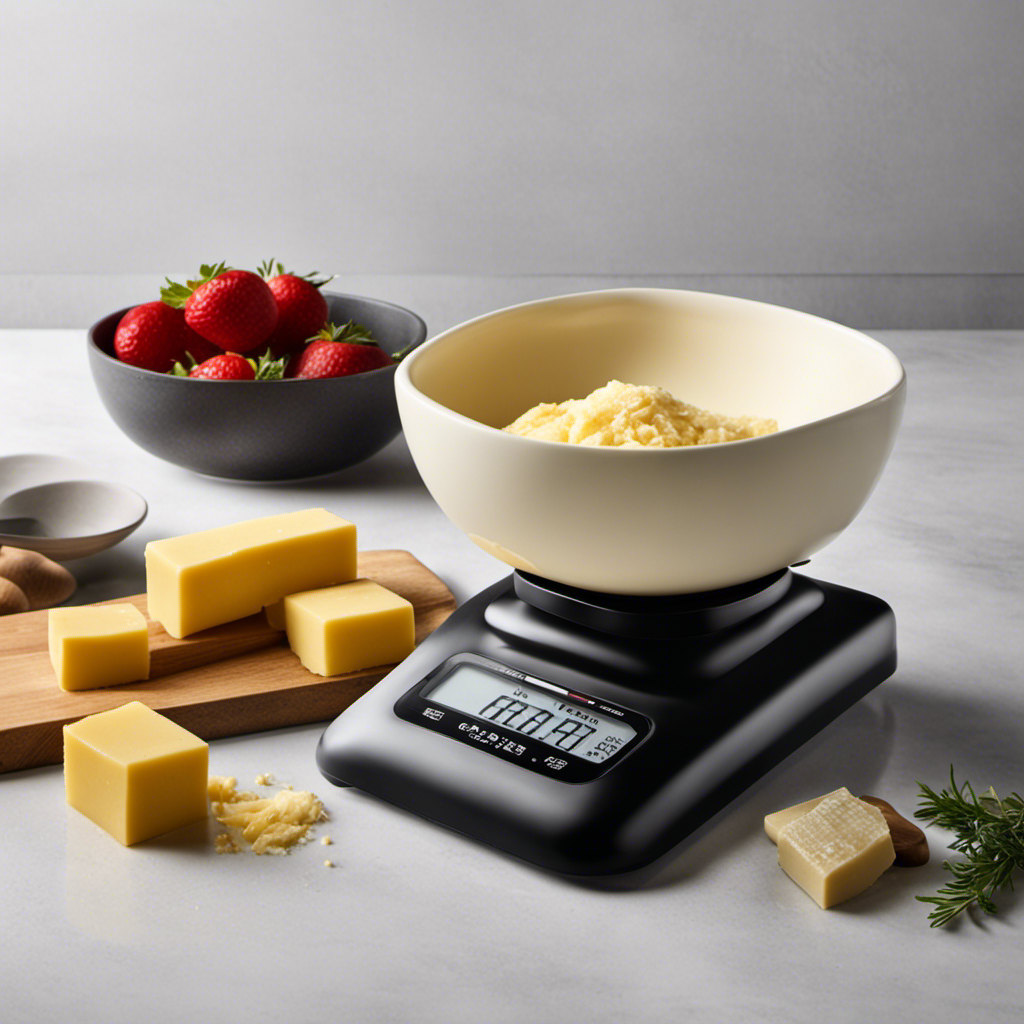
Cooking and Baking
You can use clarified butter for cooking and baking. It has a rich, nutty flavor that enhances the taste of dishes.
When it comes to dessert recipes, clarified butter can be a game-changer. It adds a velvety texture and a delightful aroma to baked goods like cookies, cakes, and pastries.
The high smoke point of clarified butter makes it perfect for sautéing and frying, ensuring that your desserts come out golden and crispy.
Additionally, if a recipe calls for regular butter, you can easily substitute it with clarified butter, as it has a longer shelf life and is less likely to burn.
Flavoring Sauces and Soups
When it comes to flavoring sauces and soups, one ingredient that I always turn to is clarified butter. It’s a versatile flavor enhancer that can be used in a variety of dishes to add richness and depth.
Whether I’m making a creamy pasta sauce or a hearty soup, the addition of clarified butter brings a delightful richness to the dish, while also enhancing the overall flavor profile.
Its smooth texture and nutty taste make it a perfect addition to any culinary creation.
Versatile Flavor Enhancer
If you’re looking to enhance the flavor of your dishes, clarified butter is an incredibly versatile ingredient. It can be used in a wide range of culinary applications, adding depth and richness to your favorite recipes. Whether you’re sautéing vegetables, searing meats, or making a delicious sauce, clarified butter can take your dish to the next level. Not only does it have a higher smoke point than regular butter, making it ideal for high-heat cooking methods, but it also has a longer shelf life. This makes it a pantry staple for many chefs and home cooks alike.
Here is a table highlighting some of the culinary applications of clarified butter:
| Culinary Application | Description | Examples |
|---|---|---|
| Sautéing | Cooking food quickly in a hot pan with a small amount of fat | Sautéed mushrooms, onions, or garlic |
| Baking | Incorporating clarified butter into baked goods for a tender texture and rich flavor | Croissants, cakes, cookies |
| Roasting | Brushing clarified butter onto meats or vegetables before roasting to add flavor and crispiness | Roast chicken, roasted Brussels sprouts |
| Finishing | Drizzling clarified butter over finished dishes for added richness and shine | Grilled steak, mashed potatoes |
The possibilities are endless when it comes to using clarified butter in the kitchen. Its versatility and unique flavor make it a must-have ingredient for any aspiring chef or seasoned cook. So go ahead and experiment with this culinary gem and elevate your dishes to new heights.
Enhanced Richness and Depth
To enhance the richness and depth of your dishes, consider incorporating clarified butter into your culinary creations. Clarified butter, also known as ghee, is a versatile ingredient that can elevate your cooking to a whole new level. Here are three reasons why you should start using clarified butter in your kitchen:
-
Enhanced Flavor:
Clarified butter has a rich and nutty flavor that adds depth to any dish. Its subtle sweetness enhances the taste of both savory and sweet recipes, making it a perfect choice for a wide range of cuisines. -
High Smoke Point:
Unlike regular butter, clarified butter has a higher smoke point, which means it can withstand higher cooking temperatures without burning. This makes it ideal for sautéing, frying, and grilling, allowing you to achieve a beautiful golden brown color and crispy texture. -
Perfect for Infused Oils and Creamy Desserts:
Clarified butter can be infused with herbs, spices, or even garlic, creating flavorful infused oils that can be drizzled over salads, pasta, or grilled vegetables. Additionally, its smooth and creamy texture makes it a fantastic ingredient for creating decadent and silky desserts like cakes, cookies, and puddings.
Incorporating clarified butter into your cooking will not only enhance the richness and depth of your dishes but also introduce a whole new world of flavors to your palate. So why not give it a try and elevate your culinary creations today?
Enhancing the Taste of Vegetables
Try using clarified butter to sauté your vegetables – it’ll enhance their taste and add a rich, buttery flavor. When roasting vegetables, drizzle some clarified butter over them before popping them in the oven. The buttery goodness will help caramelize the edges, giving your veggies a deliciously crisp texture and a slightly sweet undertone.
For sautéing greens, such as spinach or kale, heat up a tablespoon of clarified butter in a pan. The butter will coat the leaves evenly, allowing them to wilt beautifully without becoming soggy. The result is a vibrant, tender dish with a hint of nuttiness.
Clarified butter’s high smoke point makes it perfect for these cooking methods, as it won’t burn easily and won’t overpower the natural flavors of the vegetables. So go ahead and give clarified butter a try – your taste buds will thank you!
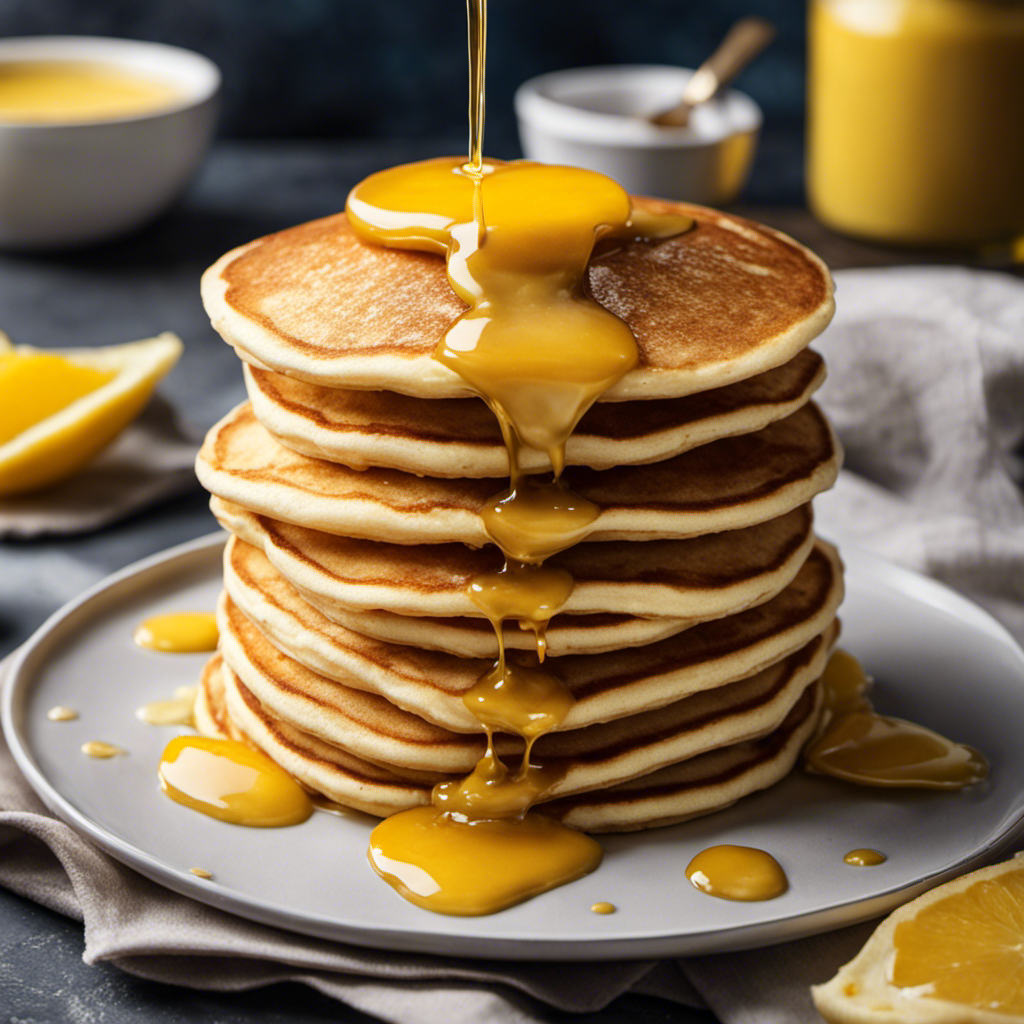
Buttering Toast and Bread
Buttered toast and bread are classic breakfast staples that pair well with a variety of spreads and toppings. Clarified butter, also known as ghee, is a delicious and versatile option to enhance the flavor of your morning toast. Here are three benefits of using clarified butter on pastries:
-
Rich flavor: Clarified butter has a nutty and aromatic taste that adds depth to your toast. It elevates the simple act of buttering to a whole new level of indulgence.
-
Improved texture: The smooth and creamy consistency of clarified butter spreads effortlessly on toast, creating a velvety layer that melts in your mouth.
-
Enhanced aroma: When clarified butter is heated, it releases a delightful fragrance that tantalizes your senses and makes your breakfast experience even more enjoyable.
To achieve the perfect spread, try these different techniques for spreading clarified butter on toast:
-
The traditional method: Using a butter knife, gently spread the clarified butter in a thin, even layer across the surface of the toast.
-
The dollop technique: Place a small dollop of clarified butter on the center of the toast and let it melt naturally, spreading its deliciousness as it goes.
-
The brush stroke approach: Use a pastry brush to evenly distribute the clarified butter on the toast, ensuring every inch is coated with its rich flavor.
Now that we’ve covered the joys of buttered toast, let’s transition into the next section about drizzling clarified butter over seafood and meats.
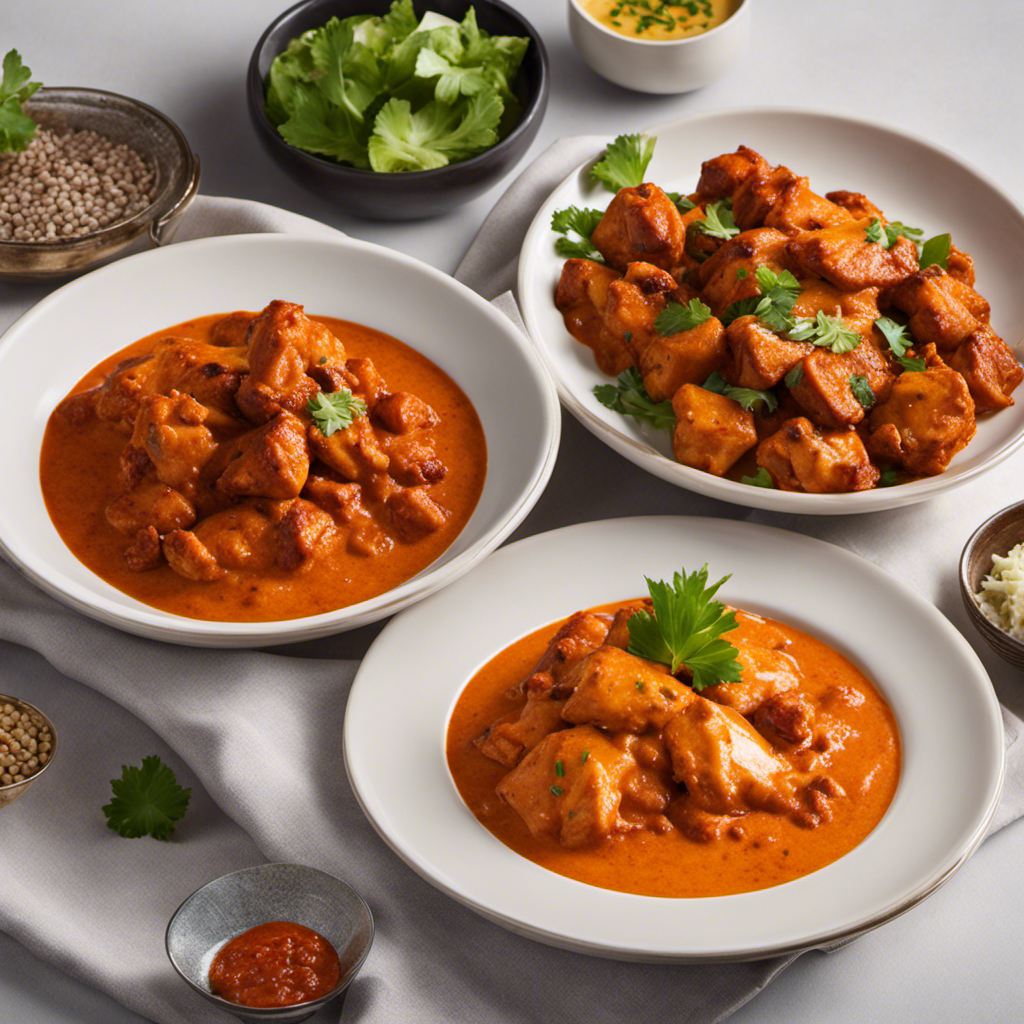
Drizzling Over Seafood and Meats
When drizzling clarified butter over seafood and meats, it adds a rich and savory flavor that enhances the taste of your dish. Whether you’re grilling seafood or marinating meats, using clarified butter can take your culinary creations to the next level.
The high smoke point of clarified butter makes it perfect for grilling seafood, as it won’t burn or smoke excessively like regular butter. This allows you to achieve a beautiful char and impart a delicious buttery taste to your grilled fish or shrimp.
When marinating meats, clarified butter helps to tenderize and infuse the meat with its rich flavor. It acts as a carrier for other seasonings and spices, ensuring that every bite is full of mouthwatering goodness.
Now let’s delve into the process of making ghee for Indian cuisine.
Making Ghee for Indian Cuisine
After learning about using clarified butter for drizzling over seafood and meats, let’s dive into the process of making ghee for Indian cuisine.
Ghee, also known as clarified butter, is a staple in many Indian households. It is not only delicious but also offers several health benefits.
Here’s a glimpse into the traditional ghee making process:
-
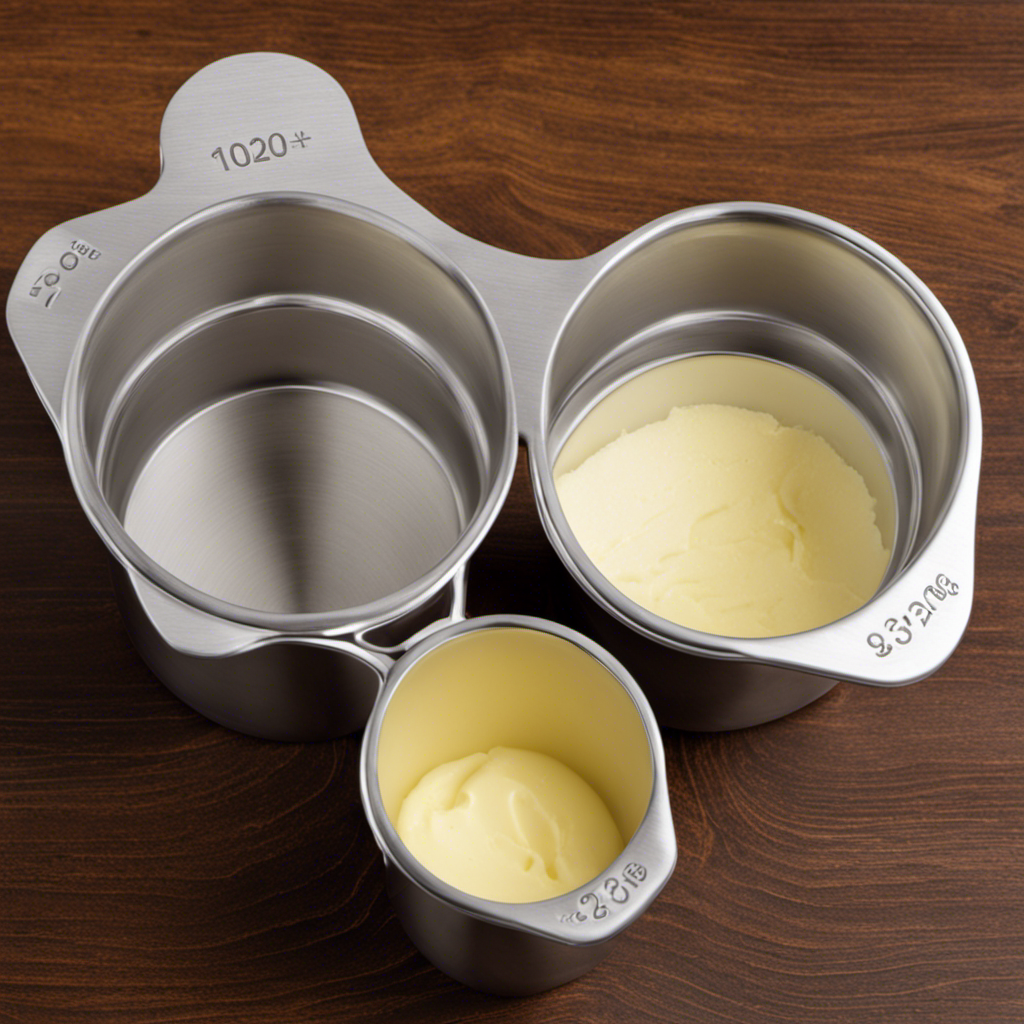
Collecting butter: The first step involves simmering unsalted butter in a pan until it melts completely.
-
Clarifying the butter: As the butter melts, it separates into three layers – foam, clarified butter, and milk solids. The foam is skimmed off to reveal the golden clarified butter.
-
Straining and storing: The clarified butter is then strained to remove any remaining milk solids, resulting in pure ghee. It is stored in a container and can be used for cooking or as a spread.
The process of making ghee might seem simple, but it requires patience and precision to achieve that rich, nutty flavor.
And the best part? Ghee offers a range of health benefits, including aiding digestion, boosting immunity, and providing essential fatty acids. So, why not give it a try in your next Indian dish?
Frequently Asked Questions
How Long Does Clarified Butter Last Before It Goes Bad?
Clarified butter can last for a long time if stored properly. The shelf life depends on storage conditions. It’s important to keep it in an airtight container, refrigerated. Use clarified butter for cooking, baking, or as a flavorful topping.
Can I Use Clarified Butter as a Replacement for Regular Butter in Baking Recipes?
Yes, you can use clarified butter as a replacement for regular butter in baking recipes. It adds a rich, nutty flavor and can result in a lighter, more tender texture in your baked goods.
Is Clarified Butter a Healthier Option Compared to Regular Butter?
Clarified butter has multiple uses, including weight loss and lactose intolerance. It can be a healthier option compared to regular butter due to its higher smoke point and removal of milk solids.
Can I Use Clarified Butter for Deep Frying?
Yes, you can use clarified butter for deep frying. It has a high smoke point, making it ideal for frying. Additionally, clarified butter can be used as a substitute for regular butter in various recipes, adding a rich and nutty flavor.
What Is the Difference Between Clarified Butter and Ghee in Terms of Taste and Usage?
When it comes to taste and usage, there is a difference between clarified butter and ghee. Clarified butter has a milder flavor, while ghee has a rich, nutty taste. Both are used in cooking and baking, adding richness and flavor to dishes.
Conclusion
After exploring the various uses of clarified butter, it is evident that this versatile ingredient adds a richness and depth to a wide range of dishes.
Whether it’s cooking and baking, flavoring sauces and soups, or enhancing the taste of vegetables, clarified butter brings a unique flavor and silky texture to the table.
From buttering toast and bread to drizzling over seafood and meats, the possibilities are endless. And let’s not forget about making ghee for Indian cuisine, a process that transforms clarified butter into a nutty and aromatic ingredient.
Clarified butter truly elevates any dish it touches, making it a must-have in any kitchen.