
To avoid flooding your cabinet during under-sink filter installation, start by choosing the right filter and gathering all tools and parts beforehand. Turn off the water supply and drain the system properly. Connect fittings carefully, tightening them without overdoing it, and use sealing tape for secure joints. Regularly check for leaks during and after installation, and maintain your system to prevent issues. Keep these steps in mind to protect your cabinet—you’ll find more tips if you continue with the process.
Key Takeaways
- Select compatible filters and prepare tools while clearing the cabinet to prevent leaks and accidents.
- Turn off water supply, drain lines, and securely connect fittings with sealing techniques to avoid leaks.
- Regularly inspect hoses and fittings for wear, and replace filters every 6-12 months for optimal performance.
- Tighten fittings properly without over-tightening to prevent cracks and leaks during installation and maintenance.
- Test water flow thoroughly for leaks before use, and confirm all connections are secure to prevent flooding.

Under Sink Water Filter – Water Filter kit for Home Bar and Bathroom,Highly Effective Reduces Chlorine,Bad Taste&Odor,Good Choice for a Countertop Ice Maker,Coffee Maker and Skin Care
【Money Saving Filtration System】:The under sink water filtration system is a good choice for home bar and bathroom,widely…
As an affiliate, we earn on qualifying purchases.
As an affiliate, we earn on qualifying purchases.
How to Choose the Right Under-Sink Water Filter and Fittings
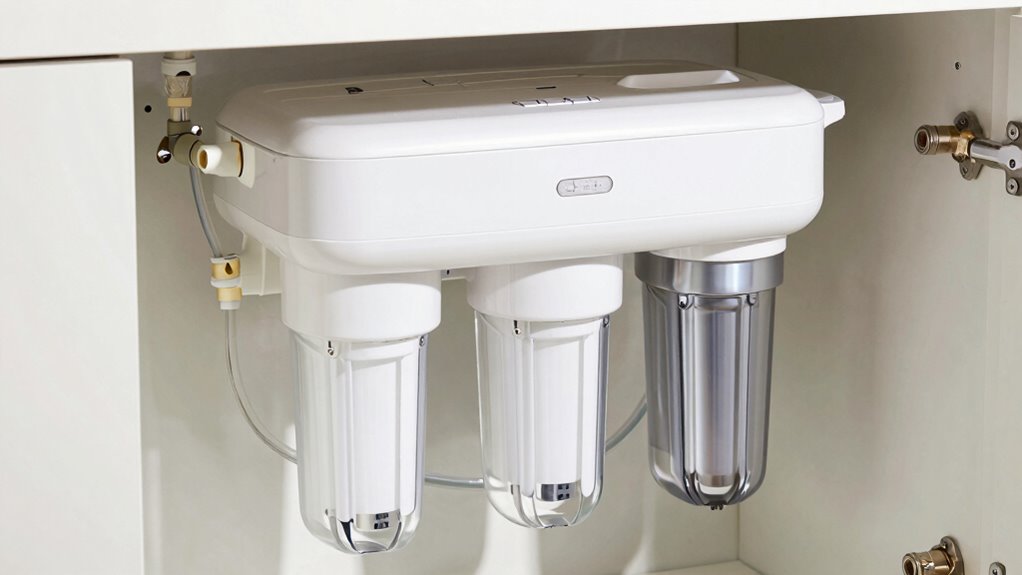
Choosing the right under-sink water filter and fittings begins with understanding your specific water quality needs and compatibility requirements. Start by examining your water source to identify contaminants and decide what filter material best addresses those issues, such as activated carbon or reverse osmosis membranes. Next, consider fitting compatibility; verify the filter’s connections match your existing plumbing or the fittings you plan to install. Double-check the size, threading, and type of fittings to avoid leaks or mismatches. Compatibility is essential for a secure, leak-free setup. Additionally, assessing energetic alignment can help ensure your water filtration system supports your overall well-being and harmony. It’s also beneficial to review certifications to guarantee the filter’s safety and effectiveness. Ensuring the filter meets quality standards can provide added peace of mind. Confirming that the installation process is straightforward and well-supported can help prevent costly mistakes or delays. By selecting a filter with appropriate filter material and confirming your fittings are compatible, you’ll create an effective, long-lasting system that meets your water quality goals without complications or leaks. Proper installation techniques can further prevent potential issues and extend the lifespan of your filtration system.

Solimeta Push-To-Connect Stainless Steel Hose Kit for Under Sink Water Filter, 3/8" Male/Female with 1/2" Adapters, 2.5FT
Easy Installation: Push-to-connect, allowing for quick and hassle-free attachment to your water filter
As an affiliate, we earn on qualifying purchases.
As an affiliate, we earn on qualifying purchases.
Preparing Your Sink Area and Gathering Tools for Installation
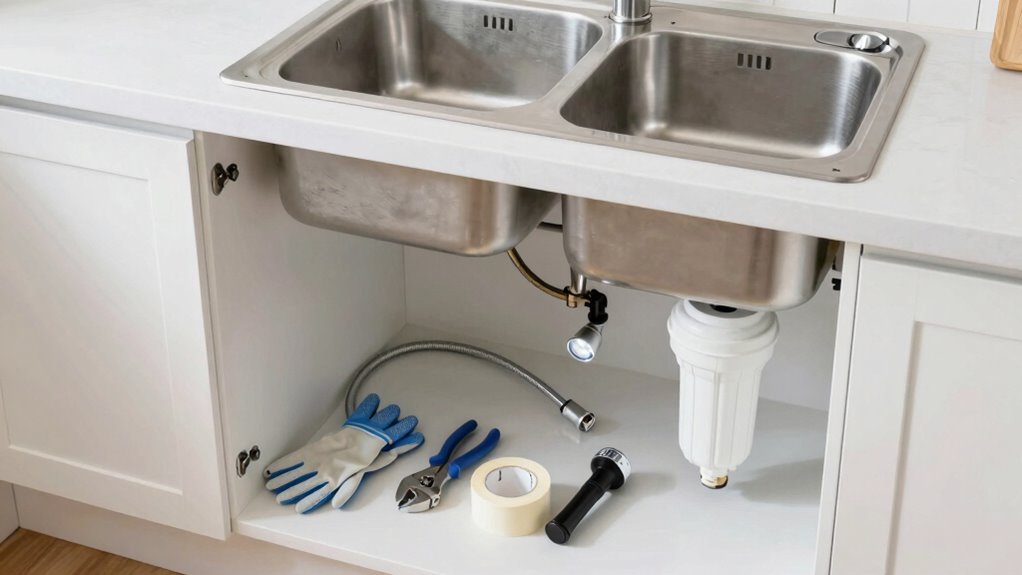
Before you begin installing your under-sink water filter, it’s important to prepare the sink area and gather all necessary tools. Clear the space around your sink to improve access and prevent accidents. Check your sink accessories, such as hoses, fittings, and brackets, to verify you have everything. Organize your cabinet to avoid clutter and make installation smoother. Ensuring proper water quality and readiness can help prevent issues during setup. Additionally, understanding the proper installation techniques can help ensure your filter functions correctly and lasts longer. Confirming water safety standards prior to installation can further protect your household from potential contamination or damage. Keep essential tools like a wrench, screwdriver, and bucket nearby for quick access. Proper cabinet organization helps prevent leaks and damage during installation. If your cabinet is cluttered, remove unnecessary items to create a clean workspace. This preparation minimizes the risk of flooding and ensures a hassle-free setup. Incorporating safety precautions during installation can further safeguard your home from potential water damage or hazards. Being familiar with appliance care can also help maintain your setup over time.
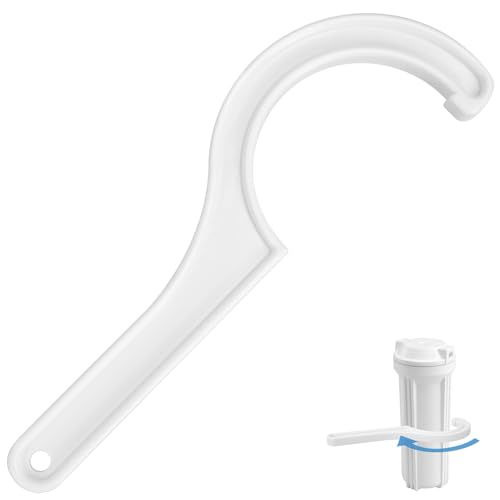
Water Filter Wrench Replacement for APEC Half 180° Filter Housing Wrench Fits Most 10" x 2.5" Undersink Housing Canisters, Compatible with APEC Water System Reverse Osmosis Filter Wrench
【Perfect Compatibility】: The reverse osmosis filter wrench fits most 10 x 2.5 inch cartridge housings, allowing convenient filter…
As an affiliate, we earn on qualifying purchases.
As an affiliate, we earn on qualifying purchases.
How to Turn Off Water and Drain Your System Safely
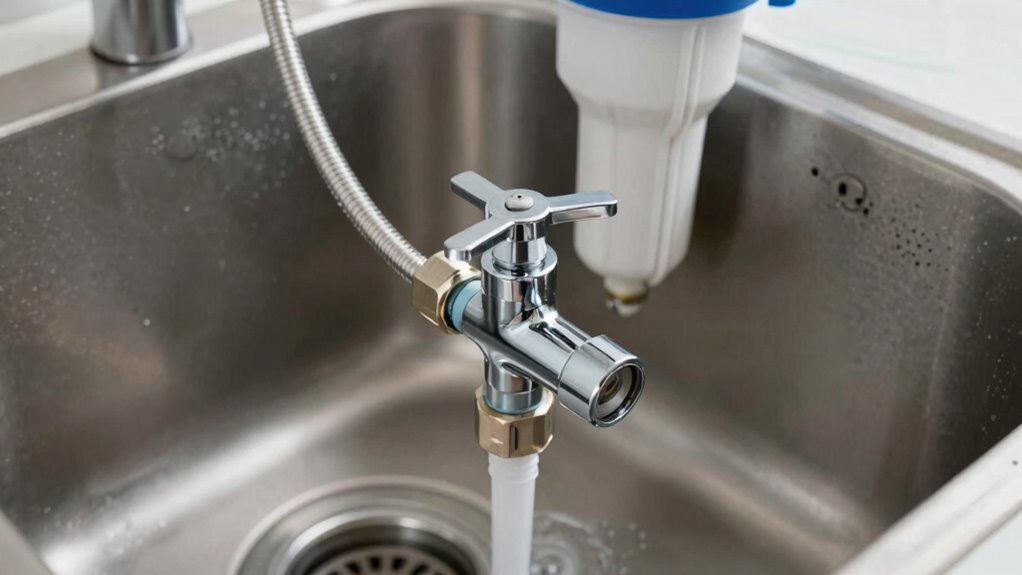
To guarantee a safe and smooth installation, start by turning off the water supply to your sink. Locate the shut-off valves under the cabinet and turn them clockwise to stop water flow. Next, open the faucet to drain any remaining water, preventing leaks during installation. Be mindful that draining your system helps maintain ideal water quality and ensures you don’t accidentally flood your cabinet. If your filter has a limited lifespan, this step is especially important, as it prevents debris from contaminating your new filter. Once the water is fully drained, double-check that no water is still running. This simple step protects your cabinet from water damage and sets the stage for a successful, leak-free filter installation. Proper water shut-off is essential for preventing potential water damage and ensuring a safe installation process. Additionally, understanding your water supply valves can help you quickly respond to any issues that may arise during or after installation. Knowing how to quickly locate and operate your shut-off valves can save you time and prevent accidents if leaks occur. Being familiar with valve operation procedures can also help you troubleshoot problems more effectively should they occur, especially if you know how to quickly identify valve leaks and address them promptly.

GE Smart Whole House Leak Detection Water Filtration System | Reduces Sediment, Rust & More | Install Kit Included | Filter Not Included | Replace Filter (FTHPM, FTHTM, FTHLM) Every 3 Months | GXWH70M
Water Flow Alerts – Receive alerts to your smart phone when there's a potential leak or running faucet….
As an affiliate, we earn on qualifying purchases.
As an affiliate, we earn on qualifying purchases.
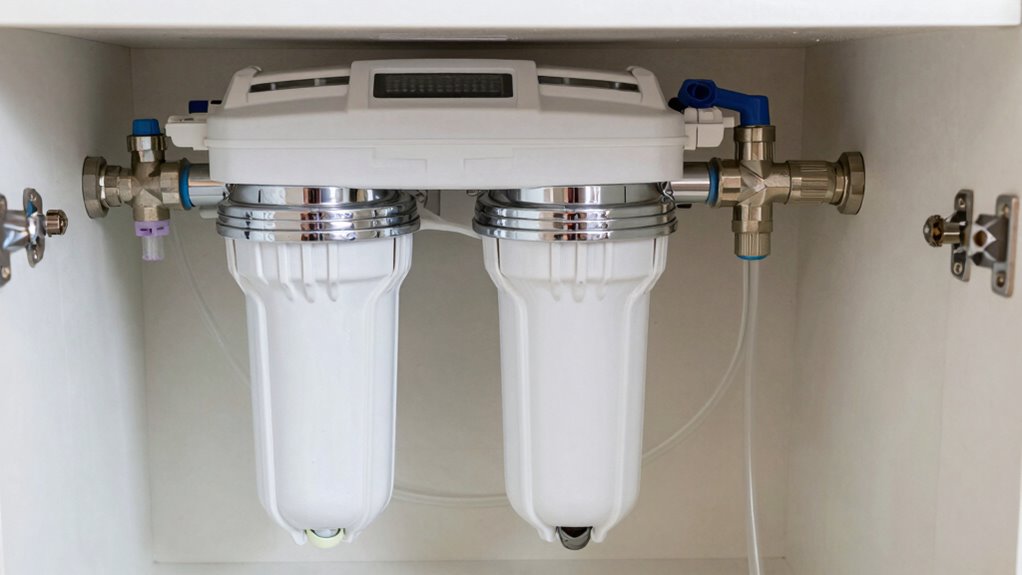
Connecting Your Water Filter Without Leaks: Step-by-Step Guide
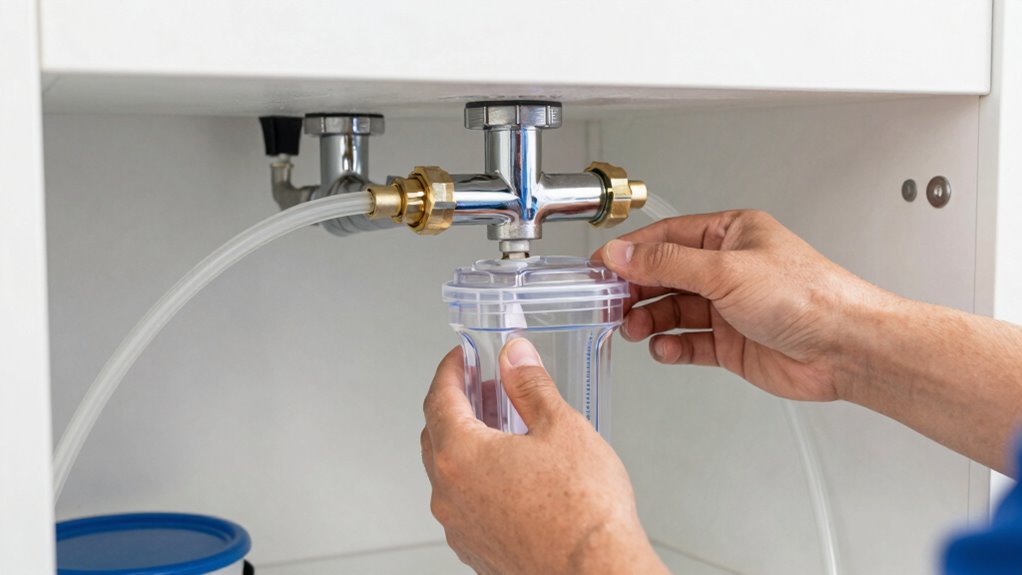
To connect your water filter without leaks, you’ll need to use proper connection techniques to guarantee a secure fit. Pay attention to leak prevention measures, like tightening fittings correctly and checking for gaps. Incorporating smart appliances can also monitor for leaks in real-time, providing an extra layer of protection. Ensuring your plumbing connections are properly secured is essential for long-term leak prevention and system reliability. Additionally, applying appropriate sealing techniques can help prevent drips and maintain a leak-free system over time. Properly assessing system pressure can further prevent undue stress on your plumbing system, reducing the risk of future leaks.
Proper Connection Techniques
Ensuring a proper connection is crucial to prevent leaks and maintain water quality. To achieve this, pay attention to your water pressure and pipe materials. Make sure the fittings are tight but not over-tightened, which can damage connections. Use the right adapters compatible with your pipe materials, whether copper, PVC, or PEX. Check for proper alignment before tightening to avoid cross-threading or leaks.
Remember these key points:
- Use appropriate fittings for your pipe materials
- Maintain ideal water pressure during installation
- Tighten fittings evenly to prevent damage
Leak Prevention Measures
Proper connections are the first step toward preventing leaks when installing your under-sink filter. Verify all fittings are tight and secure, avoiding over-tightening that can cause damage. To prevent corrosion, use corrosion-resistant materials and check that metal parts are compatible. Applying pipe insulation around exposed pipes can also help reduce condensation and minimize potential leaks caused by temperature fluctuations. Inspect hoses and fittings regularly for signs of wear or corrosion, replacing any damaged parts immediately. Properly sealing connections with Teflon tape or thread sealant ensures a watertight fit. Utilizing plumbing materials designed for long-lasting durability can further help prevent issues down the line. Paying attention to proper installation techniques and their importance can significantly decrease the risk of leaks. Using quality fittings and ensuring they are compatible with your filter system is crucial for a secure connection. Additionally, performing routine system checks can help identify potential problems early before they lead to leaks. Taking these leak prevention measures keeps your filter functioning smoothly and avoids water damage in your cabinet. Remember, diligent installation and maintenance are key to a leak-free setup.
Checking for Leaks and Securing All Connections Before Use

Before turning on the water supply, it’s essential to check all connections for leaks. Turn on the water slowly and observe each joint. Look for drips or moisture around fittings and pipes. Confirm the connections are tight but avoid over-tightening, which can damage fittings. Use pipe insulation where needed to prevent condensation and help secure connections. Keep in mind that water pressure can impact how tight fittings need to be; too high pressure may cause leaks. To stay organized, remember:
- Tighten all fittings securely without over-tightening
- Check for any signs of leaks or moisture
- Adjust water pressure if necessary to prevent strain on connections
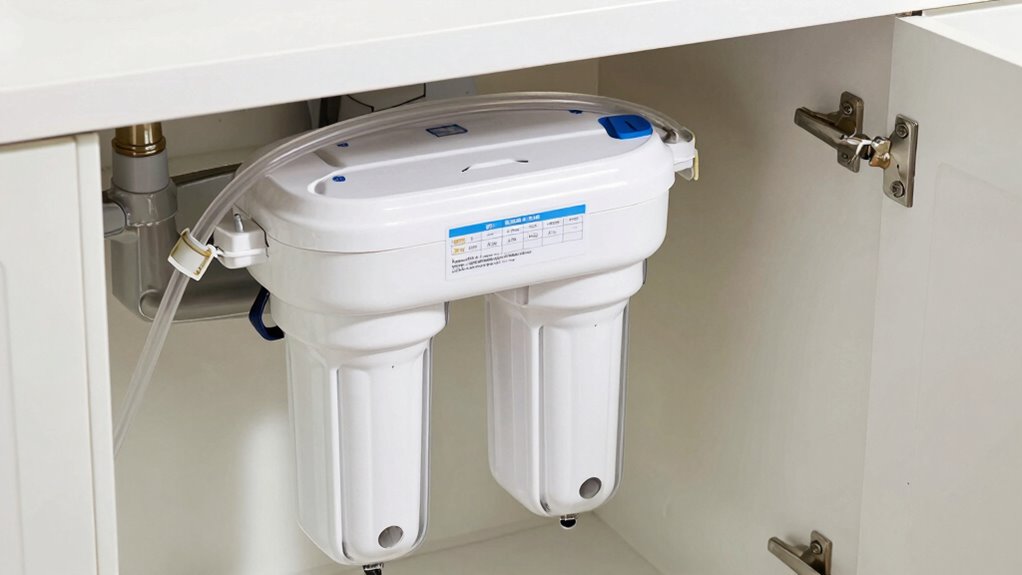
Maintaining Your Under-Sink Water Filter to Prevent Floods

Regularly maintaining your under-sink water filter is key to preventing floods and costly water damage. You should schedule timely filter replacement to guarantee the best water quality and avoid buildup that can cause leaks. Check your filter regularly for signs of wear or clogging, and replace it according to the manufacturer’s instructions. Maintaining good water quality prevents sediment and debris from accumulating in your system, reducing the risk of blockages and leaks. Additionally, inspect all connections and fittings during maintenance to ensure they remain tight and secure. Proper upkeep keeps your filter functioning efficiently, minimizes the chance of water leaks, and prolongs the lifespan of your system. Staying proactive with maintenance helps you avoid unexpected floods and keeps your water safe to drink.
Troubleshooting Common Installation Problems and Fixes

Even with careful planning, you might encounter some common installation errors. Knowing effective troubleshooting tips can help you quickly fix issues and make sure your filter works properly. Let’s review the most frequent problems and simple solutions to keep your system running smoothly.
Common Installation Errors
Installing an under-sink filter can sometimes lead to common mistakes that cause leaks or poor water flow. One frequent issue involves water connection mistakes, which can disrupt the entire system. To avoid these errors, double-check your fittings and ensure they’re tight but not over-tightened, as this can cause cracks or leaks. Be cautious of these common installation errors:
- Connecting the wrong water line or using incompatible fittings
- Forgetting to secure the tubing properly
- Not tightening connections enough, leading to drips
Taking your time during setup helps prevent these issues. Properly aligning fittings and verifying water connections before turning on the water ensures a smooth installation. Addressing water connection mistakes early on saves you from future leaks and service calls.
Effective Troubleshooting Tips
Are you experiencing leaks or poor water flow after installing your under-sink filter? First, check for loose fittings or improperly seated connections, which can cause leaks and affect water quality. Tighten any fittings carefully, but avoid over-tightening that can damage parts. If water flow is weak, inspect the filter cartridge’s lifespan; a clogged filter reduces flow and water quality. Replacing the filter cartridge as recommended restores performance. Ensure the filter is installed correctly, following the manufacturer’s instructions, and that all connections are secure. Regular maintenance prolongs filter lifespan and maintains water quality. If issues persist, double-check for cracks or damage in the housing. Troubleshooting these common problems guarantees your filter functions effectively, providing clean water without leaks or flow issues.
Final Checklist: Ensuring a Safe, Leak-Free Water Filter Setup

Before you finish, double-check each connection and component to make sure everything is secure and properly installed. Verify that the tap placement allows easy access and doesn’t interfere with other fixtures. Ensure your filter compatibility matches your system’s specifications to prevent malfunctions. Test the water flow by running the tap to check for leaks or drips. Keep an eye out for weak connections or loose fittings that could cause leaks later.
Remember to:
- Confirm that the filter is compatible with your existing plumbing setup
- Ensure the tap placement provides enough clearance for easy use
- Tighten all fittings securely without over-tightening, which could damage components
Taking these steps helps prevent future leaks and guarantees a safe, reliable setup.
Tips for Long-Term Maintenance and Leak Prevention
Regular maintenance is key to keeping your under-sink water filter functioning properly and preventing leaks over time. Check the filter lifespan regularly; most filters need replacement every 6-12 months to maintain ideal water quality. Inspect connections monthly for signs of leaks or corrosion, and replace worn washers or fittings promptly. Using high-quality filters ensures water quality stays high and reduces strain on your system. To help you stay organized, here’s a quick reference:
| Maintenance Tip | Benefits |
|---|---|
| Replace filters as recommended | Maintains water quality and filter lifespan |
| Inspect for leaks monthly | Prevents water damage and costly repairs |
| Use high-quality parts | Ensures long-term leak prevention |
Staying proactive with these practices keeps your filter working efficiently and your cabinet dry.
Frequently Asked Questions
What Are the Signs of a Leaking Under-Sink Filter System?
You’ll notice signs of a leaking under-sink filter system if you see water pooling under the cabinet, damp spots on the cabinet floor, or mold growth. Constant drips or a sudden drop in water pressure can also suggest leaks. Regular filter maintenance helps prevent leaks, and checking connections ensures leak prevention. Address leaks promptly to avoid water damage, and always tighten fittings and replace worn-out parts to keep your system secure.
How Often Should I Replace Filters to Avoid Leaks?
You should replace your under-sink filter according to its filter lifespan, typically every 6 to 12 months. Following a regular replacement schedule helps prevent leaks caused by worn-out filters or buildup. Keep track of your filter’s age, and don’t wait too long—delaying replacements can lead to clogs, leaks, and reduced water quality. Staying consistent with your schedule ensures your system functions smoothly and avoids potential water damage.
Can I Install the Filter Without Professional Help?
Installing your filter is like assembling a puzzle—you can do it yourself with careful steps, but sometimes, professional assistance makes things smoother. DIY installation is possible if you follow instructions closely, but if you’re unsure or uncomfortable, don’t hesitate to seek professional help. This guarantees proper setup, avoids leaks, and saves you from potential water damage. Trust your skills, but know when to call in a pro for peace of mind.
What Tools Are Essential for a Leak-Proof Installation?
To guarantee leak prevention, you need a tools checklist that includes an adjustable wrench, plumbers tape, a screwdriver, and a bucket. These tools help tighten fittings securely and prevent water leaks. Always check connections carefully and use plumber’s tape on threaded joints for a leak-proof seal. Properly securing hoses and fittings with these essential tools minimizes the risk of flooding your cabinet, making your installation safe and reliable.
How Do I Prevent Mold and Water Damage in My Cabinet?
You’re right to worry—over 50% of household mold issues start in hidden spots like cabinets. To prevent mold and water damage, make certain your cabinet stays dry by regularly checking for leaks and wiping up spills promptly. Practice good cabinet maintenance by keeping the area well-ventilated and using mold prevention sprays. These simple steps protect your cabinet from moisture, safeguarding your home’s health and avoiding costly repairs.
Conclusion
By following this checklist, you can confidently install your under-sink filter and prevent costly leaks. Did you know that improper installation causes over 60% of water damage claims in homes? Taking the time to check connections and secure fittings guarantees your system stays leak-free. With proper maintenance, your filter will serve you reliably for years. Stay vigilant, and enjoy clean, safe water without the worry of flooding your cabinet.