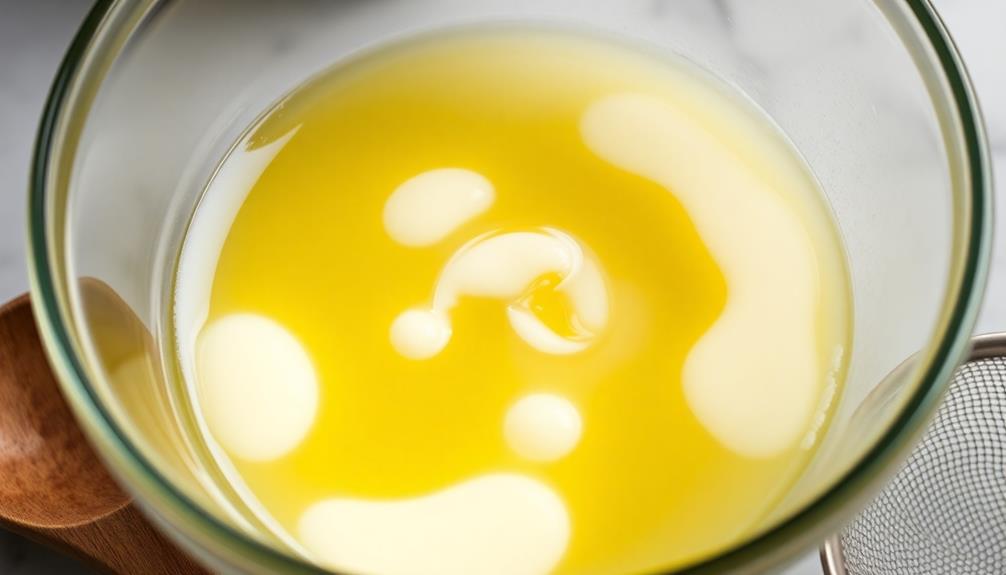
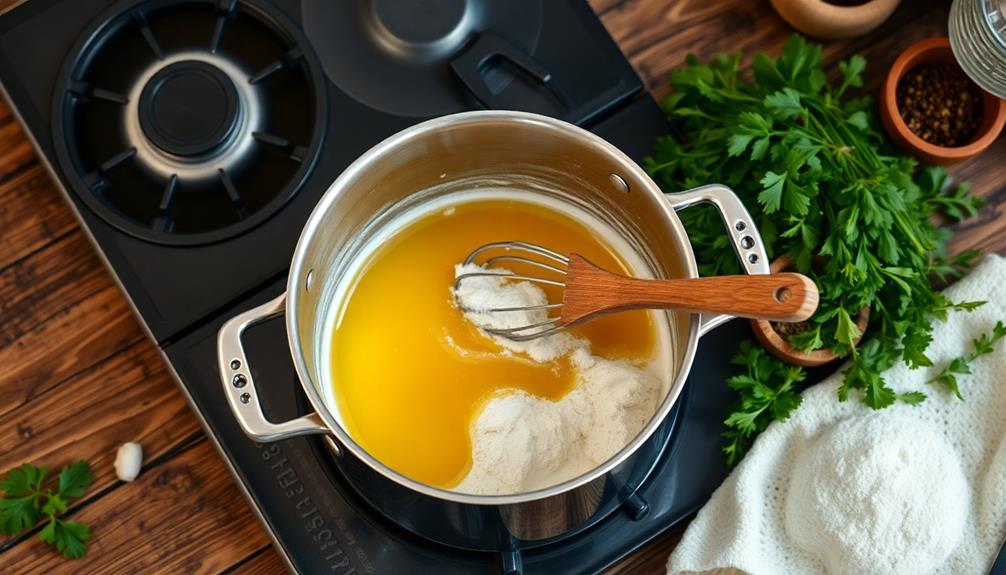
When troubleshooting butter clarification, start by ensuring you're using unsalted butter to avoid added moisture. Heat plays a crucial role; keep it low to medium to prevent burning and achieve clarity. Watch for cloudy layers, which indicate milk solids that need to be skimmed off. Timing is key—around 10 to 15 minutes usually works, but overcooking can lead to burnt flavors. Use a fine mesh strainer or cheesecloth for proper separation. If you're still encountering issues, there are further tips that can help you perfect your technique and achieve that golden, clarified butter you desire.
Key Takeaways
- Ensure to use unsalted butter for precise flavor control and to avoid excess moisture during clarification.
- Keep the heat low to medium to prevent burning the milk solids and ensure proper evaporation.
- Monitor the bubbling or foaming stage closely; skim off the frothy layer containing impurities regularly.
- Use a fine mesh strainer or cheesecloth for effective separation of clarified butter from milk solids and water.
- Store clarified butter in airtight containers and refrigerate or freeze to maintain freshness and extend shelf life.
Understanding Butter Clarification

When it comes to butter clarification, understanding the process is key to achieving that rich, nutty flavor while eliminating impurities. Clarified butter, or ghee, is made by gently heating unsalted butter, allowing the water content to evaporate and the milk solids to separate.
You'll want to start by placing your butter in a saucepan over low heat. Patience is vital here, as you don't want to burn the butter.
As the butter melts, keep an eye on it. The milk solids will sink to the bottom, while a frothy layer forms on top. This froth contains impurities, so it's important to skim it off with a spoon.
After about 15 minutes, you'll notice the butter has turned clear, and the golden liquid is ready to be separated.
To clarify the butter effectively, pour it slowly through a fine mesh strainer or cheesecloth into a clean container, leaving the milk solids behind.
You're left with a versatile cooking fat that has a higher smoke point and a delightful flavor. Store it in the refrigerator, and you'll have clarified butter ready for your culinary adventures.
Common Mistakes to Avoid
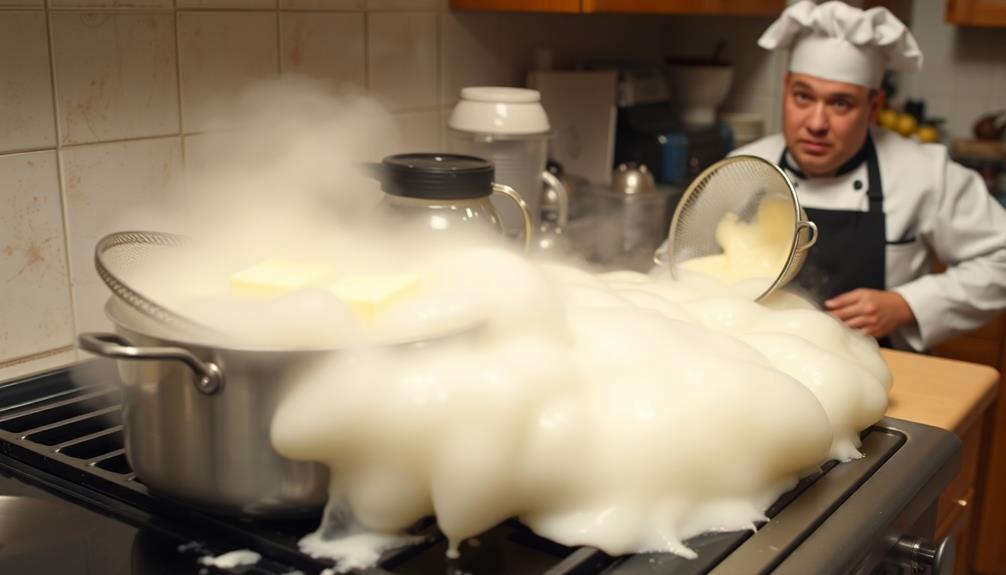
Avoiding common mistakes can make or break your butter clarification process. One of the biggest pitfalls is overheating the butter. If you let it simmer too aggressively, you'll risk burning the milk solids, which can ruin the flavor. Instead, keep the heat low and let it melt gently.
Another mistake is neglecting to skim the foam. As the butter melts, a frothy layer forms on top. If you skip this step, you'll end up with impurities in your clarified butter, affecting both texture and taste. Use a spoon to carefully remove the foam before proceeding.
Don't rush the cooling process either. Once you've clarified the butter, let it cool in the pot for a while. Pouring it immediately into a container can cause separation.
Moreover, using the wrong container can also lead to issues. Make sure to store your clarified butter in an airtight container to keep it fresh and prevent oxidation.
Choosing the Right Butter
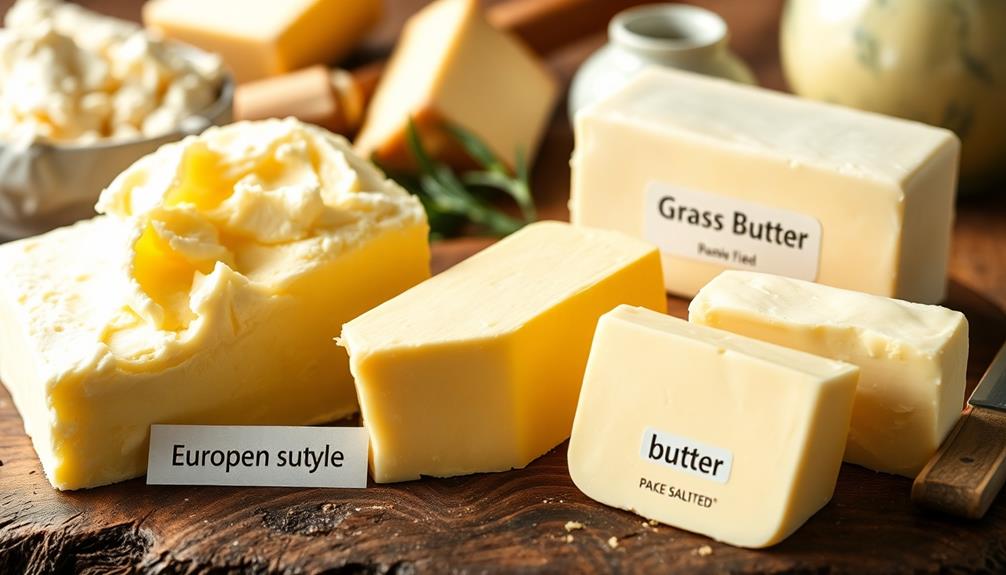
When it comes to butter clarification, choosing the right butter is essential.
You'll want to take into account the type of butter, whether it's salted or unsalted, and the quality indicators that can make a difference in your results.
Let's explore these factors to guarantee your clarified butter turns out perfectly every time.
Types of Butter
Choosing the right butter can greatly impact your culinary results. There are several types of butter, each suited for different purposes.
First, you've got regular unsalted butter, which is versatile and ideal for baking, cooking, and spreading. Its clean flavor complements both sweet and savory dishes. Additionally, unsalted sweet cream butter is preferred by chefs for its precise flavor control in baking, allowing for better results in pastries and other baked goods.
Next, consider European-style butter. This type contains a higher fat content, giving it a richer taste and creamier texture. It's excellent for pastries and sauces, enhancing the overall dish.
If you're looking for something with a distinct flavor, try cultured butter. This butter undergoes fermentation, resulting in a tangy taste that pairs wonderfully with bread or can elevate a simple dish.
For those seeking convenience, you might opt for clarified butter or ghee. These have the milk solids removed, making them perfect for high-heat cooking without burning. They also offer a nutty flavor that can enhance your recipes, making them a great choice for various cooking methods.
Butter varieties can also provide unique flavors and uses in your dishes.
Salted vs. Unsalted
Butter plays a crucial role in enhancing flavor, and understanding the difference between salted and unsalted options is essential for your cooking. When you choose butter, consider how each type interacts with your dish. Salted butter adds a savory element, while unsalted butter gives you precise control over the salt content in your recipes.
Here's a quick comparison to help you decide which butter to use:
| Feature | Salted Butter | Unsalted Butter |
|---|---|---|
| Flavor | Savory, with additional salt | Pure, creamy flavor |
| Salt Content | Usually 1-2% salt | No added salt |
| Best Uses | Spreading, general cooking | Baking, delicate dishes |
| Shelf Life | Longer due to salt | Shorter; refrigerate |
| Cooking Control | Less control over seasoning | More control over seasoning |
In most baking recipes, unsalted butter is preferred because it allows for accurate measurements. However, if you're using it for cooking or spreading, salted can enhance the flavor without additional seasoning. Ultimately, the choice depends on your recipe and personal taste preferences. Adjust accordingly to create the best results!
Quality Indicators to Consider
Selecting high-quality butter is essential for achieving the best flavor and texture in your dishes. To guarantee you're choosing the right butter, pay attention to these quality indicators:
- Ingredient List: Look for butter with a simple ingredient list—cream and salt. Avoid products with added preservatives or artificial flavors.
- Color: High-quality butter usually has a rich, golden-yellow hue. This color indicates a higher beta-carotene content, which contributes to its flavor and nutritional value.
- Texture: When you touch it, quality butter should feel smooth and creamy, not grainy or hard. It should spread easily at room temperature, indicating freshness.
- Aroma: Fresh butter emits a pleasant, creamy smell. If it has a sour or off odor, it's a sign that it may be past its prime.
Heat Levels and Timing
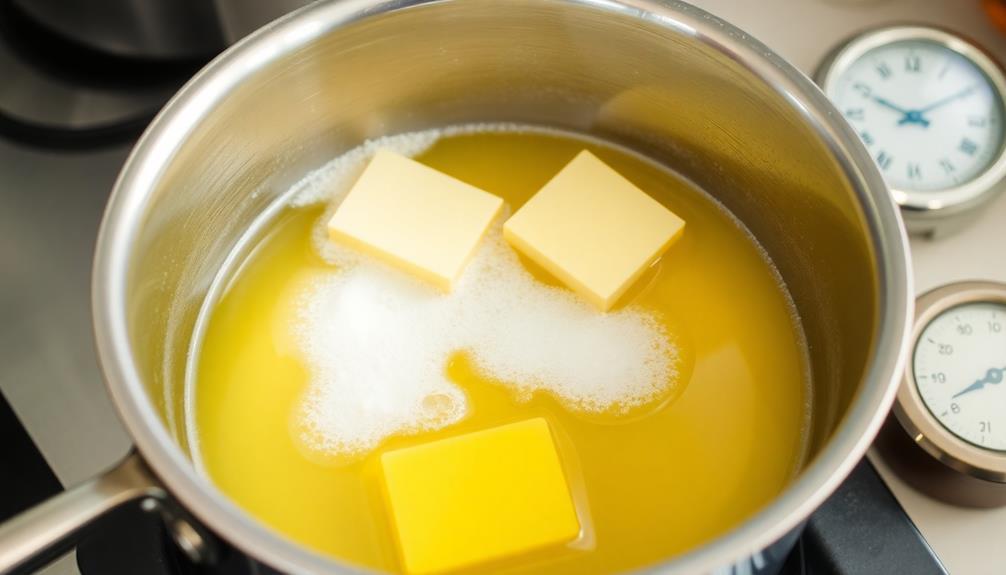
Getting the heat levels just right is essential for clarifying butter effectively.
You'll want to pay attention to the timing, as letting it sit too long can lead to unwanted cloudiness.
Avoid overheating, and you'll achieve that clear, golden result you're aiming for.
Optimal Heat Settings
Achieving the perfect clarification of butter hinges on understanding ideal heat settings. When you heat butter, you want to strike a balance that allows the milk solids to separate without burning.
Here's how to find that sweet spot:
- Low Heat: Start with a low flame. This gentle approach helps prevent the butter from scorching, giving the milk solids time to sink to the bottom.
- Medium Heat: Once the butter melts completely, gradually increase to medium heat. This temperature allows the water to evaporate without overwhelming the butter, keeping the process steady.
- Watch for Foam: As the butter cooks, it'll produce foam. This is a sign that the water is evaporating and the milk solids are beginning to separate. Don't rush this stage; patience is key.
- Adjust as Needed: If you notice the butter starting to brown too quickly, lower the heat back down. You want a consistent simmer, not a boil.
Timing for Clarity
When it comes to clarifying butter, timing plays an essential role in achieving that perfect clarity. You need to monitor the process closely to avoid any unwanted results. Once you melt the butter over low heat, allow it to simmer gently. This usually takes about 10 to 15 minutes, depending on the quantity you're using.
Keep an eye on the butter during this time. You want to see the milk solids separate and sink to the bottom while the water evaporates. If you notice bubbling or foaming, it's a good sign that the water is evaporating. Don't rush this process; if you increase the heat, you risk disturbing the milk solids and compromising the clarity.
After the initial simmering phase, watch for the milk solids to turn a light golden brown. This indicates that your butter is ready to be strained. Timing is vital here—if you wait too long, the solids can burn, affecting the flavor and clarity.
Strain the butter through a fine mesh sieve or cheesecloth as soon as it reaches that ideal point for the best results. This guarantees you're left with beautifully clarified butter, ready for your culinary adventures.
Avoiding Overheating Issues
To avoid overheating issues while clarifying butter, you must carefully manage both heat levels and timing. If you let the temperature rise too high, you'll risk burning the milk solids, leading to a bitter taste and undesirable texture.
Here are some key strategies to keep in mind:
- Use Low Heat: Always start with low to medium heat. This gradual approach allows you to monitor the butter as it melts and separates, similar to how a high-performance heat pump operates efficiently under controlled conditions.
- Stir Occasionally: Give the butter a gentle stir now and then. This helps distribute the heat evenly and prevents hotspots that could cause burning.
- Watch the Clock: Timing is essential. Generally, you should aim for about 10 to 15 minutes of gentle heating. Keep an eye on it to avoid any surprises.
- Use a Thermometer: If you're unsure about your stovetop's heat level, a thermometer can be your best friend. You want the butter to stay below 250°F (121°C).
Identifying Milk Solids
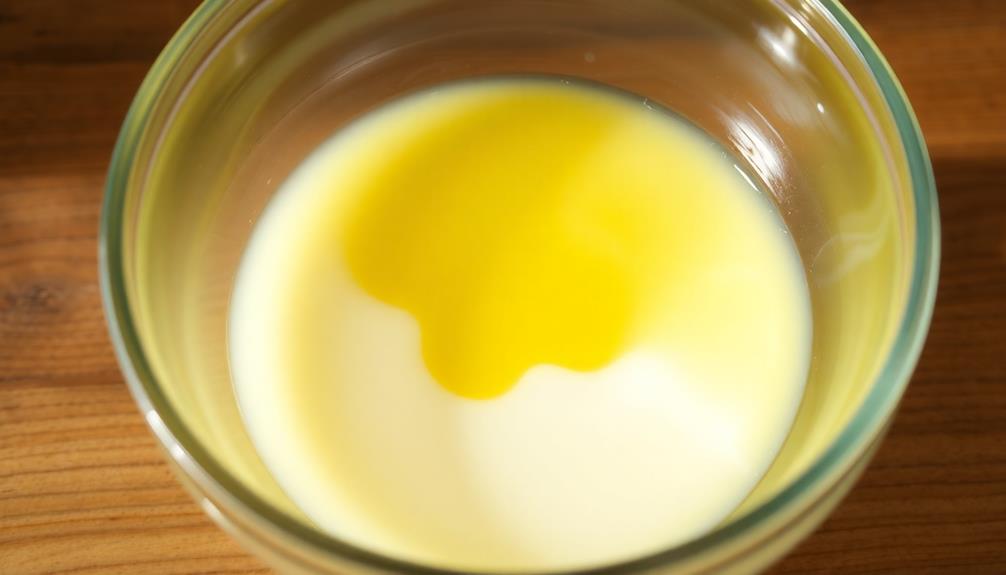
Identifying milk solids is essential for successful butter clarification, as these components can hinder the process if not properly managed. When you melt butter, you'll notice the separation of the clear fat from the milk solids and water. It's vital to recognize these milk solids, which include proteins and lactose, as they can cause cloudiness and affect the flavor.
To help you identify and manage milk solids effectively, consider the following table:
| Type of Milk Solid | Appearance | Impact on Clarification |
|---|---|---|
| Proteins | Fine, white flakes | Causes cloudiness |
| Lactose | Slightly grainy | Affects flavor |
| Water | Clear liquid | Needs to be evaporated |
Storage and Shelf Life
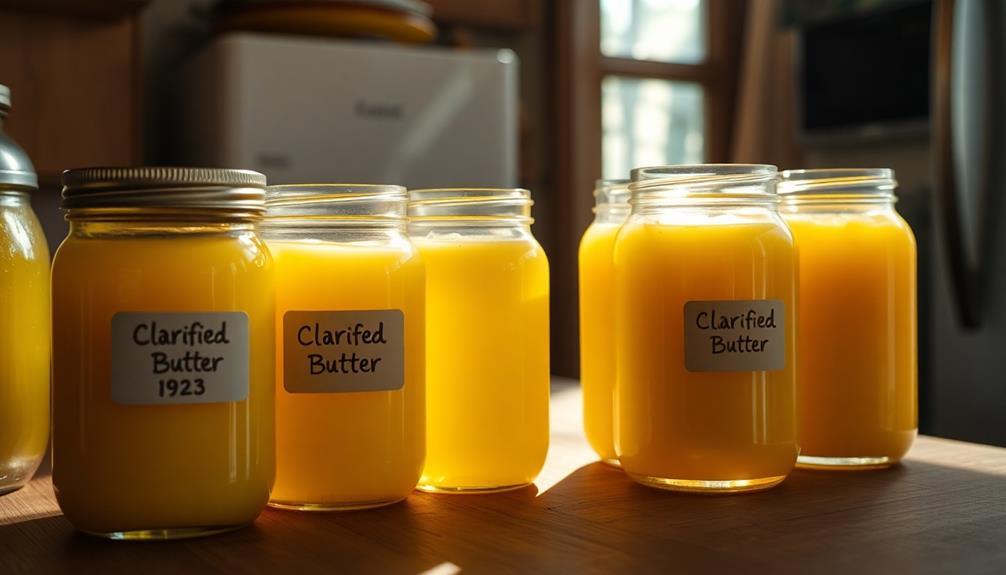
After you've clarified your butter, proper storage is essential to maintain its quality and extend its shelf life.
Butter has a long history of culinary significance, dating back to ancient civilizations where it was a cherished ingredient for its versatility and nutrition, as noted in butter's role in culinary traditions.
Here's how you can make certain your clarified butter stays fresh and flavorful:
- Choose the Right Container: Use an airtight glass or plastic container. This prevents moisture and air from degrading your butter.
- Refrigerate or Freeze: Store your clarified butter in the fridge for up to three months or freeze it for up to a year. Freezing is a great option if you plan to make large batches.
- Label and Date: Always label your containers with the date you clarified the butter. This helps you keep track of its shelf life and makes certain you use it while it's still good.
- Avoid Contamination: Use clean utensils every time you scoop out your clarified butter. This helps prevent introducing bacteria that could spoil it.
Tips for Perfect Clarification
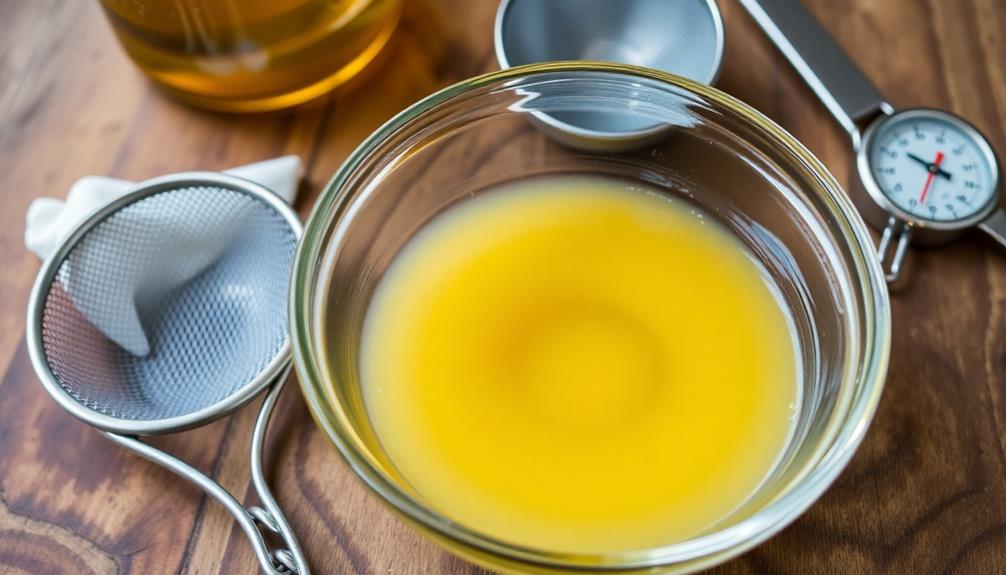
Storing clarified butter properly helps maintain its quality, but achieving perfect clarification starts with the right techniques.
First, choose unsalted butter to avoid any added moisture or flavors that can affect the process. Cut the butter into small cubes to guarantee even melting. Use low heat when melting the butter; this prevents burning and allows the milk solids to separate gradually.
Keep a close eye on the butter as it melts. You'll see foam forming on top; this is the whey protein that needs to be skimmed off. Once the butter is completely melted and you notice the milk solids settling at the bottom, take it off the heat.
Let it cool slightly, then carefully pour the liquid through a fine mesh strainer or cheesecloth into a clean container, leaving the solids behind.
You can also consider using a double boiler for more control over the temperature. If you want to enhance the flavor, you can infuse the butter with herbs or spices during the melting process.
With these tips, you'll achieve perfectly clarified butter that's ready for all your culinary creations!
Frequently Asked Questions
Can I Use Salted Butter for Clarification?
You can use salted butter for clarification, but it may alter the flavor of your final dish. If you want precise control over seasoning, it's better to use unsalted butter for a cleaner taste.
How Can I Tell if My Clarified Butter Has Gone Bad?
"When in doubt, throw it out." If your clarified butter smells rancid or has unusual discoloration, it's time to toss it. Always trust your senses—sight, smell, and taste are your best friends in the kitchen!
Is There a Vegan Alternative to Clarified Butter?
You can use coconut oil, olive oil, or vegan butter as great alternatives to clarified butter. They provide similar cooking properties and flavors, making them perfect for sautéing, baking, or drizzling over dishes. Enjoy experimenting!
Can I Clarify Butter in a Microwave?
Imagine melting snow as the sun rises. You can clarify butter in a microwave, but keep a close eye on it. Heat it gently, allowing the milk solids to settle while you savor the transformation.
What Tools Do I Need for Butter Clarification?
You'll need a saucepan, a wooden spoon, a fine mesh strainer, and a heatproof container. These tools help you melt, separate, and store clarified butter easily, ensuring you get the best results every time.
Conclusion
Now that you've explored the nuances of butter clarification, you're armed with the knowledge to avoid common pitfalls and achieve that golden liquid gold. But what if you could elevate your culinary creations even further? Imagine the depth of flavor and richness that perfectly clarified butter can bring to your dishes. Don't just stop here; experiment and discover the secrets that await you in your kitchen. The next perfect batch might be just around the corner.
