Traditional butter preservation techniques can keep your butter fresh and flavorful. You can start with salt curing, where adding salt draws moisture out and wards off bacteria. Consider using a butter bell crock; it creates an airtight seal with water to prevent spoilage while keeping butter spreadable. Infusion methods add tasty flavors, while ghee offers a longer shelf life without refrigeration. Don't forget cold storage, which prevents odor absorption. By trying these methods, you'll enjoy delicious butter for longer. There's plenty more to uncover about butter preservation that'll transform your kitchen experience.
Key Takeaways
- Salt curing extends butter's shelf life by drawing moisture out, preventing bacteria and mold growth.
- Butter bell crocks store butter at room temperature, preserving freshness with an airtight water seal.
- Ghee, or clarified butter, has a longer shelf life and is lactose-free, making it ideal for various cuisines.
- Cold storage practices involve wrapping butter tightly to prevent odor absorption and freezing for extended freshness.
- Traditional churning methods enhance flavor and texture using fresh cream, with added salt for preservation.
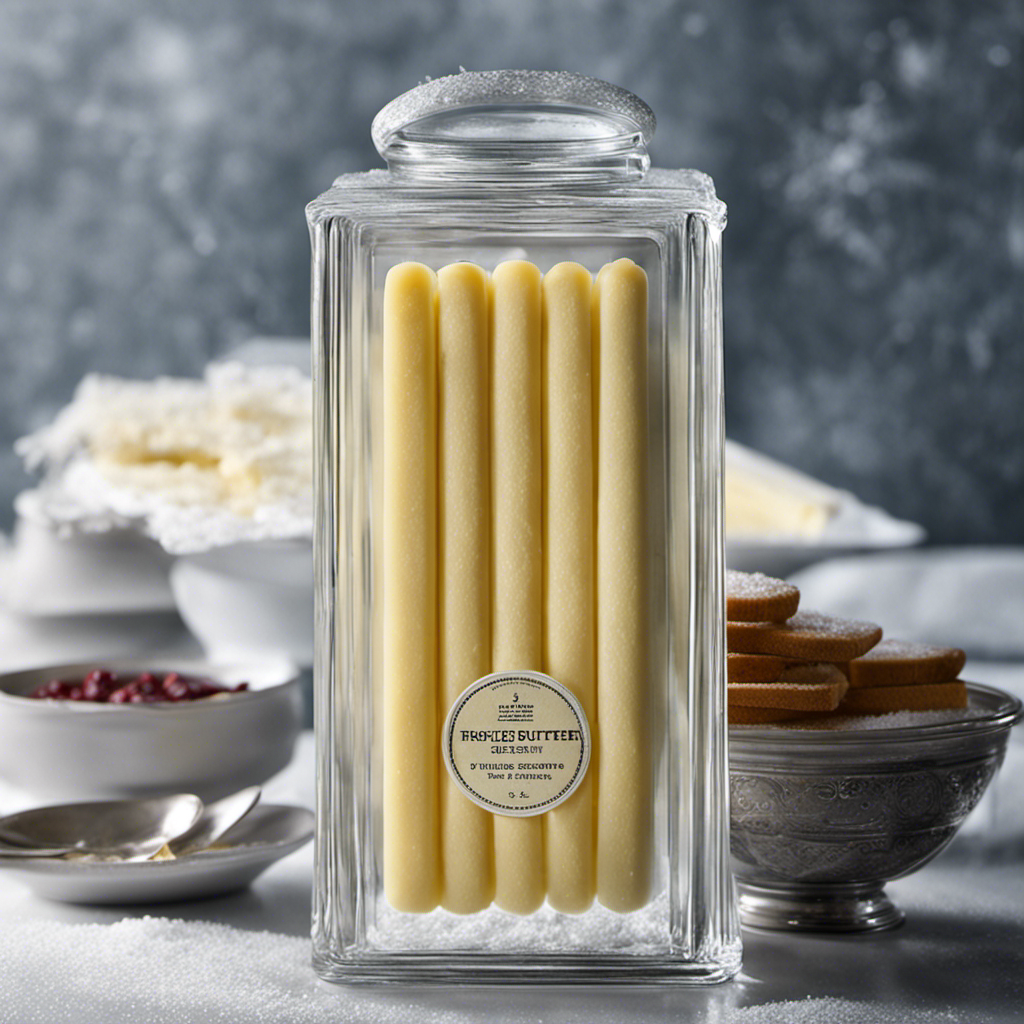
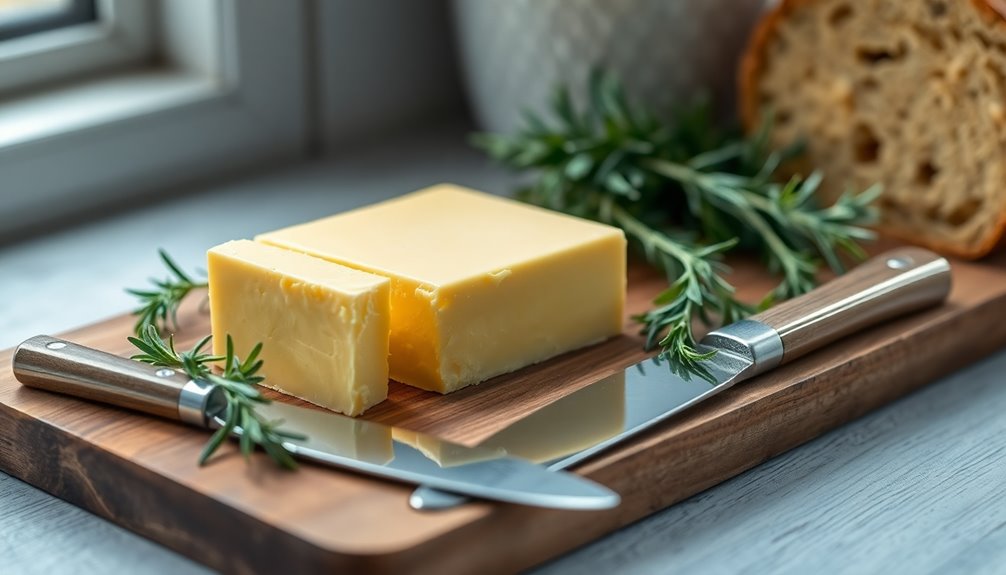
Salt Curing Methods

Salt curing methods have been used for centuries to preserve butter effectively. By incorporating salt into your butter, you can greatly extend its shelf life while enhancing its flavor. This technique works by drawing moisture out of the butter, creating an environment that inhibits the growth of bacteria and mold.
Butter's ability to enhance flavor is particularly beneficial in various cooking applications, such as adding richness to sauces and baked goods, making it a staple in many kitchens common uses of butter.
To start, you'll want to choose high-quality butter, preferably unsalted. Then, take a clean container and layer the butter with coarse salt. A common ratio is about one tablespoon of salt for every pound of butter, but you can adjust this based on your taste preferences.
Make sure the salt is evenly distributed throughout the butter. After layering, cover the container tightly to keep out air and contaminants.
Store your salted butter in a cool, dark place or even in the refrigerator for longer preservation. This method not only helps maintain the butter's flavor but also allows you to enjoy it for several months without spoilage.
Just remember to use a clean utensil each time to prevent introducing bacteria. With this simple technique, you'll find that maintaining your butter's freshness is both easy and rewarding.
Butter Bell Crocks
Butter bell crocks have a fascinating history that dates back centuries, offering a charming way to store your butter.
These traditional containers are designed to keep butter fresh and spreadable without refrigeration by creating an airtight seal with water. By using this method, you can keep your butter fresh and spreadable without refrigeration.
Proper storage techniques can greatly extend the shelf life of butter, ensuring it remains flavorful and enjoyable.
Let's explore how to use and maintain a butter bell, along with the benefits it brings to your kitchen.
History of Butter Bells
Dating back to the 17th century, butter bells, or butter bell crocks, have played an essential role in preserving butter at room temperature. These charming ceramic containers allow you to enjoy spreadable butter without the hassle of refrigeration. You might be surprised to learn that their design is both functional and aesthetically pleasing, making them a staple in many kitchens.
The butter bell consists of two main parts: a base that holds water and a lid that holds the butter. This clever design creates an airtight seal, preventing spoilage while maintaining freshness. Over the centuries, butter bells have evolved in style and material, reflecting the craftsmanship of different cultures.
Here's a quick overview of butter bells through the ages:
| Time Period | Key Features |
|---|---|
| 17th Century | Earliest design, simple clay |
| 18th Century | Decorative styles emerge |
| 19th Century | Porcelain and fine china |
| 20th Century | Mass production, vibrant colors |
| 21st Century | Eco-friendly materials, modern designs |
Today, you can find butter bells in a variety of styles, ensuring there's one perfect for your kitchen!
Usage and Maintenance Tips
Using a butter bell is a delightful way to keep your butter fresh and spreadable. To use it effectively, fill the bell's top section with softened butter, then add a bit of water to the bottom chamber. This water creates a seal that prevents air from spoiling your butter. Remember to change the water every few days to maintain freshness.
For maintenance, clean your butter bell regularly. After emptying it, wash both sections with warm, soapy water. Rinse thoroughly to avoid any soap residue that could affect the butter's flavor. If you notice any stubborn residue, a gentle scrub with a non-abrasive sponge will do the trick.
Make sure to store your butter bell in a cool, dry place away from direct sunlight. If your butter hardens, let it sit at room temperature for a bit before using. Avoid using refrigerated butter; it's best when it's kept at room temperature in the bell.
Benefits of Butter Storage
Keeping your butter fresh and easily spreadable has never been easier, thanks to butter bell crocks. These clever containers not only preserve your butter but also enhance its flavor and texture. By storing butter in a butter bell, you create an airtight seal that prevents exposure to air and light, which can lead to rancidity.
One of the main benefits of using a butter bell is that it keeps your butter at room temperature, making it effortlessly spreadable. There's nothing more frustrating than struggling with hard, cold butter on your morning toast. With a butter bell, you can enjoy perfectly soft butter every time.
Additionally, butter bell crocks allow you to store your butter without the need for refrigeration, saving space in your fridge and making your kitchen more organized. You can also easily display the butter bell on your countertop as a charming kitchen accessory.
Herb Infusion Techniques

If you want to elevate your butter's flavor, herb infusion techniques are a fantastic way to do it.
Utilizing specialized tools like the LEVO LuxPremium can simplify the infusion process, ensuring a rich and consistent flavor.
You'll find that popular herbs like rosemary, thyme, and garlic can transform ordinary butter into something special.
Let's explore the different methods you can use to infuse these delicious flavors into your butter.
Popular Herbs for Infusion
What herbs can elevate your butter infusion game? Infusing your butter with the right herbs not only enhances flavor but also adds a unique twist to your dishes. Here are some popular herbs you can try:
- Rosemary: Its robust flavor pairs wonderfully with roasted vegetables and meats, making it a great choice for butter's culinary uses.
- Thyme: This herb adds a subtle earthiness, perfect for savory baked goods or pasta dishes.
- Basil: Sweet and aromatic, basil-infused butter can take your garlic bread to the next level.
- Chives: With a mild onion flavor, chives create a delicious compound butter for spreading on baked potatoes.
- Sage: Its slightly peppery taste works well in butter for stuffing or drizzling over squash.
When you choose your herbs, consider the dishes you plan to enhance. Each herb brings its own character, transforming plain butter into something extraordinary.
Experimenting with different combinations can lead to delightful discoveries, so don't hesitate to mix and match. Elevating your butter infusion game is about finding the right balance that complements your culinary creations.
Infusion Methods Overview
When infusing herbs into butter, several methods can help you achieve the best flavor and aroma. One popular technique is the stovetop method. Simply melt your butter in a saucepan over low heat, add your fresh or dried herbs, and let them simmer for about 30 minutes. Stir occasionally to guarantee even infusion, and then strain out the herbs using a fine mesh sieve.
Another effective technique is the cold infusion method. For this, you'll want to combine your softened butter with herbs in a bowl or container. Mix them well, cover, and refrigerate for a couple of days. This method allows the flavors to meld gradually without heat, resulting in a more subtle taste.
You can also try the microwave method for a quicker option. Place your butter and herbs in a microwave-safe dish, cover it, and heat in short bursts, stirring in between. Be cautious not to overheat, as this can change the butter's texture.
Whichever method you choose, remember to taste as you go. Adjust the herb quantities based on your flavor preferences, and enjoy the aromatic butter you've created!
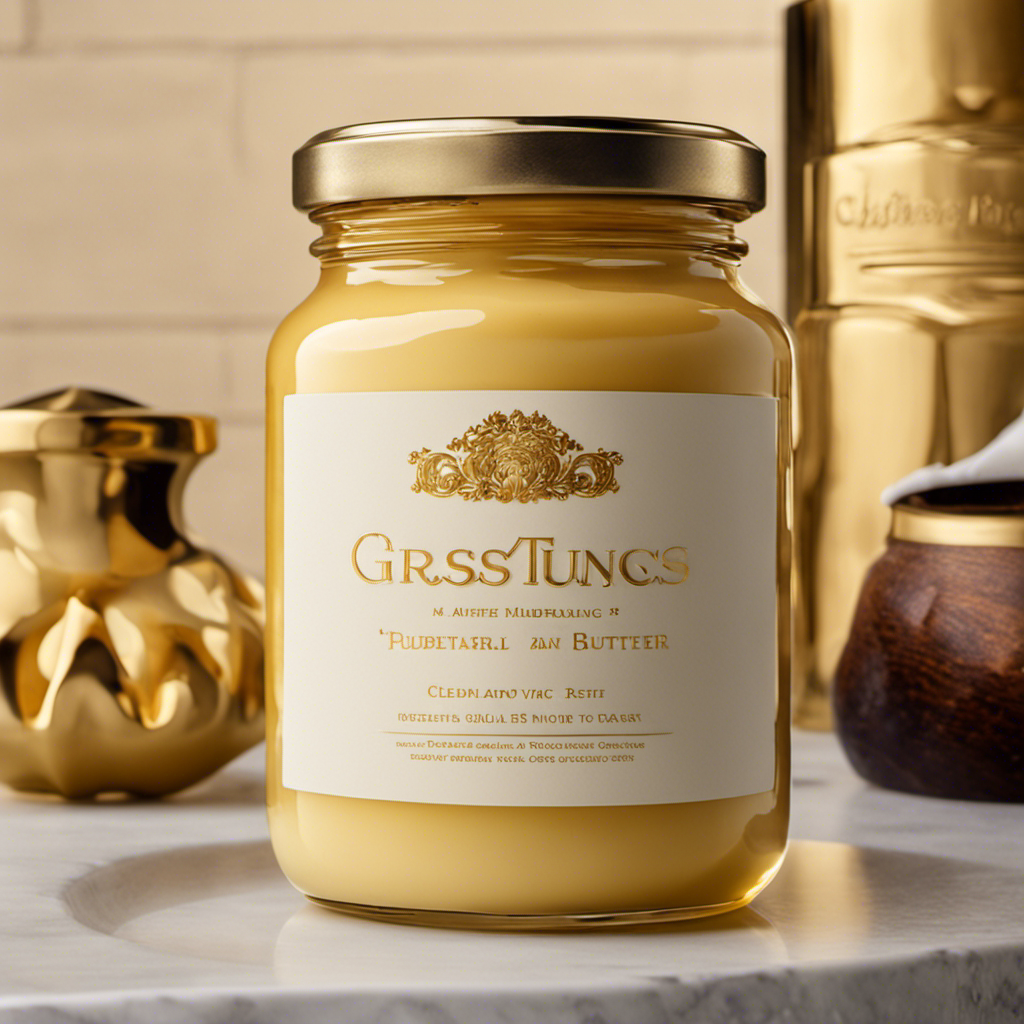
Ghee: Clarified Butter

Have you ever wondered how ghee, or clarified butter, manages to hold such a revered place in culinary traditions? This golden, aromatic fat is more than just a cooking ingredient; it's a staple in many kitchens around the world.
You'll find ghee in Indian, Middle Eastern, and even some Western cuisines, where it's celebrated for its rich flavor and high smoke point.
Making ghee is a simple process. By melting butter and simmering it, you allow the water to evaporate and the milk solids to separate. What remains is pure, clarified butter, which offers several advantages:
- Longer shelf life: Ghee can last for months without refrigeration.
- Higher smoke point: It withstands high cooking temperatures without burning.
- Lactose-free: Most people with lactose intolerance can enjoy ghee.
- Rich in nutrients: Ghee contains fat-soluble vitamins and healthy fats.
- Versatile: Use it for sautéing, roasting, or as a flavor enhancer.
Incorporating ghee into your cooking can elevate your dishes while ensuring you're using a preserved product that stands the test of time.
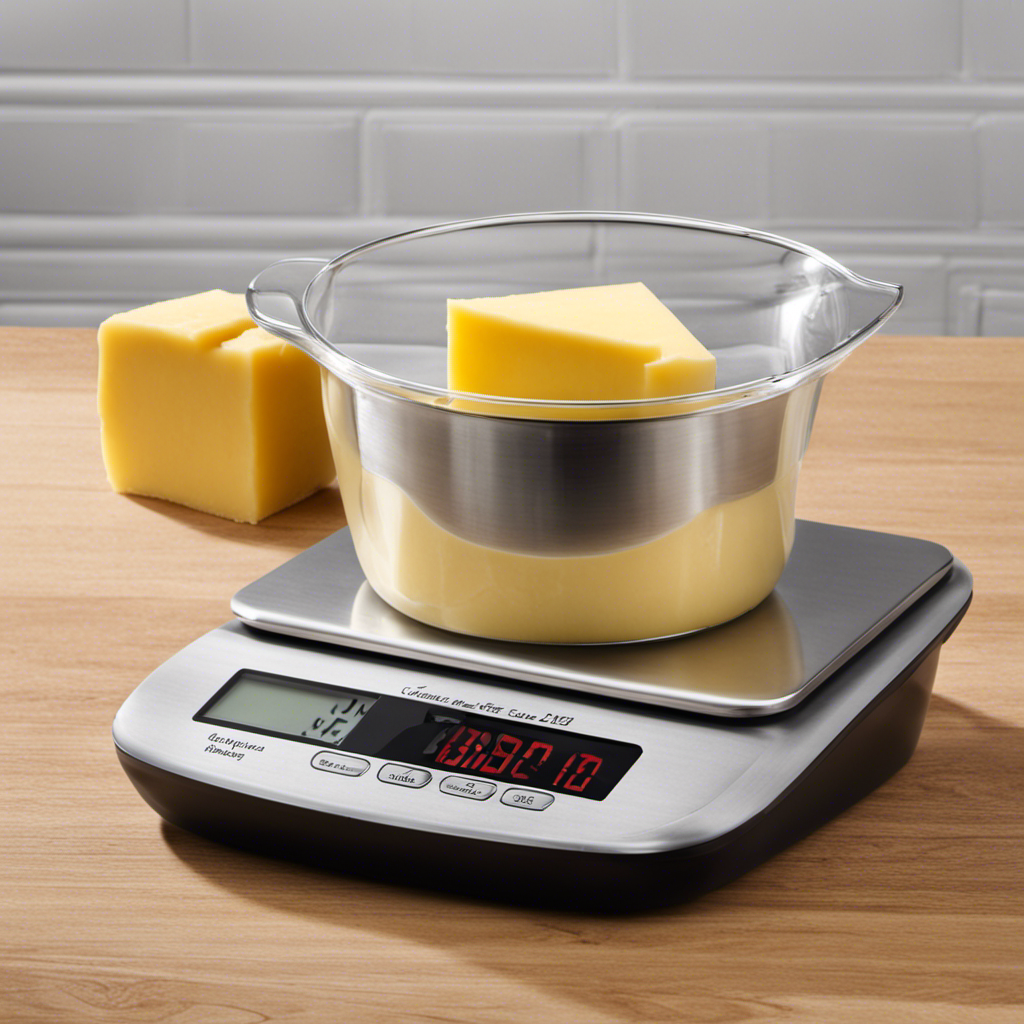
Cold Storage Practices

Storing butter properly is crucial for maintaining its freshness and flavor, and cold storage practices play an important role in this process. When you place your butter in the refrigerator, keep it wrapped tightly to prevent it from absorbing odors from other foods. You can use parchment paper, wax paper, or a dedicated butter dish with a lid to create an airtight seal.
If you want to store butter for an extended period, consider freezing it. Cut the butter into manageable portions, wrap each piece firmly in plastic wrap, and then place it in a freezer-safe container or bag. This method helps retain the butter's quality for several months.
When you're ready to use frozen butter, simply transfer it to the fridge to thaw overnight.
Always check the temperature of your refrigerator; it should be at or below 40°F (4°C) to keep butter fresh. Finally, remember that salted butter generally lasts longer than unsalted butter due to the preservative qualities of salt.
Traditional Churning Methods
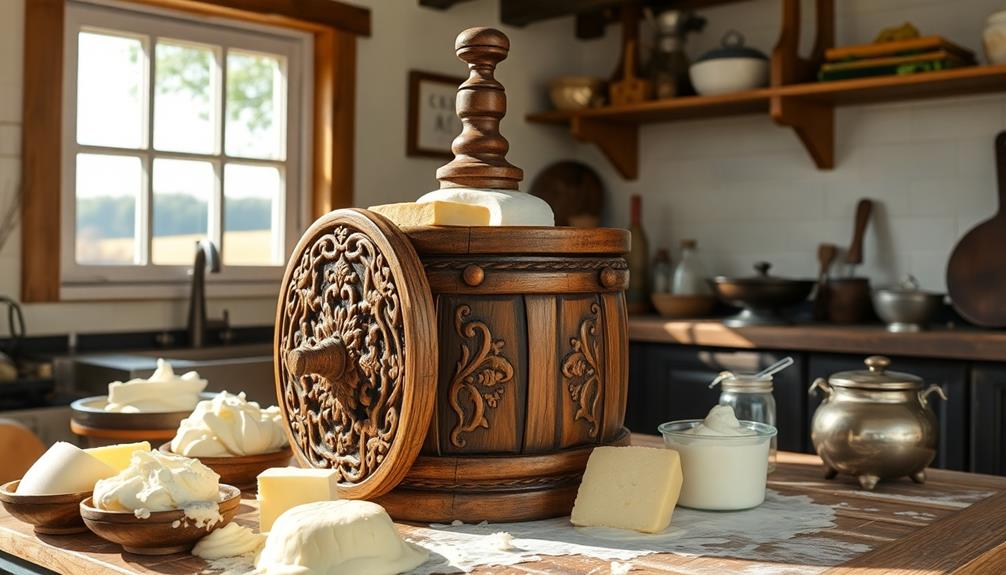
Churning butter by hand has been a cherished tradition for centuries, showcasing the simplicity and art of transforming cream into a rich dairy delight. This method allows you to connect with your food, using your own efforts to create something truly special.
To get started, you'll want to gather a few essential tools and ingredients.
- Fresh cream: The fresher, the better; it enhances flavor and texture.
- Churn: A traditional wooden butter churn or even a glass jar will do the trick.
- Ice water: Helps in washing the butter after churning, removing excess buttermilk.
- Salt: A pinch can enhance flavor and act as a preservative.
- Muslin cloth: Useful for straining and shaping your butter.
As you churn, you'll notice the cream thickening and eventually separating into butter and buttermilk.
This process, while labor-intensive, rewards you with a creamy product that can be flavored, shaped, or preserved.
Churning by hand not only nurtures your culinary skills but also connects you to generations of tradition, making each batch of butter a delightful experience to savor.
Frequently Asked Questions
What Types of Salt Are Best for Butter Curing?
When you're curing butter, opt for coarse sea salt or kosher salt. They dissolve well and enhance flavor. Avoid iodized salt, as it can impart an off taste and affect the curing process negatively.
How Long Can Infused Butter Last?
Infused butter can last up to two weeks in the fridge, while freezing extends its life to six months. You're balancing flavor and freshness, so enjoy it soon, but don't hesitate to store it wisely.
Can I Use Any Herbs for Infusion?
You can use a variety of herbs for infusion, like basil, rosemary, or thyme. Just remember to choose fresh, high-quality herbs to enhance your butter's flavor and guarantee a delicious result every time you cook.
Is Ghee Suitable for Lactose-Intolerant Individuals?
You'd think ghee's creamy richness would be off-limits for lactose-intolerant folks, huh? But surprisingly, it's often tolerated well since most lactose gets removed during the clarification process, making it a safe choice for many.
How Does Temperature Affect Butter Preservation?
Temperature considerably impacts butter preservation. Keeping it cold slows bacterial growth, extending freshness. However, storing butter at room temperature can enhance flavor but risks spoilage. You should find a balance for ideal taste and safety.
Conclusion
In a world where modern conveniences often overshadow tradition, embracing these age-old butter preservation techniques can reconnect you to simpler times. Whether you're savoring the rich taste of ghee or the delightful herbs in your butter bell crock, each method tells a story of craftsmanship and care. So, as you spread that creamy goodness on your bread, remember that you're not just enjoying a treat—you're preserving a piece of culinary history, one flavorful bite at a time.