
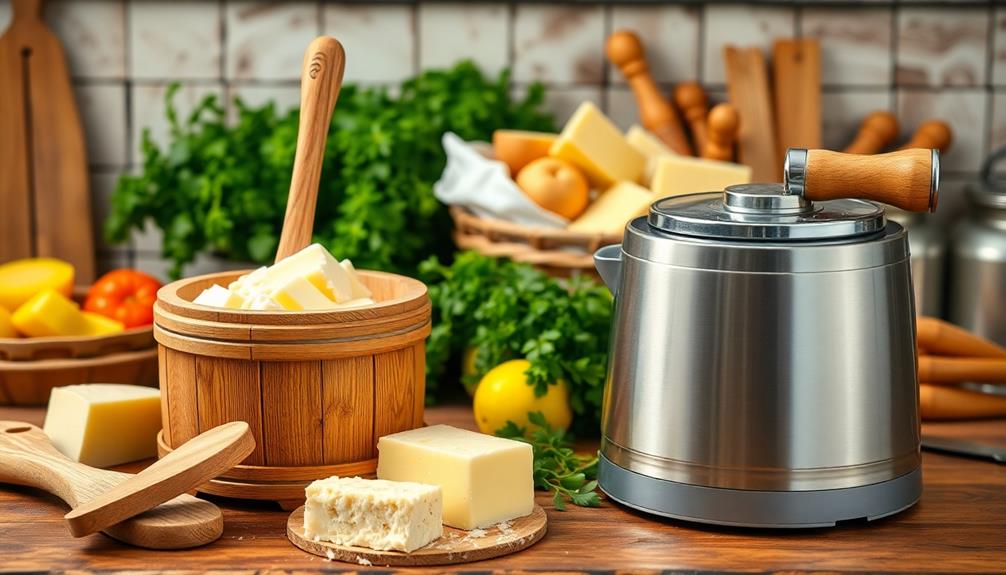
When you think about traditional butter making tools, envision manual churns, intricate molds, and age-old methods. You can use a barrel churn for larger batches or a simple glass jar for quick small ones. Butter molds not only shape but also showcase your creation with beautiful designs. Don't forget about the importance of temperature; keeping butter at the right warmth guarantees smooth spreading and enhances flavor. Essential tools like spatulas and mixing bowls help incorporate flavors. If you're curious about how these tools elevate your butter-making experience, there's much more to discover about the craft!
Key Takeaways
- Traditional butter making involves manual churns like barrel, glass jar, and dash churns for an authentic experience and quality butter production.
- Butter molds, made from wood, silicone, or metal, shape butter and enhance its presentation, reflecting cultural traditions.
- Cream separation can be achieved using manual or electric cream separators, or by letting milk sit undisturbed for the cream to rise.
- Flavor infusion tools, such as mortar and pestle, mixing bowls, and spatulas, help create unique flavored butters for culinary enhancement.
- Proper maintenance of butter-making tools involves regular cleaning, sanitization, and air drying to ensure longevity and prevent contamination.
History of Butter Making
Butter making has a rich history that dates back thousands of years, with evidence suggesting it originated around 3000 B.C. in regions like Mesopotamia. As you explore this ancient craft, you'll find that early methods involved churning cream from milk, often using simple containers like animal skins or wooden vessels.
These early techniques laid the groundwork for what would become a staple in kitchens around the world, showcasing the varieties of butter that have evolved over time.
Throughout history, different cultures developed unique practices for butter making. In ancient Egypt, butter was prized both for its culinary uses and its significance in religious rituals. Meanwhile, in Europe, particularly in regions like Ireland and France, butter became a key ingredient in daily diets.
You might be surprised to learn that it wasn't just used in cooking; it also played a role in trade and economics.
The process evolved over the centuries, with advancements in technology leading to more efficient methods. Yet, at its core, butter making remains a blend of art and science, connecting you to generations of artisans who've perfected this timeless skill.
Essential Butter Churn Types
When it comes to making butter, choosing the right churn can make all the difference.
You can opt for a manual butter churn for a traditional hands-on experience or go with an electric butter churn for speed and convenience.
Each type has its own benefits, so let's explore what suits your butter-making needs best.
Manual Butter Churns
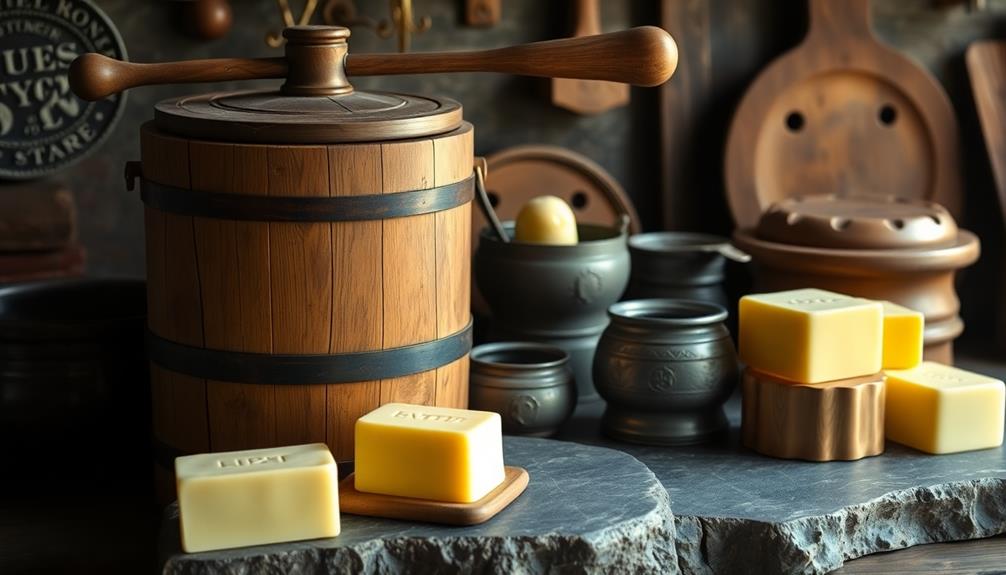
Discover the art of traditional butter making through manual butter churns, which have been essential tools in the process for centuries.
These churns allow you to engage directly with the craft, giving you a hands-on experience that connects you to generations of butter makers.
One common type is the barrel churn, a large, cylindrical container that holds cream. You'll turn a crank, which agitates the cream until butter forms. This method can take anywhere from 20 minutes to an hour, depending on the quantity of cream and the temperature.
A simpler option is the glass jar churn, where you fill a jar with cream and shake it vigorously. In just a few minutes, you'll see the cream transform into delicious butter. This method is perfect for small batches and offers an immediate reward for your effort.
You might also encounter the dash churn, featuring a plunger-like device that you move up and down. As you work the plunger, you'll create a delightful rhythm that helps separate the butter from the buttermilk.
With manual butter churns, you're not just making butter; you're experiencing a time-honored tradition that brings satisfaction and flavor to your kitchen.
Electric Butter Churns
How can you save time while still enjoying the process of making homemade butter? Electric butter churns are your answer. These modern appliances take the effort out of churning, allowing you to whip up delicious butter in a fraction of the time compared to manual methods.
With just a push of a button, you can achieve perfect consistency and texture.
When you choose an electric butter churn, look for features that suit your needs. Some models come with adjustable speeds, giving you control over the churning process.
Others have built-in timers, so you can set it and forget it, freeing you up to tackle other tasks in the kitchen.
Maintenance is also a breeze. Most electric churns are designed for easy disassembly, making cleanup quick and simple.
Plus, they often have dishwasher-safe parts, which means less time scrubbing by hand.
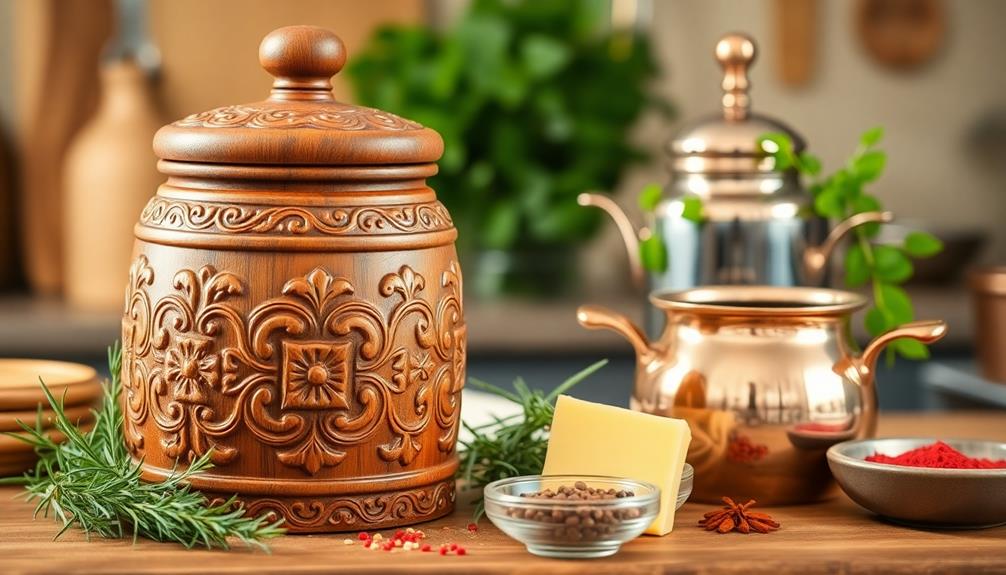
The Role of Butter Molds
Butter molds play an essential role in both the aesthetics and preservation of your homemade butter.
Historically, these molds have been used to create beautiful shapes and designs, reflecting the craftsmanship of their time.
Historical Significance of Molds
Throughout history, molds have played an essential role in the art of butter making, shaping not just the product but also cultural practices surrounding it. When you think about butter, you might picture it as a simple ingredient, but its presentation has often held great significance. Molds allowed you to create visually appealing shapes, making butter more than just a staple; it became a centerpiece for celebrations and gatherings.
In many cultures, the design and shape of the butter reflected local traditions and artistry. You might've noticed how specific molds were used for special occasions, enhancing the festive spirit of meals. This practice extended to the use of molds as a status symbol, showcasing wealth and craftsmanship. By using intricate molds, families could elevate their social standing, making butter an expression of identity.
Furthermore, these molds often served a practical purpose, helping to pack butter for storage and transportation. Molding butter not only preserved its quality but also made it easier to distribute.
Types of Butter Molds
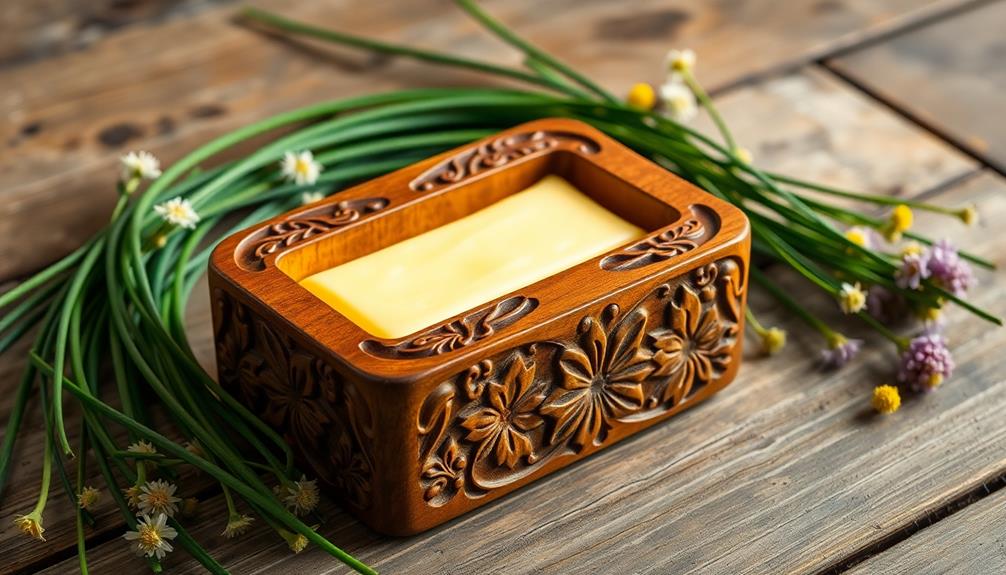
Artistry and functionality define the various types of butter molds that have evolved over time. When you think about butter molds, you'll notice they come in a range of shapes and sizes, each serving a unique purpose.
Traditional wooden molds often feature intricate carvings, allowing you to imprint beautiful designs on your butter. These molds not only enhance the aesthetics but also add a personal touch to your culinary creations. Butter adds rich, creamy flavor to baked goods, making it an essential ingredient when using molds to create stunning presentations in your dishes, especially for items like savory dishes that benefit from a touch of elegance.
You might also come across silicone molds, which have gained popularity for their flexibility and ease of use. With these, you can easily pop out your butter without the risk of damaging its shape.
Metal molds, often used in commercial settings, provide durability and uniformity, ensuring your butter looks professional.
Choosing the right mold can elevate your butter-making experience. Whether you prefer the classic charm of wood or the convenience of silicone, each type of mold plays a significant role in how you present your finished product.
Butter molds are more than just tools; they're an expression of creativity and tradition that can transform a simple ingredient into a work of art.
Molding Techniques and Styles
Molds play a significant role in shaping not just the physical form of butter but also the technique and style used in its presentation.
Using butter molds elevates your culinary experience, allowing you to create visually appealing shapes that can impress your guests.
Here are three popular molding techniques and styles to evaluate:
- Classic Prints: Traditional molds often feature intricate designs, like flowers or animals. These prints add a charming touch to your butter, making it perfect for gatherings or special occasions.
- Block Shapes: If you're after simplicity, rectangular or square molds can give your butter a clean, modern look. This technique is great for everyday use, as it's easy to slice and serve.
- Personalized Creations: You can also experiment with custom molds. Whether you carve your own or find unique shapes, personalizing your butter can be a fun way to express your creativity.
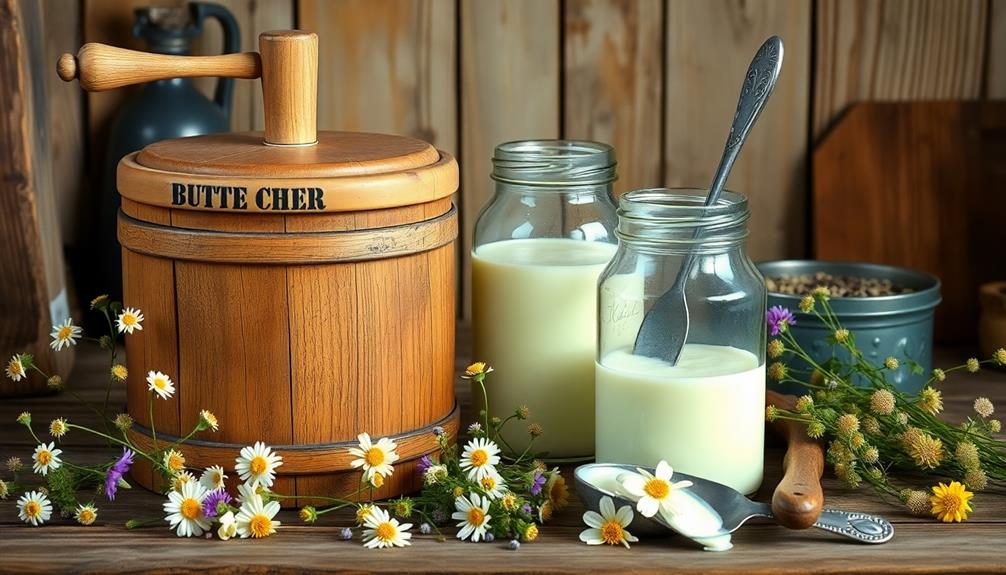
Equipment for Cream Separation
When it comes to separating cream from milk, having the right equipment makes all the difference in achieving high-quality butter. The most traditional tool you can use is a cream separator. This device efficiently spins the milk, allowing the lighter cream to rise to the top while the heavier skim milk settles at the bottom.
You'll find both manual and electric versions, so choose one that fits your needs and scale.
If you're looking for a more hands-on approach, a churn can also serve the purpose. While primarily used for churning butter, a churn can help you separate cream from milk if you're willing to put in the extra effort.
Another option is using a simple jar. By letting the milk sit undisturbed for several hours, the cream will naturally rise to the top. You can then skim it off with a spoon.
Regardless of the method you choose, remember that fresh milk yields the best results. Investing in quality equipment guarantees you get the most cream possible, setting the stage for delicious butter-making ahead.
Tools for Flavor Infusion
Infusing flavors into butter elevates its taste and versatility, making it a delightful addition to any dish. With the right tools, you can create unique flavored butters that enhance everything from bread to vegetables.
Here's what you'll need for successful flavor infusion:
- Mortar and Pestle: This classic tool allows you to crush herbs, spices, and garlic, releasing their essential oils and flavors. You can easily combine these ingredients with softened butter to create a cohesive blend.
- Mixing Bowl: A sturdy mixing bowl is essential for combining your butter with the infused ingredients. It provides enough space to mix thoroughly without making a mess.
- Spatula: A flexible spatula helps you incorporate all the flavors evenly into the butter. It's also useful for transferring your flavored butter into storage containers.
Once you've infused your butter with your chosen flavors, you can refrigerate it for later use or even freeze it in portion sizes.
With these tools, you're ready to elevate your culinary creations and impress your family and friends!
Traditional Butter Knives
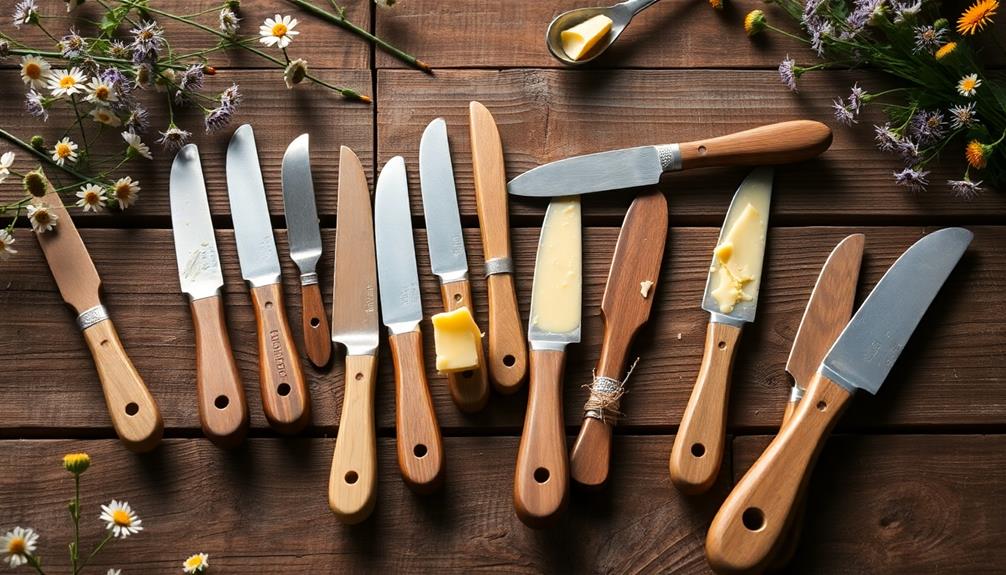
A traditional butter knife is an essential tool in any kitchen, designed specifically for spreading butter with ease. Unlike regular knives, butter knives have a broad, blunt blade that helps you scoop and spread butter without tearing your bread or damaging delicate pastries.
When using a butter knife, you'll appreciate its unique shape, which allows for smooth application. The flat edge glides over the surface of butter, making it easy to take just the right amount for your toast or crackers.
You can find these knives made from various materials, such as stainless steel, wood, or even ceramic, each providing a different aesthetic and feel in your hands.
To enhance your butter experience, consider investing in a set of decorative butter knives. These can add a touch of elegance to your dining table, making even a simple breakfast feel special.
Remember, it's not just about functionality; a beautifully designed knife can elevate your meal presentation.
Incorporating a traditional butter knife into your kitchen tools will guarantee that you're always ready to enjoy perfectly spread butter on your favorite foods.
The Importance of Temperature
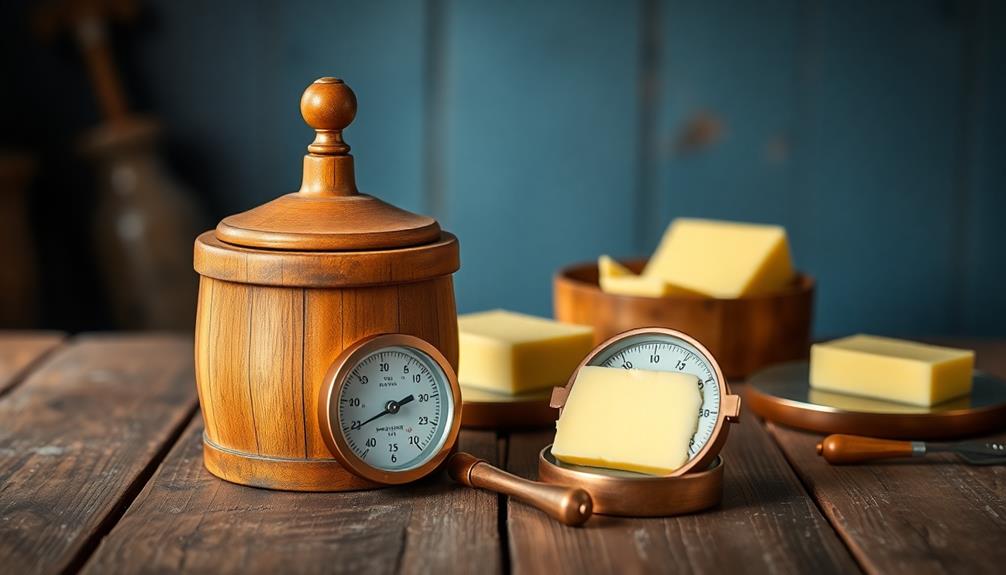
How essential is the temperature of your butter when it comes to spreading? If you want to enjoy a smooth, even application on your bread or toast, getting the temperature just right is key.
Butter that's too cold can be hard to spread, leading to torn bread, while butter that's too soft can be messy and runny.
Here are three reasons why temperature matters:
- Spreadability: Ideally, butter should be slightly softened, around 65°F (18°C). This makes it easy to spread without tearing your bread.
- Flavor Release: Warmer butter releases its flavors more effectively. When it's at room temperature, you'll taste the rich, creamy notes that make butter so delightful.
- Texture: The right temperature helps maintain that creamy, smooth texture. Cold butter can feel grainy, whereas warmed butter offers a luscious mouthfeel.
Cleaning and Maintaining Tools
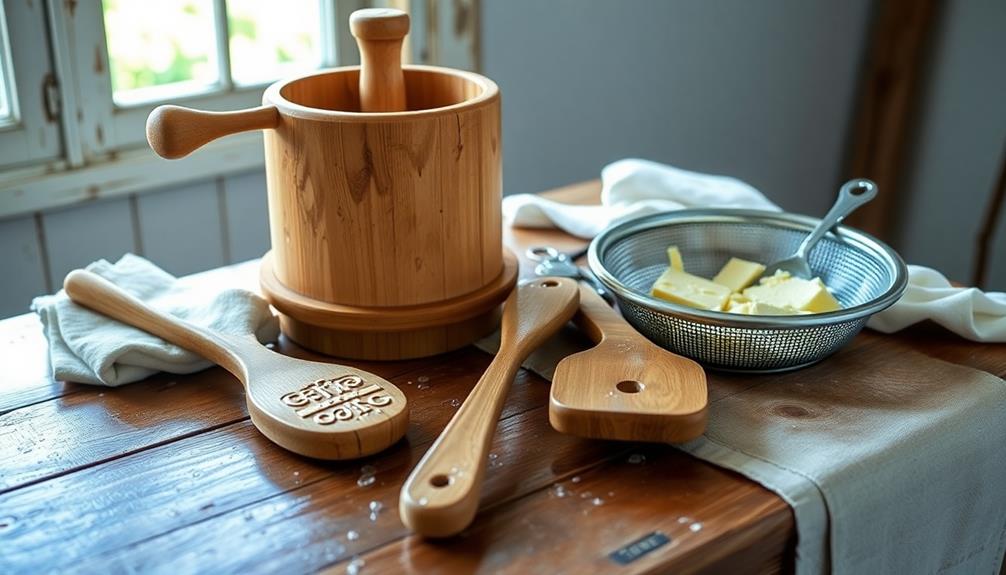
Keeping your butter-making tools clean is essential for ensuring delicious results.
You should regularly sanitize your equipment to prevent any unwanted flavors or bacteria from affecting your butter.
Plus, a little routine maintenance can go a long way in extending the life of your tools.
Proper Tool Sanitization
Proper tool sanitization is essential for anyone involved in traditional butter making, as it guarantees the safety and quality of your dairy products.
Neglecting this step can lead to contamination, affecting both flavor and health.
Here's how you can verify your tools are properly sanitized:
- Wash Thoroughly: Start by washing your tools with hot, soapy water. Use a brush to scrub any stubborn residue, especially around crevices.
- Use a Sanitizing Solution: After washing, soak your tools in a sanitizing solution. A mixture of one tablespoon of unscented bleach to one gallon of water works well. Let them soak for at least two minutes to effectively kill any lingering bacteria.
- Air Dry Completely: After sanitizing, rinse your tools with clean water to remove any bleach residue. Then, place them on a clean towel or drying rack, ensuring they're completely air-dried before use.
Regular Maintenance Tips
Regularly maintaining your butter-making tools is essential for guaranteeing their longevity and performance. Start with a thorough cleaning after each use. Rinse your tools with hot water to remove any residue, then wash them with mild soap. Avoid harsh chemicals, as they can damage the surfaces.
For wooden tools, like paddles or churns, wash them with a damp cloth and let them air dry completely to prevent warping or cracking. Consider using specialized butter tools like silicone butter molds to enhance your butter-making experience.
Inspect your tools regularly for signs of wear or damage. If you notice any cracks in wooden tools or rust on metal ones, it's time to replace them. Store your tools in a dry, cool place. This helps prevent moisture buildup, which can lead to mold or bacteria.
For metal tools, consider applying a thin layer of food-grade mineral oil occasionally to maintain their shine and prevent rust. If you use a churn, guarantee the lid seals properly to avoid contamination and maintain freshness.
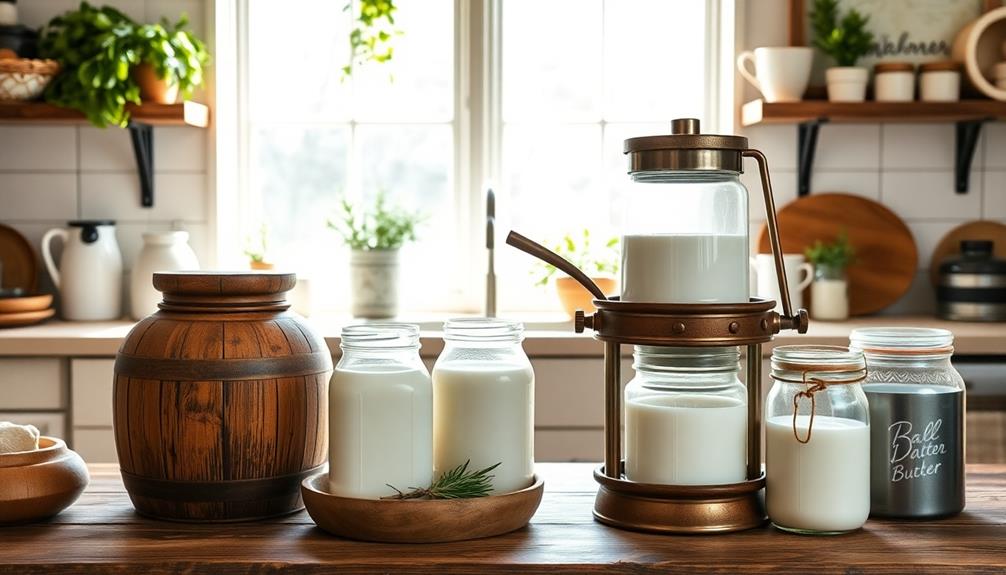
Modern Adaptations of Tools
In the world of butter making, modern adaptations of traditional tools have revolutionized the process, making it more accessible and efficient for home cooks and artisanal producers alike.
Today, you can find innovative equipment that enhances the butter-making experience while streamlining the workflow.
Here are three key modern adaptations that you might consider:
- Electric Butter Churns: These devices cut down the time and effort needed to churn cream into butter. With adjustable speeds and automatic shut-off features, they take the guesswork out of the process.
- Food Processors: Many home cooks now use food processors to whip cream into butter. With their powerful motors and versatile settings, you can achieve creamy butter in just minutes.
- Temperature-Controlled Containers: Keeping your cream at the ideal temperature is essential for the best butter texture. Modern containers with built-in temperature regulation guarantee consistency, allowing you to focus on flavor and technique.
These advancements have made butter making easier and more enjoyable, whether you're crafting gourmet batches or just experimenting in your kitchen.
Benefits of Handmade Butter

Handmade butter offers a rich, creamy texture and unparalleled flavor that store-bought varieties simply can't match. When you make butter at home, you control the ingredients, ensuring freshness and quality. You can choose high-quality cream, often sourced from local farms, which enhances the taste and supports your community.
Moreover, crafting your own butter allows you to experiment with flavors. Want to infuse it with herbs, spices, or even honey? You can do that! This customization means you can create a butter that suits your palate perfectly, enhancing your culinary creations.
Handmade butter also tends to be more nutritious. Many commercial butters contain preservatives and additives that can detract from their health benefits. By making your own, you avoid these unnecessary ingredients, ensuring a more wholesome product.
Additionally, the process of making butter can be a rewarding and therapeutic activity. It connects you to traditional practices and gives you a sense of accomplishment.
Frequently Asked Questions
What Materials Are Commonly Used for Traditional Butter Making Tools?
When you think about making butter, you might consider materials like wood, stone, and ceramic. These materials have been used for centuries, providing durability and the ability to withstand the churning process effectively.
How Can I Tell if My Butter Is Properly Churned?
You can tell your butter's properly churned when it thickens, separates from the buttermilk, and forms a smooth, creamy texture. Taste it to guarantee richness, and check for a pleasant, buttery flavor. Enjoy your creation!
Are There Any Safety Concerns With Butter Making Tools?
When making butter, you've gotta be careful! Safety concerns include sharp blades and potential spills. Always supervise children, use non-slip surfaces, and keep tools clean to avoid any buttery disasters that'll make your head spin!
Can I Use Modern Kitchen Tools for Traditional Butter Making?
You can use modern kitchen tools like blenders or food processors to make butter. They're efficient and save time. Just remember to monitor the consistency, so you achieve that perfect creamy texture you desire.
What Are the Best Practices for Storing Butter Making Tools?
To store your butter making tools effectively, clean them thoroughly, dry completely, and keep them in a cool, dry place. You can use airtight containers to prevent moisture and protect against odors.
Conclusion
In a world dominated by mass production, making butter by hand connects you to a rich history while embracing modern creativity. As you churn cream into golden goodness, you're not just crafting a spread; you're preserving tradition. The tools may have evolved, but the satisfaction of creating something delicious remains timeless. So, whether you're infusing flavors or shaping molds, remember: each batch of handmade butter is a delightful blend of the past and present, crafted by your hands.