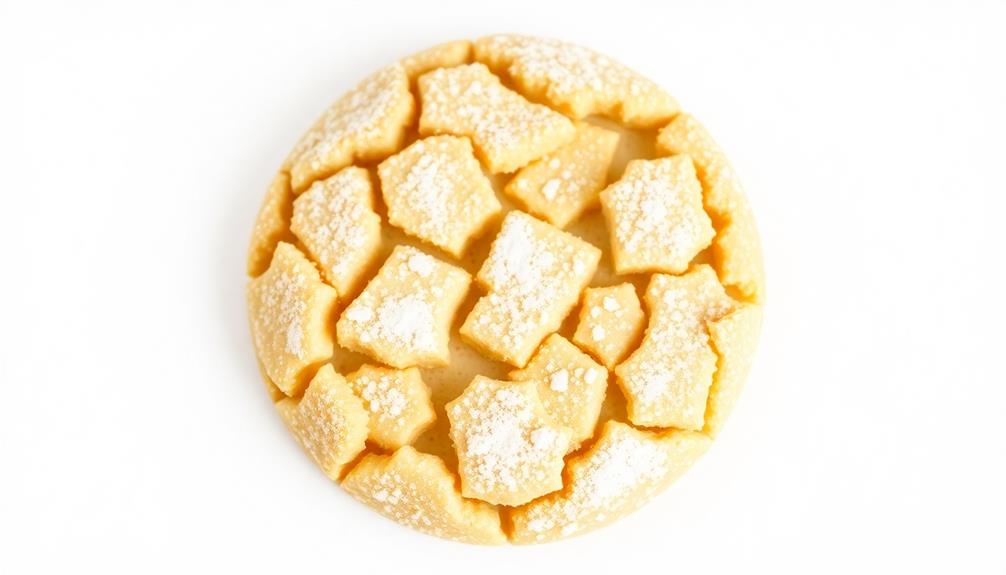
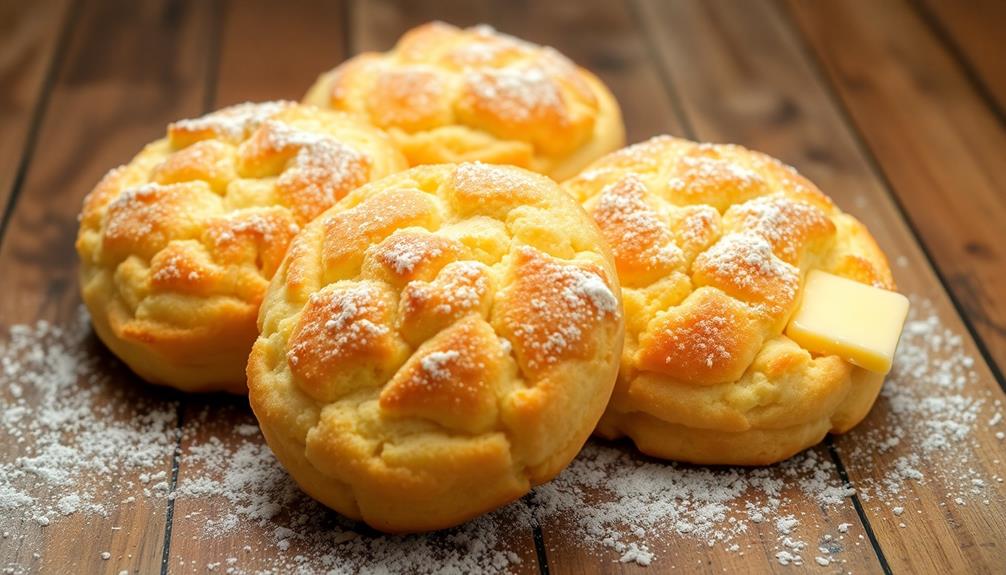
Craving the irresistible aroma and melt-in-your-mouth texture of classic Swedish butter cookies? You're in luck! These beloved treats date back to 18th-century Sweden, where they've become a cherished tradition. To bake the perfect batch, use high-quality European-style butter, sugar, and flour, then cream the ingredients until light and fluffy. Gently shape the dough into uniform balls, arrange them on a baking sheet, and let the oven work its magic. Soon, you'll be enjoying the rich, buttery flavor and delicate, crumbly texture that makes these cookies a symbol of Swedish hospitality. Ready to dive deeper into this cozy culinary tradition?
Key Takeaways
- Use high-quality, softened European-style butter and all-purpose flour to achieve the rich, buttery flavor and delicate, crumbly texture of traditional Swedish butter cookies.
- Cream the butter and sugar until light and fluffy, then gradually incorporate the flour to form a smooth, uniform dough.
- Roll the dough into uniform balls and place them on a parchment-lined baking sheet, ensuring even baking and a consistent shape.
- Bake the cookies at 350°F until the edges are lightly golden, rotating the baking sheet halfway through for even browning.
- Store the cooled cookies in an airtight container to maintain their freshness and enjoy the nostalgic, festive flavors of this beloved Swedish treat.
History

The origins of Swedish butter cookies can be traced back to the 18th century, when they were first introduced as a delicacy among the Swedish nobility.
These buttery, crumbly treats quickly gained popularity throughout the country, becoming a beloved tradition passed down through generations.
As the Swedish economy flourished, the availability of high-quality butter and refined sugar allowed for the mass production of these delightful cookies.
Bakers experimented with different shapes, sizes, and decorative techniques, leading to the iconic round, fork-pressed design we recognize today.
The simple yet elegant appearance of Swedish butter cookies made them a staple at festive gatherings, holiday celebrations, and everyday tea-time rituals.
Over time, the recipe evolved, with some families adding vanilla, almond, or cardamom for additional flavor.
The enduring popularity of Swedish butter cookies can be attributed to their buttery richness, delicate texture, and timeless appeal.
Today, they remain a cherished part of Swedish culinary heritage, enjoyed by people around the world.
Recipe
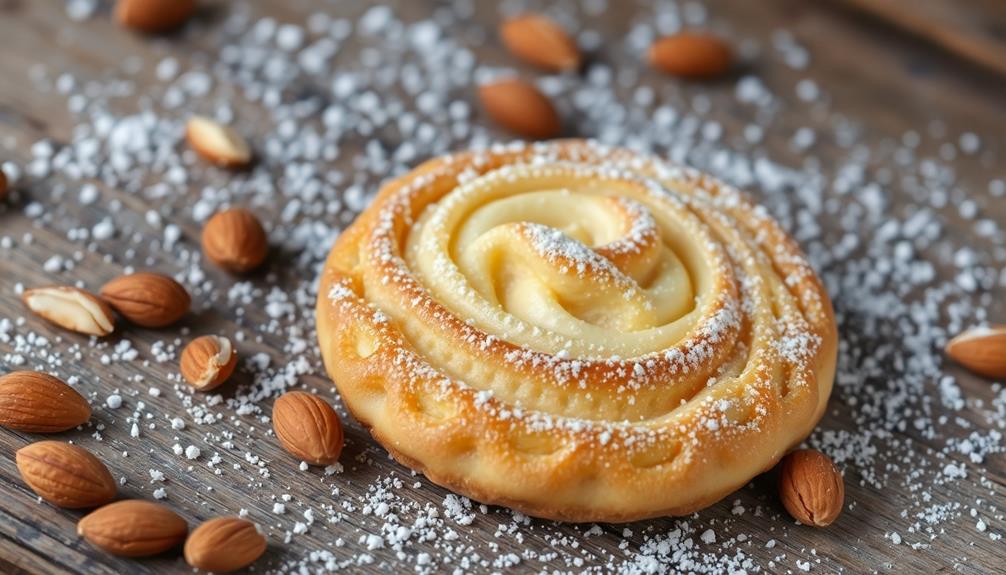
Swedish butter cookies are a classic and beloved treat, known for their delicate, buttery flavor and crumbly texture. These cookies are a staple during the holiday season, but they can be enjoyed year-round as a simple, yet elegant dessert.
The key to making the perfect Swedish butter cookies lies in the quality of the ingredients and the attention to detail during the baking process. Using high-quality European-style butter is essential, as it provides the rich, creamy flavor that sets these cookies apart from their counterparts.
Ingredients:
- 2 cups (4 sticks) unsalted European-style butter, softened
- 1 cup granulated sugar
- 1 egg yolk
- 1 teaspoon vanilla extract
- 1/4 teaspoon salt
- 3 cups all-purpose flour
Directions:
Preheat the oven to 350°F (175°C). In a large mixing bowl, beat the softened butter and sugar together until light and fluffy, about 3-5 minutes.
Beat in the egg yolk and vanilla extract until well combined. Gradually add the flour and salt, mixing just until the dough comes together.
Shape the dough into 1-inch balls and place them about 2 inches apart on ungreased baking sheets.
Tips:
For a festive touch, you can roll the dough balls in chopped nuts, such as almonds or walnuts, before baking.
Additionally, these cookies can be made ahead of time and frozen for up to 3 months, making them a convenient option for holiday entertaining.
Cooking Steps

First, you'll want to preheat your oven to 350°F.
Then, cream the butter and sugar together until they're light and fluffy.
Finally, add the flour and mix it all together until a dough forms.
Get ready to roll that dough into perfect little balls and place them on a baking sheet – these Swedish butter cookies are about to get real!
Step 1. Preheat Oven to 350°F
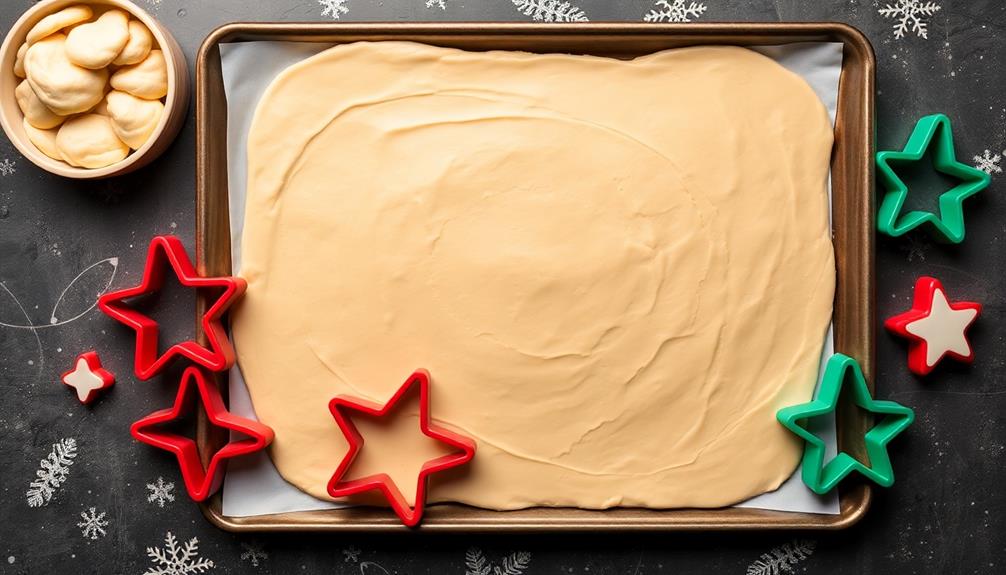
Before you begin preparing the dough, preheat your oven to 350°F. This crucial step ensures your oven is at the perfect temperature when it's time to bake your delectable Swedish butter cookies. The oven's even heat will help the cookies rise and achieve that irresistibly light and flaky texture.
As the oven warms up, take a moment to visualize the golden-brown beauties soon to emerge. Imagine the mouthwatering aroma of buttery goodness filling your kitchen. This is the moment when the magic begins to unfold.
Once your oven beeps, indicating it's reached the desired temperature, slide the cookie dough onto the middle rack. Set a timer and resist the temptation to peek – the cookies need this time to work their oven-baked magic.
In no time, you'll be rewarded with a batch of perfect Swedish butter cookies, ready to delight your senses and satisfy your sweet tooth.
Step 2. Cream Butter and Sugar Together
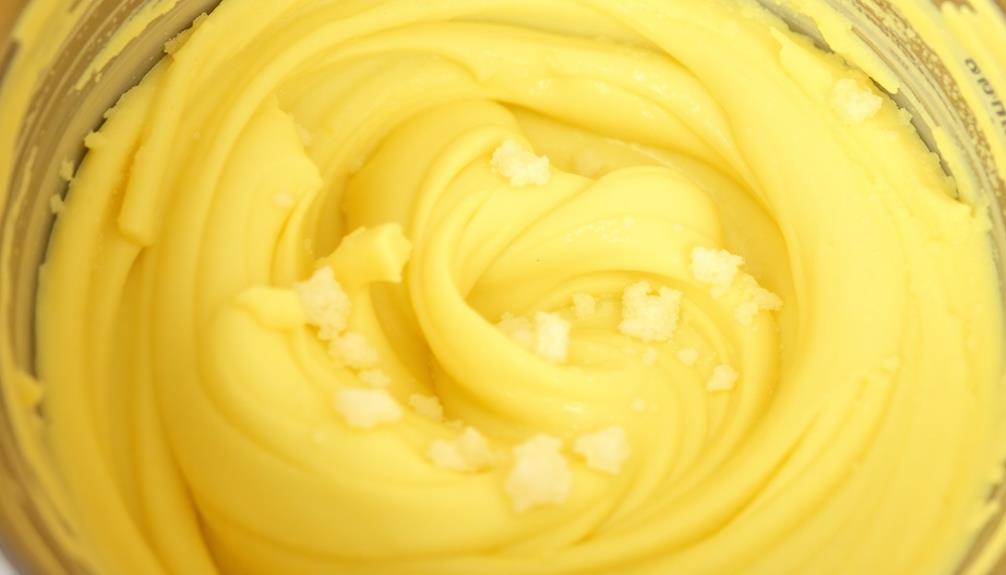
Creaming the butter and sugar is a critical step in crafting these delectable Swedish butter cookies.
First, let's grab your trusty stand mixer or a large bowl and a wooden spoon. Add the softened butter and granulated sugar, then cream them together until the mixture is light and fluffy.
This process typically takes 2-3 minutes, so don't be afraid to let that mixer run! As the butter and sugar blend, you'll notice the mixture transform from a grainy texture to a smooth, creamy consistency.
This essential step helps create the cookies' signature melt-in-your-mouth texture. Remember to scrape down the sides of the bowl occasionally to ensure even mixing.
Once the butter and sugar are perfectly creamed, you're ready to move on to the next step in baking these irresistible Swedish treats.
Get ready to add in the other key ingredients and start shaping those delightful cookie doughs!
Step 3. Add Flour and Mix
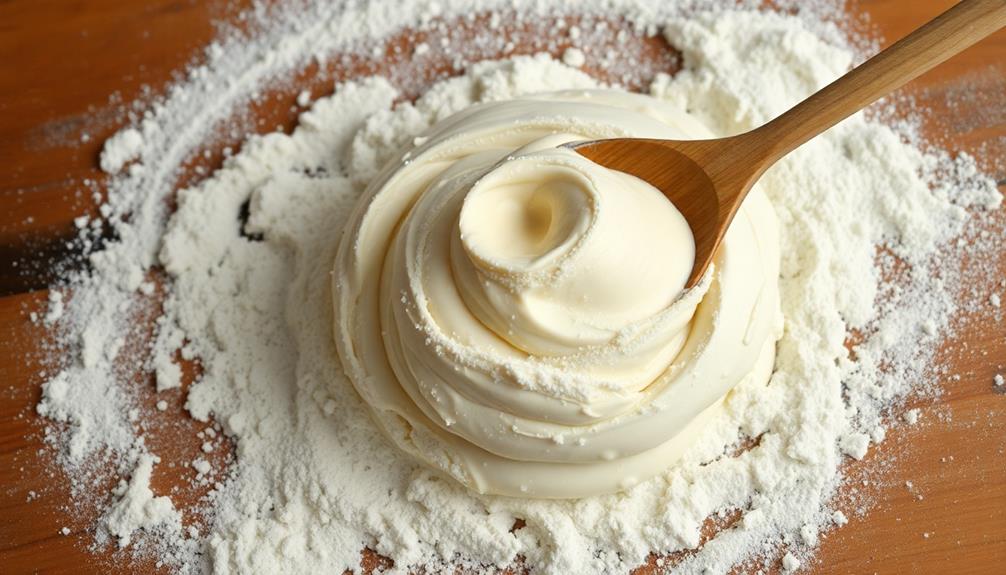
With the butter and sugar now perfectly creamed, you can move on to incorporating the flour into the mixture. Grab your trusty wooden spoon and gently fold in the all-purpose flour, a little at a time. As you stir, you'll feel the dough start to come together, forming a soft, pliable ball.
Don't be tempted to overmix – just keep folding until the flour is fully incorporated and the dough is smooth and uniform.
Next, turn the dough out onto a lightly floured surface and give it a few quick kneads to ensure everything is well combined. The dough should be soft and malleable, not sticky or dry. If it feels a bit too sticky, simply dust your hands and the surface with a bit more flour.
Now you're ready to shape the cookies! Pinch off small pieces of dough and roll them into neat little balls, placing them spaced apart on a parchment-lined baking sheet. With the flour incorporated, your Swedish butter cookies are one step closer to buttery perfection.
Step 4. Roll Dough Into Balls
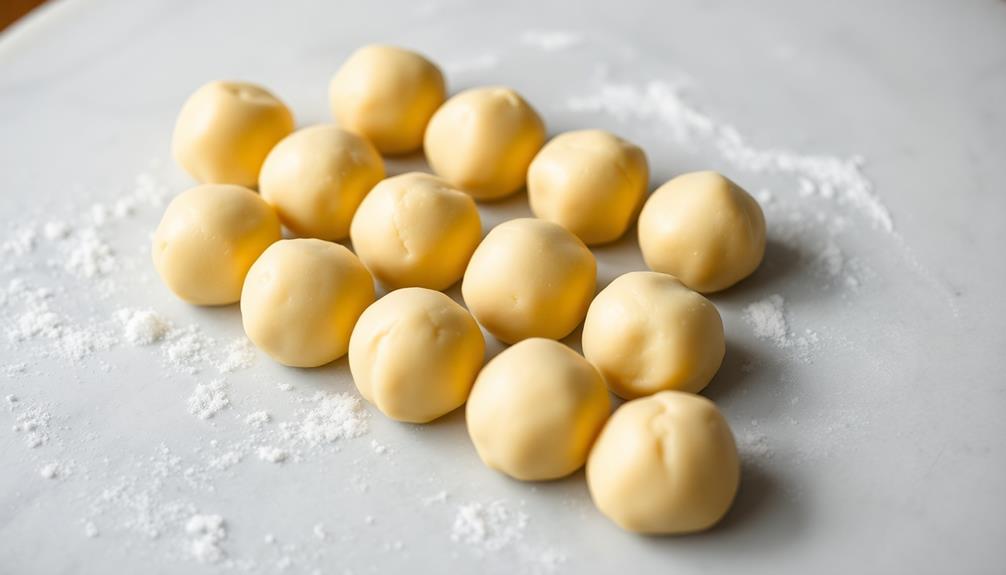
Next, take small portions of the dough and roll them into smooth, uniform balls. Be gentle as you work, using the palms of your hands to gently roll each piece into a perfect sphere. Visualize the dough as soft, pliable clay, and let your fingers mold it with care.
As you roll, the dough should easily come together, forming neat little balls that are all the same size. This will ensure your cookies bake evenly and have a consistent, delightful appearance.
Once you've shaped the dough, place the balls onto a parchment-lined baking sheet, spacing them apart to allow for expansion during baking. Try to keep the balls uniform in size, around 1-inch in diameter, for the best results.
With each roll, you'll get a feel for the ideal shape and consistency. Take your time and enjoy the satisfying process of transforming the dough into perfectly round cookie balls, ready for the next stage of baking.
Step 5. Place on Baking Sheet
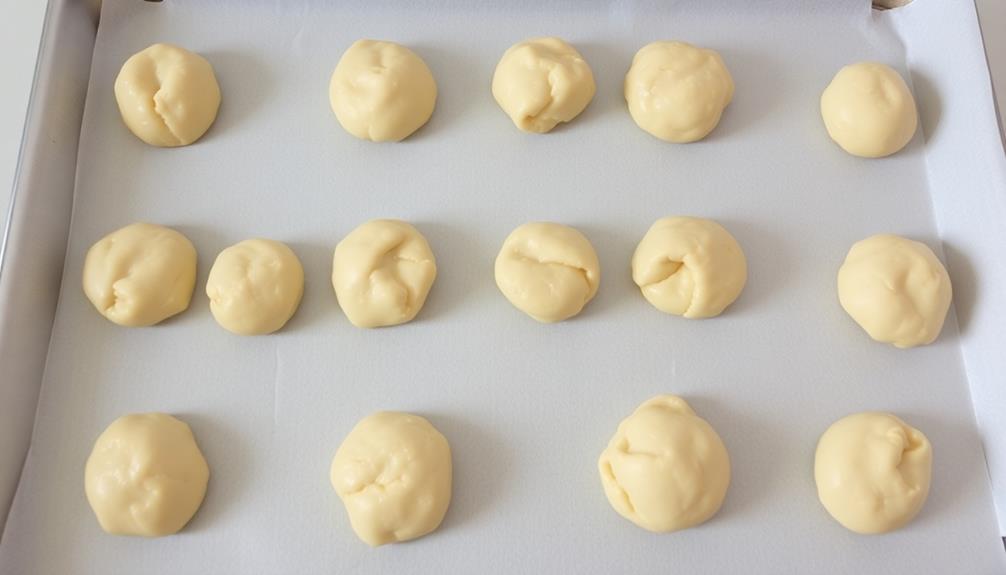
Once you've shaped the dough into uniform balls, carefully arrange them on a parchment-lined baking sheet, spacing them apart to allow for expansion during baking. This ensures the cookies will bake evenly and retain their perfect round shape.
Gently place each ball, making sure they don't touch, as this will prevent the edges from fusing together.
Now, take a moment to admire your handiwork. The smooth, uniform balls of dough are ready to transform into delightful Swedish butter cookies. Can you almost smell their buttery aroma already?
As they bake, the dough will spread slightly, creating delicate, lightly golden discs with a tender, melt-in-your-mouth texture.
Be sure to leave enough space between the cookies, about 2 inches apart, to allow air to circulate and prevent them from becoming crowded. This step is crucial for achieving the signature light and airy consistency you desire.
With the dough perfectly portioned and evenly spaced, your baking sheet is now primed for a batch of irresistible Swedish butter cookies.
Final Thoughts

Wrapping up, you now have a solid grasp of the art of crafting authentic Swedish butter cookies.
From selecting the finest ingredients to expertly shaping the dough and baking them to golden perfection, you've mastered the techniques that make these cookies a delight.
As you savor the final batch, take a moment to appreciate the rich, buttery flavor and the delicate, crumbly texture.
These cookies are a true testament to the enduring traditions of Swedish baking.
With each bite, you'll be transported to a cozy kitchen filled with the warm aroma of vanilla and the comforting nostalgia of a beloved family recipe.
Frequently Asked Questions
Can I Use Salted Butter Instead of Unsalted?
You can use salted butter instead of unsalted, but you'll need to reduce the amount of salt in the recipe. The saltiness of the butter may also affect the overall flavor, so you may need to adjust other ingredients.
Do I Need to Chill the Dough Before Baking?
Yes, you should chill the dough before baking. Chilling the dough helps the flavors develop and firms up the butter, resulting in a crisper, more defined cookie shape when baked.
How Long Do the Cookies Stay Fresh?
The cookies will stay fresh for up to a week when stored in an airtight container at room temperature. They may lose some of their crispness over time, but the flavor will remain delightful.
Can I Freeze the Dough or Baked Cookies?
You can definitely freeze the dough or baked cookies. The dough can be frozen for up to 3 months, while the baked cookies can be frozen for 2-3 months. This makes them convenient to have on hand whenever you crave a sweet treat.
What's the Best Way to Store Leftover Cookies?
To store leftover cookies, place them in an airtight container at room temperature. This will keep them fresh for up to a week. Avoid refrigerating or freezing, as this can dry out the cookies and affect their texture.
