To prevent motor burnout, spend two minutes inspecting your mixer before use. Check for loose or worn belts, worn pulleys, and make certain electrical connections are secure and free of fraying or corrosion. Listen for unusual noises or vibrations and verify safety features are active. Regularly cleaning vents and outside surfaces reduces dust build-up that can overheat the motor. Staying alert to these signs helps you catch problems early—keep going to discover more tips for smooth operation.
Key Takeaways
- Inspect belts and pulleys for wear or looseness before starting the mixer.
- Check electrical connections for fraying, corrosion, or loose wires.
- Ensure safety guards are secure and all safety features are functioning properly.
- Listen for unusual noises or vibrations indicating internal issues.
- Confirm vents and exterior surfaces are clean to prevent overheating during operation.

Peanut Butter Maker, Nut Butter Machine, 2025 New Electric Nut Butter Maker Machine, Electric Sesame Sauce Nut Grinder with Non-Slip Base Entry, Easy Install Easy to Use,Grinder
Our peanut nut grinder lets you easily grind a variety of nuts and seeds to make smooth.
As an affiliate, we earn on qualifying purchases.
Why Quick Checks Can Prevent Mixer Motor Burnout
Regularly performing quick checks on your mixer can catch potential issues before they cause serious damage. This practice is essential for maintaining mixer safety and preventing motor burnout. When you stay vigilant, you can identify signs like strange noises, unusual vibrations, or overheating early. Addressing these symptoms promptly minimizes stress on the motor and reduces the risk of catastrophic failure. Quick checks also help you troubleshoot appliance problems efficiently, saving time and repair costs later. Keep an eye on the cord, plug, and switches, and make sure nothing appears damaged or loose. Regularly inspecting electrical safety features ensures your mixer remains safe to use and helps prevent electrical issues that could lead to motor damage. Understanding motor load capacity can help you avoid overworking the motor and extend its lifespan. Additionally, being aware of proper maintenance practices can further safeguard your appliance from avoidable wear and tear. Incorporating routine inspections into your maintenance routine can significantly extend the life of your mixer, preventing costly replacements. Recognizing the importance of preventive measures can help you stay ahead of potential problems. By making these minor inspections a routine, you actively protect your mixer’s longevity and performance, ensuring it operates smoothly and safely for years to come.

DBXMJWCMDT Electric Nut Grinder Peanut Butter Maker Machine, 500ml Large-Capacity Almond/Cashew/Sesame Grinding Mill with Non-Slip Base, Efficient Home & Commercial Nut Butter Processor
【Homemade Peanut Butter Maker】 This 500ml electric grinder allows you to create fresh, natural peanut butter and nut...
As an affiliate, we earn on qualifying purchases.
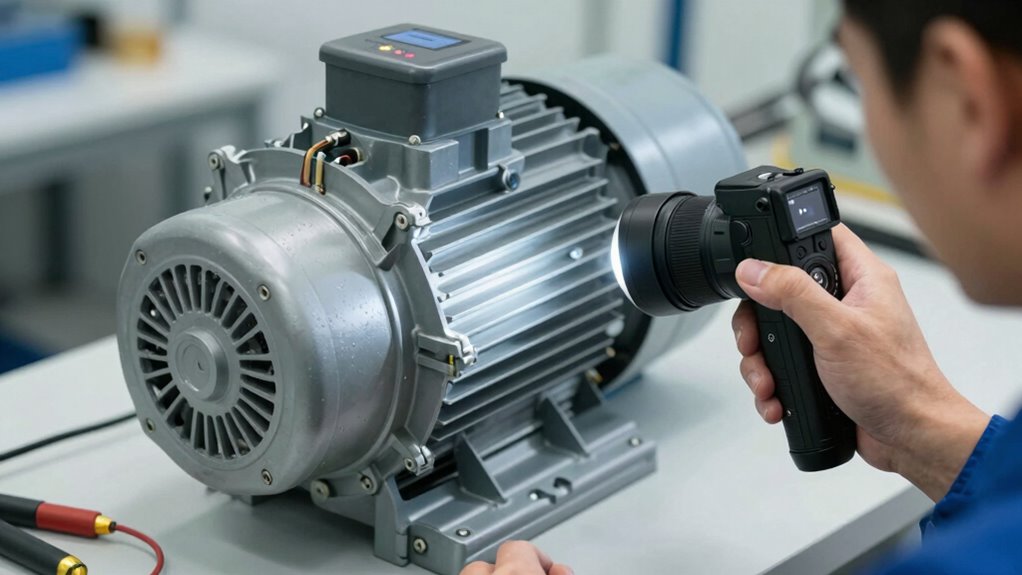
How to Perform a 2-Minute Mixer Inspection
Performing a quick 2-minute mixer inspection is straightforward and can prevent small problems from escalating. Focus on ensuring mixer safety by following a simple inspection checklist. Here’s what you should do:
A quick 2-minute mixer check helps prevent issues and ensures safe, efficient operation.
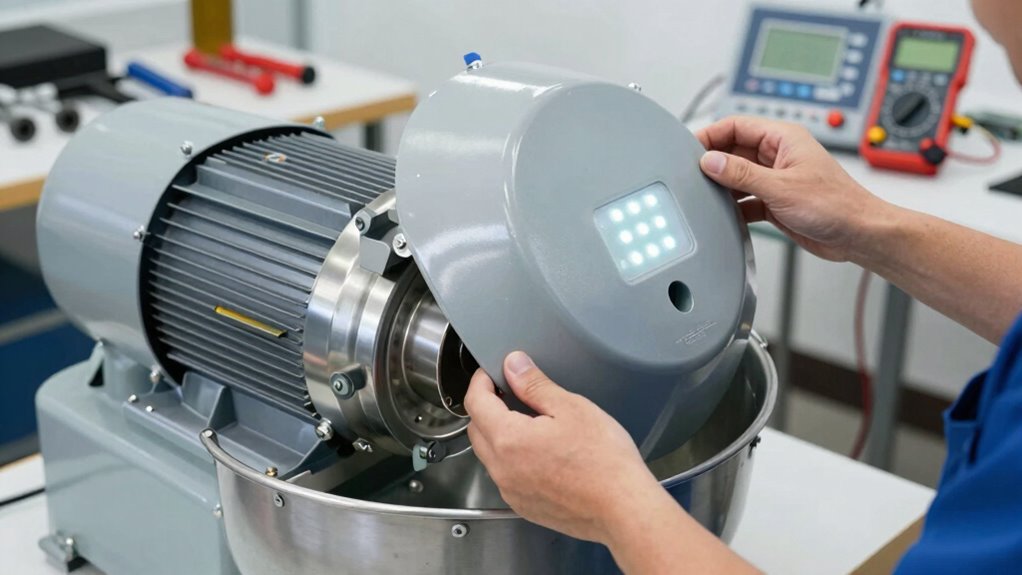
- Check for loose or worn belts and pulleys.
- Inspect electrical connections for fraying or corrosion.
- Verify that safety guards are in place and secure.
- Listen for unusual noises during operation.
- Confirm that all safety features are functioning properly to prevent accidents.
These steps help you spot issues early and maintain excellent performance. Keep your inspection quick and routine—this way, you catch potential problems before they cause damage or motor burnout. Remember, regular checks are key to safe, efficient mixer operation. Use this simple checklist to keep your equipment running smoothly and prolong its lifespan.

ZERNEIL Peanut Butter Maker Machine Nut Butter Machine 110V 1100W Electric Grain Grinder Peanut Butter Maker - 33lb/h Sesame Sauce Grinder Home/Commercial for Groundnut, Almond, Cashew Nut and Sesame
🧉【Grinding Assistant】: The 1100W pure copper motor, 2850r/min, and the white jade just grinding wheel used can grind...
As an affiliate, we earn on qualifying purchases.
What Signs Indicate Your Mixer Motor Is Struggling

When your mixer motor starts to struggle, you’ll notice certain signs that indicate it’s under stress. One clear indicator is unusual motor noise—grinding, squealing, or loud humming that wasn’t there before. These sounds suggest the motor is working harder than usual or facing internal issues. Additionally, you might feel unusual vibrations during operation, which can signal imbalance or bearing problems. If your mixer feels shaky or wobbly when running, don’t ignore it. These signs point to the motor struggling to handle the workload and could lead to burnout if left unchecked. Pay close attention to these cues, and if you notice them, it’s time to perform a quick check or seek professional maintenance to prevent further damage. Recognizing early signs of motor stress can help you address issues before they cause complete failure. Regular maintenance and understanding the mechanics of motor operation can extend your mixer’s lifespan and ensure safe use. Being aware of proper motor care practices is essential to prevent overheating and ensure longevity. Additionally, ensuring proper ventilation and cooling around the motor can significantly reduce the risk of overheating and burnout.

Electric Peanut Butter Maker Machine, Nut Butter Grinder for Almond Cashew Sesame, Large-Capacity Grain Grinder, Home & Commercial Nut Processor with Non-Slip Base
【Fresh Homemade Nut Butter】Ideal for peanuts, almonds, cashews, hazelnuts, seeds, grains—create smooth or chunky spreads for home kitchens...
As an affiliate, we earn on qualifying purchases.
Common Causes of Motor Overheating and How to Avoid Them

Motor overheating often occurs because of overloading the mixer or running it for too long without breaks. To prevent this, watch out for common causes. First, lubrication issues can cause friction and heat buildup, so ensure your mixer is properly lubricated. Second, power surges may spike voltage, stressing the motor and increasing heat. Third, avoid overloading the mixer with too much material at once, which strains the motor. Fourth, running the mixer continuously without breaks causes excessive heat; always give it time to cool down. Be attentive to these factors to keep your motor cool and functioning efficiently. Regular checks and proper handling can considerably extend your mixer’s lifespan and prevent burnout. Additionally, understanding plant properties can help you select components that reduce stress on your equipment, similar to air purifier maintenance dos and don’ts that ensure optimal performance and longevity. Recognizing heat dissipation methods in your equipment can further aid in preventing overheating and maintaining efficiency, especially when combined with home security systems that monitor and alert you to potential issues. Being aware of body jewelry measurements and materials can also help ensure your equipment operates smoothly and reduces unnecessary strain.
Simple Maintenance Tips to Keep Your Mixer Running Smoothly
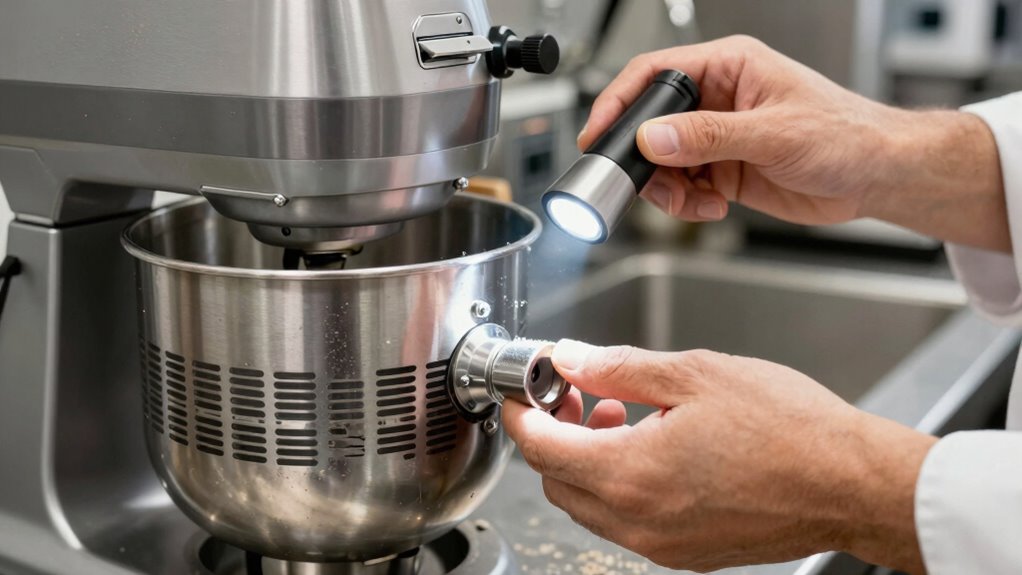
Regular maintenance is key to keeping your mixer running smoothly and preventing issues like overheating. Simple tasks can extend its lifespan and improve performance. Regularly clean the exterior and remove any dust or debris that could clog vents, helping prevent motor strain. Consider cosmetic repairs to keep your appliance looking fresh and in top shape. Upgrading accessories, like new mixer blades or bowls, can also enhance efficiency and reduce unnecessary motor load. Staying informed about protective styling benefits can help you better care for your appliance and prolong its lifespan. Additionally, checking the natural pool water quality and filtration system can prevent buildup and ensure optimal operation. Properly monitoring motor health is essential for early detection of potential issues. Being aware of motor overheating signs allows for timely intervention before serious damage occurs. Regularly inspecting the electrical connections can also prevent potential short circuits that may lead to motor burnout. Here’s a quick guide:
| Maintenance Tip | Benefit |
|---|---|
| Clean vents and exterior | Prevents overheating and dust buildup |
| Perform cosmetic repairs | Maintains appearance and value |
| Upgrade accessories | Improves performance, reduces strain |
Stay proactive—these steps keep your mixer running smoothly and avoid costly repairs.
When to Seek Professional Help for Your Mixer

Even with proper maintenance, there are times when your mixer might need professional attention. Recognize when troubleshooting tips no longer resolve issues, and a professional repair is necessary. Seek help if:
- The mixer makes unusual noises or vibrates excessively.
- It struggles to start or stops mid-operation.
- There’s persistent overheating despite proper use.
- You notice electrical issues like sparks or burning smells.
- The smart appliance features or settings stop responding or malfunction.
Additionally, frequent waterpark hotel visits can sometimes lead to wear and tear on appliances used during your stay, making professional repairs more likely if issues arise. These signs indicate underlying problems beyond routine checks. Ignoring them can lead to motor burnout or further damage. When faced with these symptoms, don’t attempt to fix complex internal parts yourself. Instead, consult a qualified repair technician who can diagnose and resolve issues safely and effectively, ensuring your mixer operates reliably without risking damage. Additionally, understanding electrical safety principles and preventative maintenance can help prevent accidents during troubleshooting or repair.
Frequently Asked Questions
How Often Should I Perform the 2-Minute Check?
You should perform the 2-minute check daily as part of your maintenance schedule to prevent mixer motor burnout. Regularly doing this quick troubleshooting tip helps catch potential issues early, ensuring smooth operation. Incorporate it into your routine, especially before heavy use, to extend your mixer’s lifespan. Staying consistent with this simple step saves you time and money in repairs, making it an essential part of effective equipment maintenance.
Can a Faulty Power Supply Cause Motor Burnout?
A faulty power supply can be the silent culprit behind motor burnout, acting like a sneaky thief draining your mixer’s life force. Power supply issues and electrical faults send inconsistent or excessive current to the motor, causing overheating and damage over time. If you notice irregular performance or sudden stops, it’s time to check the power source. Regularly inspecting your electrical connections helps prevent these issues before they turn into costly repairs.
What Safety Precautions Should I Take During Inspection?
During inspection, you should always wear safety gear like gloves and safety glasses to protect yourself. Use a thorough inspection checklist to make certain all components are in good condition. Turn off and unplug the mixer before inspecting any parts to prevent accidental activation. Keep your workspace clean and well-lit, and handle tools carefully. Following these precautions helps you stay safe and catch potential issues early, avoiding equipment damage or injury.
Are There Specific Tools Recommended for Quick Checks?
You should use a multimeter for quick diagnostic checks, ensuring your tools are properly calibrated for accurate readings. A calibration checker can verify that your testing devices are functioning correctly. These tools help you perform efficient, reliable inspections, catching issues early before they cause motor burnout. Always keep your diagnostic tools in good condition and calibrated regularly to maintain precision during quick checks, preventing unnecessary downtime or damage.
How Long Does a Typical Mixer Motor Last With Regular Checks?
With regular preventive maintenance like the 2-minute check, your mixer motor can last anywhere from 5 to 10 years, depending on usage and conditions. Consistently inspecting for signs of wear, keeping it clean, and addressing issues early helps extend its motor lifespan. Skipping these checks risks overheating or burnout, so staying proactive guarantees your mixer remains reliable and efficient for years to come.
Conclusion
By spending just two minutes on quick checks, you can catch early signs of trouble and prevent motor burnout. For example, if you notice unusual noises or overheating during your inspection, addressing these issues promptly can save you costly repairs. Regular maintenance and attentive monitoring keep your mixer running smoothly and extend its lifespan. Don’t wait for a breakdown—your proactive approach today guarantees reliable performance tomorrow.