Winter baking brings the cozy richness of butter to life in seasonal pastries and breads. You'll find that butter adds depth and indulgence to traditional favorites like stollen and panettone. As you knead and shape your dough, let the warm aromas of freshly baked goods fill your home. This is the perfect time to share those buttery delights with friends and family, creating lasting memories. Discover how to elevate your winter baking even more!
Key Takeaways
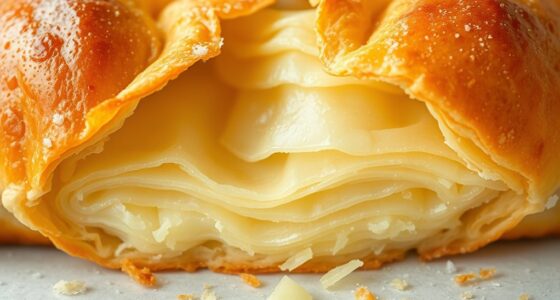
- Winter pastries like stollen and panettone highlight butter's richness, elevating traditional recipes with deep flavors and festive appeal.
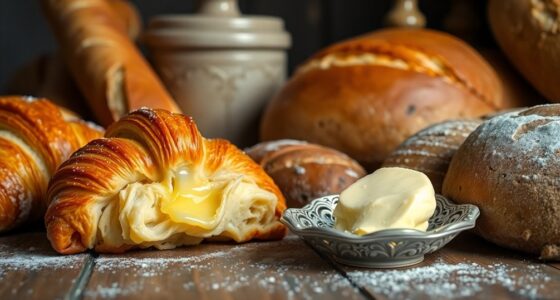
- Using high-quality unsalted butter enhances texture and taste, making baked goods more indulgent during the winter season.
- Seasonal baking fosters connections, as sharing butter-infused treats strengthens bonds among family and friends during holiday gatherings.
- Kneading dough properly and allowing it to rise in a warm environment ensures optimal yeast activity for fluffy pastries.
- Brushing loaves with melted butter before baking adds a golden finish and enhances the overall taste of winter breads.
History
When you dive into the history of winter pastries and breads, you'll find that the use of butter has deep roots, tracing back to ancient civilizations. Prized for its rich flavor, butter enhances the texture of baked goods, making it a vital ingredient in holiday breads.
In medieval Europe, it became a luxury item, reserved for special occasions and festive baking, symbolizing celebration during the winter months. Traditional Christmas bread, like stollen and panettone, relies heavily on butter for its unique taste and moistness.
The 19th century brought commercial dairies, making butter more accessible for home bakers. Today, butter remains a cultural symbol of abundance and hospitality, enriching regional recipes and seasonal baking traditions. The creamy texture of butter is influenced by the emulsification process during churning, which contributes to the delightful mouthfeel of winter pastries.
Recipe
Ingredients:
- 4 cups all-purpose flour
- 1 tablespoon sugar
- 1 tablespoon salt
- 2 teaspoons active dry yeast
- 1 ½ cups warm milk (about 110°F)
- ½ cup unsalted butter, melted
- 2 large eggs
- Extra melted butter for brushing
Instructions:
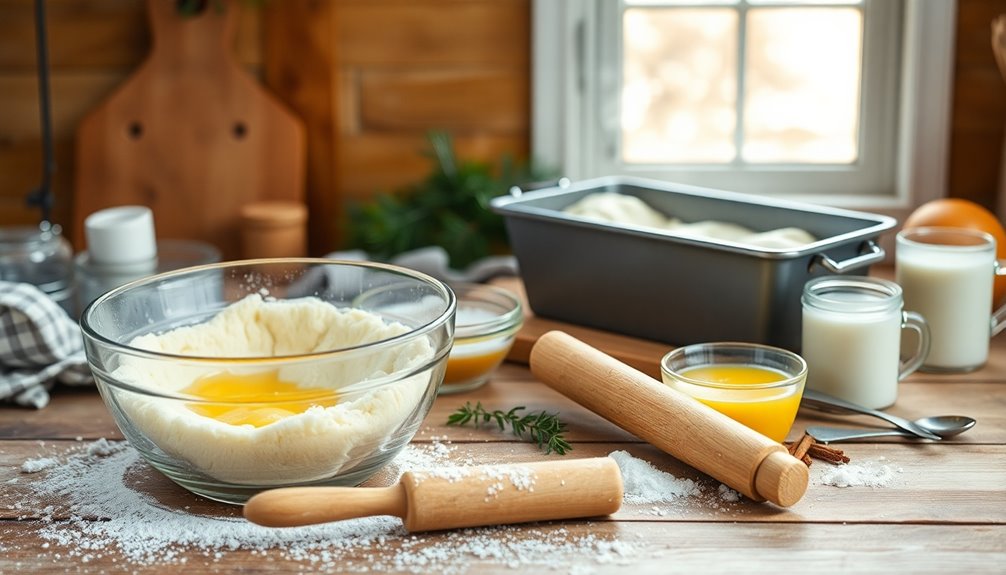
In a large mixing bowl, combine the flour, sugar, salt, and yeast, stirring until well mixed.
In a separate bowl, whisk together the warm milk, melted butter, and eggs.
Gradually pour the wet ingredients into the dry mixture, stirring until a dough begins to form.
Knead the dough on a floured surface for about 8-10 minutes until it becomes smooth and elastic.
Place the kneaded dough in a greased bowl, cover it with a clean cloth, and let it rise in a warm place for about 1 hour or until it has doubled in size.
Once risen, punch down the dough and shape it into a loaf.
Place it in a greased loaf pan, cover, and let it rise again for another 30 minutes.
Preheat your oven to 350°F (175°C), then bake the bread for 30-35 minutes or until golden brown.
Brush the top with extra melted butter before serving.
Extra Tips:
For the best results, make sure your ingredients are at room temperature, especially the eggs and milk, as this helps the dough rise more effectively.
If you want to add a festive twist, consider incorporating spices like cinnamon or nutmeg into the dough, or sprinkling some coarse sea salt on top before baking for added flavor. Additionally, using grass-fed butter can enhance the flavor and health benefits of your bread.
Furthermore, if you have leftover bread, it can be stored in an airtight container for a few days or frozen for longer storage; simply reheat it in the oven for a warm treat anytime!
Cooking Steps
To start your winter baking adventure, gather all your ingredients and tools so you're ready to go. Knead the dough until it's smooth and elastic, which is key for that perfect texture. Once that's done, let it rise in a warm spot while you preheat your oven to 350°F. Incorporating butter's composition enhances the richness and flavor of your pastries, contributing to that delightful winter warmth.
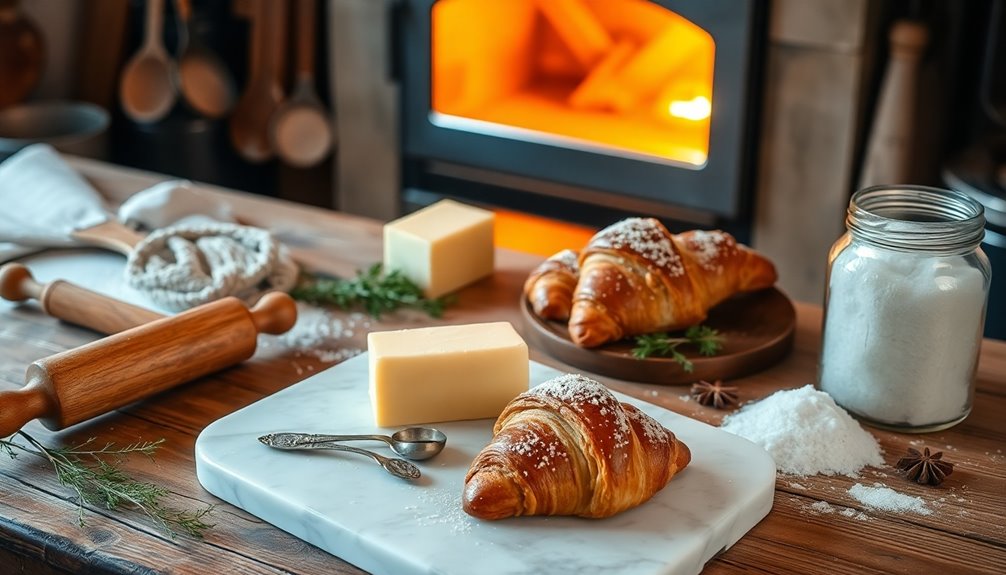
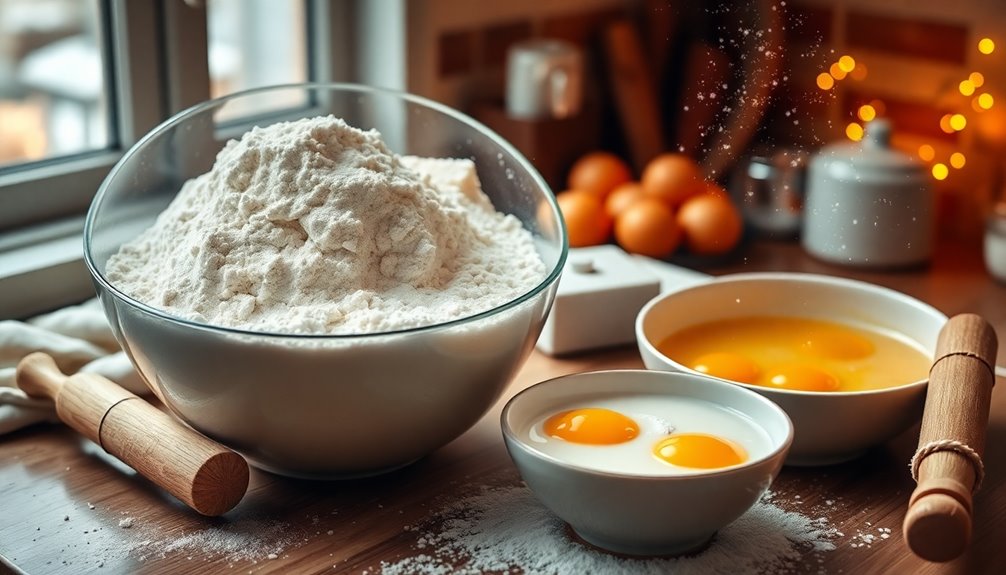
Step 1. Gather Ingredients and Tools

Gathering the right ingredients and tools is crucial for crafting delicious winter pastries and breads. Start with high-quality unsalted butter, all-purpose flour, and active dry yeast to ensure the best flavor and texture.
Don't forget to use room temperature whole milk to effectively activate the yeast for a better rise.
Make sure you have essential tools ready, including mixing bowls, measuring cups, a rolling pin, and a baking sheet. A digital or analog kitchen scale is also handy for precise measurements, especially for flour, to maintain consistency in your baked goods.
Lastly, prepare an egg wash with a beaten egg and water to brush on your pastries before baking for that golden, glossy finish. Incorporating high-quality unsalted butter into your recipes not only enhances flavor but also contributes to the tender texture of your baked goods.
Happy baking!
Step 2. Knead Until Smooth and Elastic
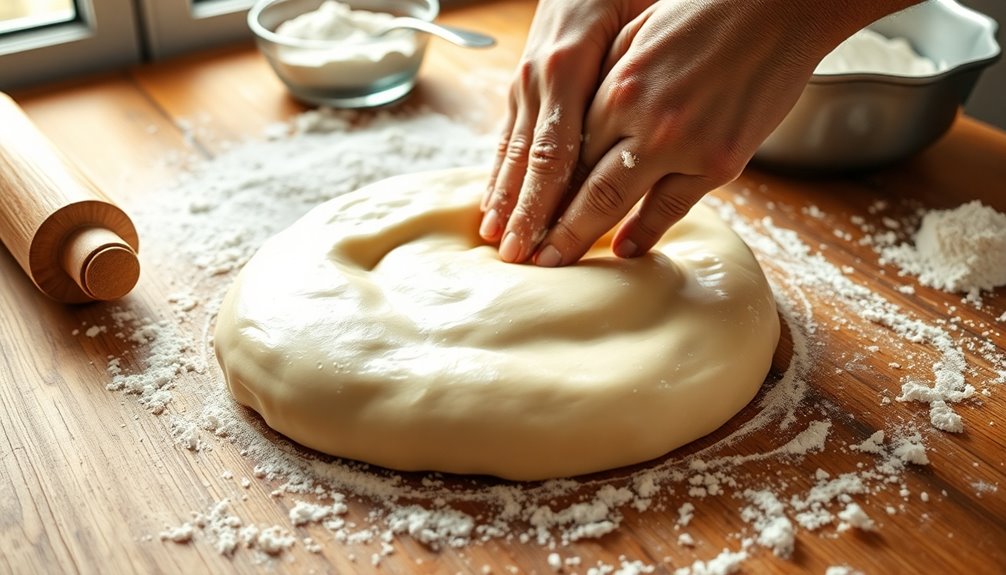
As you begin kneading the dough, you'll want to focus on developing its texture and structure. Kneading dough for about 10 minutes by hand or 5 minutes with a stand mixer will ensure proper gluten development.
During this process, aim for a smooth and elastic consistency. To check your progress, perform the "windowpane test" by stretching a small piece of dough; it should let light pass through without tearing.
Your dough should feel slightly tacky but not overly sticky—if it does, gradually incorporate a bit of flour. Proper kneading helps introduce air, promoting yeast activity and resulting in a lighter, fluffier bread. Additionally, incorporating ingredients like coffee can provide health benefits that enhance your baking experience.
When you achieve a smooth and elastic dough, you're ready for the next step!
Step 3. Let Dough Rise in Warmth
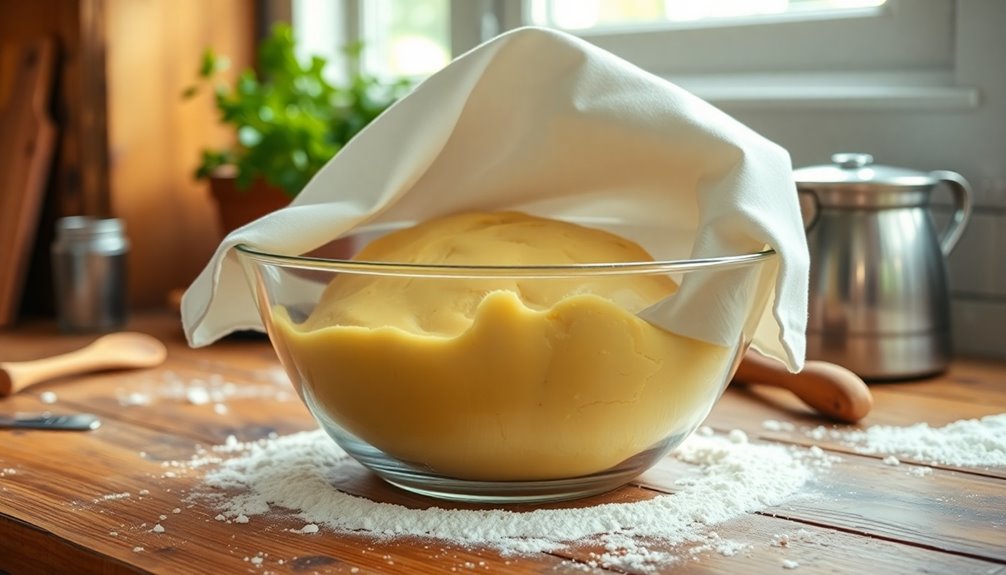
While your dough is ready for its first rise, finding the right environment is crucial for optimal yeast activity. Aim for a warm place, ideally between 75°F and 80°F (24°C to 27°C).
To create this cozy atmosphere, preheat your oven to the lowest setting for a few minutes, then turn it off and place the covered dough inside. Alternatively, set the dough near a warm stove or in a sunny spot in your kitchen.
Be sure to cover the dough with plastic wrap or a damp cloth to retain moisture and prevent it from drying out. Allow the dough to rise until it has doubled in size, which usually takes about 1 to 2 hours.
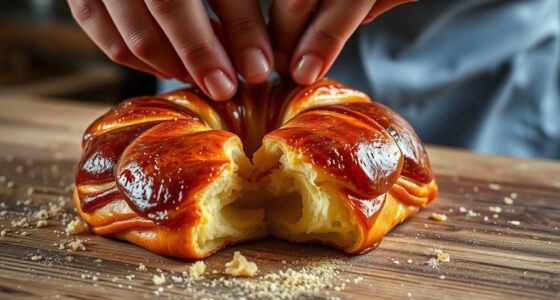
Step 4. Shape Into Festive Loaves

After letting your dough rise and double in size, it's time to shape it into festive loaves that will impress your family and friends.
Start by deflating the risen dough, then divide it into equal pieces. Roll each piece into a rectangular shape, roughly 6×10 inches, and brush melted butter on top.
Layer two pieces together and roll them into a cylinder for a visually appealing design. Cut the ends and score the middle into triangles to create a beautiful display in your baking pan.
For a golden finish, beat a large egg with a tablespoon of water and brush it over the shaped dough.
Bake your festive Mini Loaves in the preheated oven until golden brown, and enjoy the delicious bread! Remember, butter's high-calorie content can add richness to your pastries, so be mindful of portion sizes as you indulge.
Step 5. Preheat Oven to 350°F
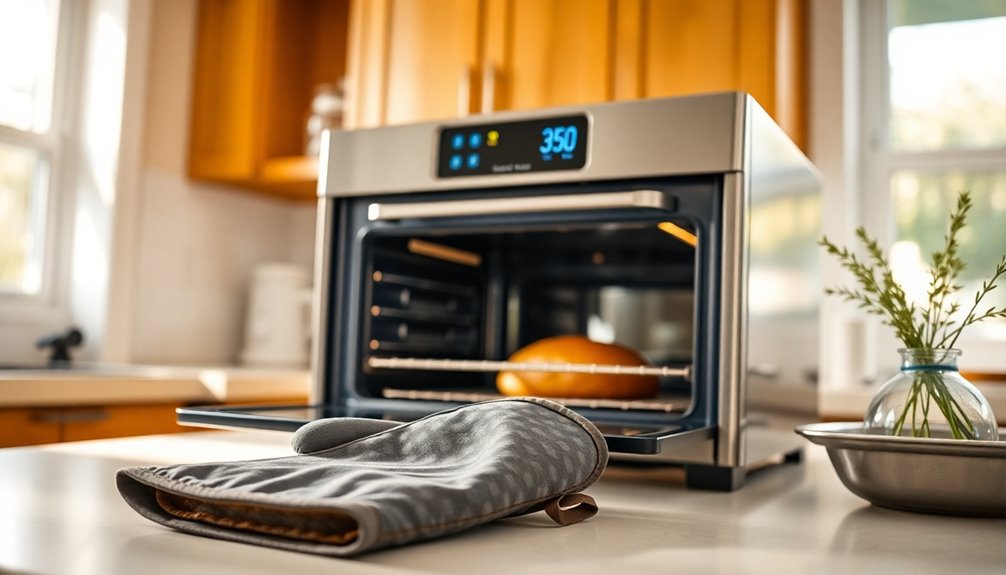
Preheating your oven to 350°F (180°C) is essential for achieving perfectly baked pastries and breads.
Before you start preparing your dough, allow at least 10-15 minutes for your oven to reach this temperature. Most modern ovens feature a preheat indicator, but it's wise to use an oven thermometer to ensure accuracy, as some can vary by several degrees.
When you preheat your oven to 350°F, you create an optimal environment for baking breads, helping them rise properly and develop a golden-brown crust. This controlled temperature mimics the optimal baking conditions necessary for achieving the perfect texture and flavor in your baked goods.
Remember that baking times are often calibrated for this temperature, so keeping it consistent influences both texture and flavor development.
Get that oven ready, and you're on your way to delicious winter treats!
Final Thoughts
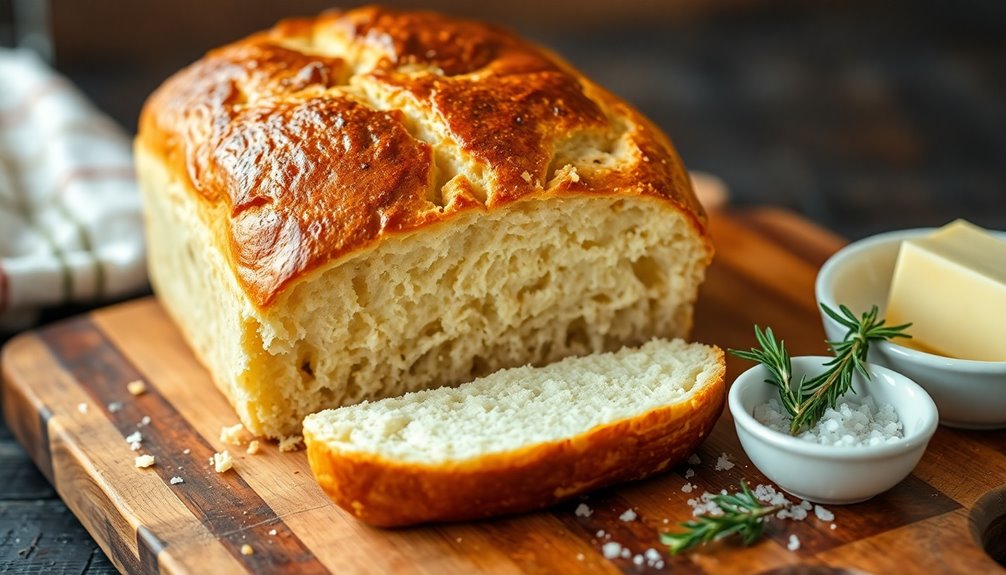
As you embrace the winter season, the joy of baking with butter becomes a delightful tradition that can bring warmth to your home and create lasting memories.
With recipes like Festive Butter Bread, you'll discover how high-quality butter enhances flavor and creates a tender texture in your baked goods. The inviting aroma of freshly baked pastries fills the air, connecting family and friends during holiday gatherings.
Incorporating butter elevates your creations, transforming simple recipes into visually stunning festive treats perfect for gifting or sharing. As you gather around the table, savor the deliciousness and nostalgia that butter-infused baking brings. This tradition reflects the cultural significance of butter in various culinary practices, adding depth to your baking experience.
Frequently Asked Questions
What Is Seasonal Bread?
So, you think seasonal bread is just any loaf baked at odd times? Not quite! It's bread that shows up during specific seasons, often packed with festive flavors like cinnamon and dried fruits.
These delightful creations usually carry rich textures, thanks to generous helpings of butter and sugar.
They're more than just carbs; they're a delicious way to connect with family traditions and celebrate the warmth of the season—who knew bread could be so heartwarming?
What Is Festive Bread?
Festive bread is a special type of bread often enjoyed during holiday celebrations.
It's rich and flavorful, typically made with ingredients like butter, eggs, and dried fruits. You'll find varieties across different cultures, each offering unique tastes and textures.
The scent of baking festive bread creates a warm, inviting atmosphere that brings family and friends together.
Plus, sharing these breads makes for a thoughtful gift that shows your care and effort during the holidays.
What Are the Different Types of Christmas Bread?
Did you know that 75% of families serve special breads during the holiday season?
When it comes to Christmas bread, you'll find a delightful variety. Stollen, with its rich fruit and nut filling, and Swedish Julbrød, spiced with cardamom, are popular choices.
You might also enjoy Finnish Pulla, a braided treat, or visually stunning shapes like wreaths and stars in recipes like Christmas Star Twisted Bread.
These breads truly enhance festive gatherings!
What Is Cooking Breads Cookies Pastries and Desserts in Dry Heat Usually in an Oven Called?
The method of cooking breads, cookies, pastries, and desserts in dry heat, usually in an oven, is called baking.
When you bake, you're using dry heat to create that delicious crust and develop rich flavors and textures.
Different baked goods require specific temperatures and times to achieve the perfect result.