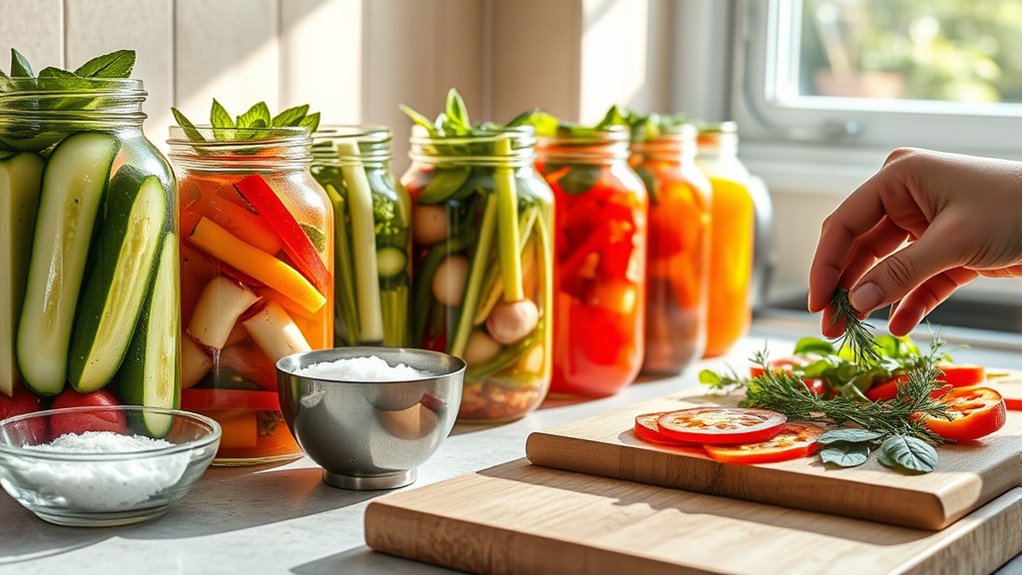
To complete your quick pickling process, start by choosing fresh, firm produce and thoroughly sterilizing your jars and equipment. Make a flavorful brine with vinegar, water, salt, and sugar, heating if needed. Add your preferred spices and pack vegetables tightly into jars, ensuring they are fully submerged. Seal tightly and store in a cool, dark place or in the fridge. For detailed steps on each stage, keep exploring the full checklist for successful pickling.
Key Takeaways
- Select fresh, firm vegetables and sterilized jars, ensuring quality and safety throughout the process.
- Prepare a balanced vinegar-based brine, heating it briefly for flavor infusion and proper preservation.
- Pack vegetables tightly with spices, pour hot brine, and remove air to ensure full submersion and airtight seals.
- Store pickles in a cool, dark place using appropriate containers for optimal shelf life and crispness.
- Serve with creative pairings like cheeses or salads, and present attractively to enhance enjoyment.

GasOne High Pressure Single Propane Burner - Outdoor Cooking with Heat Shield and Guard – Propane Burner Head for Camping, Tailgating, Seafood Boil, Home Brewing - Patented
Designed for Outdoorsmen: Make your outdoor cooking sessions more enjoyable and cook like a pro with the Gas...
As an affiliate, we earn on qualifying purchases.
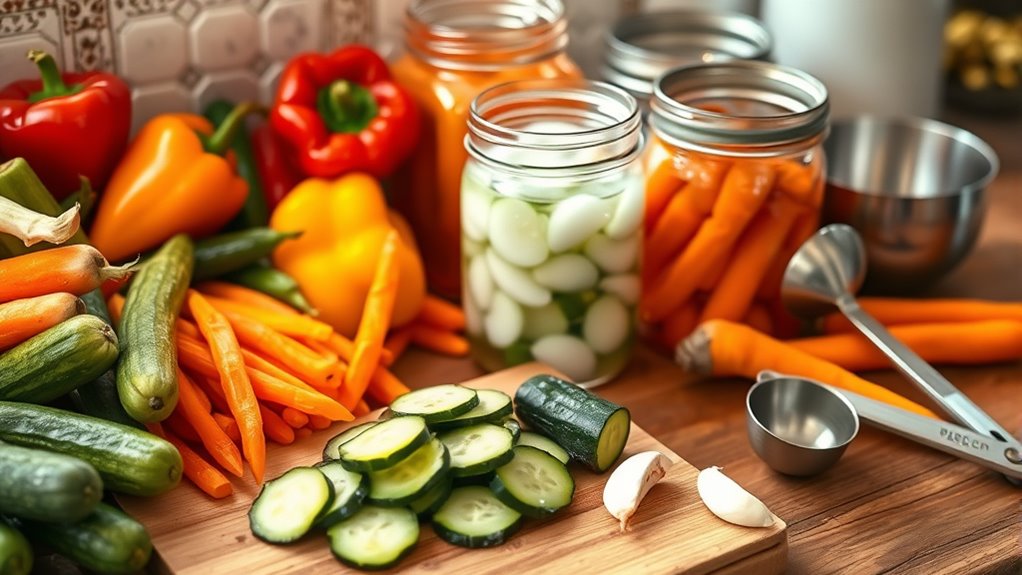
Selecting Fresh Produce

Choosing the right produce is essential for successful quick pickling. You should select fresh vegetable varieties that are firm and free of blemishes, ensuring they hold up during the pickling process. Seasonal considerations play a big role—pick vegetables when they’re in peak season for the best flavor and texture. For example, cucumbers are ideal in summer, while green beans thrive in late spring. Opting for seasonal produce not only enhances flavor but also often offers better prices and quality. Avoid vegetables that are overly mature or starting to spoil, as they can become mushy or lose their crispness. By choosing the freshest, seasonally appropriate vegetables, you set a solid foundation for delicious, crunchy quick pickles. Locations – Soaring Skyways

CreoleFeast TFS3010 Propane 30 Qt. Turkey and 10 Qt. Fish Fryer Boiler Steamer Set, 50,000 BTU Burner, Ideal for Outdoor Cooking
Set Content: Including 30 Qt. Pot, 10 Qt. Pot, Lid, Perforated Fryer Steamer Basket, Temperature Thermometer, Perforated Turkey...
As an affiliate, we earn on qualifying purchases.
Preparing Your Jars and Equipment
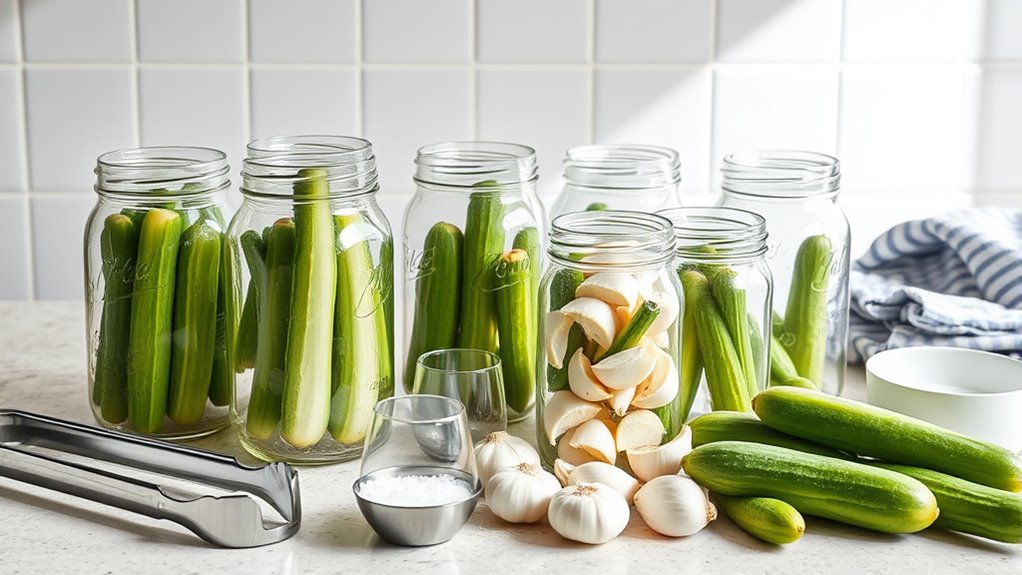
Before you start pickling, it’s important to thoroughly prepare your jars and equipment to guarantee a safe and successful process. Begin by jar sterilization; wash your jars and lids with hot, soapy water, then boil them for 10 minutes to eliminate bacteria and ensure food safety. Dry the jars completely or let them air dry. Inspect each jar for cracks or chips and discard damaged ones. Once sterilized, fill your jars with your prepared produce, but don’t forget to label and date each jar. Clear labels help you track freshness, and dating ensures you consume your pickles within the ideal timeframe. Properly prepared jars and equipment are essential for preventing spoilage and achieving delicious, safe quick pickles. Additionally, ensuring proper air purifier maintenance can help create a cleaner environment that supports food safety during storage.

BESTFIRE Propane Burner, 100,000 BTUs High Pressure Single Propane Stove - Heat Shield and Guard, 4.1ft Adjustable Hose with Regulator, Gas Stove for Outdoor Cooking, Turkey Fry, Seafood Boil
Premium Quality Material: Portable propane burners for outdoor cooking, made of cast iron for durability. Our outdoor propane...
As an affiliate, we earn on qualifying purchases.
Creating the Pickling Brine
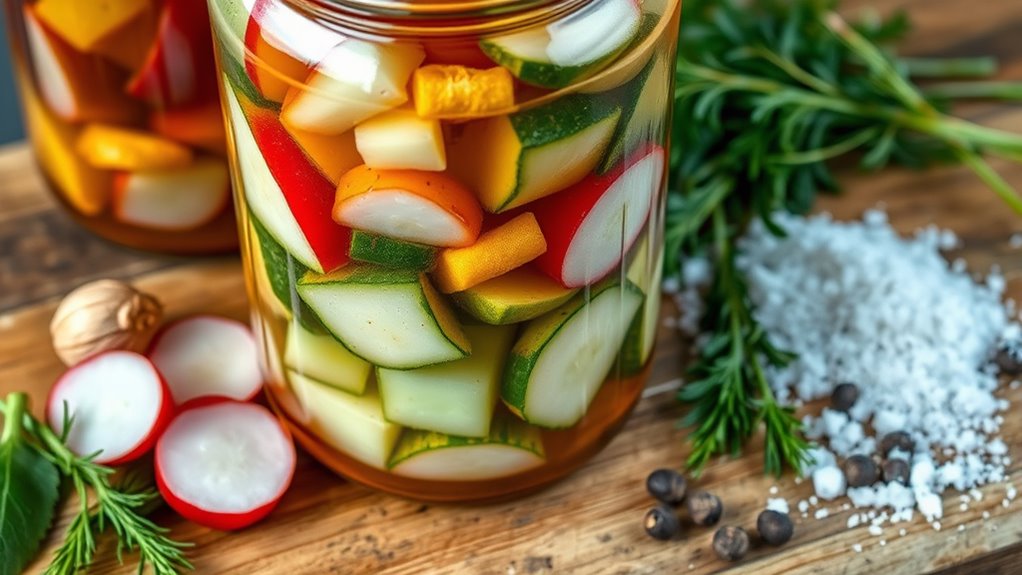
To create a flavorful and effective pickling brine, start by combining vinegar, water, salt, and sugar in a saucepan. Stir until the salt and sugar dissolve completely. Using the right vinegar—typically white or apple cider—ensures proper fermentation safety and a tangy flavor. Maintaining the correct ratio of acid to water helps extend the shelf life of your pickles while preventing bacterial growth. Heating the mixture briefly enhances flavor infusion and ensures everything dissolves evenly. Once the brine is ready, pour it over your prepared vegetables or fruits in jars, making sure they’re fully submerged. Properly made brines not only preserve your produce but also extend their shelf life, keeping your pickles safe and delicious for weeks or months. Incorporating water efficiency measures during preparation can also help reduce waste and energy consumption.

GasOne 30QT Turkey Fryer and 10QT Fish Fryer Set, Seafood Boil Steamer, Crawfish Boiler, Outdoor Cooker for Crab, Shrimp, Lobster, Complete Black Fryer Kit for Holiday and Seasonal Cooking
HIGH HEAT OUTDOOR COOKER – Gas One’s single propane burner cooks, boils, and grills rather quickly. A great...
As an affiliate, we earn on qualifying purchases.
Choosing and Adding Spices and Flavors
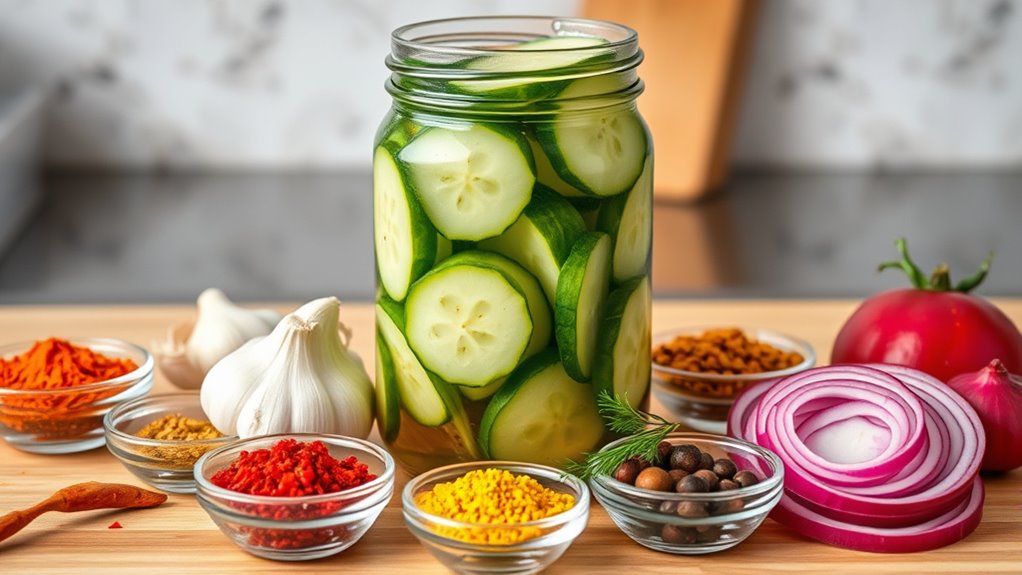
Selecting the right spices and flavorings can elevate your pickles from basic to extraordinary. To balance herb combinations and spice intensities, consider how bold or subtle you want your flavors. Use milder spices like dill or coriander for a gentle taste, or stronger ones like mustard seeds and red pepper flakes for more punch. Mixing herbs and spices allows you to craft unique profiles suited to your preference. Here’s a quick guide:
| Herb/Spice | Flavor Profile | Best For |
|---|---|---|
| Dill | Fresh, grassy | Classic cucumber pickles |
| Mustard Seeds | Pungent, sharp | Spicy, robust pickles |
| Red Pepper Flakes | Spicy | Hot, fiery pickles |
| Coriander | Citrusy, warm | Mild, aromatic pickles |
Additionally, understanding how flavor profiles interact helps in creating balanced and memorable pickles.
Packing Vegetables Into Jars
Once you’ve prepared your vegetables and spice mixtures, it’s time to pack them into jars. For quick pickling, pack the vegetables tightly, leaving enough space for the brine. Unlike fermentation, quick pickling doesn’t require air bubbles to escape, but proper jar filling guarantees even flavor absorption. When packing, use clean utensils to avoid contamination. Pay attention to jar sealing techniques; for quick pickling, airtight seals are essential to keep out air and bacteria. Ensure the rims are clean before sealing to prevent leaks. If you’re comparing fermentation and quick pickling, remember that fermentation relies on natural yeasts and bacteria, often requiring less strict sealing. For quick pickling, secure the lids firmly to preserve the crisp texture and flavors. Proper sealing methods can also help maintain the resale value of your preserved vegetables.
Pouring the Brine and Sealing

When pouring the brine, guarantee you do so steadily to avoid disturbing the vegetables and to fill the jars evenly. Make sure each lid is tightened securely to prevent leaks and spoilage. Remove any trapped air by gently pressing down on the vegetables or using a utensil before sealing completely. Ensuring the proper placement of the skincare patches can enhance their effectiveness and prevent issues like patch lifting.
Proper Brine Pouring Technique
Pouring the brine carefully guarantees your pickles stay crisp and flavorful. Make sure the brine is at the right temperature—hot enough to sterilize but not so hot that it damages the jars or softens the vegetables. Your pouring technique matters: hold the jar steady and pour slowly to avoid splashing or overflowing. Start by tilting the jar slightly and pour the liquid evenly along the sides, ensuring all vegetables are submerged. Leave appropriate headspace as recommended in your recipe. Steady, controlled pouring prevents air pockets that could compromise preservation. Take your time, especially with hot brine, to avoid burns or spills. Proper technique guarantees your jars are sealed correctly and your pickles turn out delicious and crisp. Additionally, understanding safe food preservation practices can help ensure long-term freshness and safety of your pickled products.
Ensuring Sealed Containers Tight
To guarantee your containers are sealed tightly, you need to focus on pouring the brine carefully and applying proper sealing techniques. Use airtight containers to prevent air from entering and compromising your pickles. When pouring the brine, leave a small headspace to ensure the lid can seal properly. After filling, wipe the rims with a clean cloth to remove any residue that might interfere with lid security. Secure the lids firmly, making sure they are properly aligned and tightened. Confirm the lid’s seal is secure by pressing down and checking for any gaps or looseness. Proper lid security is crucial to keep bacteria out and maintain freshness. Taking these steps helps create an airtight environment, ensuring your pickles stay fresh and safe during storage.
Air Removal Methods
Ensuring proper air removal during the filling process is essential for successful quick pickling. To minimize air pockets and promote fermentation timing, carefully pour the brine, leaving minimal space at the top. Use gentle taps or a clean utensil to release trapped air. For extra assurance, consider vacuum sealing techniques to remove remaining air and create an airtight seal. This method helps prevent spoilage and enhances flavor development. Here’s a quick reference:
| Step | Technique | Purpose |
|---|---|---|
| Pouring the Brine | Slow, steady pour | Reduce air pockets |
| Air Removal | Tapping or utensil use | Dislodge trapped air |
| Sealing | Vacuum sealing (optional) | Prevent spoilage, improve fermentation timing |
Additionally, ensuring the jar is filled properly helps maintain the correct fermentation environment for optimal results.
Storing and Enjoying Your Pickles
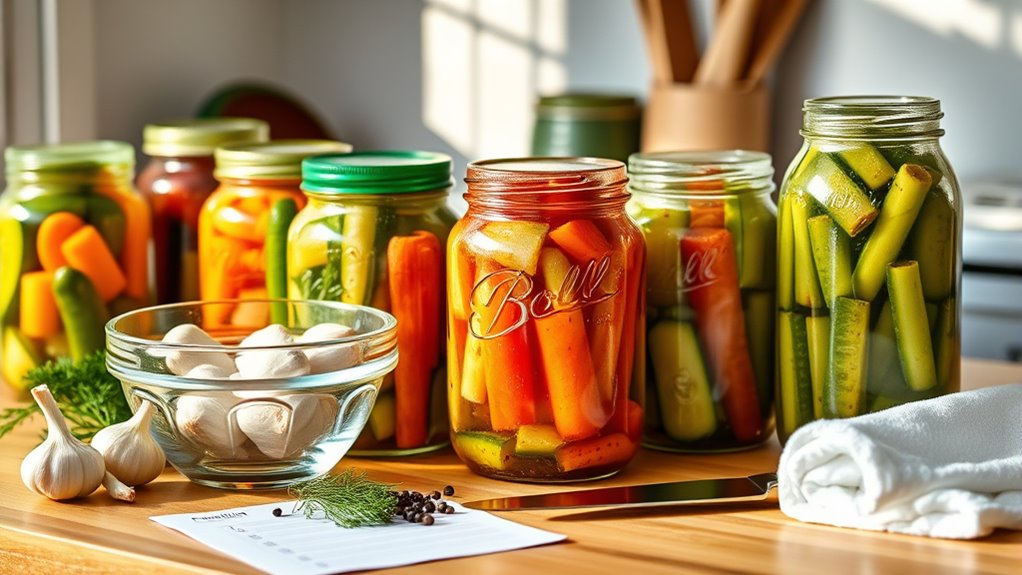
Once your pickles are sealed, it’s time to think about storing them properly. You can keep them in your fridge or in a cool, dark place to maintain freshness. Consider fun serving ideas and pairings to make enjoying your homemade pickles even more delicious. Proper storage helps ensure the longevity and safety of your preserved foods, much like efficient general ledger coding enhances financial accuracy and compliance.
Choosing Storage Options
Choosing the right storage options is essential to keep your pickles fresh and flavorful. Your jar options considerably impact shelf life and ease of use. Glass jars with airtight lids are ideal for maintaining quality and preventing spoilage. Proper storage duration varies: refrigerated pickles typically last 2-4 weeks, while properly sealed jars can stay good for several months. Consider these options:
| Jar Type | Storage Duration |
|---|---|
| Glass with airtight lid | Up to 3 months in a cool, dark place |
| Mason jars | 1-2 months refrigerated |
| Plastic containers | 1 month, best for short-term storage |
Choosing the right jar options ensures your pickles stay crisp and flavorful longer, making your quick pickling efforts worthwhile. Additionally, storing your jars in a cool, dark environment can help prevent spoilage and preserve freshness, especially if you’re using cybersecurity storage techniques to safeguard your preserved foods.
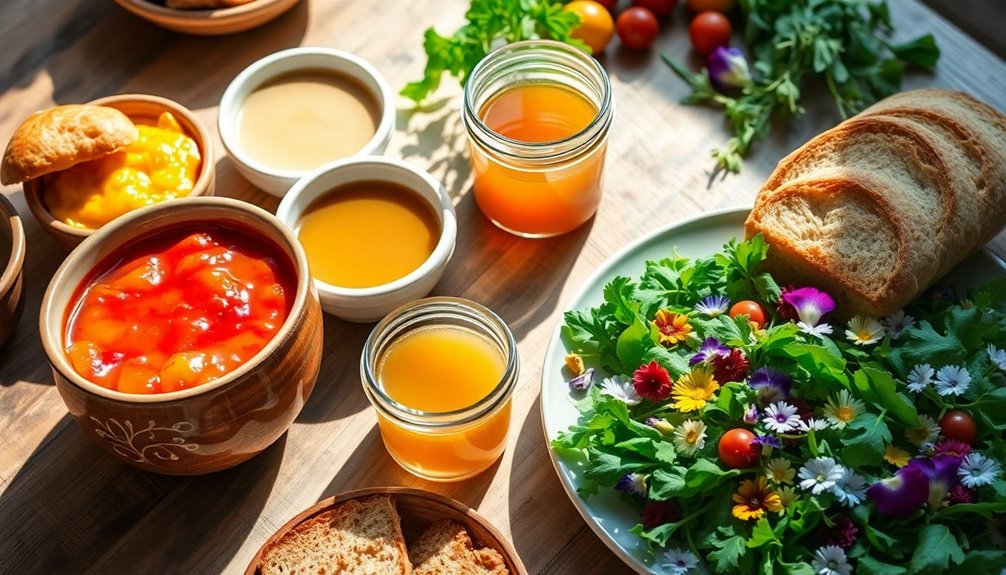
Serving and Pairing Ideas
After selecting the perfect storage option to keep your pickles fresh, it’s time to explore how to serve and enjoy them. Consider exciting flavor combinations, like pairing spicy pickles with creamy cheeses or balancing sweet pickles with savory meats. Presentation tips can elevate your serving, such as arranging pickles on a colorful platter or layering them in glass jars for an appealing display. You can use pickles to add zest to sandwiches, burgers, or salads, enhancing their flavor profile. For a quick snack, serve them alongside charcuterie or cheese boards. Experimenting with different pairings helps highlight the tangy, crunchy texture of your pickles, making each bite more enjoyable. Proper storage conditions ensure your pickles stay crisp and flavorful over time. Thoughtful presentation and creative flavor pairings turn simple pickles into a delightful treat.
Frequently Asked Questions
How Long Do Quick Pickled Vegetables Last in the Fridge?
Quick pickled vegetables typically last about 2 to 3 weeks in your fridge. Unlike fermentation, which involves natural bacteria and longer storage, quick pickling uses vinegar for preservation. Make sure you store your jars at the proper temperature, ideally between 35°F and 40°F, to prevent spoilage. Always check for signs of spoilage before eating, and keep your pickles submerged in brine for best results.
Can I Reuse Pickle Brine for Multiple Batches?
You can reuse pickle brine for multiple batches, but you should be cautious about safety concerns. Reusing brine may introduce bacteria or spoilage, especially if it’s been used with different vegetables or stored too long. To minimize risks, boil the brine before reuse and avoid using it if it develops an off smell or cloudy appearance. This practice can save money but always prioritize food safety.
What Are the Best Vegetables for Quick Pickling?
Imagine you’re preparing a vibrant jar of quick-pickled carrots for a family gathering. You’ll find that vegetables like cucumbers, radishes, and green beans work best because they hold their textures and absorb pickling flavor beautifully. These vegetables are crisp and flavorful, making your pickles extra delicious. They’re perfect if you want a satisfying crunch and a tangy taste, elevating every bite you serve.
How Can I Adjust Acidity Levels for Safety?
To adjust acidity levels safely, you should perform pH testing with a reliable meter or test strips to verify your pickles have a pH below 4.6. If needed, increase acidity by adding more vinegar or a trusted vinegar substitute like citric acid. Always double-check your pH, and avoid using low-acid ingredients, which can compromise safety and cause spoilage.
Is It Necessary to Sterilize Jars Before Quick Pickling?
Yes, you should sterilize jars before quick pickling to guarantee pickling safety. Jar sterilization kills bacteria, yeasts, and molds that could spoil your preserves or cause foodborne illness. To sterilize, wash jars thoroughly, then boil them in water for 10 minutes or run them through a hot cycle in your dishwasher. This step helps maintain the quality and safety of your pickled foods.
Conclusion
Now that you have this complete checklist, you’re all set to create pickles that could make even the most seasoned chefs jealous. With fresh produce, the right spices, and a little patience, your jars will transform into flavor-packed treasures. Think of your pantry as a treasure chest bursting with crunchy, tangy delights—each jar a tiny miracle. So go ahead, get pickling, and enjoy the irresistible taste of your homemade creations!