If your bread isn’t rising, the most common cause is incorrect proofing temperature. Yeast activity thrives around 75-85°F, so maintaining this range helps your dough develop the right amount of gas for a fluffy rise. Too cold slows fermentation, while too hot can overactivate yeast or weaken gluten. Using a proofing temperature chart can help you adjust conditions precisely. Keep exploring to discover more tips that will guarantee perfect, well-risen bread every time.
Key Takeaways
- Ensure proofing temperature is between 75°F and 85°F for optimal yeast activity and dough rising.
- Avoid temperatures below 70°F to prevent slow fermentation and under-proofing.
- Prevent over-proofing by not exceeding 90°F, which can weaken gluten and cause collapse.
- Use proofing environments like warm ovens or proofing boxes to maintain consistent temperature.
- Cover dough with damp cloth or plastic to retain humidity and support proper rise.
Why Proper Proofing Temperature Is Key to Fluffy Bread
Maintaining the correct proofing temperature is essential because it directly affects how well your bread rises. Proper fermentation control ensures yeast activity stays within an ideal range, producing the right amount of carbon dioxide needed for a fluffy texture. If the temperature is too low, yeast activity slows down, resulting in a dense, under-risen loaf. Conversely, if it’s too high, yeast becomes overactive, causing excessive fermentation that can lead to a sour taste or a collapsed loaf. By keeping your dough at the right temperature, you give yeast the perfect environment to produce steady fermentation, allowing your bread to develop a light, airy crumb, making sure your final product is perfectly fluffy and well-risen every time. Temperature also influences the yeast’s metabolic rate, which is crucial for consistent results.
How Different Proofing Temperatures Affect Yeast and Dough Rise
Your dough’s rise depends heavily on proofing temperature, which influences yeast activation and fermentation speed. When you keep it within the yeast’s activation range, fermentation happens efficiently, leading to better dough expansion. Understanding the ideal rising conditions helps you achieve consistent, fluffy bread every time. Additionally, maintaining optimal temperature conditions aligns with energy-efficient cloud solutions, promoting sustainability in kitchen practices. Proper insulation and temperature regulation can further enhance proofing consistency and prevent temperature fluctuations.
Yeast Activation Range
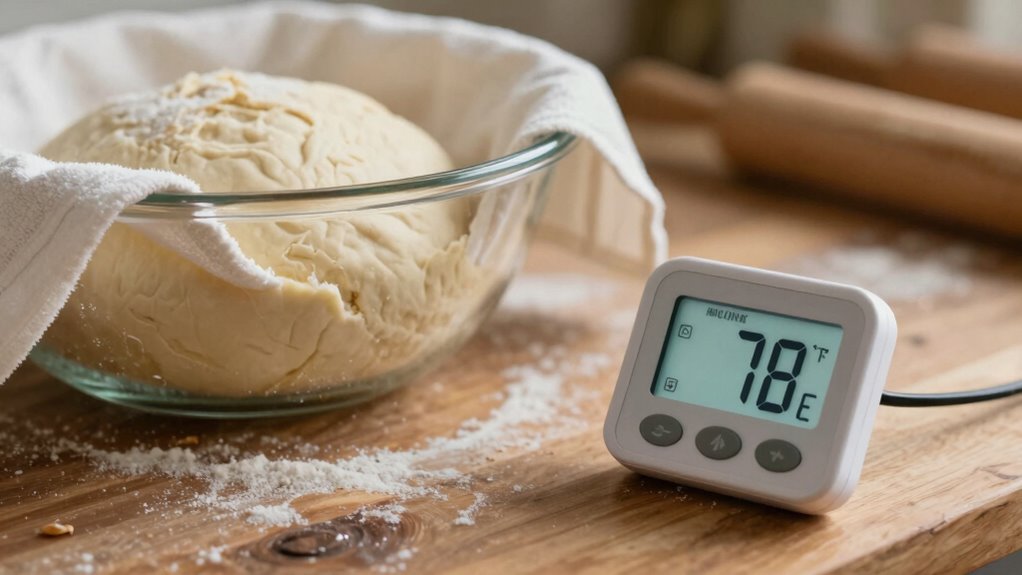
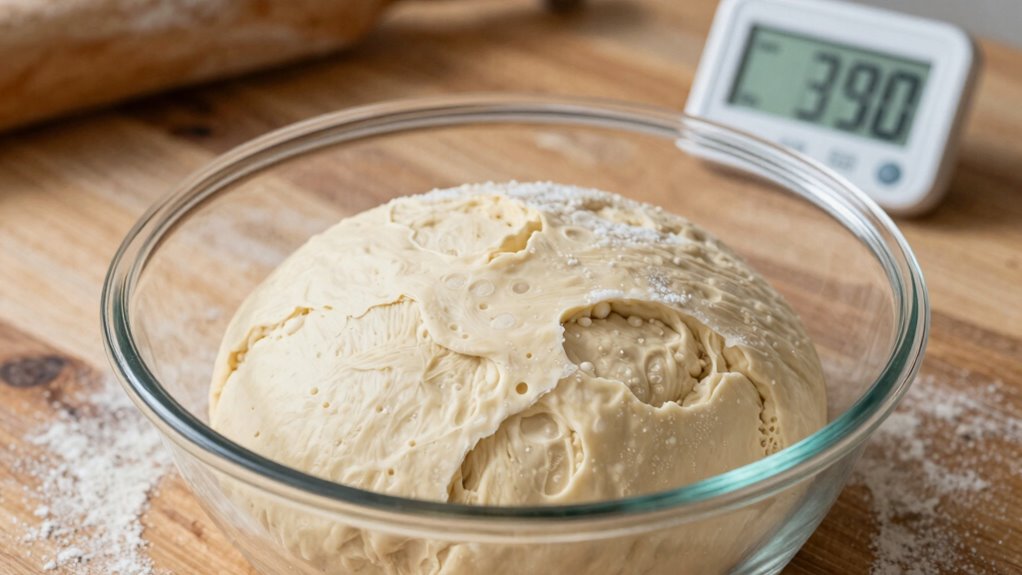
Yeast activation is highly sensitive to temperature, making it essential to find the ideal proofing range for reliable dough rise. When yeast is activated within its optimal temperature, dough fermentation occurs efficiently, resulting in a good rise. Too cold, and yeast becomes sluggish; too hot, and it may die or produce off-flavors. Proper home organization can help ensure your kitchen maintains consistent temperatures for better baking results. Understanding temperature control techniques is crucial for achieving consistent baking success. Additionally, using a digital thermometer can provide precise temperature readings to optimize proofing conditions. Maintaining the correct proofing environment can significantly improve yeast activation and dough development. Being aware of ambient temperature fluctuations can further help in maintaining a stable proofing process.
Dough Fermentation Rate
Proofing temperature directly influences how quickly and effectively dough ferments, shaping the final bread’s texture and flavor. The fermentation process relies on yeast behavior, which varies with temperature. At warmer temperatures, yeast becomes more active, speeding up fermentation and causing the dough to rise faster. However, if it’s too hot, yeast can become overactive or die, leading to uneven fermentation and poor dough development. Cooler temperatures slow yeast activity, resulting in a longer fermentation process that can deepen flavor and improve texture. Understanding how different proofing temperatures affect yeast behavior helps you control fermentation rates. Temperature control is essential for achieving consistent results. By maintaining the right temperature, you ensure a balanced fermentation process, achieving a consistent rise, desirable crumb structure, and ideal flavor in your bread. Consistent yeast activity is key to predictable baking outcomes, making temperature management a crucial part of bread making.
Optimal Rising Conditions
Different proofing temperatures create distinct rising conditions that directly impact your dough’s development. When the temperature is just right, yeast activity is maximized, producing the gas needed for a good rise. Too cold, and yeast becomes sluggish, reducing dough elasticity and slowing the rise. Too hot, and yeast can die off, ruining the texture. Here’s how different temperatures influence the process:
| Temperature | Yeast Activity | Dough Elasticity |
|---|---|---|
| 75°F (24°C) | Moderate | Good, flexible, easy to shape |
| 80°F (27°C) | ideal | Excellent, smooth rise |
| 90°F (32°C) | Fast | Over-proofed, weak structure |
| 60°F (15°C) | Slow | Tight, less elastic |
| 100°F (38°C) | Dead | No rise, dough collapses |
Knowing these conditions helps you control yeast activity and dough elasticity for perfect proofing.
Additionally, understanding auditory processing can help bakers develop better sensory awareness of dough changes during proofing.
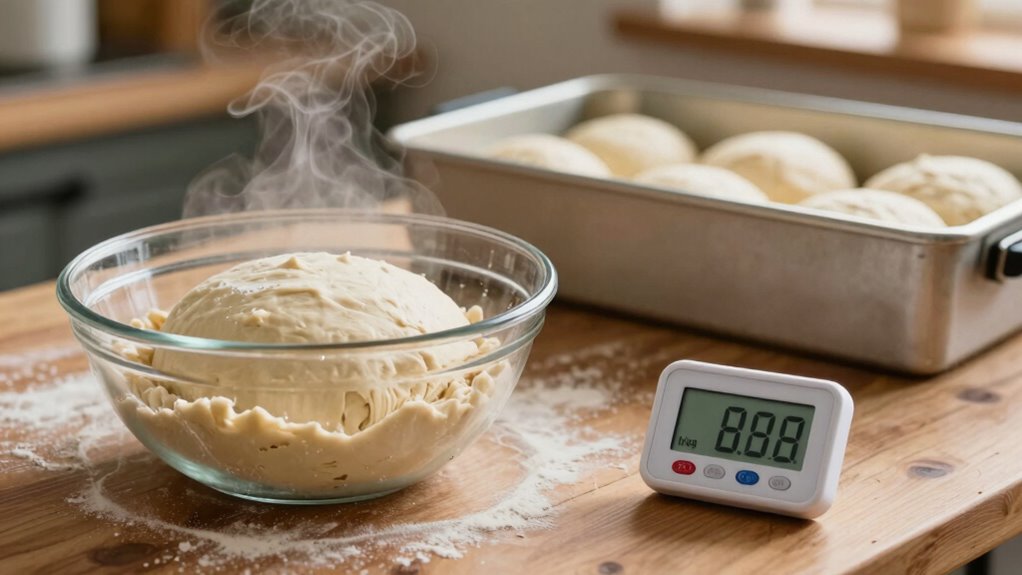
Is Your Dough Not Rising? Signs Temperature Might Be the Cause
If your dough isn’t rising as expected, temperature could be the culprit. Low temperatures slow down yeast activity, preventing your dough from fermenting properly. You might notice your dough feels dense or doesn’t expand much during proofing. Additionally, insufficient warmth affects dough elasticity, making it less pliable and harder to shape. If your dough remains flat or shows little to no bubbles, it’s a clear sign that yeast isn’t active enough. Conversely, if it’s too warm, yeast can become overactive and produce sour flavors or collapse. Monitoring your proofing environment’s temperature helps guarantee the yeast functions at its best. Temperature control plays a crucial role in maintaining optimal yeast activity, which ensures consistent rising. Proper proofing temperature not only promotes healthy yeast activity and proper dough elasticity but also prevents undesirable fermentation issues. By maintaining the right temperature, you promote healthy yeast activity and proper dough elasticity, leading to better rising and a fluffier loaf. Ensuring consistent proofing conditions can help prevent fluctuations that hinder proper fermentation.
What’s the Best Proofing Temperature for Different Types of Bread?

Choosing the right proofing temperature depends on the type of bread you’re making, as each variety benefits from specific conditions. For lean breads like baguettes or Italian bread, a slightly warmer temperature around 75-80°F promotes ideal gluten development and a good rise. Enriched bread, such as brioche or challah, benefits from a slightly cooler environment, around 70-75°F, to prevent over-proofing due to their higher fat and sugar content. For whole grain or denser breads, a moderate temperature encourages better gluten formation and fermentation. If you make ingredient substitutions, like replacing water with milk or oil, adjust the proofing temperature slightly lower to accommodate slower gluten development and fermentation. Tailoring your proofing temperature ensures consistent rising and the best texture for your specific bread type.
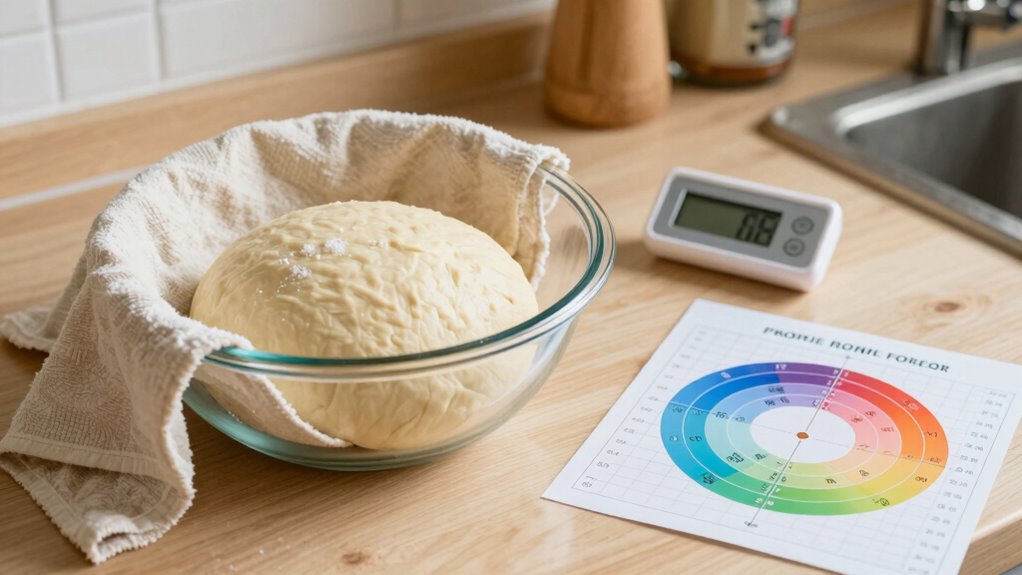
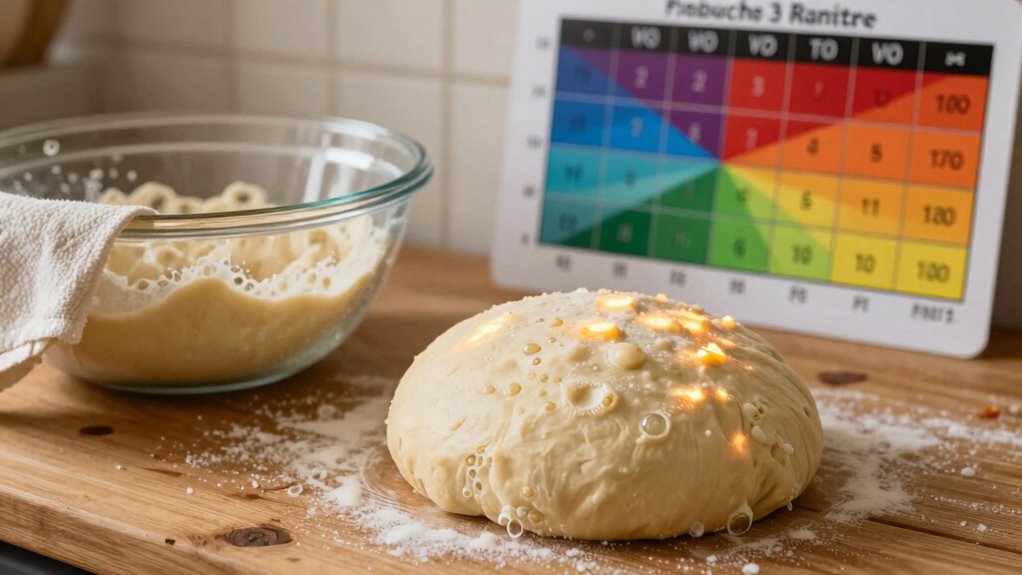
Using a Proofing Temperature Chart to Troubleshoot Rising Problems
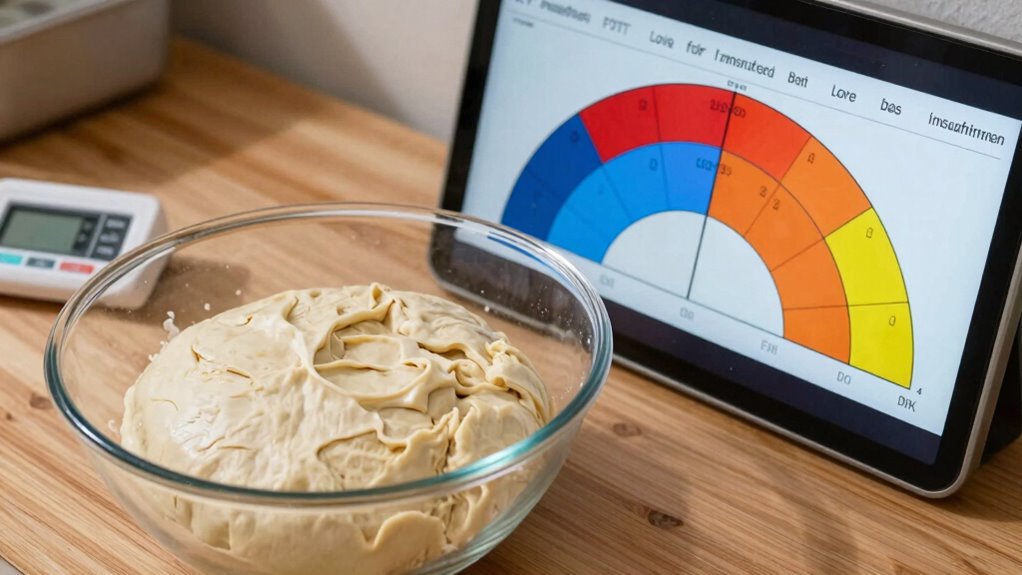
When your bread isn’t rising as expected, a proofing temperature chart becomes an invaluable troubleshooting tool. It helps you identify if the fermentation time is too short or if yeast activity is sluggish. By matching your proofing environment to the chart’s recommended temperatures, you can optimize rising conditions. Ensuring you understand the fermentation process can help you interpret how temperature impacts yeast activity and dough rise. Here are some key points to consider: 1. If fermentation time is too brief, yeast might not produce enough gas, causing poor rise. 2. Low temperatures slow yeast activity, leading to under-proofed dough. 3. Overly warm environments can cause rapid fermentation, resulting in a dense texture or over-proofing. Using the chart, you can adjust your proofing temperature accordingly, ensuring active yeast and proper fermentation time for a perfect rise. Additionally, understanding how proofing temperature influences yeast metabolism can help prevent common issues like collapsing or uneven rising. Recognizing the importance of temperature control in fermentation can significantly improve your baking results. A consistent proofing environment is crucial for achieving uniform dough rise and optimal bread texture.
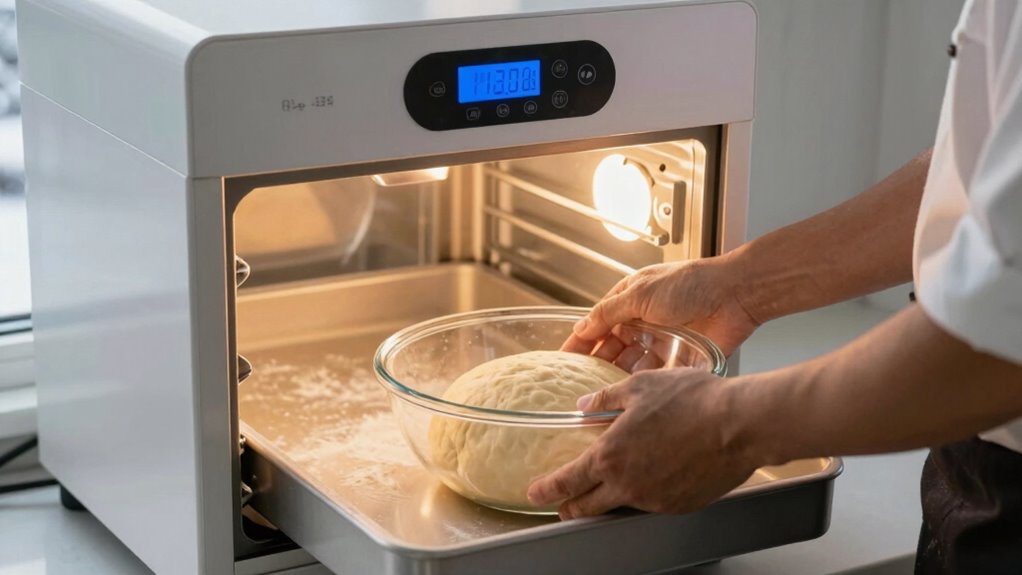
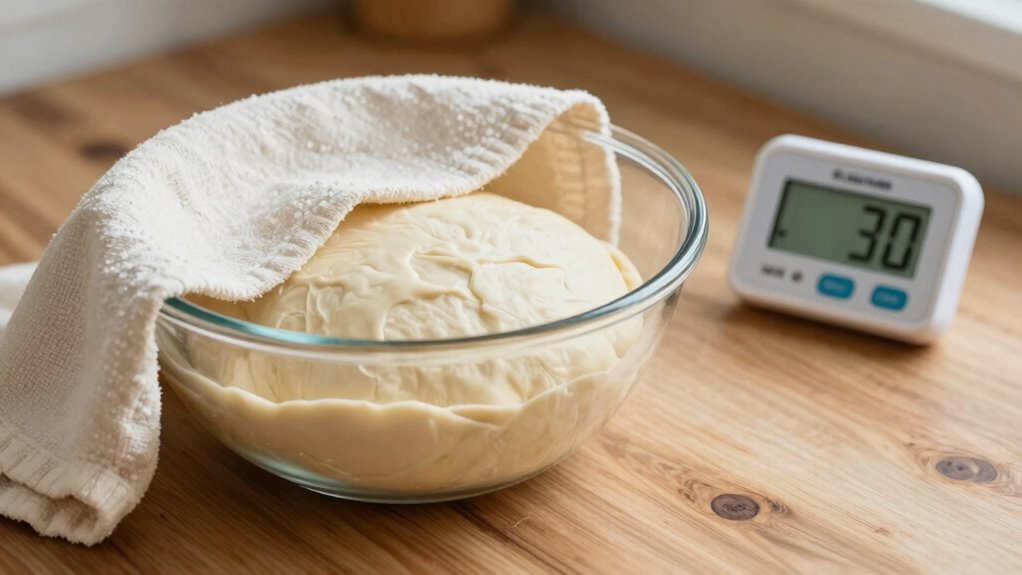
Easy Ways to Create the Perfect Proofing Environment at Home
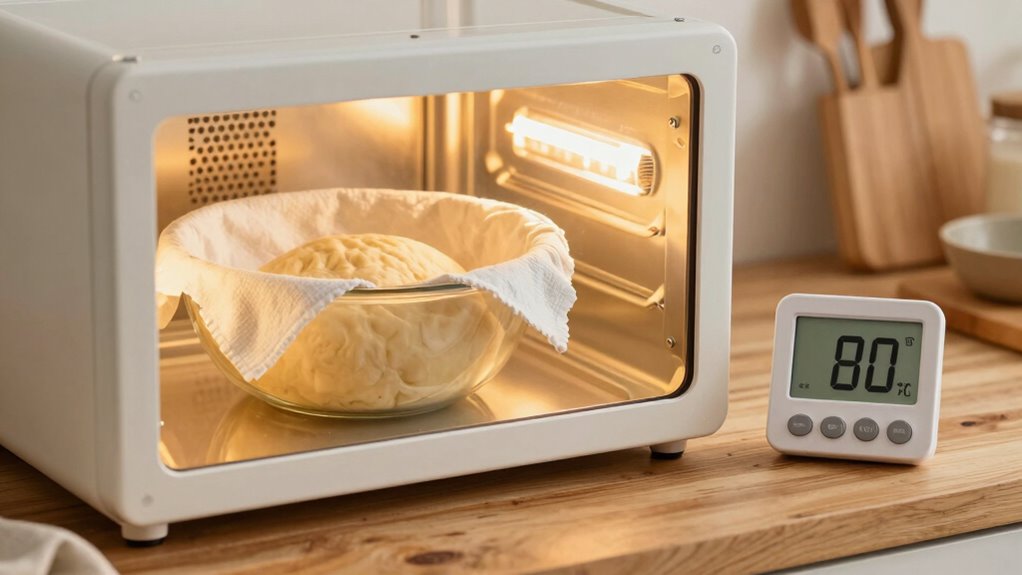
Creating the perfect proofing environment at home is simple when you control key factors like temperature and humidity. For ideal gluten development and sourdough starters, maintain a warm, consistent space. Use your oven with the light on or a proofing box to keep the temperature steady. Cover your dough with a damp cloth or plastic wrap to retain humidity. For added convenience, try placing your dough in a proofing basket inside a turned-off oven with a bowl of hot water. Here’s a quick guide:
| Temperature | Humidity Level | Ideal Use |
|---|---|---|
| 75-80°F | 70-80% | Sourdough starters, gluten development |
| 80-85°F | 80% | Fast proofing |
| 65-70°F | 60-70% | Slow, controlled proofing |
| 85°F+ | High | Overproofing risk |
Proper proofing temperature can significantly influence the quality of your bread, making it essential to monitor and adjust your environment accordingly. Maintaining the right proofing environment also helps prevent common issues like overproofing or underproofing, ensuring consistent results. Understanding the impact of temperature on yeast activity allows you to fine-tune your proofing process for optimal bread texture, flavor, and consistent results.
Common Mistakes That Mess Up Your Dough’s Proofing Temperature
One common mistake that can sabotage your proofing process is neglecting to monitor and control the actual temperature of your dough. If your proofing containers aren’t at the right temperature, your dough may not rise properly. Additionally, skipping dough scoring can trap excess gases and hinder expansion, affecting proofing conditions. Here are key mistakes to avoid: 1. Using improper proofing containers that don’t regulate or reflect temperature changes. 2. Not checking the dough’s temperature with a thermometer before proofing. 3. Failing to score the dough, which can lead to uneven rising and improper proofing temperature distribution. Proper proofing environment management, including consistent temperature control, is essential for optimal dough rise.
How to Adjust Proofing Temperatures in Cold or Warm Climates
Adjusting proofing temperatures in cold or warm climates requires actively managing your environment to guarantee ideal yeast activity. In cold areas, increase oven temperature slightly—warm it to about 80-100°F—and use humidity control by placing a bowl of hot water nearby or covering the dough with a damp cloth. This creates a warm, moist environment perfect for proofing. Conversely, in warmer climates, lower your oven temperature to around 75°F or less, and ensure proper humidity control to prevent overproofing. You can also proof in a cooler spot, like a basement or closet, with a damp towel to regulate moisture. Consistently monitoring oven temperature and humidity levels helps maintain the best environment, ensuring your dough proof correctly regardless of climate.
How Long Should You Proof Your Dough at Different Temperatures?

The amount of time you proof your dough depends on the temperature, as it influences how quickly it rises. Knowing the ideal proofing duration helps guarantee your bread develops the right texture and flavor. Watch for signs of proper proofing to avoid under- or over-proofing your dough.
Ideal Proofing Duration
Proofing time varies considerably depending on the temperature of your environment. Typically, at warmer temperatures, proofing takes about 1 to 2 hours, while cooler settings may require 3 to 4 hours. To optimize your bread’s flavor pairing, aim for the right proofing duration that allows yeast fermentation without over-proofing. Here are key points to contemplate:
- Shorter proofing at higher temperatures enhances a mild flavor, suitable for delicate ingredients.
- Extended proofing at cooler temperatures develops deeper, more complex flavors, ideal when using ingredient substitutions like nuts or dried fruits.
- Timing affects the dough’s texture and rise, so adjust based on your recipe and desired outcome, ensuring your proofing duration aligns with your flavor goals and ingredient choices.
Temperature Impact on Rise
Temperature markedly influences how long you should proof your dough, as warmer environments speed up yeast activity while cooler ones slow it down. At higher temperatures, proofing takes less time, but be careful not to overproof, which can hinder gluten development. Cooler temperatures prolong the process, allowing gluten networks to strengthen and develop better structure. This slower rise not only improves dough elasticity but also enhances flavor through extended fermentation. If you proof at an ideal temperature, your dough will rise efficiently, with well-developed gluten and richer taste. Conversely, proofing at incorrect temperatures can produce dense bread or flat loaves. Adjust proofing time according to temperature to ensure proper gluten development and flavor enhancement, giving you consistently better bread every time.
Signs of Proper Proofing
Knowing when your dough has properly proofed is essential for achieving the best bread. Signs of proper proofing include visible yeast activity, such as bubbles or a slight rise, indicating fermentation is active. You should also notice increased dough elasticity, where it feels soft yet resilient when gently pressed. Additionally, the dough should have roughly doubled in size and pass the gentle poke test—if your finger leaves a slight indentation that slowly springs back, it’s ready. Proper proofing ensures the yeast has fermented enough to develop flavor and structure. Keep an eye out for these indicators at different temperatures, as yeast activity varies. Recognizing these signs helps you time your baking perfectly, resulting in bread with ideal texture and rise.
Extra Tips for Achieving Perfect, Well-Risen Bread Every Time
To make certain your bread rises perfectly every time, pay close attention to your proofing environment. Consistent temperature is key; fluctuations can hinder yeast activity and cause uneven rising. Keep your dough in a warm, draft-free spot to prevent fungal growth that might spoil your bread. Avoid sudden temperature shifts, which can slow fermentation or promote unwanted microbial growth. Using a proofing box or covering your dough with a damp cloth helps maintain a stable temperature. Also, don’t rush the process—patience ensures thorough gluten development and even rise. Monitoring your environment ensures ideal yeast performance, leading to a well-risen, fluffy loaf every time. Small adjustments in temperature control can make a significant difference in your bread’s final texture and appearance.
Frequently Asked Questions
Can I Proof Bread in a Microwave Safely?
You can proof bread in a microwave, but you must prioritize microwave safety and use proper proofing techniques. Place your dough in a microwave-safe container, then create a warm, humid environment by microwaving a cup of water nearby. Keep the microwave off during proofing to prevent uneven heating. Just be cautious not to overheat, which could kill yeast or spoil your dough. This method can be quick and effective if done carefully.
How Do Humidity Levels Impact Proofing Temperature?
Did you know that humidity effects can change proofing times by up to 50%? High humidity levels keep moisture in the dough, slowing down fermentation, while low humidity speeds it up. Moisture levels influence how the dough expands, so maintaining balanced humidity creates ideal proofing conditions. To control humidity effects, use a damp cloth or proofing box with a humidifier to keep moisture levels steady, ensuring your bread rises perfectly every time.
What’s the Ideal Proofing Temperature for Gluten-Free Bread?
For gluten-free bread, aim for a proofing temperature of around 75-85°F. This range helps gluten-free techniques like using xanthan gum and rice flour work effectively, ensuring proper rise. You should make baking adjustments by avoiding drafts and maintaining consistent warmth, as gluten-free dough is more sensitive to temperature fluctuations. Keeping the environment steady encourages fermentation, resulting in a better rise and improved texture.
Can Proofing Temperature Affect Bread Crust Color?
Yes, proofing temperature can influence bread crust color by affecting yeast activity and crust development. When you proof at higher temperatures, yeast activity accelerates, leading to more caramelization and a darker crust. Conversely, cooler proofing slows yeast activity, resulting in a lighter crust. You can control crust color by adjusting proofing temperatures, ensuring your bread develops the desired crust shade while maintaining suitable yeast activity and crust development.
Should I Adjust Proofing Time When Changing Temperatures?
Yes, you should modify proofing time when changing temperatures. If you move your proofing container to a warmer spot, the dough will rise faster, so cut back on the time to prevent over-proofing. Conversely, in cooler environments, extend the proofing period. Keep an eye on ambient humidity, as it also influences rise rate. Monitoring your dough regularly ensures ideal proofing regardless of temperature or humidity changes.
Conclusion
Now that you’ve got the proofing temperature chart in your hands, your bread’s journey to fluffiness is within reach. Think of your dough as a dancer, waiting for the perfect rhythm—set the right tempo, and it’ll rise in harmony. Keep an eye on those temperatures, avoid common pitfalls, and watch your bread bloom like a well-tuned symphony. With patience and precision, you’ll create loaves that rise beautifully every single time.