To prevent butter from burning, start with low heat to melt it gently. Choose unsalted or high-fat butters for better flavor and higher smoke points. Use a heavy-bottomed pan for even heat and stir constantly to avoid scorching. Pay attention to color changes and a nutty aroma as signs you're on the right track. Adding ingredients gradually can help maintain temperature. If you're cooking at higher temperatures, consider using ghee or oils with higher smoke points as alternatives. Master these techniques, and you'll be well on your way to perfectly cooked butter. There's even more to explore for better results!
Key Takeaways
- Start melting butter on low heat to prevent scorching and maintain flavor integrity.
- Use a heavy-bottomed pan for even heat distribution and to reduce hot spots.
- Monitor temperature with a thermometer, keeping it below 350°F for sautéing.
- Stir constantly to distribute heat evenly and watch for color changes as indicators.
- Consider using clarified butter or high-smoke-point oils for high-heat cooking.
Understanding Butter Composition
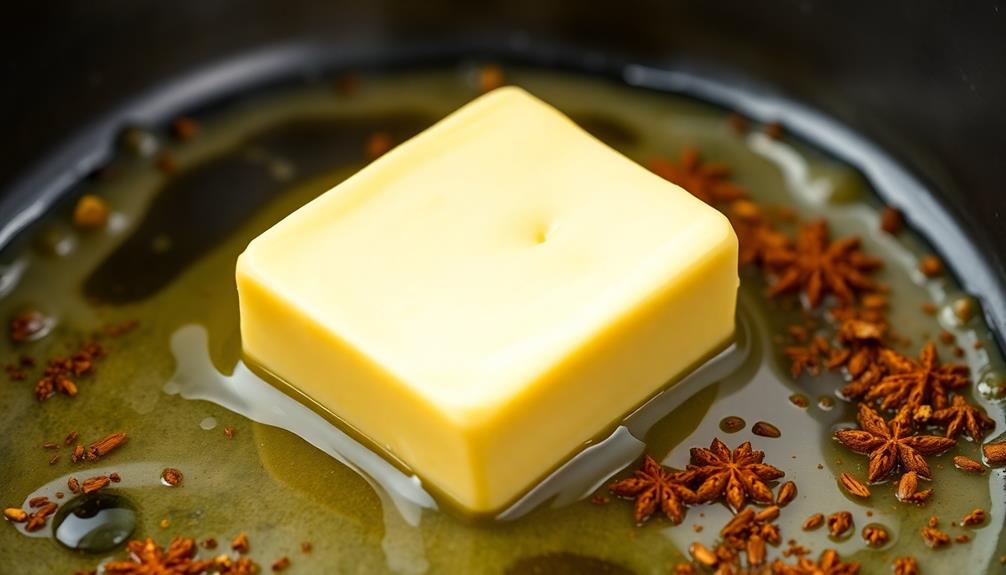
To truly grasp how to prevent butter from burning, you first need to understand its composition. Butter is primarily made up of fat, water, and milk solids. The fat content, usually around 80%, is what gives butter its rich flavor and creamy texture.
However, the water and milk solids can cause issues when you heat butter. When you melt butter, the water evaporates, and the milk solids settle at the bottom. As you heat it further, the milk solids can begin to brown, leading to a nutty flavor that some cooks appreciate, but if left unattended, they can burn and create an unpleasant taste.
Knowing this, you can manage the heat more effectively. Use a lower temperature to melt butter slowly, allowing the water to evaporate without burning the solids.
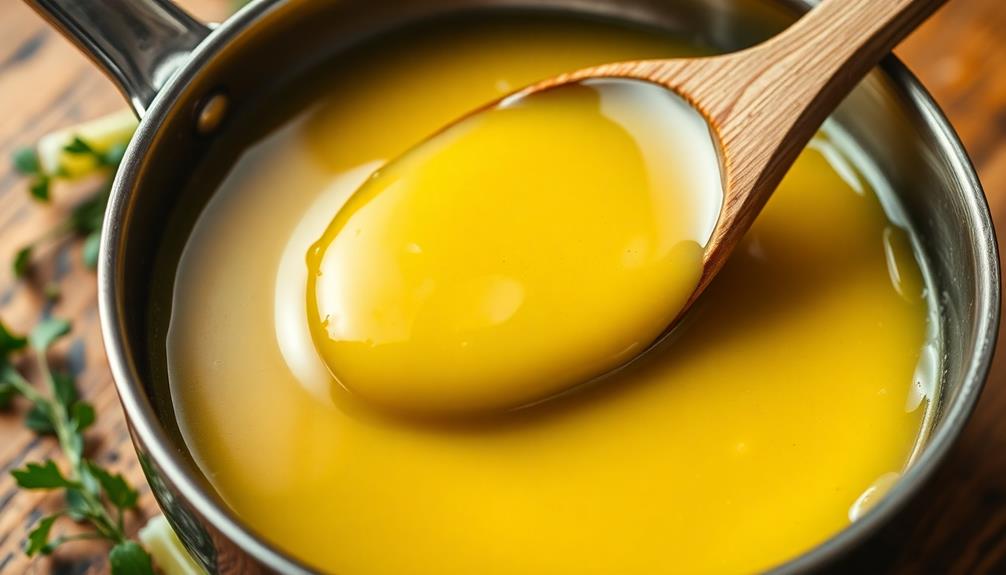
You might also consider clarifying your butter by gently heating it and removing the solids. This process gives you a higher smoke point, making it more resistant to burning.
Choosing the Right Butter
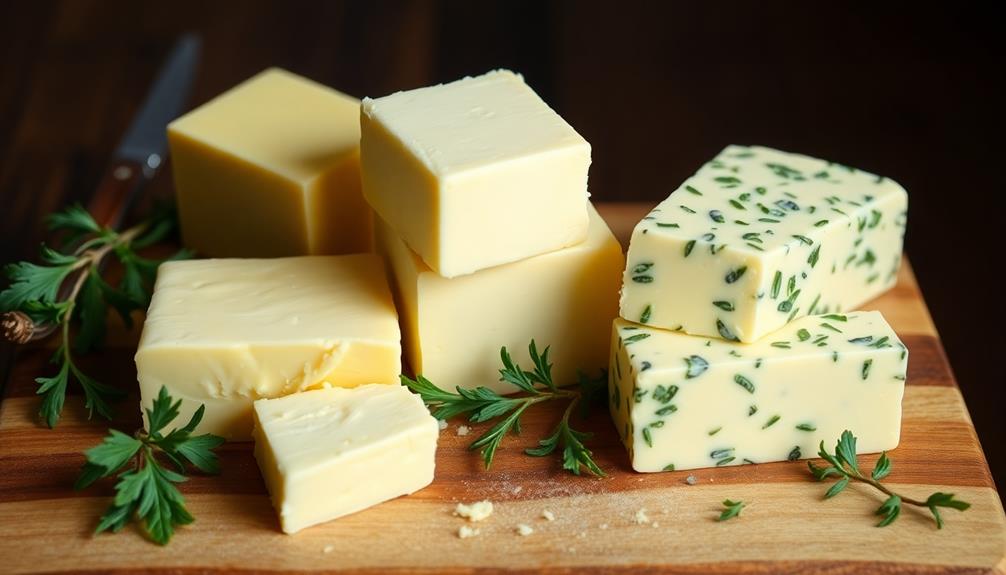
Choosing the right butter can greatly influence your cooking experience and the final taste of your dishes. Not all butters are created equal, and making the right choice can help you prevent burning and enhance flavors.
Here's what to take into account when selecting your butter:
- Type of Butter: Choose between unsalted and salted butter based on your recipe. Unsalted butter allows for better control over the seasoning of your dish.
- Fat Content: Look for European-style butters, which often have a higher fat content (around 82%). This richness can help withstand higher cooking temperatures without burning.
- Quality: Opt for high-quality butter made from grass-fed cows. This type of butter typically has a richer flavor and can elevate your dishes.
- Freshness: Always check the expiration date. Fresh butter has a better taste and is less likely to burn compared to older varieties.
Temperature Control Techniques

To prevent butter from burning, you need to master temperature control techniques.
Start by knowing the ideal heating temperatures and using thermometers to track them accurately.
With the right stovetop methods, you can keep your butter perfectly melted without any risk of scorching.
Ideal Heating Temperatures
Controlling the heat is essential for preventing butter from burning during cooking. Getting the temperature just right guarantees you can enjoy the rich flavor of butter without that unpleasant burnt taste.
Here are some ideal heating temperatures to keep in mind:
- Low Heat (200°F – 250°F / 93°C – 121°C): Perfect for melting butter gently. It allows the butter to liquefy without reaching the point of burning.
- Medium Heat (300°F – 350°F / 149°C – 177°C): Use this for sautéing or frying where you want a nice golden color without risking burning.
- Medium-High Heat (375°F – 425°F / 190°C – 218°C): Good for browning butter. Keep a close eye, as it can quickly turn from beautifully browned to burnt.
- High Heat (450°F / 232°C and above): Avoid using butter at this temperature. It'll burn almost instantly and create an unpleasant taste.
Use of Thermometers
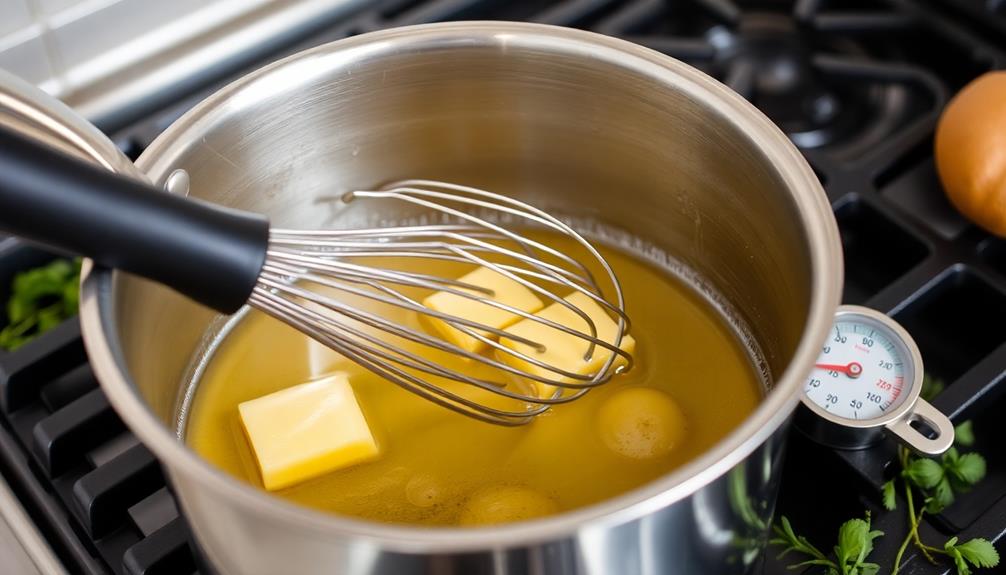
Often, using a thermometer can be a game-changer when it comes to preventing butter from burning. By monitoring the temperature closely, you can guarantee your butter reaches the perfect melting point without crossing into that dangerous territory where it starts to brown and develop an undesirable flavor.
Here's a quick guide to help you understand the ideal temperatures for butter:
| Temperature (°F) | Stage | Action |
|---|---|---|
| 90-95 | Softened | Great for spreading |
| 98-100 | Just melted | Perfect for sautéing |
| 250-300 | Light browning | Use with caution |
| 350+ | Burnt | Discard immediately |
Keep your thermometer handy, and don't hesitate to check the temperature regularly. This simple tool can help you gain confidence in your cooking technique and avoid the frustration of burnt butter. Remember, it's all about that precise control. So, when you're melting butter, maintain your focus and let the thermometer guide you to delicious results!
Stovetop Techniques
When you're melting butter on the stovetop, mastering temperature control is essential for achieving that perfect consistency without burning. Here are some techniques to help you manage the heat effectively:
- Use Low Heat: Start with low heat to gently melt the butter. This prevents the milk solids from scorching before the butter is fully melted.
- Choose the Right Pan: Use a heavy-bottomed pan. It distributes heat evenly and reduces the risk of hot spots that can cause burning.
- Stir Constantly: Keep stirring your butter as it melts. This helps distribute the heat evenly and allows you to monitor its progress closely.
- Watch for Signs: Pay attention to the color and smell. Once the butter turns golden and smells nutty, it's ready for use.
Remove it from the heat immediately to prevent burning.
Cooking Methods to Consider
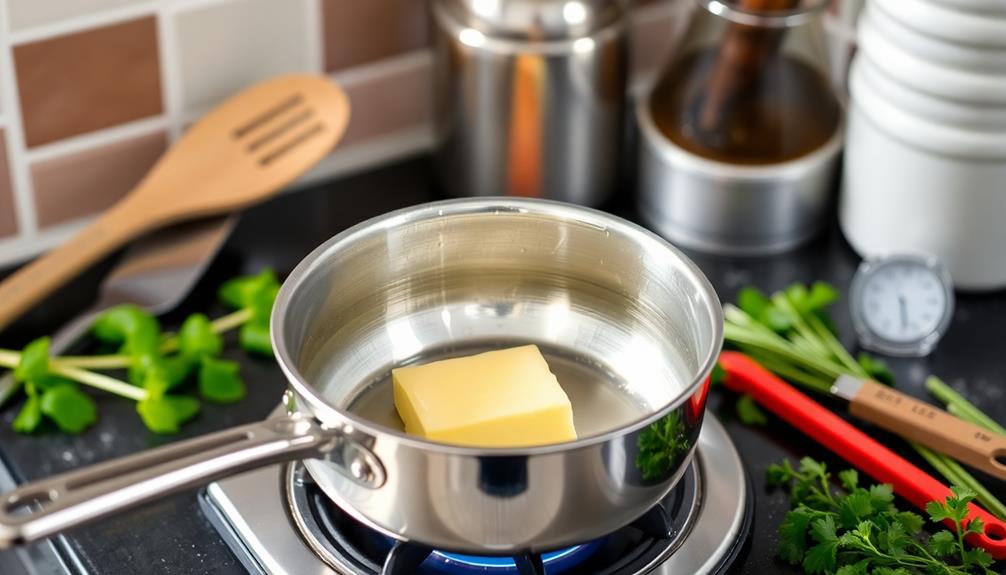
When you're cooking, it's essential to take into account how different methods can impact your ingredients.
Using temperature control techniques can help you maintain the perfect heat, while exploring alternative fats might save you from that burnt butter dilemma.
Let's look at how these approaches can enhance your cooking experience.
Temperature Control Techniques
Controlling the temperature while cooking is essential for preventing butter from burning. When you manage the heat effectively, you can maintain butter's rich flavor and creamy texture without the risk of it turning bitter.
Here are some techniques to help you master temperature control:
- Use a thermometer: Invest in a reliable cooking thermometer to keep track of the temperature accurately. This helps you avoid going beyond the smoke point of butter.
- Choose the right heat source: Opt for medium or low heat instead of high heat. This allows for even cooking, reducing the chance of hot spots that can scorch butter.
- Melt slowly: When melting butter, do it gently over low heat. Stir frequently to guarantee even melting and to monitor the temperature closely.
- Add other ingredients wisely: If you're combining butter with other ingredients, add them gradually. This helps regulate the temperature and prevents the butter from overheating too quickly.
Alternative Fats Usage
If you're finding it challenging to keep butter from burning, exploring alternative fats can be a game changer in your cooking. Oils like olive oil, avocado oil, and grapeseed oil have higher smoke points than butter, making them excellent choices for sautéing and frying.
These oils not only allow you to achieve that perfect golden-brown crust without the risk of burning, but they also provide healthier fat options compared to butter, which is high in saturated fat and calories healthier butter alternatives.
Coconut oil is another versatile option. It adds a subtle flavor and works well in both sweet and savory dishes.
If you're looking for something with a neutral taste, canola or vegetable oil can do the trick without overpowering your meal.
For a richer flavor, consider using ghee or clarified butter. These options have had the milk solids removed, which considerably raises their smoke point, allowing you to cook at higher temperatures without the burning issue.
Don't forget about nut butters! They can provide a unique twist in recipes where you want a creamy texture and a hint of flavor.
Adding Ingredients at the Right Time
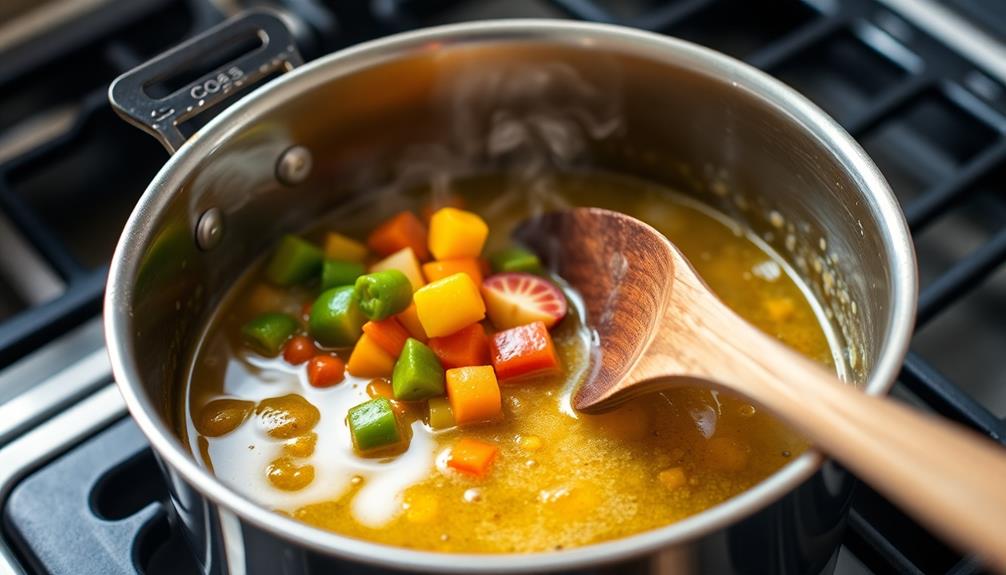
To prevent butter from burning, it's crucial to add ingredients at the right time. Timing can make all the difference in achieving that perfect, golden brown finish while keeping your butter intact. Here are some key tips to remember:
- Start with low heat: Begin cooking on a lower heat setting to give your butter a chance to melt without scorching.
- Add aromatics first: If you're using onions, garlic, or herbs, add them to the pan before other ingredients. This allows them to infuse their flavors while the butter melts.
- Watch for bubbling: When you notice the butter bubbling gently, it's the ideal time to add your next ingredient. This signals that the butter is hot enough without reaching its burning point.
- Introduce heavier items gradually: If you're adding vegetables or proteins, do so in batches. This prevents overcrowding in the pan, which can lower the temperature and lead to uneven cooking.
Using Clarified Butter Alternatives
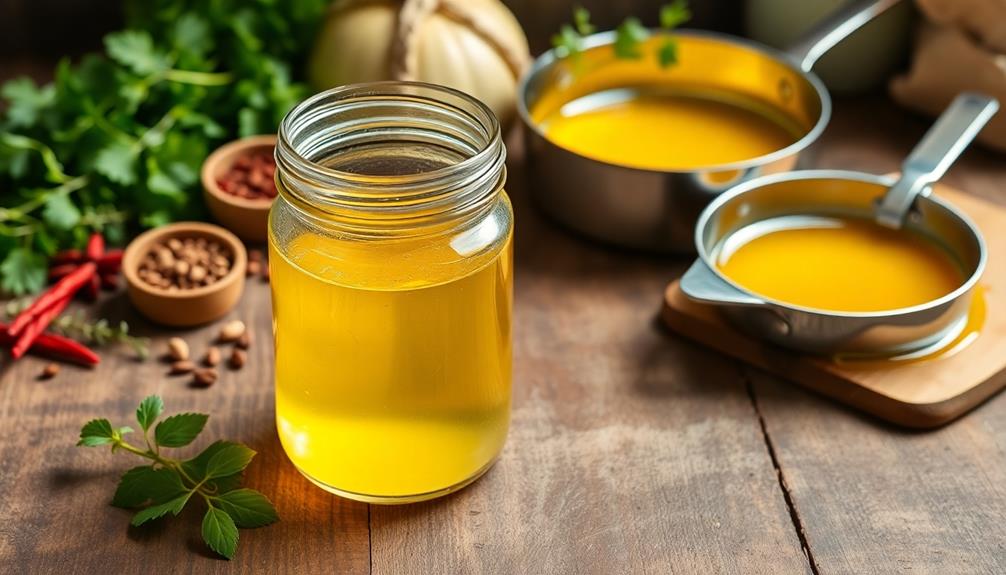
Using clarified butter alternatives can considerably enhance your cooking experience while preventing burning. These options offer a higher smoke point than regular butter, allowing your dishes to cook more evenly without the risk of that burnt taste. Here are some popular alternatives you might want to evaluate:
| Alternative | Smoke Point (°F) |
|---|---|
| Ghee | 485 |
| Coconut Oil | 350 |
| Avocado Oil | 520 |
| Olive Oil (refined) | 465 |
| Grapeseed Oil | 420 |
Ghee is a favorite among many chefs. It's not only rich in flavor but also lactose-free, making it suitable for those with dietary restrictions. Coconut oil brings a distinct tropical flavor and is great for baking or sautéing. If you're looking for a neutral taste, avocado oil is fantastic due to its high smoke point and health benefits. Refined olive oil works well in various dishes, too, while grapeseed oil is versatile and ideal for frying. By switching to these clarified butter alternatives, you'll enjoy better results in your cooking while avoiding the frustration of burnt butter.
Frequently Asked Questions
Can I Use Margarine Instead of Butter to Prevent Burning?
You can use margarine instead of butter, but keep in mind that margarine has a different fat content and flavor. It might not give you the same richness, but it can work in many recipes.
How Do I Know When Butter Is About to Burn?
You'll know butter's about to burn when it starts bubbling vigorously and turns a golden brown color. Pay attention to the smell, too; a nutty aroma signals it's time to take it off the heat.
Is There a Specific Type of Pan to Prevent Butter Burning?
Yes, using a heavy-bottomed pan helps distribute heat evenly, reducing the risk of burning. Non-stick pans can also be beneficial, as they require less fat and can tolerate lower cooking temperatures without scorching.
Does the Age of Butter Affect Its Burning Point?
Yes, the age of butter can affect its burning point. Older butter may have more impurities and moisture, which can lead to quicker burning. Fresh butter typically performs better, so always check the freshness before cooking.
Can I Freeze Butter to Extend Its Shelf Life and Prevent Burning?
Freezing butter is like putting a time capsule in your freezer. You can absolutely freeze it to extend its shelf life, keeping it fresh for cooking and baking. Just remember to wrap it well!
Conclusion
By now, you know preventing butter from burning is totally doable with the right techniques. You might think it's too complicated, but it's really all about understanding butter's composition and mastering temperature control. With a few simple adjustments, like using clarified butter or adding ingredients at the right time, you can enjoy perfectly sautéed dishes without the burnt taste. So, don't shy away from using butter—embrace it and elevate your cooking! You'll love the results.
