
To make no-churn butter ice cream with just a mason jar, start by softening your butter and mixing it with a sweetener like honey or powdered sugar until fluffy. Transfer the mixture to your jar and shake vigorously for about 5-10 minutes until it thickens and turns ice cream-like. Freeze it for a few hours, then soften slightly before scooping. If you want to explore fun flavor ideas and tips, keep going—you’ll find lots of helpful details ahead.
Key Takeaways
- Use softened unsalted butter and sweetener, then cream together until light and fluffy.
- Transfer the mixture into a mason jar, seal tightly, and shake vigorously for 5–10 minutes.
- Optional: add flavorings like vanilla or cocoa before sealing and shaking.
- Freeze the jar upright for at least 4 hours until firm.
- Before serving, let sit at room temperature briefly and scoop with a warm spoon.
Gathering Your Ingredients and Equipment
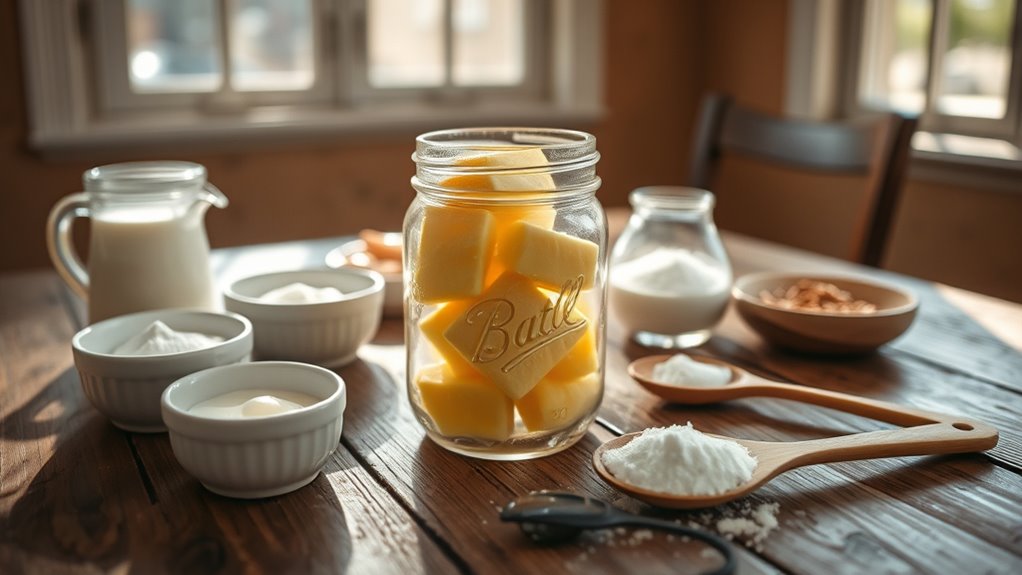
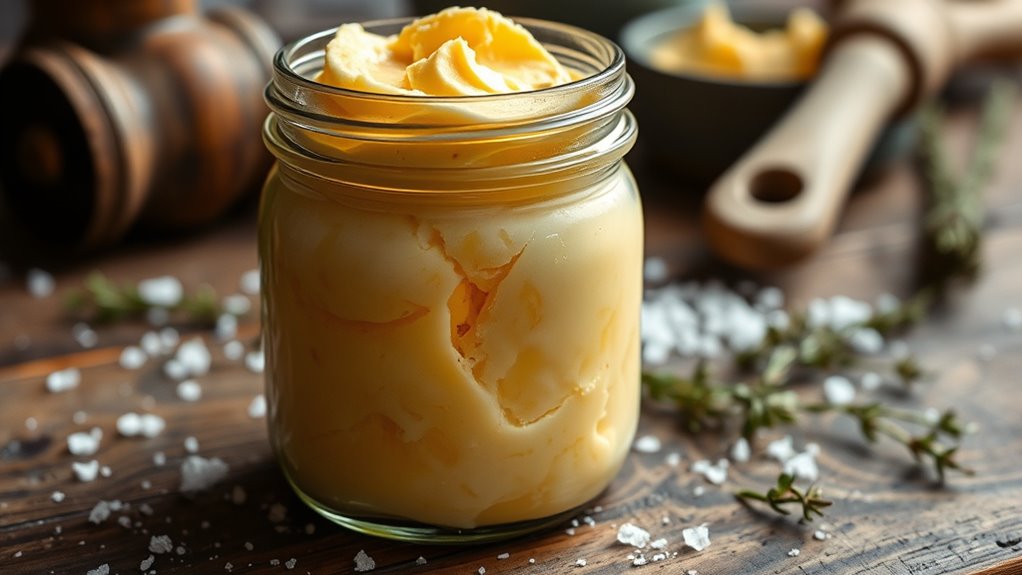
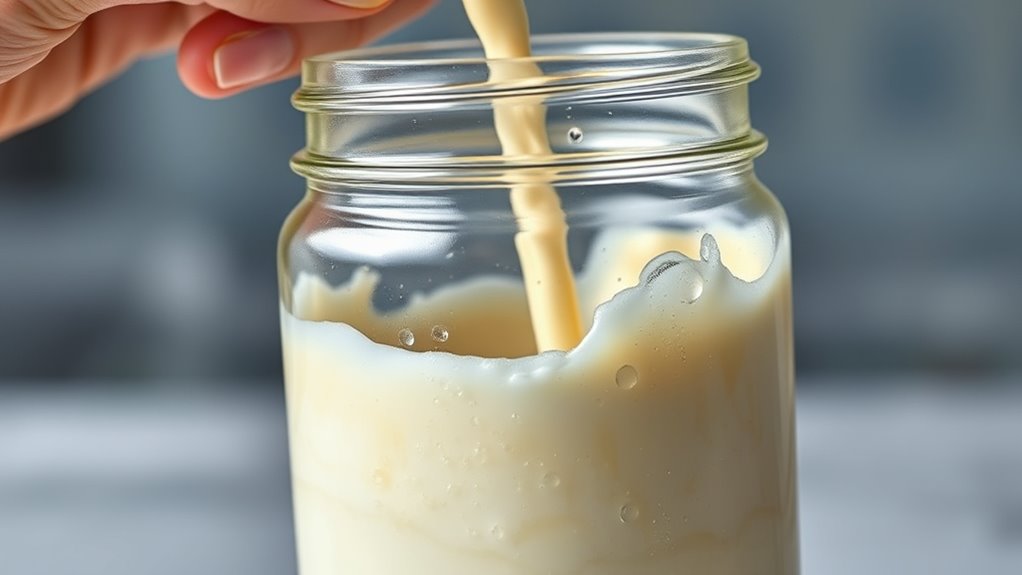
Before you begin making your no-churn butter ice cream, gather all the necessary ingredients and equipment. Start with high-quality unsalted butter, heavy cream, and sweetener—though ingredient variations, like honey or maple syrup, can add unique flavors. For equipment, a sturdy mason jar is essential, but if you don’t have one, an airtight container with a secure lid works as an equipment alternative. You’ll also need a mixing bowl and a spoon or spatula for blending ingredients. Confirm your butter is softened to make mixing easier. Having everything ready beforehand streamlines the process and prevents interruptions. Double-check your ingredients and tools so you can dive straight into creating your delicious, creamy no-churn butter ice cream. Proper equipment ensures safety and efficiency during preparation.
Creaming the Butter and Sweetener
To create a smooth, creamy base for your no-churn butter ice cream, start by beating the softened butter and sweetener together until they’re light and fluffy. The butter texture should become pale and airy, indicating it’s well creamed. You can choose from various sweetener options, like honey, maple syrup, or powdered sugar, depending on your flavor preference. Use a hand or stand mixer to guarantee thorough blending, which helps incorporate air into the mixture. Proper creaming creates a soft, fluffy consistency that will blend seamlessly with other ingredients later. Don’t rush this step; it’s vital for achieving the desired smoothness and richness in your ice cream. Once the butter and sweetener are well combined, you’re ready to move on to the next stage.
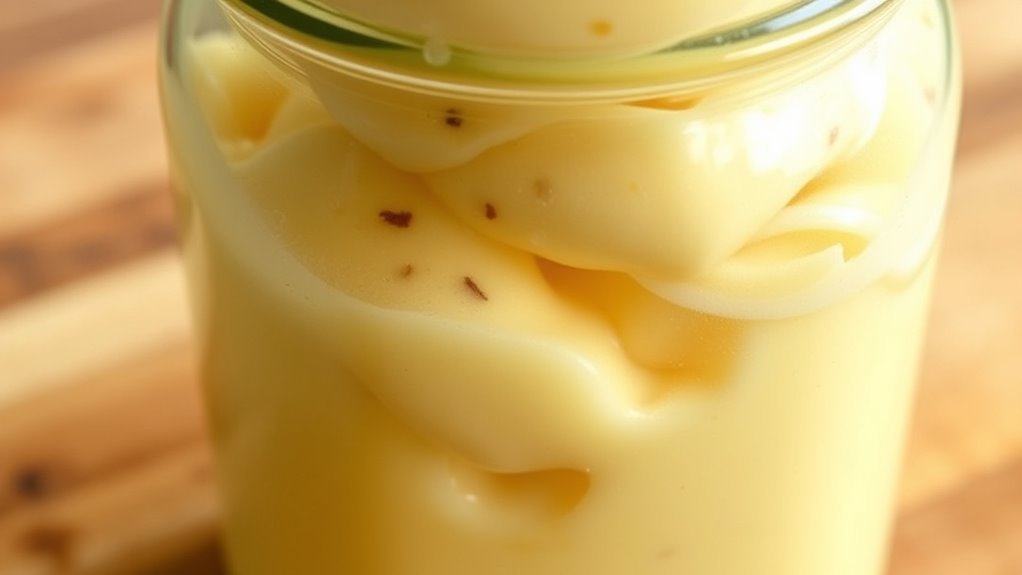
Shaking the Mixture to Create Ice Cream
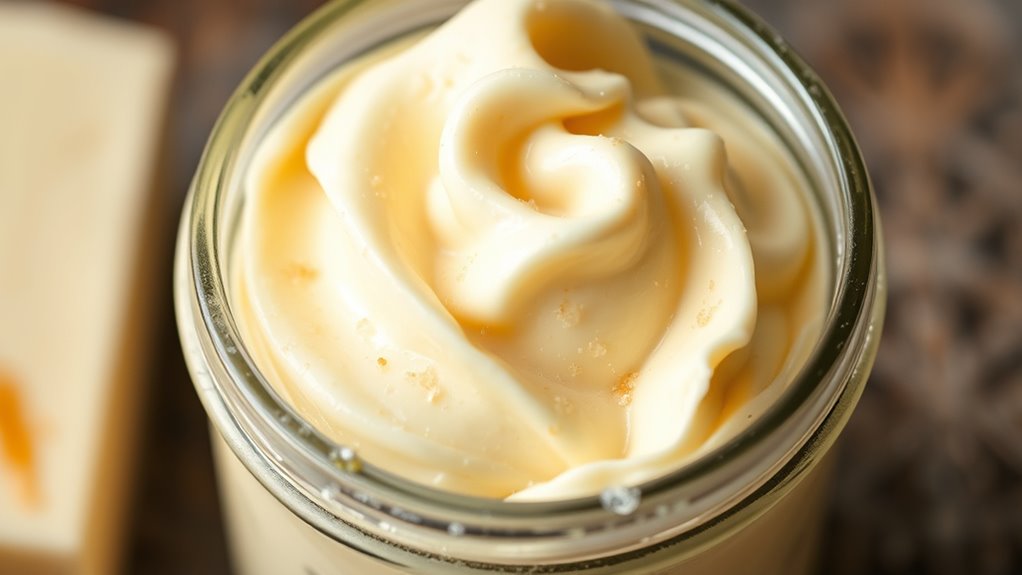
Once your butter and sweetener mixture is smooth and fluffy, transfer it to a sturdy resealable plastic bag or a container with a tight-fitting lid. Now, it’s time to shake the mixture vigorously. As you shake, the texture will begin to change, gradually transforming from a soft, creamy consistency to a firmer, ice cream-like texture. This process creates delightful texture variations, giving your ice cream a satisfying thickness. If you want to add flavor infusions, such as vanilla, cocoa, or fruit purees, now’s the moment—simply pour or sprinkle them into the mixture before sealing. Keep shaking for about 5–10 minutes, ensuring all ingredients are well combined and chilled. This method uses your arm muscles but yields a smooth, homemade ice cream with personalized flavor and perfect consistency. Detecting passive voice helps ensure your writing remains clear and engaging.
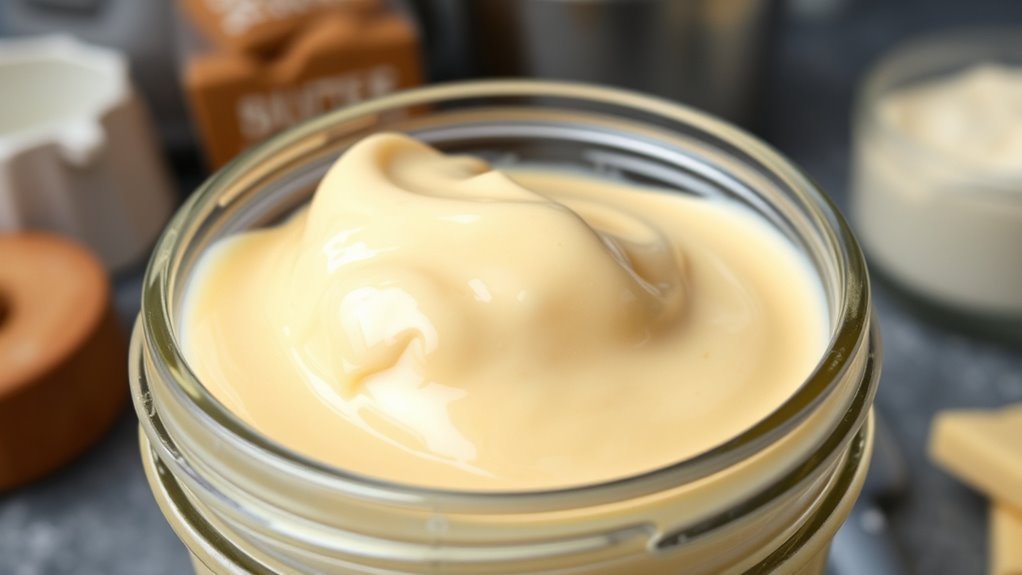
Freezing and Serving Your Homemade Treat
After shaking your mixture until it reaches a thick, ice cream-like consistency, transfer it to a freezer-safe container. Cover it tightly and freeze for at least 4 hours or until firm. When ready to serve, let it sit at room temperature for a few minutes to soften slightly. This makes scooping easier and enhances texture variations. Experiment with flavor pairings like chocolate chips, fruit swirls, or crushed cookies to add extra dimension. For a smoother texture, stir the ice cream halfway through freezing. When serving, use a warm spoon to get clean scoops. You can also top it with fresh berries or a drizzle of honey for added flavor. Proper freezing and creative toppings turn your homemade butter ice cream into a delightful treat. Additionally, using airtight containers helps prevent ice crystals and maintain freshness.
Tips for Customizing Your Butter Ice Cream
Customizing your butter ice cream allows you to tailor it to your taste and create unique flavor combinations. You can add mix-ins like chocolate chips, fruit, or nuts for variety. Experiment with herbs and spices such as cinnamon or ginger for a savory twist. For presentation ideas, consider garnishing with fresh fruit, sprigs of mint, or drizzles of caramel or chocolate sauce. Use the table below to spark your creativity:
| Flavor Combinations | Mix-in Ideas | Presentation Ideas |
|---|---|---|
| Honey & Toasted Nuts | Crushed cookies | Whipped cream topping |
| Strawberry & Basil | Chopped chocolate | Fruit slices on top |
| Lemon & Blueberry | Shredded coconut | Drizzle of honey or syrup |
| Cinnamon & Apple | Marshmallows | Sprinkles or edible flowers |
Frequently Asked Questions
How Long Does Homemade Butter Ice Cream Stay Fresh in the Freezer?
You might wonder how long homemade butter ice cream stays fresh in the freezer. Typically, for ideal taste and texture, you should enjoy it within 1 to 2 months of freezer storage. Properly stored in an airtight container, it remains safe beyond that, but quality may decline. To enjoy the best flavor, consume it sooner rather than later, and always check for signs of freezer burn before eating.
Can I Add Mix-Ins Like Chocolate Chips or Fruit?
You can definitely mix in options like chocolate chips or fruit to create fun flavor variations. Just fold your mix-ins gently into the ice cream before sealing the jar, ensuring they’re evenly distributed. Keep in mind that some mix-ins, like fruit, may add moisture, so choose dried or well-drained options. Experimenting with different mix-ins allows you to customize your no-churn butter ice cream to suit your taste.
Is There a Dairy-Free or Vegan Alternative Version?
Imagine creamy ice cream, but made without dairy. You can easily swap traditional ingredients for dairy-free options and vegan substitutes, like coconut milk or almond milk, to create a vegan-friendly version. These alternatives mimic the richness of dairy while keeping it plant-based. By choosing dairy-free options, you make your no-churn butter ice cream accessible to everyone, regardless of dietary restrictions, and still enjoy a delicious, homemade treat.
What’S the Best Size for the Mason Jar?
When choosing a mason jar for making ice cream, the jar capacity is key. You want an ideal size that allows space for ingredients to move around and freeze evenly. A 16-ounce or pint-sized jar usually works best, providing enough room without being too large. This size ensures you can shake or mix comfortably, resulting in creamy, well-frozen ice cream. Stick with these for the best results.
How Do I Prevent the Ice Cream From Becoming Icy or Grainy?
Think of your ice cream as a delicate dance partner, needing smooth steps to stay graceful. To prevent texture issues like ice crystals or graininess, keep the jar well-sealed and mix the ingredients thoroughly before freezing. Every 30 minutes, shake the jar vigorously to break up ice crystals. For flavor adjustments, add a splash of cream or vanilla during mixing. This keeps your ice cream creamy and luscious, just right for your taste.
Conclusion
Now that you know how to make no-churn butter ice cream in a mason jar, you’re all set to enjoy a creamy treat anytime. Imagine Sarah, a busy mom, whipping up a batch after her kids’ nap—she loved customizing hers with a splash of vanilla. With just a few simple steps, you can create your own delicious, personalized ice cream, perfect for satisfying sweet cravings without any fuss. Give it a try and indulge whenever you want!