
If your Instant Pot displays a burn error, it can halt your cooking process and cause frustration. This guide provides clear, step-by-step instructions to identify causes, fix the issue, and prevent future occurrences, ensuring safe and efficient cooking every time.
Understanding common triggers like food sticking, insufficient liquid, or sealing ring issues helps you troubleshoot quickly and safely, keeping your Instant Pot running smoothly.
Key Takeaways
| Common Causes | Food sticking, insufficient liquid, sealing ring issues |
| Immediate Fixes | Release pressure, add liquid, clean sealing ring |
| Prevention Tips | Use enough liquid, avoid thick ingredients, check seals |
| Safety Reminder | Always release pressure safely before troubleshooting |

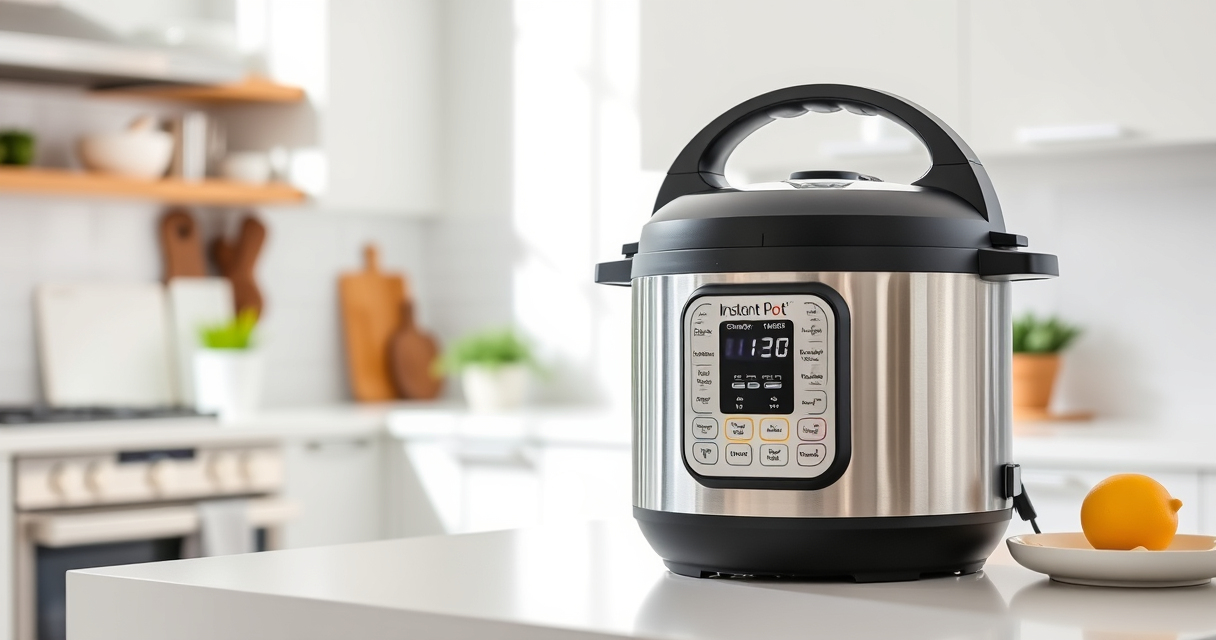
Instant Pot 4QT RIO Mini 7-in-1 Multi-Cooker, Pressure Cooker, Slow cook, Sauté, Steam, Rice Maker, Yogurt, & Warmer, Black, 4 Quarts
- 7-in-1 Multi-Cooker Functions: Pressure, slow cook, sauté, steam, rice, yogurt, warm
- Compact and Space-Saving: Mini size with full cooking surface
- Ideal for Small Meals: 4-quart capacity for up to 4 servings
As an affiliate, we earn on qualifying purchases.
Understanding the Burn Error
The burn error on your Instant Pot appears when the device detects that the food is sticking to the bottom or the pressure is not building properly. It is a safety feature to prevent overheating and potential damage.
Step 1: Release Pressure Safely
- Turn off the Instant Pot and unplug it. Wait for the pressure to naturally release or carefully use the quick-release method (refer to your model’s instructions).
- Ensure the lid is fully open once the pressure is released before proceeding.
Step 2: Check and Add Liquid
- Open the lid and inspect the contents. If the food appears burned or stuck, gently scrape the bottom with a non-metallic spatula.
- Add a half-cup to one cup of water or broth to ensure there’s enough liquid for pressure build-up.
Step 3: Clean the Sealing Ring
Remove the sealing ring and inspect it for any debris, odors, or damage. Clean it thoroughly with warm, soapy water and dry completely before reassembling.
Step 4: Reset and Restart
- Secure the lid properly, ensuring the sealing ring is correctly seated.
- Select the appropriate cooking program and start again, monitoring for any signs of sticking or burning.
Tips & Warnings
- Always ensure enough liquid is used; at least 1 cup for most recipes.
- Avoid thick, starchy ingredients that tend to stick easily.
- Check the sealing ring regularly for damage or odors and replace as needed.
- Do not force the lid open if the pressure hasn’t fully released to prevent injury.
The Products in This Guide
Instant Pot 4QT RIO Mini 7-in-1 Multi-Cooker

The Instant Pot 4QT RIO Mini offers versatile cooking with 7 functions, including pressure cooking and yogurt making, in a compact size perfect for small families or singles.
Pros:
- Space-saving design
- Multiple functions in one device
- Easy to monitor with progress indicator
- Fast cooking times
Cons:
- Limited capacity for large meals
- Requires proper sealing for best results
- May need occasional cleaning of the sealing ring
Best for: Small households, quick meals, versatile cooking
Not ideal for: Cooking large batches or families larger than 4
Bottom line: A compact, versatile cooker ideal for small-scale, fast, and easy meal preparation.
AOZITA Steamer Basket

This AOZITA Steamer Basket adds extra functionality to your Instant Pot, allowing you to cook multiple items simultaneously and steam vegetables or eggs efficiently.
Pros:
- Two-tier stackable design
- Made of durable stainless steel
- Easy to clean
- Versatile for various foods
Cons:
- Adds extra cleaning step
- Requires extra space inside the pot
- May need additional accessories for complex recipes
Best for: Steaming vegetables, eggs, multi-layer cooking
Not ideal for: For those who prefer single-level steaming
Bottom line: A practical addition for multi-layer steaming and versatile cooking.
Frequently Asked Questions
What causes the burn error on my Instant Pot?
The burn error typically occurs when food sticks to the bottom, there is insufficient liquid, or the sealing ring isn’t properly seated, triggering safety precautions.
How can I prevent the burn error?
Ensure enough liquid is used, avoid thick ingredients that may stick, and keep the sealing ring clean and properly fitted.
Is it safe to continue cooking after a burn error?
Yes, but only after releasing pressure safely, cleaning the pot and sealing ring, and correcting the issue before restarting the cooking process.
When should I replace the sealing ring?
Replace the sealing ring if it retains odors, shows cracks, or no longer creates a proper seal, usually every 12-18 months depending on usage.
Keep Your Instant Pot Running Smoothly
By understanding the causes of the burn error and following these simple troubleshooting steps, you can ensure your Instant Pot remains safe and effective. Regular maintenance, proper liquid levels, and careful sealing will help you avoid future issues and enjoy quick, delicious meals with confidence.
Affiliate disclosure: As an Amazon Associate we earn from qualifying purchases. Prices and availability are accurate as of the time of publishing.