
To master hydration in baking in just 7 days, focus on understanding how different flours absorb water and experiment with gradually adjusting your water amounts. Use a precise scale for measuring ingredients, and pay attention to the dough’s feel to improve your technique. Practice incorporating water slowly and take notes to track your results. Continue exploring these tips, and you’ll gain confidence in creating perfect doughs with ideal hydration every time.
Key Takeaways
- Start by gradually adjusting water levels, noting dough response to develop a keen sense of hydration needs.
- Use precise measurements and observe dough texture, elasticity, and stickiness to fine-tune hydration strategies.
- Experiment with different flours, adjusting hydration based on protein content and absorption traits.
- Incorporate hands-on practice and detailed notes to recognize patterns and improve hydration intuition.
- Understand how hydration influences gluten development, fermentation, and flavor to optimize baking results.
Understanding Hydration and Its Role in Baking
Understanding hydration is essential because it directly impacts the texture and structure of your baked goods. Many bakeries encounter hydration myths that lead to confusion; for example, some believe more water always results in better dough. In reality, hydration affects gluten development and overall dough consistency. Hydration myths can cause you to over- or under-water your recipes, affecting rise and crumb. To master baking, you need to understand how different ingredients absorb water and how hydration levels influence dough elasticity and fermentation. Recognizing the truth behind hydration myths helps you adjust water content accurately, leading to consistent results. Additionally, headphone compatibility with your equipment can enhance your focus and precision in baking, making it easier to follow complex recipes. By dispelling these myths, you’ll develop a better feel for hydration and improve your baking skills effectively.
Selecting the Right Flour for Optimal Hydration

Choosing the right flour plays a key role in achieving ideal hydration levels in your baking. The type of flour affects gluten development and dough elasticity, which are vital for structure and texture. High-protein flours like bread flour create stronger gluten networks, resulting in better dough elasticity and improved water absorption. Conversely, lower-protein flours like cake flour produce softer doughs with less gluten development, requiring different hydration strategies. Selecting flour with the right protein content helps you control how much water your dough needs and how it develops during mixing. When choosing your flour, consider its strength, grind size, and moisture content to guarantee optimal hydration and a perfect bake every time. Understanding the protein content of your flour can significantly influence your hydration process and final baked goods.
- Feel confident in creating resilient, elastic doughs
- Achieve consistent, bakery-quality textures
- Master gluten development for perfect structure
- Transform simple ingredients into artisanal baked goods
- Elevate your baking mastery with precision
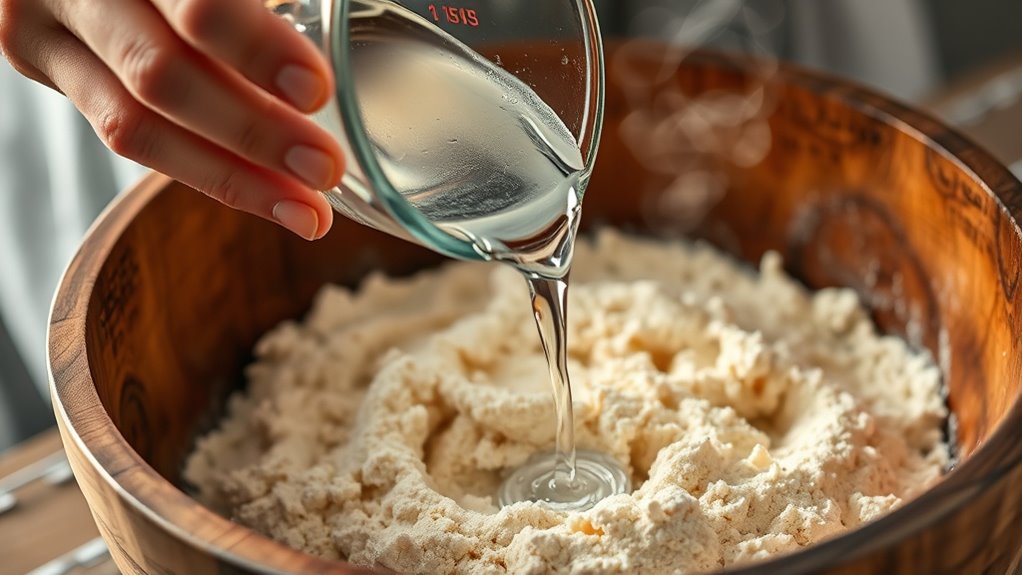
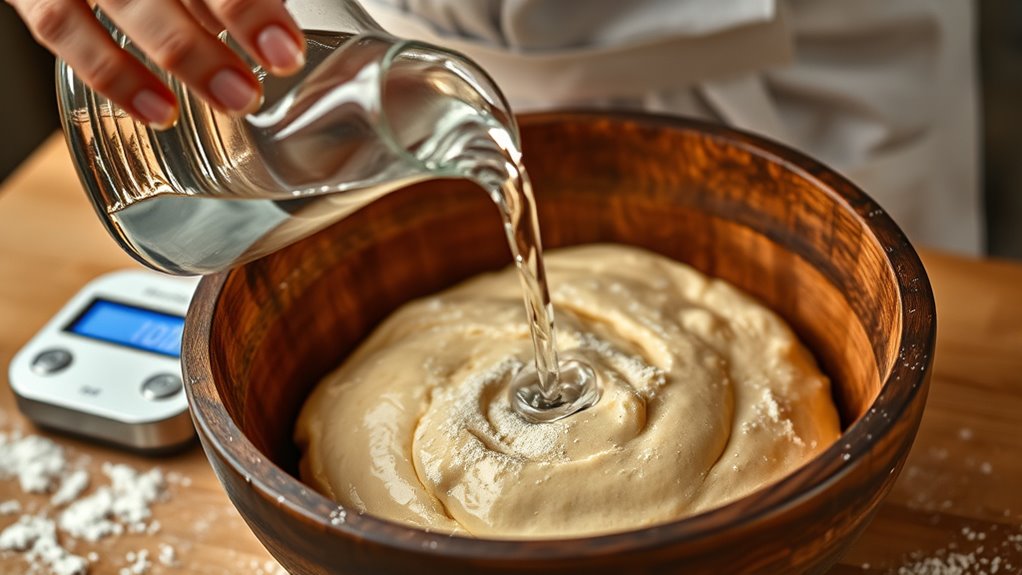
Calculating and Measuring Water Ratios Accurately
You need to understand hydration levels to get your dough just right. Accurate water measurement guarantees consistency, so use a scale for precision. Remember, different flours absorb water differently, so adjust your ratios accordingly. Monitoring indoor air quality can also help create an optimal environment for baking, especially in spaces prone to humidity fluctuations.
Understanding Hydration Levels
Accurately calculating and measuring water ratios is essential for mastering hydration levels in baking. Understanding hydration levels helps you create dough with the perfect texture, ensuring optimal oven spring and crumb. Many hydration myths circulate, leading bakers to guess or rely on intuition, which can cause inconsistent results. To truly grasp hydration, you must focus on precise measurements and avoid hydration myths that suggest arbitrary ratios. When you measure water accurately, you gain confidence and control over your dough. This knowledge transforms baking from a guessing game into a science, allowing you to develop skills and produce bakery-quality loaves. For example, choosing the right beverage fridge can help store ingredients or finished doughs at optimal temperatures, ensuring freshness and quality.
- Feel the joy of perfect dough every time
- Reveal the secret to consistent bread
- Say goodbye to baking frustrations
- Elevate your baking confidence
- Experience the thrill of mastery
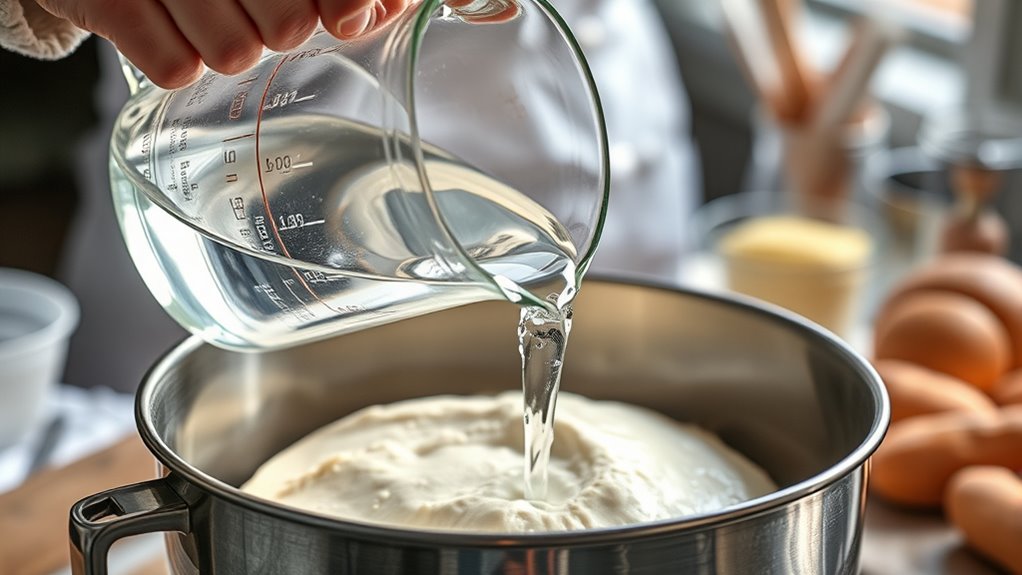
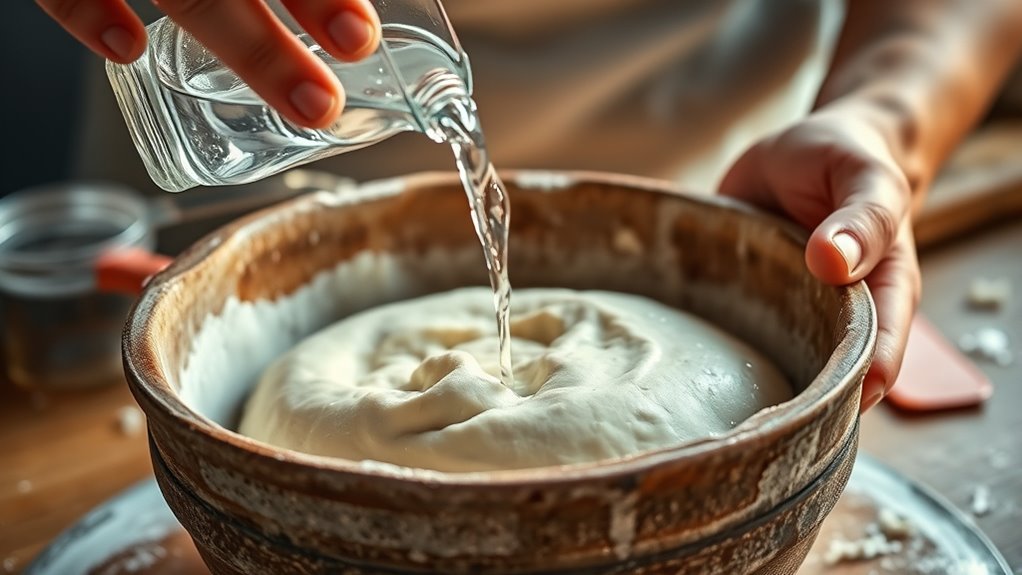
Precise Water Measurement
Mastering precise water measurement begins with understanding the importance of calculating and measuring water ratios accurately. Water absorption varies depending on flour type and environment, so knowing how much water your flour can absorb helps you achieve the desired dough consistency. Use a reliable scale for measuring water, avoiding volume measurements that can be inaccurate. Start with a standard ratio, then adjust based on the flour’s absorption properties and your desired dough texture. Consistent measurement ensures each batch maintains proper hydration, leading to better gluten development and dough elasticity. Remember, even small deviations in water can substantially impact the final product. Proper measurement techniques are essential for consistent baking results. Precise water measurement is key to controlling dough consistency and revealing bakery-quality results every time.
Adjusting for Flour Type
Since different types of flour absorb varying amounts of water, adjusting your water ratios accordingly is essential for consistent dough texture. Whole wheat and rye flours need more water, aiding gluten development and ensuring a tender crumb, while bread flour may require less to prevent over-hydration. By tailoring water content, you enhance better gluten formation and flavor enhancement, making your baked goods more flavorful and satisfying. Incorporating insights from remote hackathons, you can even experiment with virtual collaboration to refine your baking techniques and share your projects with a wider community.
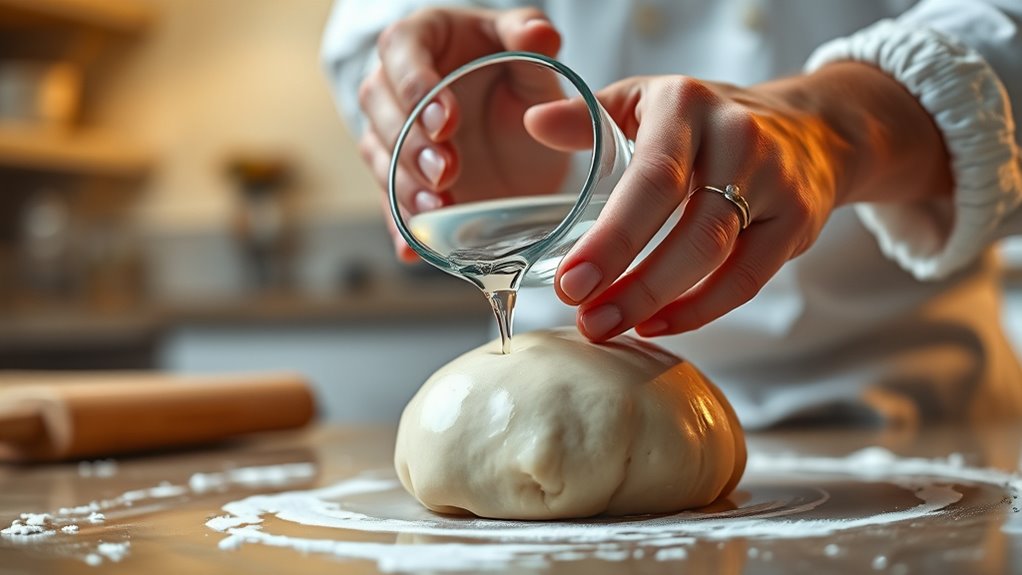
Techniques for Incorporating Water Into Your Dough
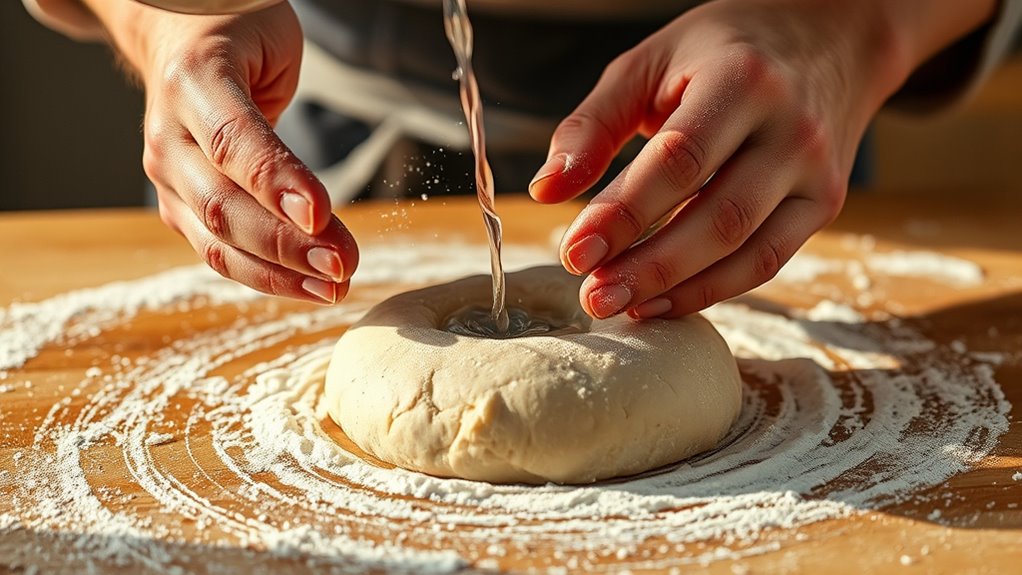
Incorporating water into your dough effectively is essential for achieving the right texture and gluten development. To maximize water absorption, add it gradually, allowing your dough to absorb moisture evenly. Begin by pouring about 75% of the water, then mix thoroughly before adding the remaining water as needed. This approach helps you monitor dough consistency and prevent overhydration. Use your hands or a dough hook to knead, ensuring the water is fully incorporated. Proper technique promotes uniform water distribution, resulting in better gluten formation and a cohesive dough. Keep an eye on dough consistency—aim for a slightly tacky, elastic texture without being sticky. This method ensures your dough develops the ideal hydration level for a successful bake. Additionally, understanding the importance of consistent messaging can help you refine your baking process and achieve professional results.
Adjusting Hydration for Different Baked Goods

Different flours absorb water differently, so you need to adjust your hydration levels accordingly. Some recipes require higher or lower water content to achieve the right dough consistency. Knowing the ideal hydration targets for each baked good helps you get consistent, professional results. Additionally, understanding proper organization in your baking process can help you better manage ingredient ratios and hydration levels for optimal outcomes.
Flour Type Variations
When working with various types of flour, adjusting hydration levels is essential for achieving the best dough consistency. Different flours have unique protein contents that influence gluten development and enzyme activity, impacting how much water you need. For example, whole wheat absorbs more water than bread flour, requiring increased hydration. Conversely, some gluten-free flours need less water to prevent a sticky mess. Understanding these variations helps you create the perfect texture, whether you’re making airy bread or tender pastries. By tailoring hydration, you maximize gluten development and enzyme activity, ensuring ideal dough strength and elasticity. Additionally, considering tire pressure on gravel roads can be analogous to adjusting hydration—both require fine-tuning for optimal performance.
- Feel the joy of perfect gluten formation
- Experience the satisfaction of flawless texture
- Master the art of ingredient harmony
- Achieve bakery-quality results every time
- Transform your baking confidence
Recipe Hydration Targets
Adjusting hydration levels is crucial because each baked good demands a specific dough consistency to achieve the best results. Many hydration myths suggest that higher hydration always makes bread better, but that’s not true—different recipes require different targets. For example, rustic bread often benefits from higher hydration for open crumb and flavor enhancement, while pastries need less water for tenderness. Knowing the ideal hydration targets helps you avoid overly sticky or dry doughs. It’s also essential to understand that proper hydration enhances flavor by improving fermentation and gluten development. To master this, start with recommended hydration percentages for your recipe type, then adjust based on dough feel and baking conditions. proper hydration ensures consistent, delicious baked goods tailored to each specific recipe. Fine-tuning hydration ensures consistent, delicious baked goods tailored to each specific recipe.
Troubleshooting Common Hydration Issues
Hydration issues can considerably impact the texture and structure of your baked goods, but many problems are easily fixable once you identify the cause. First, don’t fall for hydration myths that suggest adding too much water will always improve dough; balance is key. Use reliable hydration tools like a kitchen scale or measuring cups to ensure accuracy. Common problems include dough that’s too dry or too sticky. If your dough feels off, try adjusting hydration gradually rather than overhauling your recipe. Remember, each ingredient reacts differently, so trust your senses. Recognizing these signs helps you troubleshoot effectively and achieve perfect results every time. Additionally, understanding the hydration level of your dough can guide precise adjustments to improve consistency.
Experimenting and Refining Your Hydration Skills
Experimenting and refining your hydration skills is essential to mastering perfect dough consistency. Don’t fall for hydration myths that suggest one-size-fits-all solutions; every flour type and recipe demands a tailored approach. Use hydration tools like a scale for precise measurements and a dough calculator to track your ratios. Start by adjusting hydration gradually—adding small amounts of water and observing how your dough responds. Keep detailed notes on how different hydration levels affect texture, elasticity, and flavor. Over time, you’ll recognize patterns and develop intuition for when to tweak your process. Remember, hydration isn’t just about adding water; it’s about understanding how ingredients interact. Practice consistently, stay curious, and refine your technique based on your observations. Incorporating a shower into your routine can help relax and loosen dough muscles, making handling easier.
Frequently Asked Questions
How Does Humidity Affect Hydration Levels in Baking?
Humidity impact considerably influences hydration levels in baking. When humidity is high, moisture retention in your dough increases, making it easier to work with and resulting in softer baked goods. Conversely, low humidity causes moisture loss, so you might need to add slightly more water to achieve the right consistency. Adjusting your ingredients based on humidity helps maintain ideal hydration, ensuring your baked items turn out perfectly every time.
Can Hydration Techniques Vary With Different Baking Equipment?
Yes, hydration techniques can vary with different baking equipment. You should adjust your hydration measurement based on your tools, like using a stand mixer versus hand kneading. Hydration adjustment techniques include gradually adding water or adjusting flour amounts to achieve ideal dough consistency. Keep an eye on how your equipment interacts with the dough, ensuring peak hydration for the best texture and rise in your baked goods.
What Are Signs of Under-Hydrated or Over-Hydrated Dough?
You notice the dough’s texture, and suddenly, the truth reveals itself. If your dough feels stiff, dry, and resists shaping, it’s under-hydrated, lacking moisture. Conversely, if it’s overly sticky, slack, and struggles to hold its shape, it’s over-hydrated. Handling characteristics tell the story—under-hydrated dough is tough to work, while over-hydrated dough feels too loose. Mastering these signs helps you perfect hydration and achieve ideal baked results.
How Does Hydration Influence Dough Fermentation?
Hydration balance directly impacts dough fermentation by controlling how quickly yeast activates. Higher hydration speeds up fermentation, resulting in a more open crumb and airy texture. Conversely, lower hydration slows fermentation, producing a denser loaf. You should adjust hydration carefully, as too much can cause stickiness and over-fermentation, while too little hampers yeast activity. By managing hydration, you optimize fermentation speed for your desired bread characteristics.
Are There Hydration Tips for Gluten-Free Baking?
Imagine trying to bake a loaf with gluten-free flour and struggling with hydration challenges. To improve results, start by adding water gradually, as gluten-free flours absorb liquids differently. Use a wetter dough than with traditional flour, and let it rest longer to hydrate fully. This helps develop better texture and structure, making your baked goods more tender and cohesive despite the unique hydration needs of gluten-free flour.
Conclusion
By mastering hydration, you’ll open the secret ingredient that transforms good bread into great. Think of it as tending a delicate garden—you’ll need to nurture and adjust until everything blooms perfectly. Keep experimenting, stay curious, and don’t be afraid to get your hands a little messy. In just seven days, you’ll go from a beginner to a pro, creating baked goods that are as lively and vibrant as a well-watered garden in full bloom.