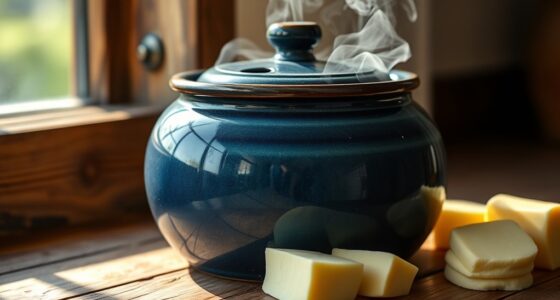
I’ve consistently had issues locating the ideal moisturizer for my dry skin, until I stumbled upon the miraculous benefits of whipped shea butter.
Did you know that shea butter is packed with vitamins and antioxidants that nourish and hydrate the skin?
In this article, I’ll guide you through the process of whipping shea butter to create a luxurious and creamy moisturizer.
With a few simple steps and the right ingredients, you’ll be able to achieve soft and smooth skin in no time.
Key Takeaways
- Choose high-quality, unrefined, and 100% pure shea butter.
- Melt the shea butter using a double boiler or microwave-safe container, being cautious to avoid overheating.
- Enhance the scent and benefits of shea butter by adding essential oils based on personal preferences and skin needs.
- Cool and solidify shea butter gradually and evenly in the refrigerator or freezer, controlling the temperature for the desired consistency.
Choosing the Right Shea Butter
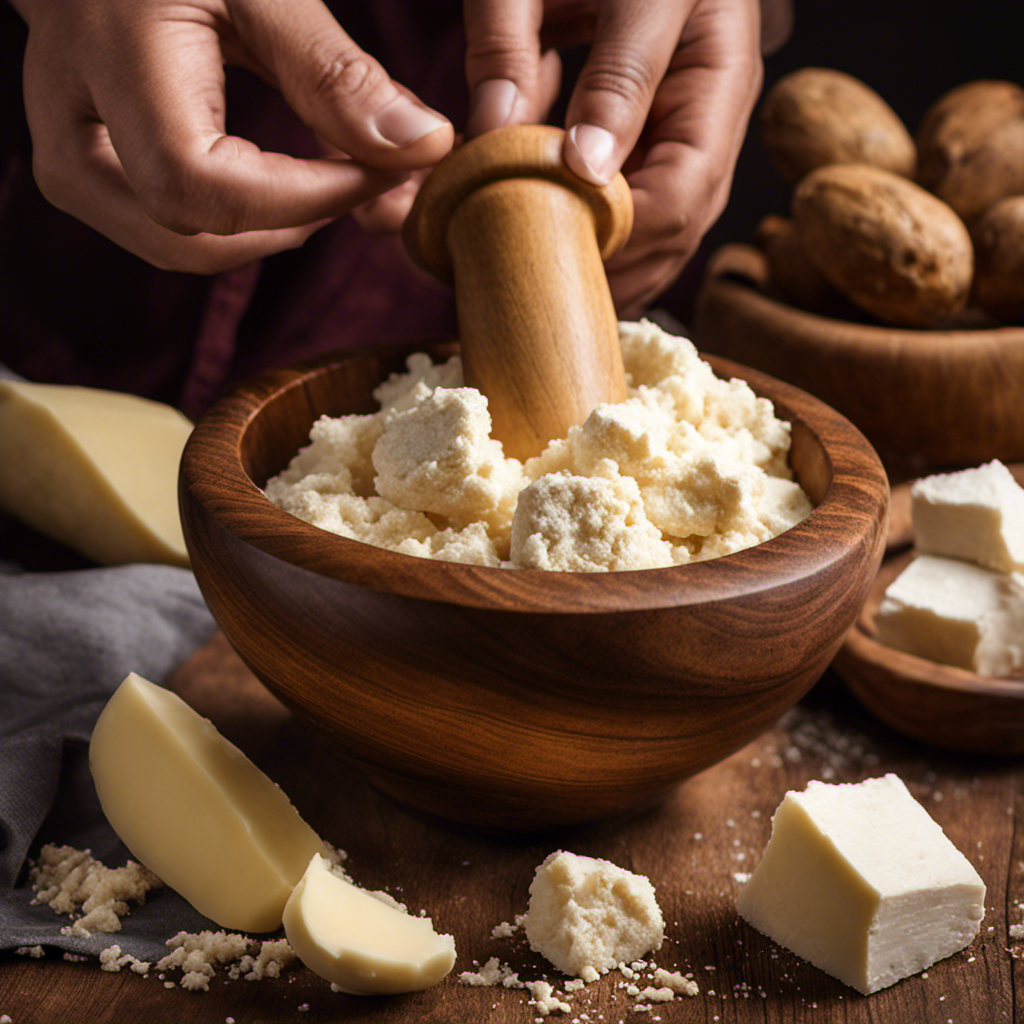
When choosing the right shea butter, it’s important to consider factors such as the quality and purity. The quality of shea butter can vary greatly, so it’s crucial to make an informed decision. Look for shea butter that is unrefined and organic, as these options tend to be of higher quality.
Unrefined shea butter retains more of its natural nutrients and benefits for the skin. Purity is also essential, as some shea butter products may contain additives or fillers that can diminish its effectiveness. To ensure you are purchasing a high-quality product, read the label carefully and opt for shea butter that is 100% pure.
Additionally, consider the purchasing options available to you. Look for reputable brands or sellers that specialize in natural and organic skincare products. Online platforms and health food stores often offer a wide range of choices for shea butter.
Preparing the Equipment
Before you can begin, gather all of the necessary equipment for preparing shea butter. Here are some tips for beginners and alternative equipment options you can consider:
-
Double boiler: This is the most common method used to melt the shea butter. It provides gentle and even heat distribution, preventing overheating or burning.
-
Microwave: If you don’t have a double boiler, you can also melt the shea butter in a microwave-safe container. However, be cautious and use short bursts of heat to avoid overheating.
-
Hand mixer or blender: Once the shea butter is melted, you can whip it to create a creamy texture. A hand mixer or blender can help you achieve the desired consistency quickly and efficiently.
Measuring and Melting the Shea Butter
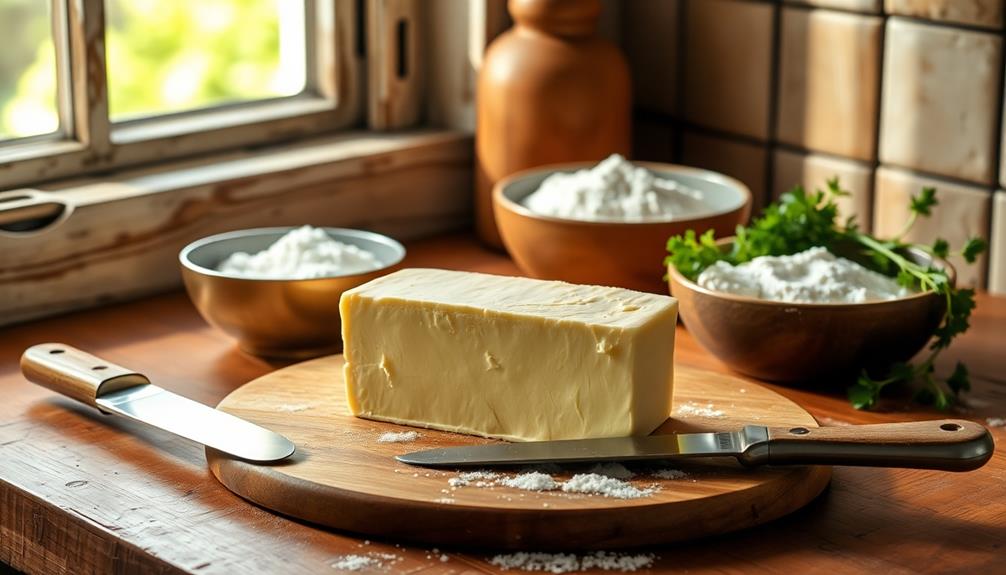
Once you’ve gathered all your equipment, you can start measuring and melting the shea butter.
Measuring the shea butter accurately is crucial to ensure the right consistency and effectiveness of your whipped shea butter. I recommend using a digital scale to measure the shea butter by weight, as this will give you the most precise measurements.
Start by placing a heat-safe container on the scale and zero it out. Then, carefully add the desired amount of shea butter, making sure to record the exact weight.
For melting the shea butter, you can use a double boiler method. Simply place the container with the shea butter in a larger pot filled with simmering water. Stir gently until the shea butter completely melts. Avoid overheating or direct heat, as it can alter the properties of the shea butter.
Following these measuring techniques and melting tips will ensure you have the perfect base for whipping your shea butter.
Adding Essential Oils or Other Ingredients
To enhance the scent and benefits of your whipped shea butter, you can add essential oils or other ingredients. Adding fragrance to your whipped shea butter not only makes it smell amazing, but it can also provide additional benefits for your skin. Here are three essential oils that you can incorporate into your whipped shea butter:
-
Lavender Essential Oil: Known for its calming and soothing properties, lavender essential oil can help promote relaxation and reduce stress. It also has anti-inflammatory properties, making it great for soothing irritated or sensitive skin.
-
Tea Tree Essential Oil: Tea tree essential oil is well-known for its antibacterial and antifungal properties. Adding a few drops to your whipped shea butter can help fight off acne-causing bacteria and keep your skin clear and healthy.
-
Frankincense Essential Oil: Frankincense essential oil has been used for centuries for its anti-aging properties. It can help reduce the appearance of fine lines and wrinkles, and promote a more youthful complexion.
Cooling and Solidifying the Shea Butter
When it comes to cooling and solidifying shea butter, there are several key points to consider.
First, it’s important to use the best cooling methods to ensure a smooth and consistent texture.
Second, quick solidification techniques can help speed up the process and save time.
Lastly, temperature considerations play a crucial role in maintaining the desired consistency and preventing the butter from becoming too hard or too soft.
Best Cooling Methods
For the best cooling methods, you can place your shea butter in the refrigerator or freezer to speed up the solidification process. This is a simple and effective way to control the temperature and ensure that your shea butter solidifies properly.
Here are three cooling techniques you can use:
-
Refrigerator: Place your shea butter in the refrigerator for a few hours. The cool temperature will help it solidify gradually and evenly.
-
Freezer: If you’re in a hurry, you can place your shea butter in the freezer for about 30 minutes. This will rapidly cool it down and solidify it faster.
-
Ice bath: Fill a larger bowl or sink with cold water and ice cubes. Place your container of shea butter in the ice bath and stir it occasionally. The cold water will help cool down the shea butter and speed up the solidification process.
By using these cooling techniques, you can ensure that your shea butter solidifies properly and is ready for the next step in the whipping process.
Now, let’s move on to the next section about quick solidification techniques.
Quick Solidification Techniques
Using the freezer is a fast and efficient way to solidify your shea butter. When it comes to quick cooling methods, the freezer is a top choice.
After whipping your shea butter to perfection, you want to maintain its light and fluffy texture. Freezing it helps to preserve this whipped consistency.
Here’s how you can do it: transfer your whipped shea butter into an airtight container, making sure to leave some space for expansion. Place the container in the freezer for about 30 minutes to an hour. Keep an eye on it to prevent over-freezing.
Once it has solidified, remove it from the freezer and let it sit at room temperature for a few minutes to soften slightly. Now, your whipped shea butter is ready to use, and it will maintain its airy texture.
Temperature Considerations for Shea Butter
To ensure the best quality, it’s important to consider the temperature of your shea butter. The role of temperature in shea butter production is crucial for maintaining its quality. Here are three key considerations when it comes to temperature:
-
Melting Point: Shea butter has a melting point between 89-100°F (32-38°C). It is important to heat it gently and slowly to avoid overheating and damaging its beneficial properties.
-
Cooling Process: After heating, allow the shea butter to cool slowly to room temperature. Rapid cooling can lead to graininess or uneven texture in the final product.
-
Storage Temperature: Once whipped, store shea butter in a cool, dry place away from direct sunlight. Extreme temperatures can affect its consistency and cause it to melt or become too firm.
By carefully controlling the temperature throughout the process, you can maintain the quality and effectiveness of your shea butter.
Now, let’s move on to preparing the mixing bowl and whisk.
Preparing the Mixing Bowl and Whisk
First, grab your mixing bowl and whisk so you can begin preparing them for whipping the shea butter. It’s essential to have the right tools and utensils to achieve the perfect whipped consistency.
Start by ensuring that the mixing bowl and whisk are clean and dry, as any moisture can affect the outcome. Additionally, make sure that the shea butter is at room temperature before beginning the process. This will make it easier to whip and prevent any clumps from forming. By controlling the temperature, you can ensure that the shea butter whips up smoothly and evenly.
Once the mixing bowl and whisk are ready, you can move on to the next step of the shea butter whipping process.
Starting the Whipping Process
When it comes to whipping shea butter, mastering the right techniques is crucial to achieving the desired consistency and texture.
In this discussion, I will delve into the various whipping techniques that can be employed, as well as the importance of consistency and texture in the final product.
Whipping Techniques
The key to achieving a fluffy texture with whipped shea butter is to use an electric mixer. This powerful tool helps to incorporate air into the butter, resulting in a light and creamy consistency. Here are some techniques to ensure the best results:
-
Choose the right whisk attachment: Opt for a balloon whisk attachment as it creates more volume and allows for better aeration.
-
Start on low speed: Begin the whipping process on a low speed to prevent the butter from splattering. Gradually increase the speed as the butter starts to thicken.
-
Whip until stiff peaks form: Keep whipping until stiff peaks form, similar to whipped cream. This indicates that the shea butter is fully whipped and ready to use.
Storage tips:
- Store whipped shea butter in an airtight container to prevent it from drying out.
- Keep it in a cool, dry place to maintain its fluffy texture.
- For longer shelf life, refrigerate the whipped shea butter, especially in warmer climates.
Consistency and Texture
To achieve a light and fluffy texture, make sure you incorporate enough air into your whipped mixture. This is crucial for achieving smoothness in your whipped shea butter.
When whipping, be sure to use a hand mixer or stand mixer on medium-high speed to introduce air into the mixture. Whip for about 5-10 minutes until the shea butter becomes light and creamy. This will give it a smooth and luxurious texture that is perfect for spreading on your skin.
Additionally, it is important to consider maintaining the shelf life of your whipped shea butter. To do this, store it in an airtight container and keep it in a cool, dry place away from direct sunlight. This will help prevent the butter from melting or becoming rancid, ensuring it stays fresh for longer periods of time.
Achieving the Right Consistency
Mixing the shea butter long enough will help you achieve the right consistency. To ensure a smooth texture, follow these best mixing techniques:
-
Soften the shea butter: Warm the shea butter slightly by placing the container in a bowl of warm water. This will make it easier to mix and achieve a smoother consistency.
-
Use a hand mixer: An electric hand mixer is the best tool for whipping shea butter. Start at a low speed and gradually increase to high speed. Mix for about 5-10 minutes or until the butter becomes light and fluffy.
-
Add carrier oils: To enhance the texture and moisturizing properties, add a few drops of carrier oils like jojoba, coconut, or almond oil. Mix again to incorporate the oils evenly.
Storing and Preserving Whipped Shea Butter
Now that you’ve achieved the perfect consistency for your whipped shea butter, it’s important to know how to store and preserve it to maintain its quality and maximize its shelf life.
There are several methods you can use to ensure your whipped shea butter stays fresh for as long as possible.
Firstly, transfer the whipped shea butter into an airtight container. This will help prevent air and moisture from getting in and causing the butter to spoil. Glass jars or plastic containers with tight-fitting lids work well for this purpose.
Secondly, keep the whipped shea butter in a cool and dry place, away from direct sunlight and excessive heat. Heat can cause the butter to melt and lose its whipped texture, while sunlight can degrade its quality.
Lastly, consider adding natural preservatives such as vitamin E oil or essential oils with antimicrobial properties. These can help extend the shelf life of your whipped shea butter by inhibiting the growth of bacteria or fungi.
Creative Ways to Use Whipped Shea Butter
I’ve discovered some amazing alternative uses for whipped shea butter that go beyond just moisturizing the skin.
Not only does whipped shea butter provide deep hydration, but it can also be used as a hair mask to nourish and strengthen the hair.
Additionally, the rich texture of whipped shea butter makes it a perfect natural lip balm and cuticle treatment.
Trust me, these alternative uses will leave you with healthy and glowing skin, hair, and nails.
Alternative Uses for Whipped Shea Butter
There are various alternative uses for whipped shea butter that can provide multiple benefits for your skin and hair. Here are three creative ways to utilize whipped shea butter:
-
DIY Skincare Recipes: Whipped shea butter can be used as a base ingredient in many homemade skincare recipes. You can create your own body butter by mixing whipped shea butter with essential oils like lavender or coconut oil. This homemade body butter will nourish and moisturize your skin, leaving it soft and smooth.
-
Hair Mask: Whipped shea butter can also be used as a hair mask to nourish and hydrate your hair. Simply apply a generous amount of whipped shea butter to your hair, focusing on the ends. Leave it on for 30 minutes to an hour, then rinse it out. This will help repair damaged hair and promote healthy hair growth.
-
Creative Packaging Ideas: If you’re looking for a unique way to present whipped shea butter as a gift or to sell, consider using creative packaging ideas. You can put the whipped shea butter in small jars and decorate them with ribbons or labels. This adds a personal touch and makes the whipped shea butter even more appealing.
Benefits of Whipped Shea Butter
Using whipped shea butter can help moisturize and nourish your skin, leaving it soft and smooth. However, the benefits of whipped shea butter extend beyond just skincare. This versatile product has alternative uses that can benefit your hair and even your nails.
When it comes to temperature, it’s important to consider a few tips. Whipped shea butter tends to melt in warm temperatures, so store it in a cool place to maintain its creamy texture. If it does melt, simply refrigerate it until it solidifies again. On the other hand, if the shea butter is too cold, it may be difficult to scoop out and apply. To warm it up, rub a small amount between your palms or leave it in a warm room for a few minutes.
These temperature tips will ensure that you can enjoy the full benefits of whipped shea butter in any climate.
Troubleshooting Common Issues
If you’re experiencing any issues while whipping shea butter, try adjusting the mixer speed. Here are some troubleshooting tips to help you with common problems:
-
Graininess: If your whipped shea butter has a grainy texture, it could be due to improper storage. Make sure to store your shea butter in a cool, dry place to prevent moisture absorption, which can lead to graininess. If your shea butter is already grainy, try melting it down and then allowing it to cool slowly before whipping. This can help to smooth out the texture.
-
Lack of Fluffiness: If your shea butter isn’t becoming fluffy despite whipping it for a long time, it could be because the temperature is too high. Shea butter melts easily, so make sure to keep it at a cool temperature before whipping. You can also try adding a small amount of a liquid oil, such as jojoba oil, to help increase the fluffiness.
-
Air Bubbles: If your whipped shea butter has too many air bubbles, it may not be properly mixed. Adjust the mixer speed to a slower setting and mix for a longer period of time to ensure that all the ingredients are well incorporated.
Frequently Asked Questions
How Long Does It Take for Whipped Shea Butter to Solidify?
It usually takes about 2-3 hours for whipped shea butter to solidify. To store it, keep it in an airtight container in a cool, dark place. You can use whipped shea butter as a moisturizer, hair conditioner, or even in DIY beauty recipes.
Can I Use Whipped Shea Butter as a Moisturizer for My Face?
Yes, whipped shea butter can be used as a moisturizer for the face. It has numerous benefits like deeply hydrating the skin, reducing inflammation, and providing essential vitamins. However, there are also alternative face moisturizers available.
What Is the Shelf Life of Whipped Shea Butter?
The shelf life of whipped shea butter depends on various factors like storage conditions and the presence of preservatives. However, using it within 6-12 months ensures maximum freshness and benefits for your skin.
Can I Add Color to Whipped Shea Butter?
Yes, you can add color to whipped shea butter by using natural colorants like mica or powdered herbs. However, it’s important to note that the main benefit of using whipped shea butter on hair lies in its moisturizing and nourishing properties.
Can I Use a Blender Instead of a Whisk to Whip Shea Butter?
Yes, you can use a blender instead of a whisk to whip shea butter. It’s an alternative method that can be quicker and more efficient. Simply blend the shea butter on low speed until it reaches a creamy consistency.
Conclusion
In conclusion, whipping shea butter is like transforming a raw ingredient into a creamy dream. It symbolizes the power of self-care and the beauty that lies within simplicity.
By taking the time to whip shea butter, we are not only creating a luxurious skincare product, but also indulging in a ritual of self-love. Its silky texture and nourishing properties remind us to be gentle with ourselves, to prioritize our well-being, and to find joy in the little things.
So go ahead, whip that shea butter and let it be a reminder of the beauty that lies within you.
