I have found the key to effortlessly making magical butter with the brand new Magic Butter Maker 2.
This incredible device takes your culinary creations to the next level, infusing flavors and enhancing dishes like never before.
In this article, I will guide you through the unpacking, setup, and step-by-step process of making magic butter.
Get ready to unlock a whole new world of culinary possibilities with the Magic Butter Maker 2.
Let’s dive in and create some culinary magic together!
Key Takeaways
- The Magic Butter Maker 2 is a versatile machine that can be used to make herbal butters, oils, tinctures, and lotions.
- Proper ingredient measurements and preparation techniques are important for achieving desired potency and consistency.
- Following recommended time and temperature settings is crucial for optimal infusion results.
- The Magic Butter Maker 2 can be used to make a variety of infusions, including lotions, balms, syrups, and flavored extracts.

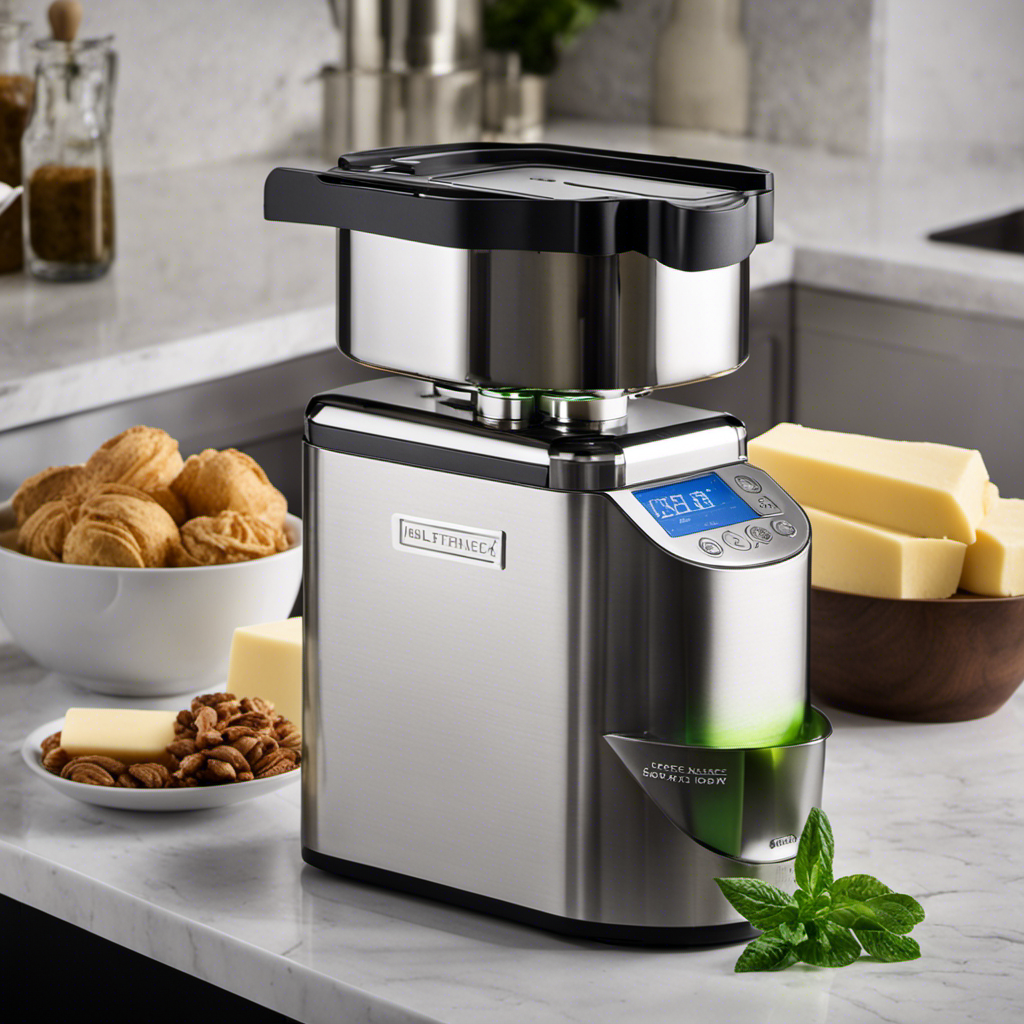
IFOLO Electric Butter Churn – One-Touch Butter Maker in 5–10 Mins, 34oz Glass Jar with High-Speed Brushless Motor, High-Speed Mixing for Creamy Results
- Effortless One-Touch Operation: Whips up butter with a single press
- Fast Butter Production: Creates butter in 5–10 minutes
- High-Speed Mixing Technology: Transforms cream quickly and efficiently
As an affiliate, we earn on qualifying purchases.
Unpacking and Setting Up the Magic Butter Maker 2
Now it’s time to unpack and set up your Magic Butter Maker 2.
The unpacking process is fairly straightforward. When you open the box, you will find the Magic Butter Maker 2 nestled securely inside along with a user manual and a power cord. Make sure to remove all packaging materials and discard them responsibly.
To set up the machine, begin by finding a clean and level surface in your kitchen. Place the Magic Butter Maker 2 on this surface and plug in the power cord.
You will notice a power button at the top of the machine. Press this button to turn on the Magic Butter Maker 2 and it will be ready for use.
Understanding the Functions and Features of the Magic Butter Maker 2
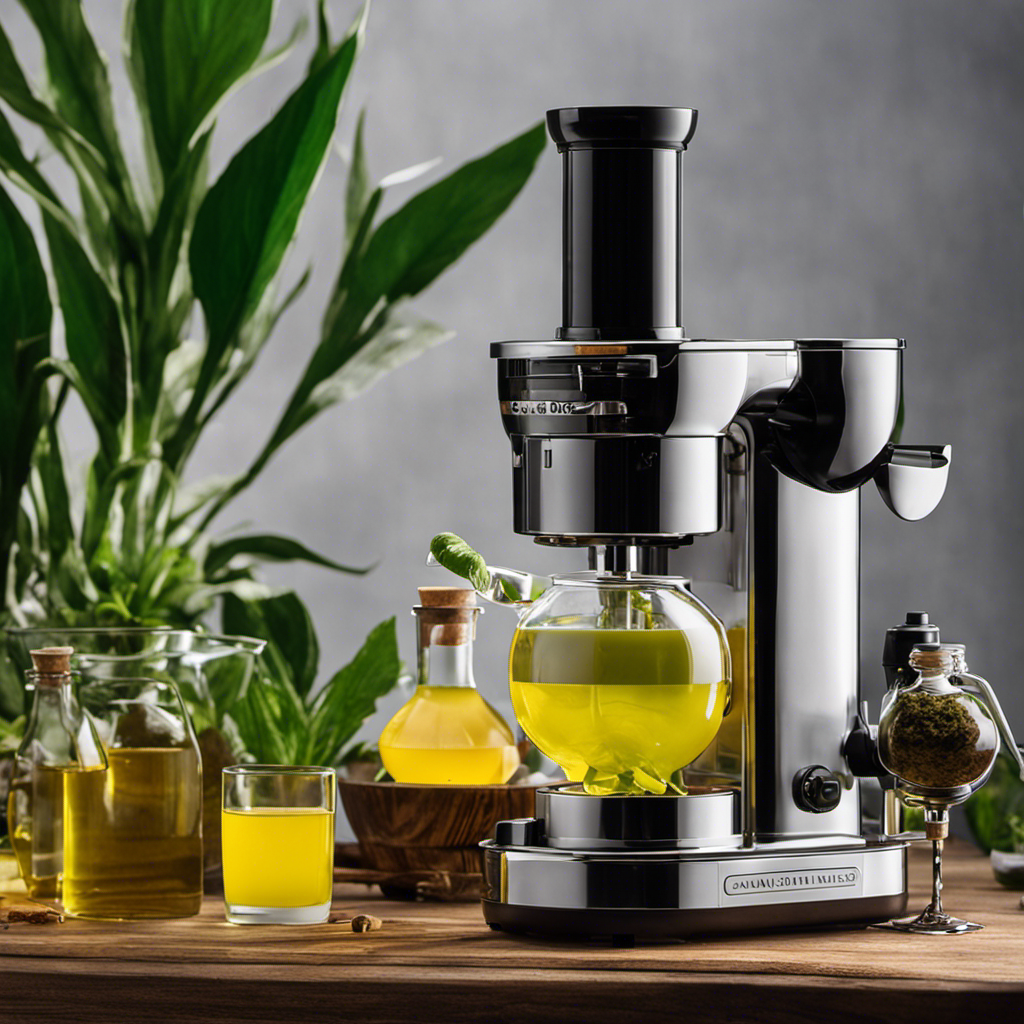
First, you’ll want to familiarize yourself with the various functions and features of this incredible kitchen device. The Magic Butter Maker 2 is designed to make infusions using a simple and efficient process.
When choosing the right ingredients, it’s important to consider the flavor profile you want to achieve. Whether you’re making herbal butters, oils, tinctures, or lotions, selecting high-quality ingredients will result in the best end product.
Understanding the infusion process is key to achieving optimal results. The Magic Butter Maker 2 uses a combination of heat and agitation to extract the desired compounds from the ingredients. By following the recommended time and temperature settings, you can ensure that your infusions are potent and evenly distributed.
With its user-friendly interface and versatile functionality, the Magic Butter Maker 2 is a must-have tool for any kitchen enthusiast.
Preparing Ingredients for Magic Butter Making
When it comes to preparing ingredients for magic butter making, there are three key points to consider: choosing the right herbs, proper ingredient measurements, and optimal infusion techniques.
Choosing the right herbs is crucial as different herbs will impart different flavors and effects to your butter.
Proper ingredient measurements ensure that you achieve the desired potency and consistency in your final product.
Choosing the Right Herbs
To ensure the best results, it’s important to choose the right herbs when using the Magic Butter Maker 2. Herb selection plays a crucial role in achieving the desired flavor infusion in your butter.
When choosing herbs, consider their potency and compatibility with the other ingredients. Popular choices include rosemary, thyme, basil, and sage. These herbs add depth and complexity to your butter, enhancing its overall taste.
To infuse the flavors effectively, it’s recommended to use fresh herbs rather than dried ones. Fresh herbs have a more vibrant flavor and aroma, resulting in a more delicious and aromatic butter.
Experiment with different herb combinations to find your favorite flavor profiles. Remember, the key to successful herb selection is to match the herbs with your personal taste preferences and the dishes you plan to use the butter in.
Proper Ingredient Measurements
For accurate and consistent results, it’s crucial to measure your ingredients properly when using the MBM2. Choosing the right ingredients is the first step towards a successful infusion. Here are some tips for measuring your ingredients effectively:
- Use a digital scale: Measuring by weight is the most accurate method and ensures precise ratios.
- Spoon and level dry ingredients: When measuring flour or sugar, use a spoon to scoop the ingredient into the measuring cup and level it off with a straight edge.
- Use liquid measuring cups for liquids: Pour the liquid into the cup and read the measurement at eye level for accuracy.
- Use measuring spoons for small amounts: When dealing with small quantities of ingredients like spices or extracts, use measuring spoons for precise measurements.
By following these measuring techniques, you’ll be able to achieve consistent and delicious results with your MBM2.
Now, let’s move on to the next section about optimal infusion techniques.
Optimal Infusion Techniques
Now that I’ve mastered the proper ingredient measurements, let’s dive into the optimal infusion techniques for achieving the best results with my MBM2.
When it comes to herb infusion, dosage accuracy is key. To ensure precise dosing, I recommend using a digital scale to weigh your herbs before adding them to the MBM2. This will help you achieve consistent results every time.
Another important technique is to finely grind your herbs, as this increases the surface area and allows for better extraction of the desired compounds.
Additionally, I suggest using a higher fat content when infusing, as fats help to absorb and carry the active compounds in the herbs.
Lastly, be sure to follow the recommended temperature and time settings for your desired infusion, as this will further enhance the potency and flavor of your creations.
Step-By-Step Guide to Making Magic Butter With the Magic Butter Maker 2
First, you’ll want to gather all the necessary ingredients for making magic butter with the Magic Butter Maker 2. Here’s a step-by-step guide to help you achieve the perfect infusion:
-
Choose the right appliance:
The Magic Butter Maker 2 is a versatile and user-friendly device specifically designed for infusing butter and oils with herbs and botanicals. Its precise temperature controls ensure optimal infusion results every time. -
Alternative infusion methods:
If you don’t have access to the Magic Butter Maker 2, you can still make magic butter using alternative methods such as the stovetop or slow cooker. These methods require more manual monitoring and adjustments, but they can still yield excellent results.
Infusing Flavors Into Magic Butter With the Magic Butter Maker 2
The Magic Butter Maker 2 allows you to effortlessly infuse flavors into your magic butter. When it comes to choosing herbs for infusion, the possibilities are endless. You can go for classic choices like rosemary, thyme, or basil, or be adventurous and try out unique combinations like lavender and lemon zest. The key is to select herbs that complement the taste of your butter and enhance its flavor profile.
As for infusion techniques, the Magic Butter Maker 2 offers multiple options. You can choose to infuse your butter using the traditional method of heating and steeping, or you can opt for the quicker and more efficient method of using the machine’s extraction feature. Whichever technique you choose, the Magic Butter Maker 2 ensures that your magic butter is infused with rich and aromatic flavors.
Tips and Tricks for Achieving the Perfect Magic Butter Consistency
For achieving the perfect consistency of your magic butter, it’s helpful to experiment with different ratios of ingredients. The right balance of butter and herbs can make all the difference in the texture and potency of your final product.
Here are some tips and tricks to help you achieve that perfect magic butter consistency:
-
Choosing utensils:
-
Use a high-quality blender or food processor to ensure a smooth and creamy texture.
-
Consider using a silicone spatula to scrape down the sides of the blender or food processor to ensure all the ingredients are well combined.
-
Storing leftovers:
-
Transfer your magic butter to an airtight container and store it in the refrigerator to maintain its freshness.
-
You can also freeze your magic butter in individual portions using ice cube trays for easy portioning and long-term storage.
Cleaning and Maintaining the Magic Butter Maker 2
To keep your Magic Butter Maker 2 clean and in good working condition, follow these tips:
- Regularly wipe down the exterior with a damp cloth to remove surface dirt or residue.
- Disassemble the removable parts and wash them thoroughly with warm, soapy water.
- Dry the parts completely before reassembling.
- Use a soft brush for stubborn residue, avoiding harsh abrasives or chemicals.
- Periodically check the blades and ensure they are clean and free of debris.
- Store the Magic Butter Maker 2 in a cool, dry place when not in use to prevent potential damage.
Troubleshooting Common Issues With the Magic Butter Maker 2
If you’re experiencing any issues with your Magic Butter Maker 2, a helpful troubleshooting step is to check if the power cord is properly plugged in. Sometimes, a loose connection can cause power issues and prevent the machine from functioning properly.
Here are some other troubleshooting tips to fix common problems with the Magic Butter Maker 2:
-
Power Issues:
-
Ensure the power outlet is working by plugging in another device.
-
Check if the power switch on the Magic Butter Maker 2 is turned on.
-
Fixing Leaks:
-
Inspect the silicone gasket for any damages or misalignments.
-
Make sure the lid is securely closed and tightened.
Exploring Alternative Uses for the Magic Butter Maker 2
After troubleshooting common issues with the Magic Butter Maker 2, I’m excited to delve into exploring alternative uses for this incredible kitchen gadget. While it’s primarily known for creating infused butter and oils, the possibilities are endless when it comes to creative recipes you can make using this device.
One alternative use for the Magic Butter Maker 2 is crafting homemade lotions and balms. By infusing oils with herbs or essential oils, you can create soothing and nourishing skincare products. Another option is using the machine to make infused syrups for cocktails or flavored extracts for baking. Imagine the unique flavors you can create!
Additionally, the Magic Butter Maker 2 can be used to create infused honey, infused cooking oils, and even tinctures for medicinal purposes. The versatility of this machine opens up a world of possibilities for experimenting with different ingredients and flavors.
Storing and Preserving Magic Butter Made With the Magic Butter Maker 2
When it comes to storing and preserving the magic butter made with the Magic Butter Maker 2, there are several long-term storage options to consider.
One of the best preservation methods is using airtight containers to minimize exposure to air and moisture.
Vacuum sealing is another effective way to extend the shelf life of the magic butter, as it removes all the air from the container.
Additionally, storing the butter in a cool, dark place will help maintain its potency and flavor over time.
Long-Term Storage Options
To keep your infused butter fresh for longer, you’ll want to store it in an airtight container. This will help preserve its flavor and potency.
Here are the best storage containers for long-term storage of your infused butter:
-
Mason jars: These glass jars with airtight lids are a popular choice for storing infused butter. They are durable, easy to clean, and can keep your butter fresh for a long time.
-
Silicone containers: Silicone containers are another great option for storing infused butter. They are non-stick, easy to use, and can be stored in the freezer without any issues.
When choosing a storage container for your infused butter, make sure it is made of a material that is safe for food storage. Additionally, always store your infused butter in a cool, dark place to maximize its shelf life.
Best Preservation Methods
The best way to ensure the longevity of your infused butter is by storing it in an airtight container. This will help to maintain its freshness and prevent it from absorbing any unwanted odors or flavors from your fridge.
Another great preservation method is to freeze your infused butter. Freezing it in small portions will not only make it easier to thaw when needed, but it will also extend its shelf life for up to six months.
If you prefer alternative storage options, you can also consider using silicone molds or ice cube trays to create individual portions of infused butter. Once frozen, you can transfer them into a freezer bag for convenient storage.
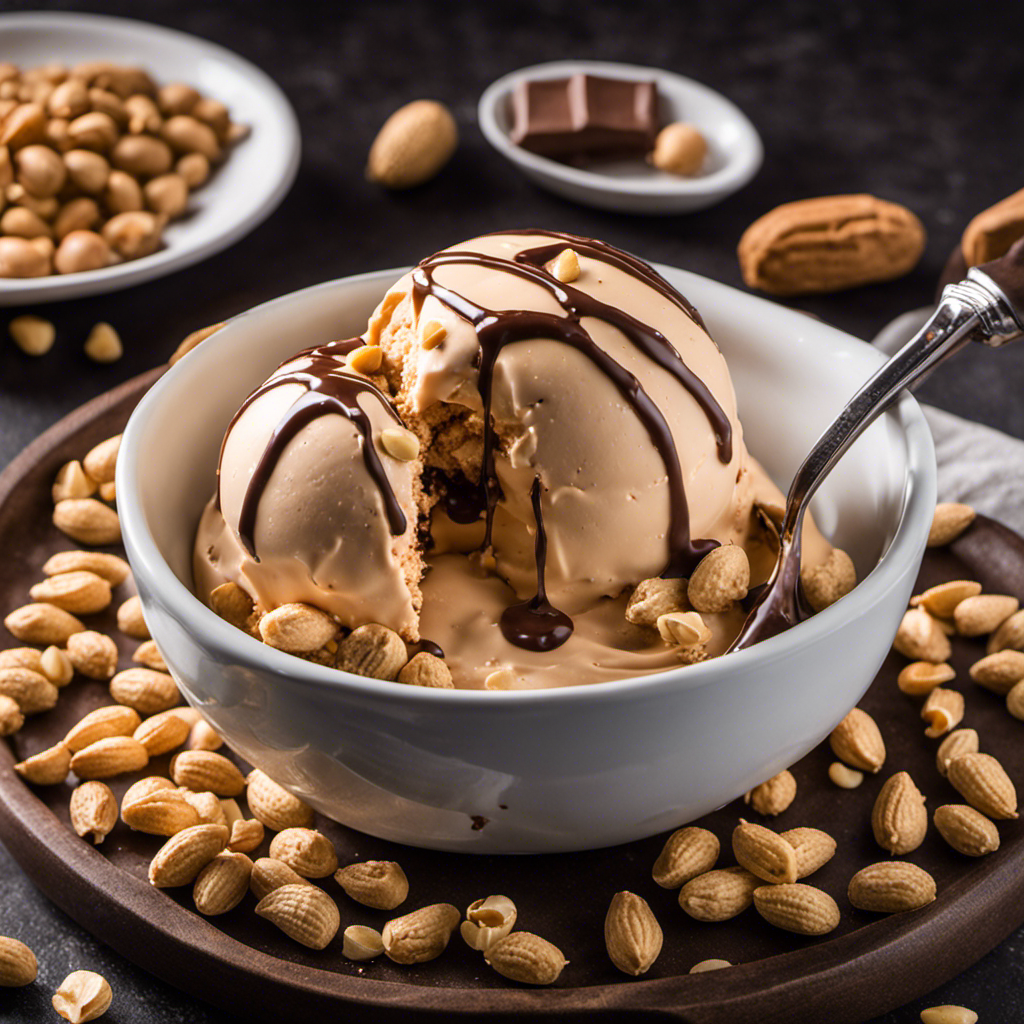
Enhancing Your Culinary Creations With Magic Butter Made From the Magic Butter Maker 2
Get ready to elevate your culinary creations with the magic butter made from the Magic Butter Maker 2. This innovative machine allows you to infuse butter with different flavors, opening up a world of possibilities in the kitchen.
Here are some tips to help you make the most of your magic butter:
-
Choose the right tools:
-
Use high-quality butter for the best results.
-
Invest in a digital thermometer to ensure precise temperature control.
-
Experiment with different flavors:
-
Add herbs like thyme, rosemary, or basil for a savory twist.
-
Try spices like cinnamon or nutmeg to enhance sweet dishes.
Frequently Asked Questions
Can the Magic Butter Maker 2 Be Used for Making Non-Dairy Butter Alternatives?
Yes, the Magic Butter Maker 2 can be used to make non-dairy butter alternatives. It offers a variety of options for creating vegan butter, allowing you to enjoy delicious, plant-based spreads.
How Long Does It Take to Make Magic Butter Using the Magic Butter Maker 2?
To speed up making magic butter with the Magic Butter Maker 2, I recommend using clarified butter or ghee instead of regular butter. This will reduce the cooking time and enhance the flavor.
Can I Use Fresh Herbs Instead of Dried Herbs When Infusing Flavors Into the Magic Butter?
Using fresh herbs in the Magic Butter Maker 2 has its pros and cons. Fresh herbs add vibrant flavors, but may also introduce moisture. To infuse fresh herbs into butter, ensure they are dry and finely chopped.
Is It Safe to Leave the Magic Butter Maker 2 Unattended While It’s Operating?
Yes, it is safe to leave the Magic Butter Maker 2 unattended while it’s operating. However, it’s always a good idea to follow safety precautions and consider alternatives such as setting a timer or using a smart plug for added peace of mind.
Can I Use the Magic Butter Maker 2 for Infusing Flavors Into Oils Other Than Butter?
Yes, you can use the Magic Butter Maker 2 for flavor infusion techniques with alternative oil options. It’s a great way to enhance the taste of your oils and experiment with different flavors.
Conclusion
After exploring the ins and outs of the Magic Butter Maker 2, I can confidently say that this device is a game-changer in the kitchen.
With its user-friendly setup and impressive range of functions, it’s easy to see why it’s become a must-have for culinary enthusiasts.
From infusing flavors into butter to troubleshooting common issues, this machine has it all.
But what truly sets it apart is its ability to elevate your culinary creations with its magical butter.
So, if you’re ready to take your cooking to the next level, the Magic Butter Maker 2 is the secret ingredient you’ve been waiting for.
Get ready to experience a whole new world of flavor and creativity in the kitchen.