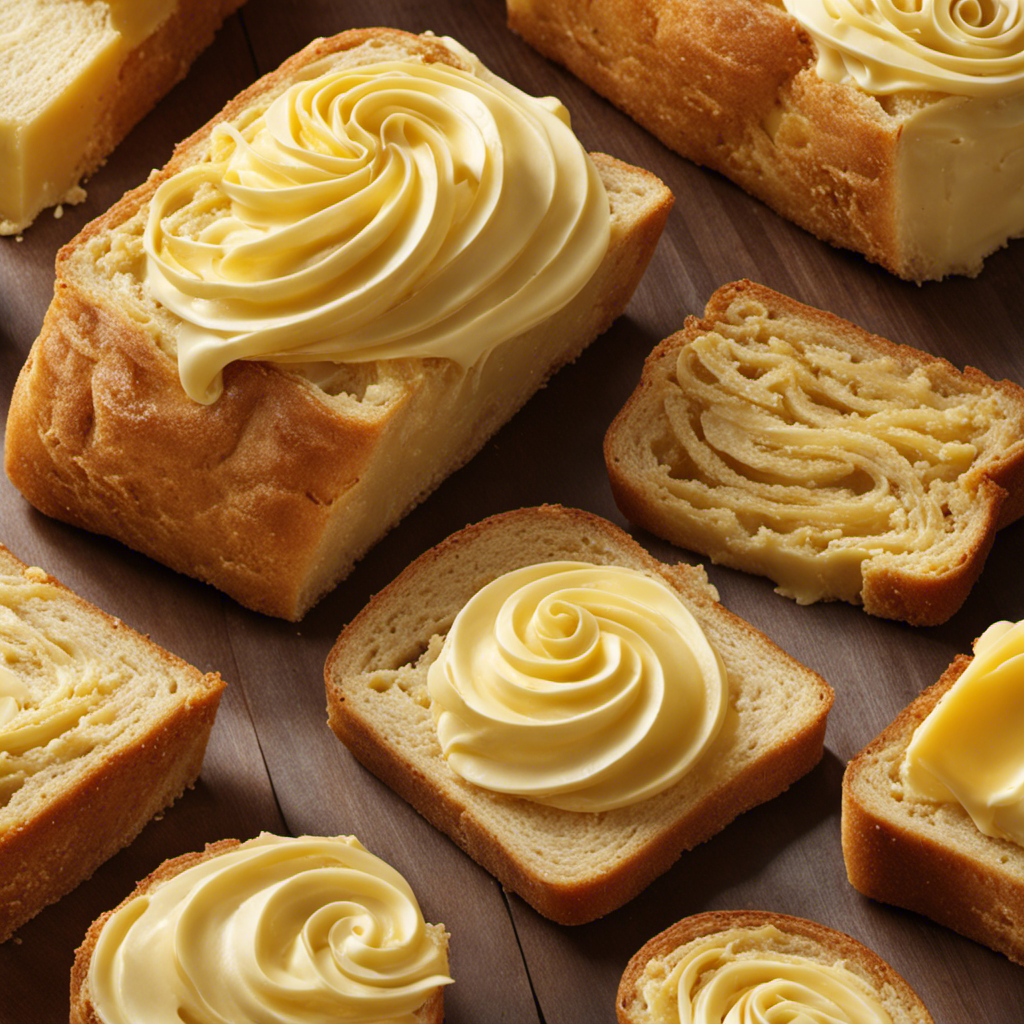
I have a delicious secret to let you in on. The ability to soften a stick of butter is a crucial culinary skill, simplifying the process of spreading it and blending it into your beloved dishes. But fret not, it’s as easy as pie!
In this article, I’ll guide you through a variety of methods, from the traditional room temperature approach to quick and easy microwave tricks. So grab your apron and let’s dive into the wonderful world of butter softening!
Key Takeaways
- Softening butter is important for easier incorporation into recipes.
- The right consistency of softened butter allows for smoother texture and better emulsification.
- Softened butter traps air during the creaming process, resulting in lighter baked goods.
- There are various methods for softening butter, including room temperature, microwave, freezing and grating, and using a butter dish.
Why Softening Butter Is Important
Softening butter is important because it makes it easier to incorporate into recipes. When baking, using softened butter has several benefits.
Firstly, it blends more easily with other ingredients, resulting in a smoother and more even texture in the final product.
Secondly, it helps to trap air during the creaming process, which contributes to a lighter and fluffier baked good.
Lastly, softened butter allows for better emulsification, ensuring that the fats and liquids in the recipe are properly combined.
If you need to soften butter quickly without a microwave, there are a few tips you can try. One method is to grate the cold butter using a cheese grater, which increases its surface area and promotes faster softening.
Another option is to place the butter between two sheets of parchment paper and gently pound it with a rolling pin until it becomes pliable.
The Different Methods for Softening Butter
When it comes to softening butter, there are several methods to choose from.
One popular option is to let the butter sit at room temperature until it reaches the desired consistency.
Another quick and convenient method is to use a microwave, but caution must be taken to avoid melting the butter.
For those who prefer to plan ahead, freezing the butter and then grating it can be a useful technique.
Additionally, there is the option of using a butter dish specifically designed to keep butter at a spreadable consistency.
Each method has its pros and cons, so it’s important to choose the one that best suits your needs and preferences.
Room Temperature Vs. Microwave
To quickly soften a stick of butter, you can use the microwave or let it sit at room temperature.
The microwave method is the fastest way to soften butter. Simply place the unwrapped butter on a microwave-safe plate and heat it for 5 to 10 seconds on low power. Be careful not to melt the butter completely, as it can affect the texture of your baked goods.
On the other hand, softening butter naturally at room temperature takes a bit longer, but it allows the butter to maintain its structure and consistency. Just leave the wrapped butter on the counter for about 30 minutes to an hour, depending on the temperature of your kitchen.
This method is ideal for recipes that require creaming the butter with sugar.
Freezing and Grating
If you’re in a hurry, the fastest way to have spreadable butter is by freezing it and then grating it onto your toast. This technique is perfect for those mornings when you forgot to take the butter out of the fridge ahead of time. Freezing the butter solidifies it, making it easier to grate.
Here are some alternative butter softening techniques to consider:
-
Using a butter bell: A butter bell is a small dish that holds a stick of butter upside down in water, keeping it soft and spreadable.
-
Using a warm glass: Place a warm glass upside down over the stick of butter and let it sit for a few minutes. The warmth from the glass will soften the butter.
-
Using a rolling pin: Place a stick of butter between two sheets of parchment paper and roll it with a rolling pin until it becomes soft and pliable.
-
Using a microwave on low power: Cut the stick of butter into small pieces and microwave it on low power for short bursts, checking and stirring frequently until it softens.
Using a Butter Dish
One option you might consider is using a butter dish to keep your butter soft and spreadable. A butter dish is a container specifically designed to store and soften butter at room temperature.
The benefits of using a butter dish include easy access to soft butter whenever you need it. It also eliminates the need for constant refrigeration, which can be inconvenient when you want to spread butter on bread or toast.
However, there are a few drawbacks to using a butter dish. The butter may become rancid if left out for too long, and it can also collect dust or other contaminants if not covered properly.
Alternatively, you can use other methods to soften butter, such as grating or microwaving it for a few seconds.
Room Temperature: The Traditional Approach
You can soften a stick of butter by leaving it at room temperature for a few hours. This traditional approach is a simple and effective way to achieve the perfect softness for your butter. Here are some key points to consider when using the room temperature method:
-
Room temperature vs. fridge: Butter stored in the fridge is hard, making it difficult to spread. By allowing it to come to room temperature, the butter becomes softer and more spreadable.
-
Consistency: Leaving the butter at room temperature for a few hours ensures that it softens evenly throughout, making it easier to incorporate into recipes.
-
Time: Depending on the temperature of your room, it may take anywhere from 1 to 3 hours for the butter to reach the desired softness.
-
Precautions: Make sure to store the butter in a covered dish or container to prevent any contamination.
Transitioning to the next section, another quick and easy method to soften butter is by using the microwave.
The Microwave Method: Quick and Easy
Microwaving butter can be a safe and efficient way to soften it quickly. By using short bursts of low power and checking the butter frequently, you can avoid the risk of melting it completely.
This method not only saves time, but also ensures that the softened butter has a consistent texture for easy spreading and mixing in recipes.
Microwaving Butter Safely
To safely microwave butter, start by placing it in a microwave-safe dish. It is important to follow microwave safety guidelines to prevent any accidents or damage to the butter. Here are some tips to ensure a safe and successful microwaving process:
-
Use a microwave-safe dish: Choose a dish that is specifically labeled as microwave-safe. This will ensure that the dish can withstand the heat generated by the microwave without melting or releasing harmful chemicals.
-
Cover the dish: To prevent the butter from splattering, cover the dish with a microwave-safe lid or a microwave-safe plastic wrap.
-
Microwave in short intervals: Instead of microwaving the butter for a long period of time, microwave it in short 10-second intervals. This will help prevent the butter from melting too quickly.
-
Check the butter frequently: Stop the microwave and check the butter every 10 seconds to see if it has softened to your desired consistency. This will prevent the butter from melting completely.
Time-Saving Butter Softening
If you’re short on time, try using a microwave-safe dish to quickly warm up your cold butter. This is one of the best time-saving tips for softening butter in a hurry.
But if you’re looking for alternative techniques, there are a few other methods you can try. One option is to grate the cold butter using a cheese grater, which helps it soften faster due to increased surface area.
Another technique is to place the butter between two sheets of parchment paper and roll it out with a rolling pin. This helps to evenly distribute the warmth and soften the butter more quickly.
These alternative techniques can be a lifesaver when you’re in a rush but still need softened butter for your recipe.
Speaking of softened butter, let’s now dive into the importance of consistency when it comes to butter softening.
Transitioning into the subsequent section about ‘consistency of softened butter’, it’s crucial to know that achieving the right consistency is key to successful baking.
Consistency of Softened Butter
Achieving the perfect consistency for your butter is essential for successful baking. The right consistency allows the butter to blend smoothly with other ingredients, ensuring a tender and moist end product. To achieve this, it is important to understand the softening temperature of butter.
Butter should be softened to around 65°F (18°C) for best results. Here are four methods for achieving the desired consistency:
-
Leave it at room temperature: Allow the butter to sit at room temperature for about 30 minutes, or until it feels slightly soft to the touch.
-
Microwave method: Place the butter in a microwave-safe bowl and heat it in short bursts of 10-15 seconds, checking and stirring in between until it reaches the desired consistency.
-
Grating method: Grate cold butter using a cheese grater and let it sit at room temperature until softened.
-
Slice and pound method: Cut the cold butter into small slices and then use a rolling pin or meat tenderizer to pound it until softened.
The Water Bath Method: Gentle and Effective
The water bath method is a gentle and effective way to soften a stick of butter. This method involves placing the stick of butter in a heatproof bowl and then placing that bowl in a larger bowl filled with warm water. The warm water gently warms the butter, causing it to soften without melting.
This technique is great for when you need softened butter for baking or spreading on toast. It is much gentler than using a microwave, which can easily overheat and melt the butter.
Other methods for softening butter include leaving it out at room temperature, using a grater to shred it, or using a rolling pin to pound it. However, the water bath method is often the preferred choice due to its gentle and effective results.
Now, let’s move on to another foolproof technique for softening butter: the oven method.
Softening Butter in the Oven: A Foolproof Technique
When it comes to softening butter quickly and efficiently, there are alternative techniques that can be just as effective as the water bath method.
One such technique is softening butter in the oven, which guarantees a foolproof result every time.
In this discussion, I will explore the steps and benefits of this quick and efficient method, offering an alternative approach to achieving perfectly softened butter for all your baking needs.
Quick and Efficient Method
For a quick and efficient method, soften the stick of butter in the microwave for 10 seconds. This time-saving technique is perfect when you’re in a hurry and need softened butter for your recipe.
Here are some additional tips to ensure the best results:
- Use a microwave-safe plate or bowl to prevent any mess or spills.
- Cut the stick of butter into smaller pieces before microwaving to help it soften evenly.
- Keep a close eye on the butter while it’s in the microwave to avoid melting it completely.
- Let the softened butter sit at room temperature for a few minutes before using it in your recipe to ensure it’s the perfect consistency.
By following these simple steps, you can quickly soften your butter and get back to cooking in no time.
Now, let’s explore some alternative butter softening techniques.
Alternative Butter Softening Techniques
Now that we’ve covered a quick and efficient method for softening butter, let’s explore some alternative butter softening techniques.
Sometimes, we find ourselves in situations where we don’t have the time to wait for the butter to naturally soften on the counter. In these cases, it’s helpful to know a few creative butter softening methods.
One method is to use a microwave-safe plate or bowl. Place the stick of butter on the plate or in the bowl and microwave it for short intervals, about 5 seconds at a time, until it reaches the desired softness. Be careful not to overdo it, as the butter can melt quickly.
Another option is to grate the cold butter using a cheese grater. This may seem unconventional, but it actually works surprisingly well. By grating the butter, you increase its surface area, allowing it to soften more quickly.
Now that we’ve explored alternative butter softening techniques, let’s move on to the next method: softening butter with a grater – surprisingly simple.
Softening Butter With a Grater: Surprisingly Simple
To soften a stick of butter with a grater, you simply grate it onto a plate and let it sit for a few minutes. This method is quick and effective, allowing you to achieve the perfect consistency for your recipes.
Here are some key points to consider when using this technique:
-
Grating vs. Slicing: Grating the butter allows it to soften more quickly and evenly compared to slicing. The smaller pieces increase the surface area exposed to room temperature, promoting faster softening.
-
Using a Cheese Grater: A cheese grater works well for grating butter. Choose a grater with smaller holes for finer shreds, which will melt faster when added to your dishes.
-
Room Temperature Butter: Before grating, make sure the butter is cold but not frozen. Slightly chilled butter will grate more easily and result in smoother softening.
-
Resting Time: After grating the butter onto a plate, let it sit at room temperature for a few minutes. This allows the butter to soften evenly, making it easier to incorporate into your recipes.
Grating butter is a simple yet effective technique to soften it quickly and evenly. It’s a handy trick to have up your sleeve when you’re short on time and need softened butter for your baking or cooking endeavors.
Using a Butter Bell: A Unique Method
If you’re looking for a unique way to store and spread your butter, consider using a butter bell.
A butter bell is a traditional French invention that keeps butter fresh and spreadable without refrigeration.
It consists of two parts: a base and a lid. The base holds water, creating an airtight seal that keeps the butter safe from air and light.
To use a butter bell, simply place softened butter in the lid and fill the base with cold water. Then, turn the lid upside down and submerge it into the base, creating a vacuum seal.
The butter remains soft and spreadable, ready to be used whenever you need it.
When choosing a butter bell, look for one made of high-quality, food-safe materials, like ceramic or stoneware. It should be easy to clean and large enough to hold a stick of butter.
Enjoy the benefits of a butter bell and never struggle with hard butter again.
Softening Butter Using a Rolling Pin: a Fun and Efficient Technique
Softened butter can be achieved using a rolling pin, making it both an enjoyable and efficient technique. By rolling the stick of butter between two sheets of parchment paper, you can easily soften it without the need for a mixer or waiting for it to come to room temperature.
However, if you don’t have a rolling pin on hand, there are other alternatives you can try. Here are some butter softening hacks:
-
Grate the cold butter: Using a cheese grater, grate the cold butter into small shreds. This increases the surface area, allowing it to soften quickly.
-
Microwave in short bursts: Cut the stick of butter into smaller pieces and microwave it in 5-second bursts, checking after each interval until it reaches the desired softness.
-
Use a warm glass or bowl: Place a warm glass or bowl over the stick of butter, allowing the residual heat to soften it gradually.
-
Knead it with your hands: Take the stick of butter and knead it between your hands until it softens. The warmth from your hands will help in the process.
These alternatives can come in handy when you don’t have a rolling pin available, giving you options for softening butter quickly and efficiently.
Softening Butter With a Stand Mixer: Perfect for Baking Enthusiasts
When it comes to softening butter for baking, using a stand mixer can be a game changer. As a baking enthusiast, I have found that this method ensures a consistently soft and creamy texture, perfect for incorporating into recipes. While there are alternatives to a stand mixer, such as using a food processor or a hand mixer, I personally prefer the stand mixer for its efficiency and ease of use.
To achieve the perfect consistency with a stand mixer, follow these tips:
-
Start with softened butter: Allow the butter to sit at room temperature for about 30 minutes before using the stand mixer. This will make it easier to blend and achieve a smooth texture.
-
Cut the butter into smaller pieces: Cutting the butter into smaller chunks will help it soften more quickly and evenly in the stand mixer.
-
Use the paddle attachment: The paddle attachment is ideal for softening butter, as it gently mixes and incorporates air into the butter, making it creamy and spreadable.
-
Mix on low speed: Start the stand mixer on low speed to gradually soften the butter. Avoid high speeds, as this can cause the butter to become too soft or even melt.
Softening Butter With a Food Processor: a Fast and Efficient Option
Using a food processor to soften butter is a quick and efficient option for baking enthusiasts. When it comes to butter softening for pastry making, a food processor offers several advantages over a stand mixer.
-
Speed: A food processor can quickly break down cold butter into small, soft pieces in just a matter of seconds.
-
Consistency: With a food processor, you can achieve a more consistent softness throughout the butter, ensuring even incorporation into your pastry dough.
-
Versatility: Food processors can be used for various tasks in the kitchen, making them a versatile tool for any baker.
-
Ease of use: Softening butter with a food processor is as simple as adding cold butter to the processor and pulsing until it reaches the desired softness.
Overall, using a food processor is a convenient and effective method for softening butter, providing baking enthusiasts with a reliable tool for their pastry-making endeavors.
Frequently Asked Questions
Can I Use Frozen Butter Instead of Softened Butter in a Recipe?
Yes, you can use frozen butter instead of softened butter in a recipe. To soften it without a microwave, you can grate the frozen butter or cut it into small pieces and let it sit at room temperature for a few minutes.
How Long Does It Typically Take for Butter to Soften at Room Temperature?
Typically, it takes about 30-60 minutes for butter to soften at room temperature. However, if you’re in a hurry, there are ways to speed up the process, like grating the butter or using a microwave on low power.
Can I Use the Microwave Method to Soften Butter if I Don’t Have a Microwave?
Yes, there are alternative methods to soften butter if you don’t have a microwave. Some popular butter softening techniques include using warm water, grating the butter, or leaving it in a warm room.
Is There a Specific Type of Grater That Works Best for Softening Butter?
The best grater for softening butter depends on personal preference and desired results. However, alternative methods such as slicing and pounding with a rolling pin can also effectively soften butter.
Can I Use the Oven Method to Soften a Stick of Butter if I Only Need a Small Amount?
Yes, you can use the oven method to soften a stick of butter even if you only need a small amount. It’s a convenient and quick way to achieve the desired consistency.
Conclusion
In conclusion, mastering the art of softening butter is like unlocking a secret ingredient to culinary success.
Just as butter transforms from solid to creamy, we too can transform our cooking skills and elevate our creations.
Whether you choose the traditional room temperature method, the quick microwave trick, or the gentle water bath approach, each technique holds its own symbolism.
It symbolizes our dedication to perfecting our craft, our willingness to adapt, and our constant pursuit of deliciousness.
So go forth, armed with these softening methods, and let your culinary adventures begin!
