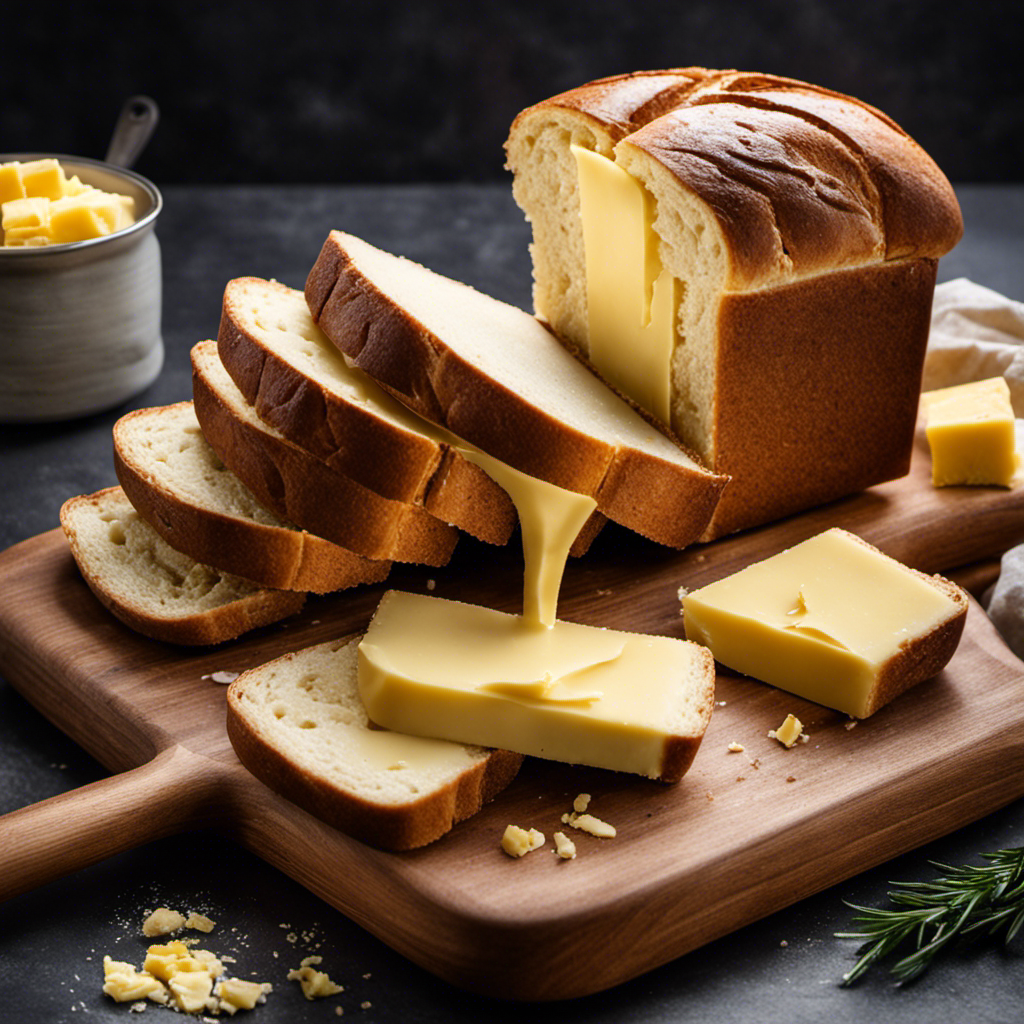
I have always been a firm believer that butter enhances everything, especially when it comes to bread.
In this article, I’ll show you how to expertly incorporate butter into your bread maker creations. From selecting the right butter to ensuring proper distribution in the dough, I’ll guide you through each step of the process.
Whether you’re baking traditional bread or experimenting with gluten-free recipes, incorporating butter will elevate the flavor and texture of your loaves.
Get ready to experience the deliciousness of butter-infused bread like never before!
Key Takeaways
- Choose butter with a high fat content for better results.
- Opt for unsalted butter to have control over the salt level in your bread.
- Soften the butter before adding it to the bread maker for even distribution.
- Add the butter during the mixing process to ensure even incorporation into the dough.
Selecting the Right Butter for Your Bread Maker
You’ll want to make sure you’re selecting the right butter for your bread maker. When it comes to butter types, it’s important to choose one with a high fat content. Look for unsalted butter, as it allows you to have control over the salt level in your bread. Salted butter can affect the yeast’s performance and the overall taste of your bread.
As for butter measurements, most bread maker recipes call for softened butter. To soften butter, leave it at room temperature for about 30 minutes, or microwave it for a few seconds until it’s soft but not melted.
Now that you know the importance of selecting the right butter, let’s move on to preparing it for the bread maker.
Preparing the Butter for the Bread Maker
When it comes to preparing the butter for my bread maker, there are a few key points to keep in mind.
First, I always make sure to melt the butter before adding it to the bread maker. This ensures that it mixes evenly throughout the dough.
Next, I focus on softening the butter to the right consistency. This can be done by leaving it at room temperature for a while or using a microwave on a low setting.
Melting the Butter
To melt the butter for your bread maker, simply place it in a microwave-safe bowl and heat it for 30 seconds. This is one of the easiest and quickest ways to soften butter for your bread maker.
However, if you don’t have a microwave or prefer not to use one, there are other softening methods you can try. One option is to leave the butter at room temperature for a while until it becomes soft enough to blend with the other ingredients in your bread maker. Another method is to grate the cold butter using a cheese grater, which helps it soften faster.
Troubleshooting butter-related issues in your bread maker is important to ensure your bread turns out perfectly. If the butter is not melting properly, check the power setting of your microwave or consider using a different method to soften it.
Softening the Butter
If using a microwave is not an option, try leaving the butter at room temperature to soften before adding it to your recipe. Softening butter is an essential step in baking, as it allows for easier incorporation into your dough or batter.
To ensure accurate measurements, it’s important to know the right techniques for measuring butter. One common method is using measuring spoons or cups specifically designed for butter. Another technique is using the markings on the butter wrapper itself, which often indicate tablespoon measurements.
When it comes to storage, butter should be kept in an airtight container in the refrigerator to maintain its freshness. However, if you plan to use it frequently, storing it at room temperature is acceptable for up to a week.
Now that we know how to soften and store butter, let’s move on to measuring the butter for our bread maker.
Measuring the Butter
Remember, you’ll want to use a measuring spoon or cup specifically designed for measuring butter. This is important for accurate measurements.
When measuring butter, it is crucial to consider its temperature. Ideally, you should measure butter when it is at room temperature. This ensures that the butter is soft enough to measure accurately. Cold butter can be difficult to measure, as it tends to stick to the measuring spoon or cup.
On the other hand, melted butter can lead to inaccurate measurements, as it can be difficult to pour and may not settle evenly in the measuring utensil.
Adding the Butter to the Bread Maker
When it comes to adding butter to the bread maker, timing is crucial. I will discuss the best time to add butter to ensure it incorporates evenly into the dough.
Additionally, I will explain how mixing butter with other ingredients can affect the final outcome of the bread.
Timing of Butter Addition
The best time to add butter to the bread maker is during the mixing process. It’s important to consider the timing of butter addition as well as the temperature of the butter.
Adding the butter too early may result in the butter being overmixed and losing its desired texture. On the other hand, adding the butter too late may not allow it to fully incorporate into the dough.
To ensure the perfect timing, I recommend adding the butter when the dough is in the initial mixing stage. This is usually after the dry ingredients and wet ingredients have been combined.
As for the butter temperature, it is ideal to use softened butter at room temperature. This allows the butter to blend seamlessly into the dough, resulting in a delicious and evenly baked bread.
Mixing With Other Ingredients
Mix all of the ingredients together until they are well combined.
When it comes to mixing in a bread maker, there are a few techniques that can help ensure a successful outcome.
First, make sure to add the ingredients in the order specified by your bread maker’s manual. This is usually liquids first, followed by dry ingredients, and finally the yeast.
Mixing too vigorously can lead to dense bread, so use the gentlest setting on your machine. If you notice any dry patches or unmixed ingredients, use a rubber spatula to scrape down the sides of the bread maker and incorporate everything evenly.
Troubleshooting tip: If your bread consistently turns out dense or unevenly mixed, try adjusting the amount of liquid or flour in your recipe.
Now let’s move on to butter alternatives and substitutions.
Butter Alternatives and Substitutions
Using an alternative to butter in your recipe can create a healthier option for those with dietary restrictions. There are several butter alternatives and substitutes available that can still provide the rich and creamy texture that butter brings to baked goods.
Some popular options include:
-
Coconut oil: This plant-based oil can be used in place of butter and adds a subtle coconut flavor to your baked goods. It contains healthy fats and is a great option for those following a vegan or dairy-free diet.
-
Avocado: Mashed avocado can be used as a butter substitute in recipes like brownies or cookies. It adds a creamy texture and healthy fats while also reducing the saturated fat content.
-
Nut butters: Almond butter, peanut butter, and cashew butter can all be used as a replacement for butter in baking. They provide a nutty flavor and contribute to a moist and tender texture.
Ensuring Proper Distribution of Butter in the Dough
To evenly distribute the butter in the dough, knead it for a few minutes. This step is crucial in ensuring that the butter is evenly incorporated into the dough, resulting in a uniform texture and taste throughout the bread.
By kneading the dough, the butter is spread out and integrated with the other ingredients, preventing any clumps from forming. Clumps of butter can lead to uneven distribution and affect the final outcome of the bread.
To avoid this, I gently knead the dough, pressing and folding it repeatedly until the butter is fully incorporated. This process helps to distribute the butter evenly, creating a smooth and consistent dough.
Adjusting the Butter Quantity for Different Bread Recipes
When adjusting butter quantity for different bread recipes, be mindful of how it can affect the final texture and taste. Too little butter may result in a drier and less flavorful bread, while too much butter can make the bread heavy and greasy. Here are some tips to help you adjust the butter quantity effectively:
-
Consider the type of bread you are making. Different breads require different amounts of butter. For example, enriched breads like brioche may require more butter for a rich and tender crumb.
-
Experiment with flavored butters. Incorporating flavored butters into your bread recipes can add a unique and delicious twist. Try using garlic butter for savory breads or cinnamon butter for sweet breads.
Incorporating Flavored Butters in Your Bread Maker Creations
For a delicious twist in your homemade breads, try experimenting with different flavors of butter in your bread maker creations. Incorporating flavored butter options into your bread recipes can elevate the taste and add a unique touch to your baked goods.
When using butter in bread maker recipes, there are several benefits. Firstly, butter adds richness and enhances the overall flavor of the bread. It also helps to create a soft and tender texture. Additionally, butter provides moisture to the dough, resulting in a longer shelf life for your bread.
From savory options like garlic and herb butter to sweet choices like cinnamon sugar or honey butter, the possibilities are endless. So, don’t be afraid to get creative and explore different flavored butter options to take your bread maker creations to the next level.
Tips for Incorporating Butter Into Gluten-Free Bread Recipes
Adding a touch of flavored butter can enhance the taste and texture of gluten-free bread recipes. Here are some tips for achieving a buttery flavor in gluten-free bread and troubleshooting common issues with butter in bread maker recipes:
-
Choose the right butter: Opt for unsalted, high-quality butter to ensure a rich and smooth flavor.
-
Soften the butter: Allow the butter to reach room temperature before adding it to the bread maker. This will ensure even distribution throughout the dough.
-
Incorporate the butter properly: Add the softened butter to the bread maker at the appropriate time according to the recipe instructions. This will allow it to blend seamlessly with the other ingredients.
-
Monitor the consistency: If the bread dough appears too dry or crumbly, try adding a bit more softened butter to achieve a moist and tender texture.
-
Experiment with flavored butters: Infuse your gluten-free bread with different flavors by using flavored butters, such as garlic or herb-infused varieties.
Cleaning and Maintaining Your Bread Maker After Using Butter
To keep your bread maker in good condition after using butter, remember to clean and maintain it regularly. Cleaning techniques for removing butter residue include wiping the interior with a damp cloth and using a mild detergent if necessary. It is important to avoid using abrasive cleaners or scrubbing brushes, as they can damage the non-stick coating. Additionally, make sure to remove any leftover bread crumbs or dough from the machine, as they can attract pests and affect the performance of the bread maker. Troubleshooting common issues such as a sticky paddle or a burnt smell can often be resolved by cleaning the affected parts thoroughly. By following these cleaning techniques and regularly maintaining your bread maker, you can ensure its longevity and enjoy delicious butter-infused bread for years to come.
| Cleaning Techniques | |
|---|---|
| Wipe with damp cloth | Avoid abrasive cleaners |
| Use mild detergent if needed | Avoid scrubbing brushes |
| Troubleshooting Common Issues | |
|---|---|
| Sticky paddle | Burnt smell |
| Clean affected parts thoroughly | Clean affected parts thoroughly |
Conclusion
In conclusion, butter in a bread maker brings blissful bursts of flavor to your baked goods. By selecting the right butter and properly preparing it, you ensure a smooth and satisfying experience.
Adding butter to the dough with precision guarantees a tantalizing taste throughout every slice. Adjusting the quantity for different recipes allows for customized creations.
And don’t forget to explore the world of flavored butters for an extra touch of decadence. So, go forth and let your bread maker butter up your baking adventures!