As someone who is passionate about skincare, the moisturizing benefits of shea butter have always fascinated me.
If you, like me, have struggled with melting this incredible ingredient, I’m here to help.
In this article, I will guide you through the process of melting shea butter with ease and precision.
Whether you prefer the double boiler method or the convenience of the microwave, I will provide you with step-by-step instructions.
Get ready to unlock the melting secrets and elevate your skincare game.
Key Takeaways
- Look for unrefined and organic shea butter.
- The double boiler method is the safest and most effective way to melt shea butter.
- The microwave method is quick and convenient, but can result in uneven heating.
- Each melting technique has different results, so choose the one that suits your needs best.
Choosing the Right Shea Butter
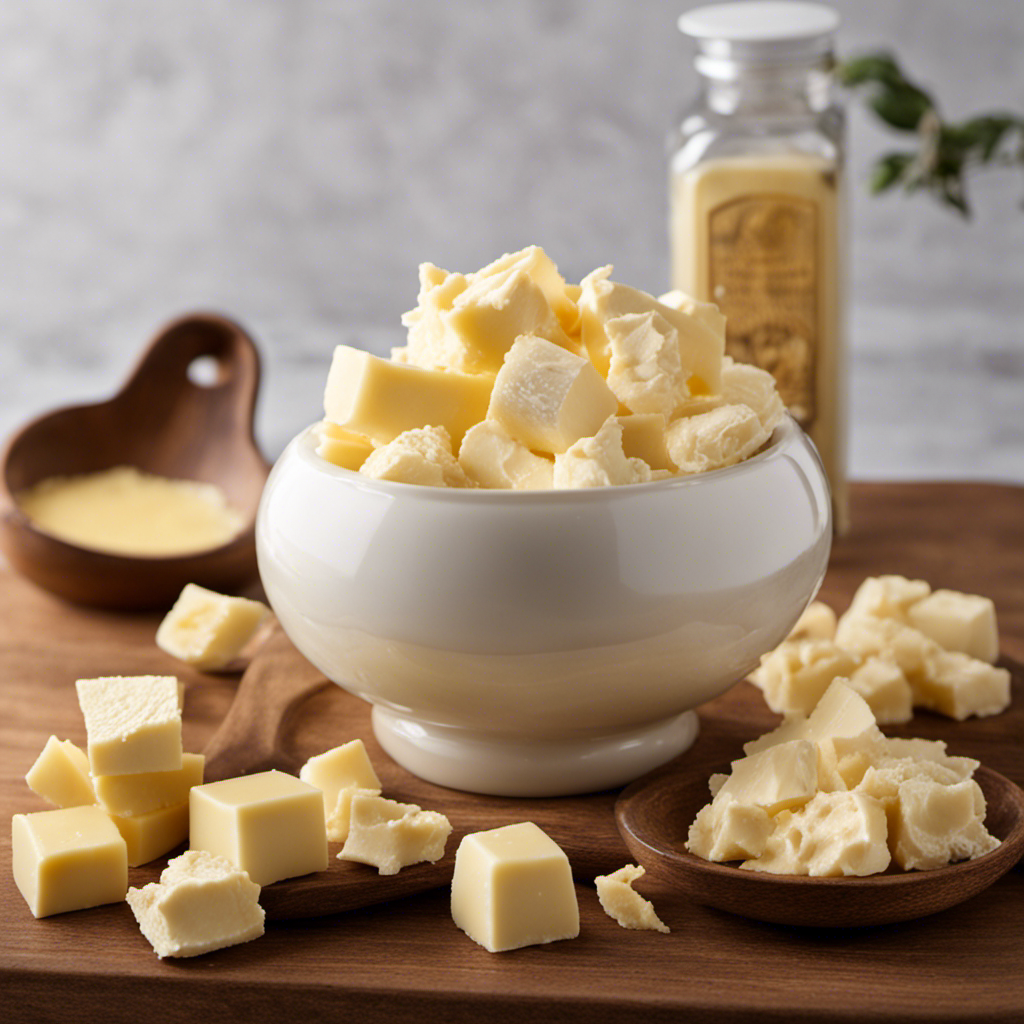
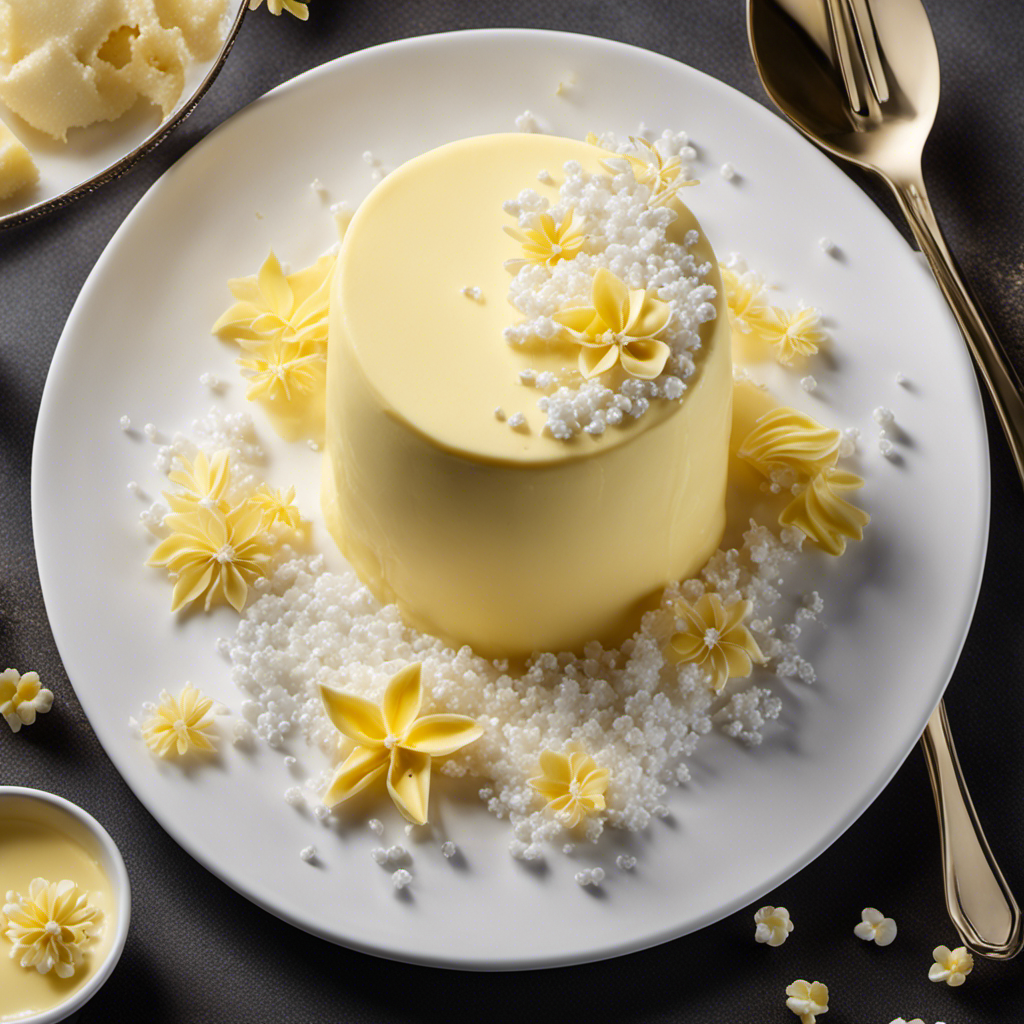
When choosing the right shea butter, you’ll want to look for a product that is unrefined and organic. Shea butter quality is determined by its processing method and source.
Unrefined shea butter is the most pure and natural form, as it is extracted without the use of chemicals or additives. It retains its natural color, scent, and beneficial properties.
Organic shea butter is made from shea nuts that are grown without the use of pesticides or synthetic fertilizers. It ensures that the shea butter is free from harmful residues.
Additionally, there are different types of shea butter available, such as raw shea butter and refined shea butter. Raw shea butter is minimally processed and retains more of its natural nutrients, while refined shea butter undergoes further processing, which may result in the loss of some beneficial compounds.
Preparing the Shea Butter for Melting
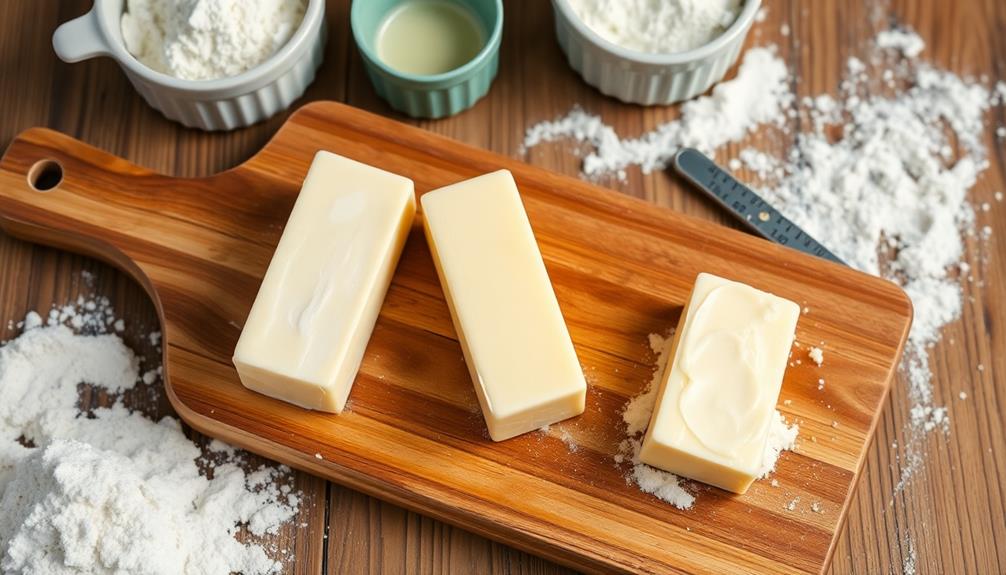
Before starting the process, it’s important to prepare the shea butter for melting. Choosing quality shea butter is crucial for obtaining the best results. Look for unrefined, raw shea butter that is organic and free from additives.
To prepare the shea butter, start by cutting it into small chunks or grating it to facilitate faster melting. This will also ensure even heat distribution. Alternatively, you can use a double boiler or a microwave-safe container for melting.
If using a microwave, melt the shea butter in short bursts of 30 seconds, stirring in between each interval until fully melted. If using a double boiler, place the shea butter in a heatproof bowl and gently heat it over simmering water, stirring occasionally until melted.
Once the shea butter is melted, it is ready for use in your desired recipe or application.
Using a Double Boiler Method
To use the double boiler method, simply place the heatproof bowl with the melted shea butter over simmering water and stir occasionally. This method provides a gentle and controlled heat source, ensuring that the shea butter melts evenly without burning.
Here are some advantages of using the double boiler method:
- Prevents overheating and maintains the quality of the shea butter.
- Allows for gradual melting, minimizing the risk of scorching.
- Provides a safe and efficient way to melt shea butter.
- Helps retain the natural properties and benefits of the shea butter.
- Ideal for delicate ingredients and sensitive skin care products.
Using a double boiler is not the only way to melt shea butter. In the next section, I will discuss an alternative method: melting shea butter in the microwave.
Melting Shea Butter in the Microwave
One convenient option for melting shea butter is by using a microwave. This method is quick and efficient, making it a popular choice for those who want to melt shea butter safely.
To begin, place the desired amount of shea butter in a microwave-safe bowl. Heat the shea butter in the microwave on low power for short intervals, stirring in between each interval. This helps to ensure that the butter melts evenly and prevents overheating. Be sure to monitor the shea butter closely to avoid burning or scorching it.
Once the shea butter is fully melted, it is ready to be used in your desired recipe or skincare routine. However, if you prefer alternative melting methods, you can also melt shea butter on the stove, which I will discuss in the next section.
Melting Shea Butter on the Stove
When it comes to melting shea butter, there are different techniques to consider. In this discussion, we will compare the various melting techniques, such as using the microwave or the stove.
Additionally, we will explore the optimal melting temperature for shea butter and highlight common mistakes to avoid during the melting process.
Melting Techniques Comparison
If you’re looking for the best method to melt shea butter, try comparing different melting techniques. Not all methods yield the same results, so it’s important to find the one that works best for you. Here are some techniques to consider:
-
Double Boiler Method: Melting shea butter using a double boiler can help to maintain its natural properties and prevent scorching.
-
Microwave Method: This technique offers convenience and a quick melt time, but be cautious as it can result in uneven heating.
-
Water Bath Method: Placing the shea butter container in a warm water bath allows for a gentle and controlled melt.
-
Oven Method: Melting shea butter in the oven can be effective, but it requires careful monitoring to avoid overheating.
-
Crockpot Method: Using a crockpot ensures a slow and steady melt, perfect for maintaining consistency.
By comparing the melting time and consistency of these techniques, you can determine the most suitable method for your needs.
Now, let’s dive into the next section and explore the optimal melting temperature.
Optimal Melting Temperature
After comparing different melting techniques for shea butter in my previous subtopic, I will now discuss the optimal melting temperature for this versatile ingredient.
Shea butter, known for its numerous benefits such as moisturizing and nourishing the skin, melts at a relatively low temperature. The ideal melting temperature for shea butter is around 90 to 100 degrees Fahrenheit (32 to 38 degrees Celsius). This temperature range ensures that the butter melts completely, without causing any degradation of its beneficial properties.
However, if you don’t have a thermometer or prefer alternative melting methods, you can use a double boiler or a microwave. Both methods allow you to melt shea butter without overheating it, ensuring that you can enjoy all its wonderful benefits.
Common Melting Mistakes
One common mistake when melting shea butter is using high heat, which can lead to the loss of its beneficial properties. To ensure successful melting and preserve the quality of shea butter, it is important to avoid these common melting mistakes:
-
Using direct heat: Direct heat can cause shea butter to burn or become grainy. It is best to use indirect heat methods such as a double boiler or a microwave.
-
Overheating: Overheating shea butter can result in the loss of its natural moisturizing properties. It is recommended to melt shea butter slowly and gently.
-
Ignoring impurities: Shea butter may contain impurities like dirt or debris. It is crucial to remove these impurities before melting to prevent contamination.
-
Not stirring: Stirring the melting shea butter helps to distribute heat evenly and prevent scorching.
-
Using unsuitable containers: Glass or stainless steel containers are ideal for melting shea butter, as they do not react with the butter and are easy to clean.
Storing and Reusing Melted Shea Butter
When it comes to storing and reusing melted shea butter, there are several key points to keep in mind.
First, understanding the shelf life of shea butter is crucial in order to ensure its effectiveness and safety.
Second, choosing the right container for storing melted shea butter can make a significant difference in its longevity and quality.
Lastly, exploring DIY beauty recipes that incorporate melted shea butter can open up a world of possibilities for creating natural, nourishing skincare products.
In this discussion, I will delve into these three important aspects to help you make the most of your melted shea butter.
Shelf Life Tips
To extend the shelf life of your melted shea butter, make sure to store it in an airtight container. Here are some tips for extending the shelf life of your melted shea butter:
- Keep it away from direct sunlight and heat sources.
- Avoid introducing water or moisture into the container.
- Use clean utensils or hands when scooping out the butter to prevent contamination.
- Store it in a cool and dry place to prevent rancidity.
- Label the container with the date of melting to keep track of its freshness.
By following these tips, you can ensure that your melted shea butter stays fresh and usable for a longer period of time.
Now, let’s explore the different container options available for storing your melted shea butter.
Container Options
If you’re looking for container options to store your melted shea butter, consider using glass jars or silicone molds.
Choosing suitable containers is important to ensure the quality and longevity of your shea butter.
Glass jars are a popular choice because they are non-reactive and do not leach any chemicals into the butter. They also provide airtight storage, which helps to preserve the butter’s natural properties.
Silicone molds are another great option as they are flexible and easy to remove the butter from. They are also heat-resistant, making them perfect for melting and storing shea butter.
Both glass jars and silicone molds offer the benefit of being reusable and easy to clean.
DIY Beauty Recipes
Experiment with different DIY beauty recipes to discover which ones work best for your skin type and desired results. DIY beauty tips and natural skincare products are becoming increasingly popular as people seek more affordable and chemical-free alternatives.
Here are five easy-to-make recipes to try:
-
Honey and oatmeal face mask: Mix equal parts honey and ground oatmeal to create a soothing and exfoliating mask.
-
Coconut oil hair treatment: Massage warm coconut oil into your hair and scalp, leave it on for at least an hour before washing it out for silky smooth locks.
-
Coffee body scrub: Combine coffee grounds, sugar, and coconut oil for an invigorating and exfoliating scrub.
-
Avocado and yogurt face mask: Blend together ripe avocado and plain yogurt for a nourishing and moisturizing mask.
-
Lemon and sugar lip scrub: Mix lemon juice and sugar to gently exfoliate and soften your lips.
These simple DIY beauty recipes can help you achieve healthier skin and hair without breaking the bank.
Frequently Asked Questions
Can I Use Any Type of Shea Butter for Melting, or Do I Need to Choose a Specific Type?
I recommend choosing a specific type of shea butter for melting. Considerations include the consistency and purity of the butter. Different methods of melting shea butter have pros and cons.
What Is the Best Way to Clean the Double Boiler After Melting Shea Butter?
The best way to clean the double boiler after melting shea butter is by using some cleaning hacks. One alternative method is to fill the bottom pot with water and a little dish soap, then boil it for a few minutes to loosen any residue.
Can I Add Essential Oils or Other Ingredients to the Shea Butter While It Is Melting?
Yes, you can add essential oils and other ingredients to the melted shea butter. This allows you to customize the scent and enhance the benefits of the butter. It’s a great way to create your own personalized skincare products.
How Long Does It Take for Shea Butter to Melt in the Microwave?
To melt shea butter in the microwave, you can place it in a microwave-safe container and heat it in short intervals, stirring in between until it becomes liquid. Alternatively, you can use a double boiler.
Can I Reuse the Shea Butter Multiple Times After Melting It, or Is It Only Good for One Use?
I’ve found that reusing melted shea butter is possible, as long as it’s stored properly. I’ve used the same batch multiple times and it remained effective. Just make sure to keep it in a clean, airtight container to maintain its longevity.
Conclusion
In conclusion, melting shea butter is a simple process that can be done using various methods such as the double boiler method, microwave, or stove.
It is important to choose high-quality shea butter and properly prepare it before melting.
By following these steps, you can easily melt shea butter and enjoy its numerous benefits for your skin and hair.
Remember, ‘Where there’s a will, there’s a way.’ So go ahead and try melting shea butter to experience its luxurious and nourishing effects.
