Hello there!
Are you tired of struggling with clumpy shea butter? Well, fear not, because I’m here to share my secret to making it wonderfully creamy!
In this article, I’ll guide you through the process of creating silky smooth shea butter using simple ingredients and easy-to-follow steps.
From melting to whipping, I’ll cover every aspect to ensure your shea butter is fluffy and luxurious.
So, let’s dive in and discover the art of making creamy shea butter together!
Key Takeaways
- Look for unrefined shea butter and Grade A shea butter for a smoother texture.
- Adding carrier oils like coconut oil or jojoba oil can soften shea butter.
- Melting shea butter slowly and gently using a double boiler method preserves its properties and ensures a smooth texture.
- Whipping shea butter at a high speed ensures a creamy texture, but overwhipping should be avoided.
The Benefits of Using Shea Butter
You’ll love the benefits of using shea butter for your skin. Shea butter is a natural ingredient that is derived from the nuts of the shea tree. It is rich in vitamins A, E, and F, as well as essential fatty acids, which make it incredibly nourishing and moisturizing for the skin.
Shea butter has been used for centuries to improve the appearance and texture of skin, as well as to help with various skin conditions such as dryness, eczema, and psoriasis. Additionally, shea butter is also great for your hair, as it can help to moisturize and nourish dry, damaged hair, leaving it soft and shiny.
If you’re looking to incorporate shea butter into your skincare routine, there are many DIY recipes available that can help you create luxurious moisturizing products at home.
Understanding Different Types of Shea Butter
To understand the different types of shea butter, it’s important to know that there are various grades and levels of refinement available. Different shea butter grades are determined by the processing techniques used during production. Here is a table that summarizes the different grades and processing techniques:
| Grade | Processing Technique |
|---|---|
| Raw Shea Butter | Extracted from shea nuts without any refinement. |
| Unrefined Shea Butter | Filtered to remove impurities but retains natural scent and color. |
| Refined Shea Butter | Further processed to remove impurities, scent, and color. |
| Ultra-Refined Shea Butter | Highly processed to create a creamy texture and remove any scent or color. |
Understanding these different grades and processing techniques can help you choose the right shea butter for your specific needs. Whether you prefer the natural scent and color of raw or unrefined shea butter, or the creamy texture of refined or ultra-refined shea butter, there is an option available for everyone.
Choosing the Right Shea Butter for Creamy Texture
Understanding the different grades and processing techniques of shea butter can help in selecting a product with a smooth texture. When it comes to choosing the right shea butter for a creamy consistency, here are some tips to keep in mind:
-
Look for unrefined shea butter: Unrefined shea butter is minimally processed, which helps retain its natural properties and texture.
-
Opt for Grade A shea butter: Grade A shea butter is the highest quality and has undergone the least amount of processing. This can result in a smoother and creamier texture.
-
Consider the source: Shea butter sourced from West Africa, particularly Ghana and Burkina Faso, is known for its superior quality and creamy texture.
-
Check for a creamy appearance: Shea butter with a creamy appearance is likely to have a smoother texture.
Essential Ingredients for Creamy Shea Butter
When selecting ingredients for a smooth and velvety texture, it’s important to consider the type of oils and extracts used.
Essential ingredients for creamy shea butter include high-quality shea butter itself, which is rich in vitamins and fatty acids that nourish and hydrate the skin.
Adding a carrier oil, such as coconut oil or jojoba oil, helps to soften the shea butter and make it easier to spread.
Additionally, incorporating essential oils like lavender or chamomile can add a pleasant scent and provide additional benefits for the skin.
To achieve the desired creamy texture, it’s important to carefully measure and mix the ingredients using a double boiler method.
Step-by-Step Guide to Melting Shea Butter
When it comes to melting shea butter, there are a few key points to keep in mind.
First, it is important to know the optimal melting temperature for shea butter, which is around 90-100 degrees Fahrenheit. This ensures that the shea butter melts evenly and maintains its beneficial properties.
Secondly, using the right melting techniques can help achieve a consistent texture in the melted shea butter, whether it’s for skincare products or DIY creations.
Lastly, being aware of common melting mistakes can help prevent any issues or damage to the shea butter during the melting process, such as overheating or using too high of a temperature.
Optimal Melting Temperature
To achieve optimal melting temperature for your shea butter, it’s best to heat it slowly and gently. This ensures that the butter melts evenly and doesn’t get overheated, which can affect its texture and quality. Here are some tips to help you achieve the perfect melting temperature:
-
Use a double boiler or a heatproof bowl placed over a pot of simmering water to melt the shea butter. This indirect heat method prevents the butter from getting too hot too quickly.
-
This method allows the butter to melt gradually, preserving its natural properties and ensuring a smooth and creamy consistency.
-
Avoid using direct heat sources like the microwave or stovetop, as they can cause the shea butter to melt unevenly or scorch.
-
By taking the time to melt the shea butter slowly and gently, you’ll be rewarded with a luxurious and velvety texture that is perfect for skincare or haircare recipes.
Now, let’s explore some melting techniques for consistency.
Melting Techniques for Consistency
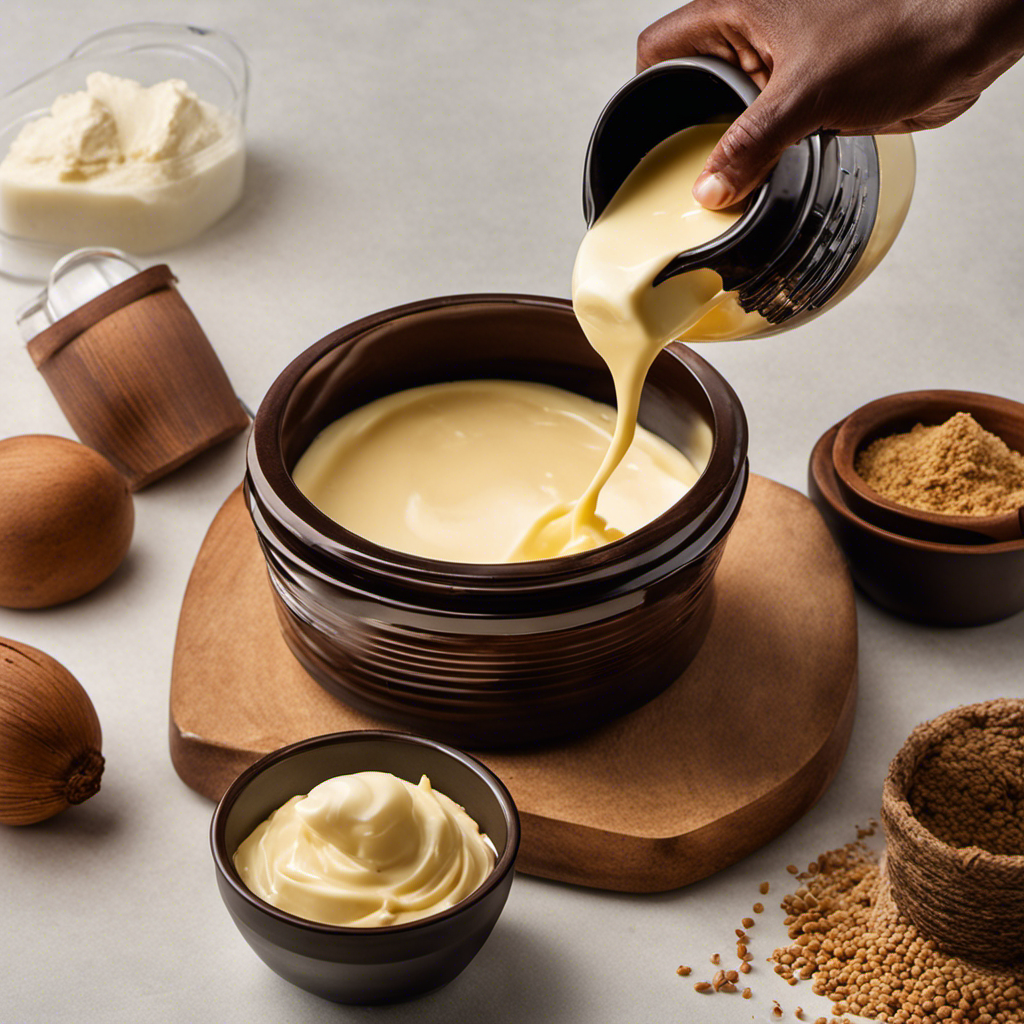
If you want a consistent texture, try melting it slowly and gently using a double boiler or a heatproof bowl over simmering water. These melting techniques are crucial for achieving the perfect consistency in your shea butter.
The double boiler method involves placing a heatproof bowl containing the shea butter over a pot of simmering water. The indirect heat ensures that the butter melts evenly and prevents it from burning. Another option is to use a heatproof bowl directly over simmering water.
Whichever method you choose, make sure to stir the butter occasionally to ensure even melting. Remember, consistency is key when it comes to shea butter, and these melting techniques will help you achieve a smooth and creamy texture every time.
Common Melting Mistakes
One common mistake you might be making is melting the butter too quickly, which can result in a grainy texture. When it comes to making shea butter creamy, it’s important to avoid these common mistakes. Here are some troubleshooting tips to help you achieve the perfect consistency:
-
Not using a double boiler: Melting shea butter directly on heat can cause it to overheat and become grainy. Using a double boiler provides gentle and even heat distribution.
-
Heating at high temperatures: High heat can break down the natural fats in shea butter, leading to a less creamy texture. It’s best to melt it at a low to medium heat.
These tips will help you avoid common mistakes and achieve a smooth and creamy texture for your shea butter. Now, let’s move on to the next step, which involves adding additional oils for an even creamier consistency.
Adding Additional Oils for Creamy Consistency
Mixing in other oils, such as coconut or almond oil, can help create a creamy consistency for your shea butter. Not only does this add additional oil benefits, but it also gives you the freedom to customize your shea butter to your liking.
Coconut oil, for example, is known for its moisturizing properties, while almond oil is rich in vitamins and antioxidants. By combining these oils with shea butter, you can create a luxurious texture that glides smoothly onto your skin. The choice of oils is up to you, depending on your preferences and the specific benefits you are looking for.
Whether you want a lighter, whipped texture or a thick, rich consistency, incorporating other oils is the key to achieving the perfect creamy texture.
Now, let’s explore how incorporating essential oils can enhance the fragrance and provide additional benefits to your shea butter.
Incorporating Essential Oils for Fragrance and Added Benefits
Incorporating essential oils into your shea butter can enhance its fragrance and provide additional benefits. Not only will your shea butter smell amazing, but you can also enjoy the therapeutic properties of the essential oils.
Here are some fragrance options and their associated benefits:
- Lavender: Calming and soothing, great for relaxation and stress relief.
- Peppermint: Invigorating and refreshing, can help with mental alertness and headaches.
When choosing essential oils for your shea butter, it’s important to consider your personal preferences and the specific benefits you’re looking for. Experiment with different combinations to find your perfect scent. Remember to use high-quality, pure essential oils to ensure the best results.
Adding essential oils to your shea butter can elevate your skincare routine, providing a luxurious and aromatic experience while nourishing your skin.
Whipping Shea Butter for a Fluffy Texture
When it comes to achieving a fluffy texture in whipped shea butter, mastering the whipping technique is key.
In this discussion, I will share some helpful tips on how to whip shea butter effectively, ensuring maximum fluffiness.
Additionally, I will explore the option of adding natural scents to enhance the overall experience of using whipped shea butter.
Whipping Technique Tips
To achieve a creamy texture for your shea butter, you’ll want to make sure you whip it at a high speed. Whipping shea butter can be a bit tricky, but with the right techniques, you can achieve that fluffy consistency you desire.
Here are some tips to help you perfect your whipping technique:
- Whipping Technique Alternatives:
- Use a stand mixer: This powerful appliance can whip the shea butter more efficiently and quickly.
- Hand mixer: If you don’t have a stand mixer, a hand mixer can also do the job. Just make sure to use high speed.
Troubleshooting Common Whipping Issues:
- Temperature: Ensure that your shea butter is at room temperature before whipping. Cold butter won’t whip properly.
- Overwhipping: Be careful not to overwhip the shea butter, as it can lead to a greasy texture. Stop whipping once it reaches a creamy consistency.
By following these tips and experimenting with different whipping techniques, you’ll be able to achieve the perfect creamy texture for your shea butter.
Happy whipping!
Achieving Maximum Fluffiness
You can achieve maximum fluffiness for your shea butter by experimenting with different whipping techniques. Whipping shea butter is a crucial step in achieving the desired consistency, as it helps to incorporate air and create a light and fluffy texture.
One technique you can try is using an electric mixer or a hand whisk to whip the shea butter vigorously. This will help to break down any lumps and create a smooth and creamy texture.
Another technique is to whip the shea butter in small batches, allowing for better control and ensuring that each batch is whipped to perfection.
By experimenting with different whipping techniques, you can achieve maximum fluffiness for your shea butter, resulting in a luxurious and creamy product.
To further enhance your shea butter, you can also consider adding natural scent options.
Adding Natural Scent Options
Experimenting with different natural scent options can add a delightful aroma to your whipped shea butter. Not only does it enhance the sensory experience, but it also provides various therapeutic benefits.
Here are some natural scent options you can consider incorporating into your DIY shea butter recipes:
-
Citrus scents:
-
Lemon: Uplifting and energizing, perfect for a morning pick-me-up.
-
Orange: Refreshing and invigorating, ideal for a revitalizing body butter.
-
Floral scents:
-
Lavender: Calming and soothing, great for a relaxing bedtime ritual.
-
Rose: Romantic and luxurious, adds a touch of elegance to your shea butter.
By using these natural scent options, you can customize your whipped shea butter to evoke different emotions and enhance your overall well-being. Remember to choose high-quality essential oils or natural extracts for the best results.
Additionally, feel free to experiment and mix different scents to create your signature fragrance. With the added benefit of natural color options, your shea butter will not only be creamy but also visually appealing.
Storing and Preserving Creamy Shea Butter
When storing and preserving creamy shea butter, it’s important to keep it in an airtight container to maintain its texture and quality.
Shea butter is a natural product extracted from the nuts of the shea tree and is known for its moisturizing and healing properties.
To prevent shea butter from becoming grainy, proper storage is crucial. Exposure to air and moisture can cause the butter to lose its smooth consistency and develop a grainy texture.
By keeping it in an airtight container, you can minimize air and moisture contact, preserving its creamy texture for longer periods.
Additionally, storing shea butter in a cool and dark place away from direct sunlight will further help maintain its quality and prevent it from melting or becoming rancid.
Frequently Asked Questions
How Long Does It Take to Melt Shea Butter?
Melting shea butter quickly can be achieved by using a double boiler or microwave. It usually takes around 5-10 minutes to fully melt. To achieve a smooth texture, stirring frequently and adding oils can help.
Can I Use Any Type of Oil to Add to My Shea Butter for a Creamy Consistency?
Yes, you can use different types of oils to achieve a creamy consistency in your shea butter. Natural oils like coconut, almond, and jojoba have benefits such as moisturizing and nourishing the skin.
What Are the Best Essential Oils to Use for Fragrance in Shea Butter?
The best essential oil combinations for a relaxing shea butter fragrance are lavender and chamomile, or ylang-ylang and bergamot. To properly incorporate essential oils, melt the shea butter and mix in a few drops before it solidifies.
Can I Use a Regular Blender to Whip the Shea Butter?
I can use a regular blender to whip the shea butter, but there are alternative methods for whipping it as well. It’s important to ensure that the blender is clean and dry before using it for this purpose.
How Long Can I Store Creamy Shea Butter Before It Goes Bad?
I store creamy shea butter for up to a year before it goes bad. To ensure a longer shelf life, store it in a cool, dry place away from direct sunlight. Proper storage is key.
Conclusion
As I put the finishing touches on my creamy shea butter, I couldn’t help but feel a sense of accomplishment. Like a skilled alchemist, I had transformed a simple ingredient into a luxurious and nourishing treat for my skin.
It’s amazing how a little bit of effort and knowledge can go a long way. So, whether you’re a skincare enthusiast or just looking for a natural alternative, making your own shea butter is a rewarding journey worth embarking on.
Remember, with the right ingredients and techniques, you can create a creamy masterpiece that will leave your skin feeling pampered and revitalized.


