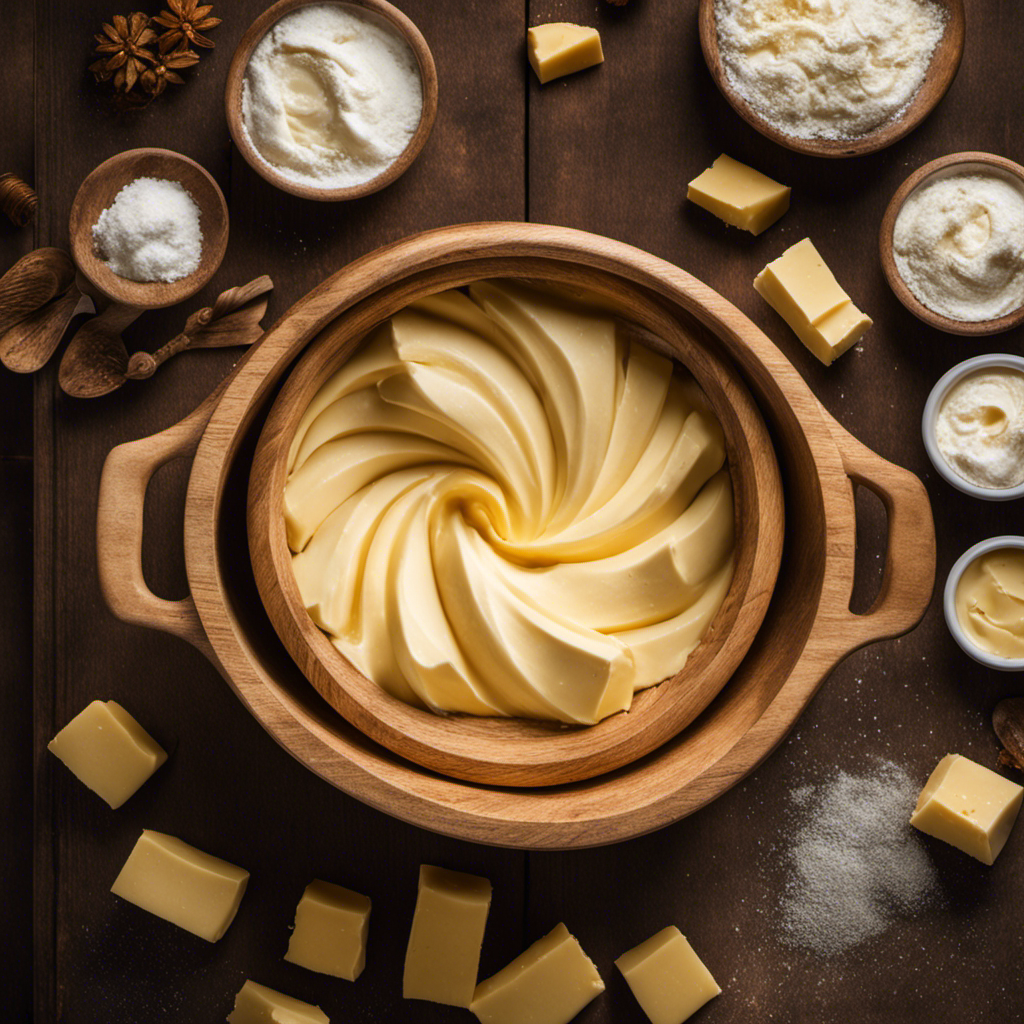

I am here to share my reliable method for making incredibly delicious salted butter. With just a few simple steps, you can make your own creamy, flavorful butter in the comfort of your own home.
By gathering the ingredients, churning the cream, and adding the perfect amount of salt, you’ll be left with a rich and indulgent spread that will elevate any meal.
So let’s get started and dive into the world of homemade salted butter!
Key Takeaways
- Thoroughly mix salt into room temperature butter for even distribution
- Churning the cream is important for achieving a fluffy and creamy texture
- Hand-churning allows for control over consistency and customization of flavor
- Adding salt enhances flavor and creates a savory and creamy balance
Gathering the Ingredients
First, you’ll need to gather all of the ingredients for making salted butter. To start, you’ll need unsalted butter, which will be the base for your salted butter. Make sure the butter is at room temperature for easy mixing.
Next, you’ll need salt. There are different types of salt you can use, such as sea salt, kosher salt, or even flavored salts for a unique twist. Choose the type of salt that suits your taste preferences.
Additionally, you’ll need a mixing bowl and a spoon or spatula for the mixing process. It’s important to thoroughly mix the salt into the butter to ensure even distribution.
Once you have gathered all of these ingredients, you’re ready to move on to the next step.
Churning the Cream
When it comes to making butter, the churning process is crucial in achieving a fluffy and creamy texture. There are various churning techniques that can be employed to achieve the desired result.
In this discussion, I will explore the different techniques for churning butter and highlight the benefits of hand-churning.
Churning Techniques for Fluffier Butter
To achieve fluffier butter, it’s important to employ effective churning techniques. While the traditional method of churning butter involves using a churn or a mixer, there are a few tips and tricks that can help you achieve a lighter, fluffier texture.
First, make sure your cream is at the right temperature. It should be around 50-60°F, as colder cream takes longer to churn and can result in a denser texture. Next, churn the cream at a moderate speed, avoiding high speeds that can cause the butter to separate too quickly. Finally, be patient and allow the butter to churn until it forms distinct clumps. This will ensure that the butter has a light and airy texture.
By following these techniques, you can create butter with a fluffy texture that is perfect for spreading on toast or baking. With the right method, making homemade butter can be a rewarding and delicious experience.
Now that you know the techniques for achieving fluffy butter, let’s explore the benefits of hand-churning.
Benefits of Hand-Churning
If you prefer a more hands-on approach, hand-churning your butter can offer a variety of benefits.
One of the main advantages is the control you have over the process. By manually churning the cream, you can adjust the speed and intensity to achieve the desired consistency and texture. This allows you to create butter that is fluffier and creamier compared to store-bought options.
Hand-churning also gives you the opportunity to customize the flavor of your butter by adding herbs, spices, or even salt.
Additionally, the physical act of hand-churning can be a satisfying and meditative experience. It provides a sense of accomplishment and connection to traditional culinary practices.
Adding Salt to the Butter
For a perfectly salted butter, you’ll want to start by sprinkling a pinch of salt onto the softened butter. This step is crucial in enhancing the flavor of the butter and creating a delightful balance of savory and creamy notes. Adding salt to butter not only adds a burst of flavor but also helps to preserve the butter by inhibiting the growth of certain bacteria.
When it comes to different types of salted butter, there are a few options to consider. Some people prefer using sea salt for its natural minerals and slightly briny taste, while others opt for kosher salt for its larger crystals and milder flavor. Ultimately, the choice is a matter of personal preference.
Health benefits of salted butter include providing essential nutrients like vitamins A, D, E, and K, as well as butyrate, a fatty acid that supports gut health. Additionally, small amounts of salt can be beneficial for maintaining proper electrolyte balance in the body.
Shaping and Storing the Butter
Shaping and storing the butter is a simple process that involves rolling it into a log shape and wrapping it tightly in plastic wrap. This ensures that the butter stays in its desired shape and remains fresh for a longer period of time.
To shape the butter, start by placing it on a clean surface. Gently press and shape it with your hands until it forms a log. Make sure to smooth out any uneven edges.
Once the butter is shaped, wrap it tightly in plastic wrap, making sure there are no air pockets. This will prevent the butter from picking up any odors or flavors from the fridge.
For long-term storage, place the wrapped butter log in an airtight container or ziplock bag and store it in the freezer. This will keep the butter fresh for up to 6 months.
Flavor Variations for Salted Butter
When it comes to flavor variations for salted butter, there are three key points to consider: sweet vs savory, herb-infused options, and exotic spice combinations.
Personally, I find the sweet vs savory debate quite intriguing, as it offers a range of possibilities from caramel and honey to garlic and black pepper.
Additionally, herb-infused options like rosemary or thyme can add a fresh and aromatic twist to the butter, while exotic spice combinations such as cumin and coriander can take it to a whole new level of flavor complexity.
Sweet Vs Savory
I can’t decide whether I prefer sweet or savory butter for my recipes. Both have their own unique flavors and can enhance different dishes in various ways.
When it comes to sweet desserts, using sweet butter can add a rich and creamy flavor to cakes, cookies, and pastries. The sweetness of the butter can complement the sweetness of the dessert, creating a harmonious balance of flavors. It adds a luxurious touch to desserts and can make them even more indulgent.
On the other hand, savory snacks benefit from the use of savory butter. The saltiness and richness of the butter can elevate the flavors of savory dishes like popcorn, roasted vegetables, and grilled meats. It adds depth and complexity to the snacks, making them more satisfying and flavorful.
Ultimately, the choice between sweet and savory butter depends on the specific recipe and the desired flavor profile.
Herb-Infused Options
After exploring the sweet and savory options for homemade salted butter, let’s dive into the world of herb-infused options. Adding herbs to butter not only enhances its flavor but also brings a range of health benefits. Here are some herb-infused recipes to try:
| Herb | Health Benefits |
|---|---|
| Rosemary | Boosts memory and improves digestion |
| Basil | Reduces inflammation and promotes cardiovascular health |
| Thyme | Supports respiratory health and boosts immunity |
| Sage | Enhances brain function and aids digestion |
| Parsley | Rich in antioxidants and supports bone health |
| Dill | Anti-inflammatory properties and aids digestion |
These herb-infused butters can be used in a variety of dishes, from spreading on bread to adding flavor to roasted vegetables. So why not elevate your homemade salted butter by infusing it with these beneficial herbs?
Exotic Spice Combinations
For a unique twist, try experimenting with exotic spice combinations to infuse your homemade butter with bold and aromatic flavors. Pairing different spices with butter can elevate your culinary experiments to a whole new level. The possibilities are endless, and the flavors can range from subtle to intense.
Here are a few flavor combinations that will awaken your taste buds and add excitement to your dishes:
-
Warm and Spicy:
-
Cumin and smoked paprika
-
Turmeric and ginger
-
Sweet and Savory:
-
Cinnamon and nutmeg
-
Cardamom and cloves
By incorporating these exotic spice combinations into your butter, you can create a symphony of flavors that will enhance a variety of dishes. Whether you’re making toast, sautéing vegetables, or baking bread, these flavor pairings will take your homemade butter to the next level.
Tips and Troubleshooting
To troubleshoot any issues, check the temperature of the butter before adding salt. This is crucial because if the butter is too cold, the salt won’t incorporate evenly, resulting in pockets of saltiness. On the other hand, if the butter is too soft, the salt might dissolve into the butter, leaving it unsalted. Another common mistake is adding too much or too little salt. It’s important to follow the recipe or use a measuring spoon to ensure the right amount of salt is added. Here are some troubleshooting tips to help you make perfect salted butter every time:
| Common Mistake | Troubleshooting Tip |
|---|---|
| Butter too cold | Allow the butter to soften at room temperature for 15-20 minutes before adding salt. |
| Butter too soft | Chill the butter in the refrigerator for 10-15 minutes before adding salt. |
| Adding too much salt | Start with a small amount of salt and taste as you go. You can always add more if needed. |
| Adding too little salt | Sprinkle a little extra salt on top of the butter after it’s made. |
| Salt not incorporating evenly | Mix the salt into the butter thoroughly using a fork or spatula. |
Frequently Asked Questions
Can I Use Any Type of Cream to Make Salted Butter?
Yes, you can use different types of cream to make salted butter. However, it’s important to start with unsalted butter as a base before adding salt. This ensures that you have control over the level of saltiness in your butter.
How Much Salt Should I Add to the Butter?
When making salted butter, it’s important to evenly distribute the salt throughout. I recommend adding a pinch of salt at a time while mixing, tasting as you go. Using unsalted butter allows for more control over the saltiness.
How Long Can I Store Homemade Salted Butter?
I’m not sure about the exact storage options for homemade salted butter, but I think it can be stored in the fridge for a few weeks. It’s also great for baking and cooking!
Can I Use a Blender Instead of a Churn to Make Salted Butter?
Blender vs. churn for butter making? Alternative methods for salted butter. Personally, I prefer the traditional churn. It brings out the creamy goodness. However, a blender can work too, just be cautious with the speed.
Can I Use Flavored Salts to Make Flavored Salted Butter?
Yes, I can use flavored salts to make creative salted butter flavors. By incorporating different flavored salt alternatives, I can experiment with unique tastes and enhance the flavor of my homemade butter.
Conclusion
In conclusion, making salted butter is a simple and rewarding process. By gathering quality ingredients and churning the cream with patience, you can create a delicious and versatile spread for your meals.
Adding just the right amount of salt enhances the flavor and brings out the creamy richness of the butter. Remember to shape and store it properly to maintain its freshness.
With a variety of flavor options available, from herbs to spices, you can truly elevate your culinary experience. So why wait? Start making your own salted butter today and taste the difference for yourself – it’s like unlocking a culinary treasure trove!