I’ve always been a sucker for smooth, indulgent desserts, and nothing beats a homemade scoop of ice cream. For those who share a passion for everything peanut butter, prepare to be thrilled.
In this article, I’ll show you how to create the most irresistible peanut butter ice cream using an ice cream maker. From choosing the right machine to incorporating delicious mix-ins and toppings, I’ll guide you through each step to help you create a frozen treat that will have everyone begging for seconds.
Key Takeaways
- Choose an ice cream maker with a built-in emulsifier or the ability to add emulsifiers
- Experiment with different mix-ins like chocolate chips, crushed cookies, or caramel sauce
- Chill ice cream mixture in the refrigerator for a few hours before churning
- Use freezer-friendly containers to prevent ice crystals and maintain freshness

REESE'S PIECES Peanut Butter in a Crunchy Shell, Candy Bulk Bag, 48 oz
- Package Size: 48-ounce bulk bag
- Ideal For: Parties, gatherings, movie nights
- Certifications: Kosher certified, gluten free
As an affiliate, we earn on qualifying purchases.
Choosing the Right Ice Cream Maker
To make peanut butter ice cream with an ice cream maker, you’ll need to start by choosing the right one for your needs. There are a few key factors to consider when selecting an ice cream maker that will help you achieve the perfect creamy texture and flavor.
Firstly, consider the role of emulsifiers in your ice cream maker. Emulsifiers are substances that help bind the fat and water in the ice cream mixture, resulting in a smoother and more stable texture. Look for an ice cream maker that has a built-in emulsifier or one that allows you to add emulsifiers during the churning process.
Additionally, if you prefer to use alternative sweeteners in your peanut butter ice cream, make sure the ice cream maker can accommodate them. Some ice cream makers have specific settings or features that allow for the use of alternative sweeteners like honey, maple syrup, or stevia. This ensures that your ice cream remains deliciously sweet, even without traditional sugar.
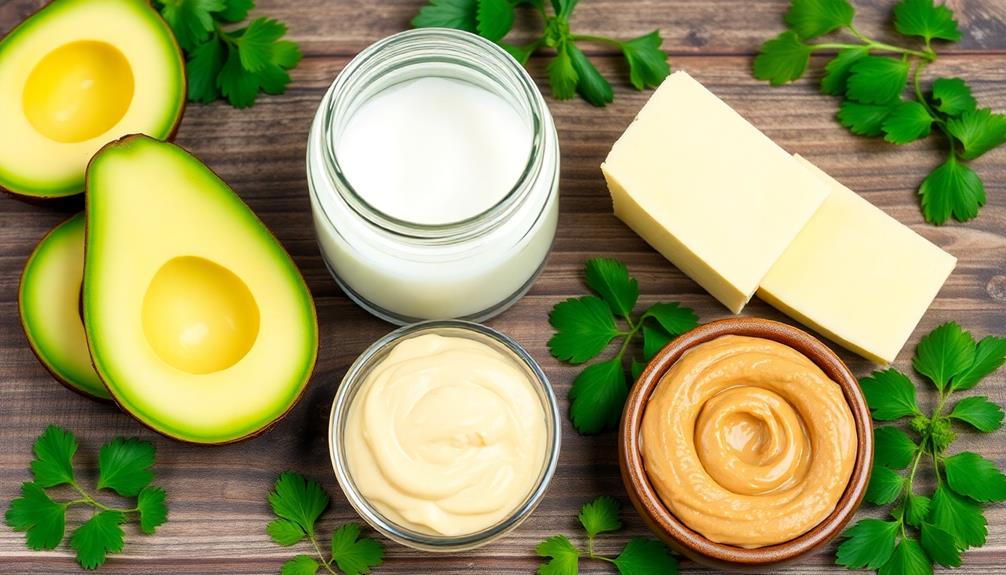
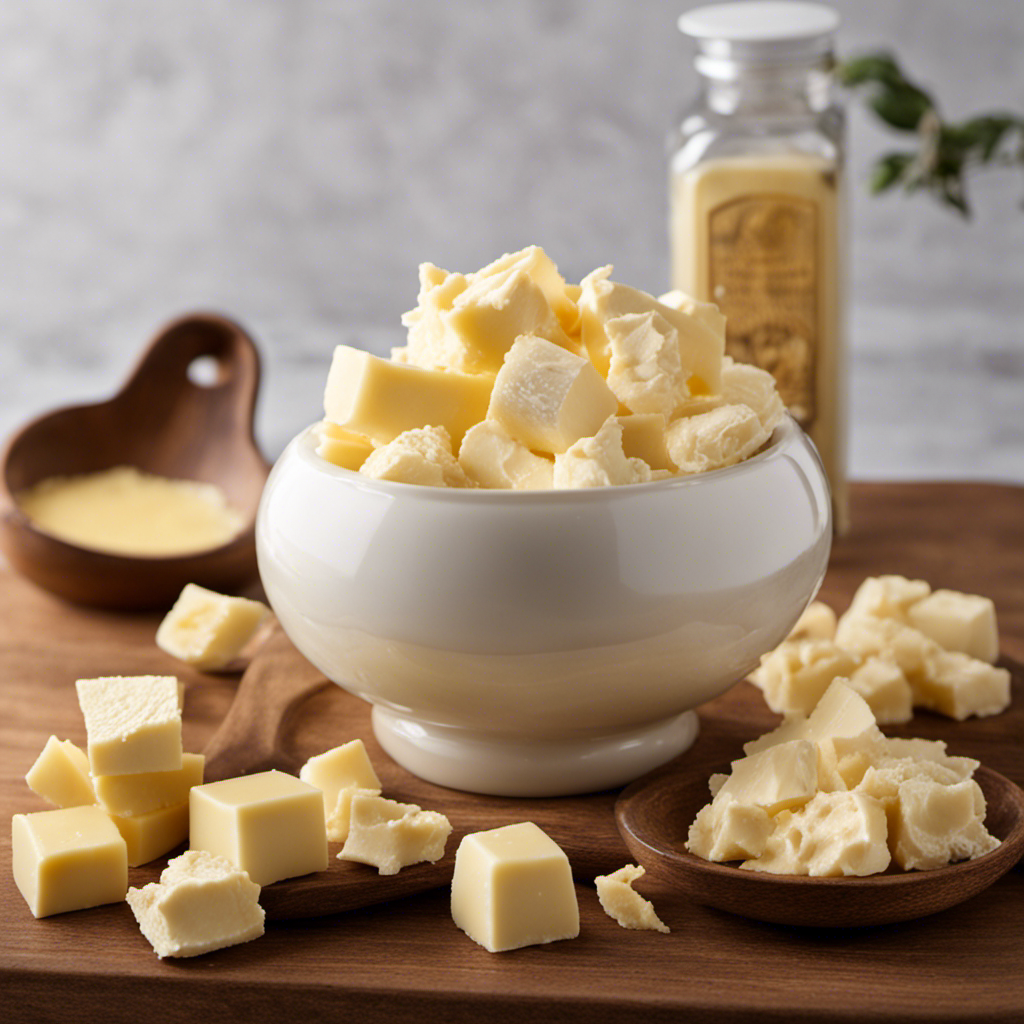
Gathering the Ingredients
First, gather all the necessary ingredients for making peanut butter ice cream with an ice cream maker. To make this delicious treat, you’ll need:
- 2 cups of heavy cream
- 1 cup of whole milk
- ¾ cup of granulated sugar
- ½ cup of smooth peanut butter
- 1 teaspoon of vanilla extract
- a pinch of salt.
Choosing the right equipment is essential for making perfect ice cream. An ice cream maker with a built-in freezer is the best option, as it ensures a consistent and creamy texture. Additionally, make sure to have a sturdy mixing bowl, measuring cups, and a whisk.
When measuring ingredients, accuracy is key. Use a liquid measuring cup for the cream, milk, and vanilla extract. For the peanut butter, use a dry measuring cup and pack it tightly to get an accurate measurement. When measuring sugar, level it off with a straight edge for precise amounts.
Now that you have all the ingredients, it’s time to start making your peanut butter ice cream. Stay tuned for the next step in this delicious process.
Preparing the Peanut Butter Base
When it comes to making peanut butter ice cream, there are a few key points to keep in mind.
First, choosing the right peanut butter is crucial for achieving the perfect flavor. Whether you prefer creamy or crunchy, organic or conventional, the type of peanut butter you use will greatly impact the taste of your ice cream.
Additionally, adding mix-ins can elevate the flavor profile of your ice cream, so don’t be afraid to get creative with ingredients like chocolate chips, crushed cookies, or caramel swirls.
Choosing the Right Peanut Butter
Peanut butter with a high fat content is ideal for creating creamy ice cream. When exploring different brands and comparing peanut butter types, there are a few key factors to consider. Here are five things to keep in mind:
-
Creaminess: Look for peanut butter that has a smooth and creamy texture. This will help create a velvety ice cream base.
-
Roasted Flavor: Opt for peanut butter that is made from roasted peanuts. This will enhance the nutty flavor in your ice cream.
-
Saltiness: Consider the saltiness of the peanut butter. Balance it with the other ingredients in your recipe to achieve the perfect flavor profile.
-
Natural vs. Processed: Decide whether you prefer natural peanut butter, which tends to separate, or processed peanut butter that stays well-mixed.
-
Sweetness: Depending on your taste preferences, choose between sweetened and unsweetened peanut butter. Adjust the sweetness accordingly in your ice cream recipe.
Adding Mix-Ins for Extra Flavor
Adding mix-ins like chocolate chips or crushed cookies can take your homemade peanut butter ice cream to the next level of deliciousness. Get creative with your mix-ins and experiment with different flavors to create a truly unique and delectable ice cream experience.
One idea is to add some chopped peanuts for a crunchy texture that complements the creamy peanut butter base. For a sweet and salty combination, try adding pretzel pieces or a drizzle of caramel sauce. If you’re a fan of fruity flavors, consider mixing in some diced bananas or swirls of strawberry sauce. The possibilities are endless, so don’t be afraid to get creative and have fun with your mix-ins!
Now, let’s move on to achieving the perfect consistency for your peanut butter ice cream.
Achieving the Perfect Consistency
To achieve the perfect consistency, it’s important to let your ice cream mixture chill in the refrigerator for at least a few hours before churning. This step allows the flavors to meld together and for the mixture to thicken, resulting in a smoother and creamier ice cream.
However, there are additional techniques you can use to ensure the best texture for your homemade peanut butter ice cream.
-
Using stabilizers: Adding a small amount of stabilizers like cornstarch or xanthan gum can help prevent ice crystals from forming in your ice cream. This will result in a smoother and more velvety texture.
-
Pre-freezing your ice cream maker: Make sure to thoroughly freeze the canister of your ice cream maker before churning. This will help freeze the mixture quickly and evenly, preventing the formation of large ice crystals.
-
Properly storing your ice cream: After churning, transfer your ice cream to an airtight container and press a piece of plastic wrap directly onto the surface. This will help prevent freezer burn and the formation of ice crystals.
-
Avoiding temperature fluctuations: Try to minimize the number of times you open and close the freezer door to prevent temperature fluctuations. This will help maintain the perfect consistency of your ice cream.
-
Enjoying it fresh: Homemade ice cream is best enjoyed within a few days of churning. Freezing it for long periods may cause ice crystals to form and affect the texture. So, indulge in your creamy, homemade peanut butter ice cream as soon as possible!
Churning the Ice Cream
Once the mixture is ready, you can start churning the ice cream in the machine. This is the exciting part where the magic happens and your creamy peanut butter ice cream starts to take shape. As the machine churns, it incorporates air into the mixture, giving it a light and fluffy texture. The churning process also helps in achieving a smooth consistency, ensuring that there are no ice crystals in the final product.
While the ice cream is churning, it’s the perfect time to add swirls of chocolate. To do this, simply drizzle melted chocolate onto the spinning ice cream base. The churning action will distribute the chocolate throughout the mixture, creating beautiful swirls that will delight both your eyes and taste buds. The combination of rich peanut butter and decadent chocolate is a match made in ice cream heaven.
As the churning continues, the ice cream will thicken and become more solid. You’ll notice that the mixture is no longer liquid, but rather a thick and creamy texture that is perfect for scooping. Once the ice cream has reached the desired consistency, it’s time to transfer it into a container and let it harden in the freezer.
Now that the ice cream is churning and achieving a smooth consistency, let’s move on to the next step: adding mix-ins and variations.
Adding Mix-ins and Variations
When it comes to making ice cream, the possibilities are endless. In this discussion, we’ll delve into creative mix-in ideas, flavor variations to try, and the best texture for mix-ins.
Get ready to take your homemade ice cream to the next level with exciting combinations and techniques that will have your taste buds begging for more. From crunchy cookies to sweet and tangy fruits, we’ll explore the art of customizing your frozen treat to perfection.
Creative Mix-In Ideas
For added variety, try mixing in crushed cookies or chopped nuts to your homemade peanut butter ice cream. This will add a delightful crunch and texture to your creamy dessert.
But why stop there? There are endless mix-in combinations and presentation ideas to take your peanut butter ice cream to the next level. Here are some creative ideas to inspire you:
- Swirl in melted chocolate for a decadent and indulgent treat.
- Add chunks of your favorite candy bar for a surprising burst of flavor.
- Stir in a ribbon of caramel sauce for a sweet and gooey surprise.
- Mix in some toasted coconut for a tropical twist.
- Sprinkle in some colorful sprinkles to make your ice cream extra fun and festive.
With these mix-ins, your peanut butter ice cream will become a personalized masterpiece that will impress anyone who tries it. But if you’re looking for even more flavor variations to try, keep reading.
Flavor Variations to Try
To switch up the flavor of your homemade treat, try experimenting with different mix-ins like fruit purees, crushed cookies, or even a swirl of Nutella.
But if you’re feeling adventurous, why not explore unique flavors and incorporate unexpected ingredients into your ice cream? It’s a fun way to surprise your taste buds and create something truly one-of-a-kind.
How about adding a hint of lavender for a floral twist? Or how about a sprinkle of sea salt to balance out the sweetness?
If you’re feeling bold, you can even try incorporating unexpected ingredients like bacon or cheese into your ice cream for a savory and creamy delight.
The possibilities are endless when it comes to flavor variations, so don’t be afraid to get creative and let your imagination run wild!
Best Texture for Mix-Ins
Adding mix-ins like fruit purees, crushed cookies, or a swirl of Nutella will enhance the texture of your homemade treat. The best mix-in combinations can take your ice cream to the next level, adding bursts of flavor and exciting textures. Here are a few ideas to get you started:
- Chunks of chewy brownie for a rich and fudgy surprise.
- Ribbons of caramel sauce for a sweet and gooey delight.
- Fresh strawberries for a burst of fruity freshness.
- Crushed Oreos for a deliciously crunchy addition.
- Chunks of peanut butter cups for a creamy and decadent treat.
To prevent mix-ins from sinking to the bottom of your ice cream, it’s important to fold them in at the right time. Wait until the ice cream has finished churning and is thick but still soft. Then, gently stir in your mix-ins until they are evenly distributed. This will ensure that each scoop of ice cream is filled with delightful surprises.
Troubleshooting Common Issues
If your ice cream is too soft, try freezing it for a longer period of time. This is one of the common issues that can arise when making homemade ice cream. However, there are other troubleshooting techniques that can help you achieve the perfect texture and consistency.
Here are some common issues and their solutions:
| Problem | Solution |
|---|---|
| Ice cream is too icy | Try adding a teaspoon of corn syrup to the mixture before freezing. This will help improve the texture and prevent ice crystals from forming. |
| Ice cream is too sweet | Reduce the amount of sugar in the recipe. Alternatively, you can balance the sweetness by adding a pinch of salt or a squeeze of lemon juice. |
| Ice cream is too hard | Increase the amount of fat in the recipe by using heavy cream or whole milk instead of low-fat options. You can also try adding a tablespoon of alcohol, such as vodka or rum, to the mixture before freezing. |
| Ice cream is grainy | Make sure to fully dissolve the sugar in the base before freezing. If the sugar doesn’t dissolve properly, it can create a grainy texture. |
| Ice cream is too soft or melts quickly | Ensure that your ice cream maker is properly chilled before using. If the machine is not cold enough, it may not freeze the mixture properly. |
Storing and Serving the Ice Cream
When serving homemade ice cream, it’s important to use a scoop with a warm spoon to ensure easy scooping. Properly storing and serving your homemade peanut butter ice cream can make all the difference in preserving its creamy texture and delicious flavor. Here are some helpful methods and suggestions:
-
Freezer-friendly Containers: Store your homemade ice cream in airtight containers specifically designed for freezer use. This will prevent ice crystals from forming and ensure the ice cream stays fresh longer.
-
Layer with Parchment Paper: To prevent freezer burn, place a layer of parchment paper on the surface of the ice cream before sealing the container. This will create a barrier and maintain the ice cream’s quality.
-
Store at the Back: Keep your ice cream at the back of the freezer where the temperature is more consistent. Avoid storing it in the freezer door, as it is exposed to temperature fluctuations every time the door is opened.
-
Thaw before Serving: Before serving, allow your homemade ice cream to thaw for a few minutes at room temperature. This will make it easier to scoop and enhance the creamy texture.
-
Garnish and Pair: Elevate your peanut butter ice cream experience by garnishing it with chopped peanuts, chocolate sauce, or a drizzle of caramel. You can also pair it with warm brownies or freshly baked cookies for an indulgent dessert.
Understanding the Science Behind Ice Cream Making
When it comes to making ice cream, understanding the interactions between ingredients is crucial.
One key aspect to consider is the role of emulsifiers in creating a smooth and creamy texture. Emulsifiers help to bind together the fat and water molecules in the ice cream base, preventing separation and resulting in a more stable and enjoyable end product.
Ingredient Interactions in Ice Cream
To make your peanut butter ice cream creamy and smooth, you’ll want to ensure that all ingredients are properly mixed together. Achieving the perfect texture and flavor requires understanding the interactions between these ingredients.
Here are some key factors that play a crucial role in creating a delectable peanut butter ice cream:
-
Emulsion stability: The emulsion of fats and water in ice cream is what gives it its creamy texture. Proper emulsion stability ensures that the fat globules are evenly distributed, preventing clumping and creating a smooth mouthfeel.
-
Freezing point depression: Adding sugar to the ice cream mixture lowers its freezing point, resulting in a softer texture. This is essential for achieving a scoopable consistency.
-
Incorporating air: The churning process during ice cream making introduces air into the mixture, creating a light and fluffy texture.
-
Balancing flavors: Achieving the perfect balance of peanut butter flavor without overpowering the other ingredients is key. Adding just the right amount of peanut butter ensures a harmonious taste.
-
Texture enhancers: Ingredients like stabilizers and emulsifiers help maintain the structure of the ice cream, preventing ice crystals from forming and giving it a smoother texture.
Role of Emulsifiers
If you want a creamy and smooth texture in your homemade peanut butter ice cream, using emulsifiers is essential. Emulsifiers are ingredients that help stabilize the mixture by combining the fat and water molecules, preventing them from separating. This results in a velvety texture that melts in your mouth.
Emulsifiers have several benefits in ice cream making. Firstly, they enhance the overall mouthfeel, making the ice cream feel richer and more indulgent. Secondly, they improve the stability of the ice cream, preventing it from melting too quickly. Lastly, emulsifiers can also help extend the shelf life of the ice cream.
However, if you prefer to avoid using emulsifiers, there are alternatives such as egg yolks or stabilizers like guar gum or xanthan gum. These alternatives can provide similar benefits in terms of texture and stability.
Exploring Different Peanut Butter Flavors
There’s a wide range of peanut butter flavors to experiment with for your ice cream. The possibilities are endless when it comes to adding a delicious twist to your frozen treat. Here are five exciting peanut butter flavor combinations that will take your homemade ice cream to the next level:
-
Chunky Monkey: Mix peanut butter with banana slices and chocolate chunks for a creamy and indulgent treat that will satisfy any sweet tooth.
-
Salted Caramel Crunch: Combine peanut butter with a drizzle of salted caramel sauce and crunchy caramelized peanuts for a perfect balance of sweet and salty.
-
Raspberry Swirl: Swirl in some raspberry jam into your peanut butter ice cream for a burst of fruity flavor that complements the nuttiness perfectly.
-
Espresso Delight: Add a shot of espresso to your peanut butter base for a rich and bold flavor combination that coffee lovers will adore.
-
Coconut Bliss: Blend peanut butter with coconut milk and shredded coconut for a tropical twist that will transport you to a sunny beach.
Not only do these peanut butter flavor combinations taste amazing, but they also offer some health benefits. Peanut butter is packed with protein, healthy fats, and essential vitamins and minerals. It can help to lower cholesterol levels, reduce the risk of heart disease, and promote a healthy weight.
Tips for Achieving a Creamy Texture
Achieving a creamy texture in homemade ice cream can be as simple as using a high-fat dairy product, like heavy cream or whole milk. However, there are a few more tips and tricks that can help you create the perfect creamy consistency for your peanut butter ice cream. One important factor is choosing the right ingredients. Opt for high-quality peanut butter that is smooth and creamy, as this will greatly enhance the texture of your ice cream. Additionally, adding a small amount of corn syrup or a tablespoon of vodka to your ice cream base can help prevent the formation of ice crystals and create a smoother texture.
To help you troubleshoot common texture issues, I’ve created a handy table below:
| Texture Issue | Possible Causes | Solution |
|---|---|---|
| Grainy texture | Overheating the ice cream base or using low-quality ingredients | Use a double boiler when heating the base and choose high-quality ingredients |
| Icy texture | Not using enough fat or not churning the ice cream long enough | Increase the fat content by using heavy cream or adding a tablespoon of melted butter. Also, make sure to churn the ice cream for the recommended time |
| Too soft | Not freezing the ice cream base long enough or not using enough stabilizers | Freeze the ice cream base for the recommended time and consider adding a teaspoon of cornstarch or gelatin to improve stability |
Using Alternative Sweeteners
When using alternative sweeteners in your homemade frozen treats, be mindful of their unique flavor profiles and adjust the amounts accordingly. Alternative sweeteners can bring a whole new dimension to your ice cream, but it’s important to understand how they may alter the taste and texture of your frozen treat.
Here are some tips to help you navigate the world of alternative sweeteners:
-
Stevia: This natural sweetener is derived from the stevia plant and has a strong, sweet taste. Use it sparingly, as a little goes a long way.
-
Honey: With its rich, floral flavor, honey can add depth to your ice cream. However, keep in mind that honey has a higher water content than other sweeteners, so adjust your recipe accordingly.
-
Maple syrup: This sweet and earthy syrup can lend a delightful taste to your ice cream. Just be aware that it may darken the color of your frozen treat.
-
Coconut sugar: Made from the sap of coconut palm trees, coconut sugar has a caramel-like flavor that pairs well with many ice cream flavors.
-
Agave nectar: This sweetener has a mild and neutral taste, making it a versatile option for your ice cream creations.
Experimenting with alternative sweeteners can open up a world of possibilities for your homemade frozen treats. Just remember to adjust the amounts and take note of any flavor changes to ensure a delicious and balanced end result.
Happy sweetening!
Vegan and Dairy-Free Options
If you’re looking for a vegan and dairy-free option for your frozen treats, coconut milk can be a great substitute for traditional dairy milk. Not only is it creamy and delicious, but it also provides a host of health benefits. Coconut milk is rich in healthy fats, vitamins, and minerals, making it a nutritious choice for those following a vegan or dairy-free lifestyle.
Here is a comparison table highlighting the benefits of coconut milk as a vegan ice cream alternative:
| Traditional Dairy Milk | Coconut Milk |
|---|---|
| Contains lactose, which can cause digestive issues for some individuals | Lactose-free, making it suitable for those with lactose intolerance |
| High in saturated fat | High in healthy fats, including medium-chain triglycerides (MCTs) which can boost metabolism |
| Contains cholesterol | Cholesterol-free |
| May come from cows treated with hormones and antibiotics | Plant-based and free from hormones and antibiotics |
In addition to coconut milk, there are other dairy-free dessert options available for those looking to enjoy frozen treats without compromising their dietary preferences. Some popular alternatives include almond milk, soy milk, and cashew milk. These options offer a variety of flavors and textures, allowing you to experiment and find your favorite vegan ice cream alternative.
Whether you have dietary restrictions or simply enjoy the taste of non-dairy frozen treats, there are plenty of options available to satisfy your cravings. So go ahead, indulge in a delicious and guilt-free vegan ice cream experience!
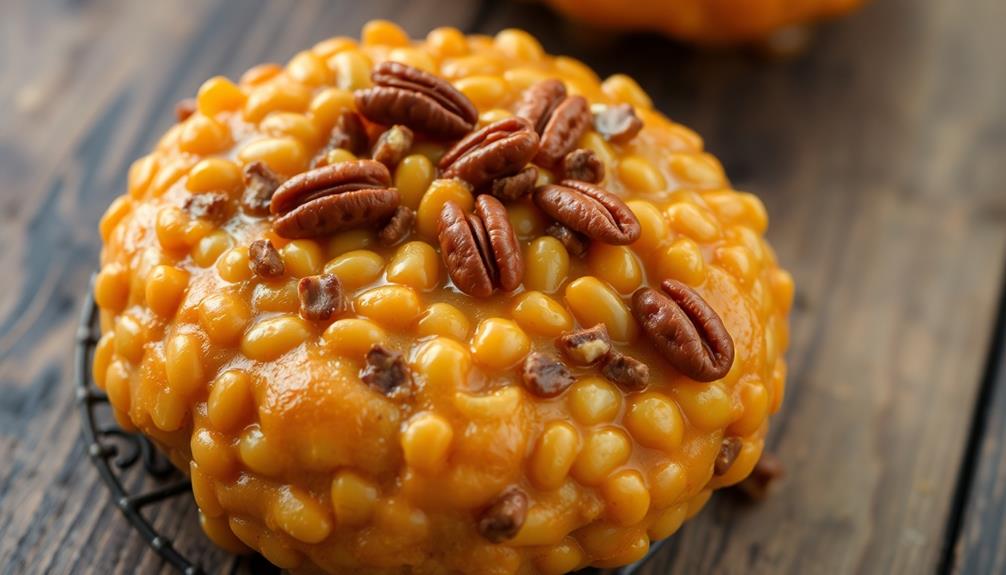
Incorporating Crunchy Toppings
To add some crunch to your dairy-free frozen treat, try sprinkling crushed nuts or granola on top for a satisfying texture. This simple addition can elevate your ice cream experience to a whole new level.
But why stop there? There are so many other crunchy mix-in ideas that can take your dairy-free ice cream to the next level. Here are five unique and delicious options to consider:
-
Crushed cookies: Whether it’s chocolate chip cookies, Oreos, or graham crackers, adding crushed cookies to your ice cream will create a delightful crunch and add a burst of flavor.
-
Caramelized nuts: Toasted almonds, pecans, or even peanuts can be caramelized with a touch of sugar and a sprinkle of salt. The result is a crunchy, sweet, and salty topping that pairs perfectly with any ice cream flavor.
-
Pretzel pieces: Salty pretzel pieces provide a satisfying contrast to the creamy texture of the ice cream. They add a hint of saltiness and a delightful crunch.
-
Coconut flakes: Toasted coconut flakes bring a tropical twist to your dairy-free ice cream. They add a delicate crunch and a subtle coconut flavor that complements a variety of flavors.
-
Cacao nibs: These crunchy little gems are made from crushed cacao beans and offer a rich, chocolatey taste. They add a satisfying texture and a hint of bitterness that balances sweet ice cream flavors.
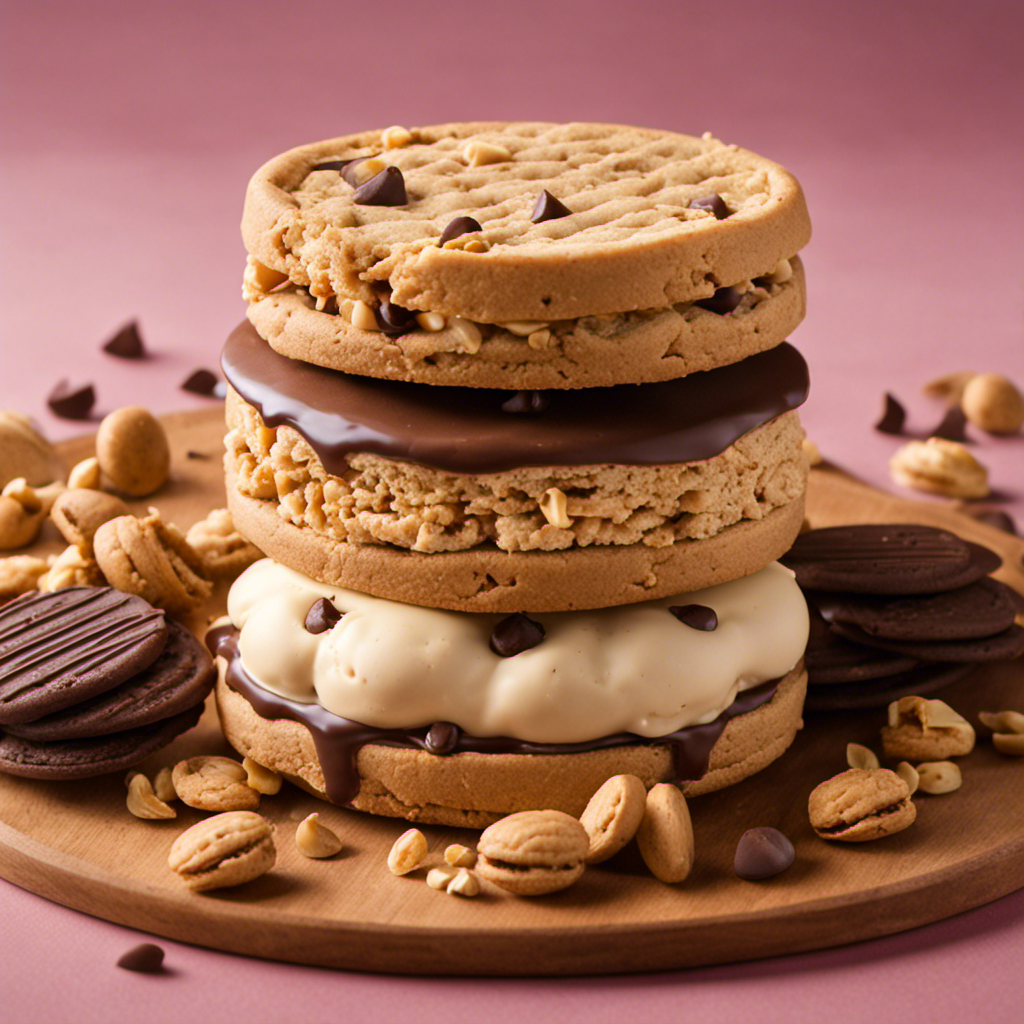
Making Peanut Butter Ice Cream Sandwiches
One way to create delicious peanut butter ice cream sandwiches is by spreading a layer of creamy peanut butter between two chocolate cookies. The combination of the rich, nutty peanut butter flavor and the sweetness of the cookies creates a perfect balance of flavors.
To make these sandwiches, start by making a batch of homemade peanut butter ice cream using your ice cream maker. Once the ice cream is ready, take two chocolate cookies and spread a generous layer of creamy peanut butter on one side of each cookie. Then, place a scoop of the peanut butter ice cream onto one of the cookies and top it with the other cookie, peanut butter side down. Gently press the cookies together to create a sandwich.
You can also get creative with your peanut butter ice cream sandwiches by using different types of cookies, such as oatmeal or peanut butter cookies. These sandwiches can also be transformed into a peanut butter ice cream cake or pie by layering the sandwiches in a cake pan or pie dish and freezing them until firm. The possibilities are endless when it comes to creating delicious peanut butter treats!
Now, let’s move on to experimenting with peanut butter ice cream sundaes.
Experimenting With Peanut Butter Ice Cream Sundaes
Get creative and try experimenting with different toppings like hot fudge, caramel sauce, or crushed peanuts on your peanut butter ice cream sundae! There are so many delicious combinations you can try to take your sundae to the next level.
Here are some serving suggestions that will make your taste buds dance with joy:
-
Rainbow Sprinkles: Add a pop of color and a fun, crunchy texture to your sundae with some rainbow sprinkles. It’s like a party in your mouth!
-
Whipped Cream: Top your peanut butter ice cream with a dollop of creamy whipped cream for an extra touch of indulgence.
-
Banana Slices: For a fruity twist, slice up some fresh bananas and layer them on top of your sundae. The combination of peanut butter and banana is a match made in dessert heaven.
-
Chocolate Chips: Who can resist the classic combination of peanut butter and chocolate? Sprinkle some chocolate chips on your sundae for a rich and decadent treat.
-
Toasted Coconut: Give your sundae a tropical twist by adding some toasted coconut flakes. The crispy coconut adds a delightful crunch and a hint of sweetness.
With these serving suggestions, you can transform a simple peanut butter ice cream sundae into a masterpiece of flavor and texture. So go ahead, get creative, and enjoy the sweet sensations that await you!
Frequently Asked Questions
Can I Make Peanut Butter Ice Cream Without an Ice Cream Maker?
I love making ice cream, and I’ve found that you can definitely make peanut butter ice cream without an ice cream maker. There are plenty of no churn recipes available that use alternative ingredients.
How Long Does It Take to Churn the Ice Cream in an Ice Cream Maker?
Churning ice cream in an ice cream maker is a breeze. I’ll share tips on achieving the perfect consistency and speeding up the process. It’s all about creating a smooth and creamy treat!
Can I Substitute Almond Butter for Peanut Butter in the Recipe?
Sure, you can substitute almond butter for peanut butter in the recipe. Almond butter has different nutritional differences, so keep that in mind. It can also be used as a substitute in other recipes.
Can I Use a Different Sweetener, Such as Honey or Maple Syrup, Instead of Sugar?
Using honey or maple syrup as a sweetener in peanut butter ice cream creates a richer, more nuanced flavor compared to sugar. Adjust sweetness level by tasting and adding gradually.
How Long Can I Store Homemade Peanut Butter Ice Cream in the Freezer Before It Starts to Lose Its Flavor?
When it comes to storing homemade ice cream, it’s important to know how long it will stay fresh. The flavor can start to fade after a couple of months, so enjoy it sooner rather than later!
Conclusion
In conclusion, making peanut butter ice cream with an ice cream maker is a delicious and fun process.
With the right ice cream maker and ingredients, you can create a creamy and rich peanut butter base that will satisfy any sweet tooth.
Don’t forget to add in your favorite mix-ins and variations to take your ice cream to the next level.
Whether you’re vegan or dairy-free, there are options available for you to enjoy this tasty treat.
So go ahead, grab your ice cream maker and start churning up some peanut buttery goodness!
It’s time to indulge in a little frozen nostalgia.