Picture yourself savoring the decadent and robust tastes of handcrafted kief butter, a cannabis-infused treat that will take your cooking to the next level.
Did you know that keif butter can contain up to six times the THC concentration of regular cannabis?
In this article, we will guide you through the step-by-step process of making this delectable treat, using simple ingredients and equipment.
Get ready to infuse your dishes with the unmistakable essence of keif, as we show you how to perfect your own keif butter recipe.
Key Takeaways
- Keif butter is made by combining ground cannabis trichomes with butter.
- Keif contains high levels of cannabinoids, terpenes, and other beneficial compounds.
- Keif butter offers health benefits such as pain relief, relaxation, and stress reduction.
- Infusing keif into butter allows for a more precise dosage and offers a stronger and longer-lasting high.

Earth Balance, Spread Buttery Whipped Organic, 13 Ounce
- Trans fat free: 0 grams trans fat
- Non-GMO: Non-GMO ingredients
- Product size: 13-ounce container
As an affiliate, we earn on qualifying purchases.
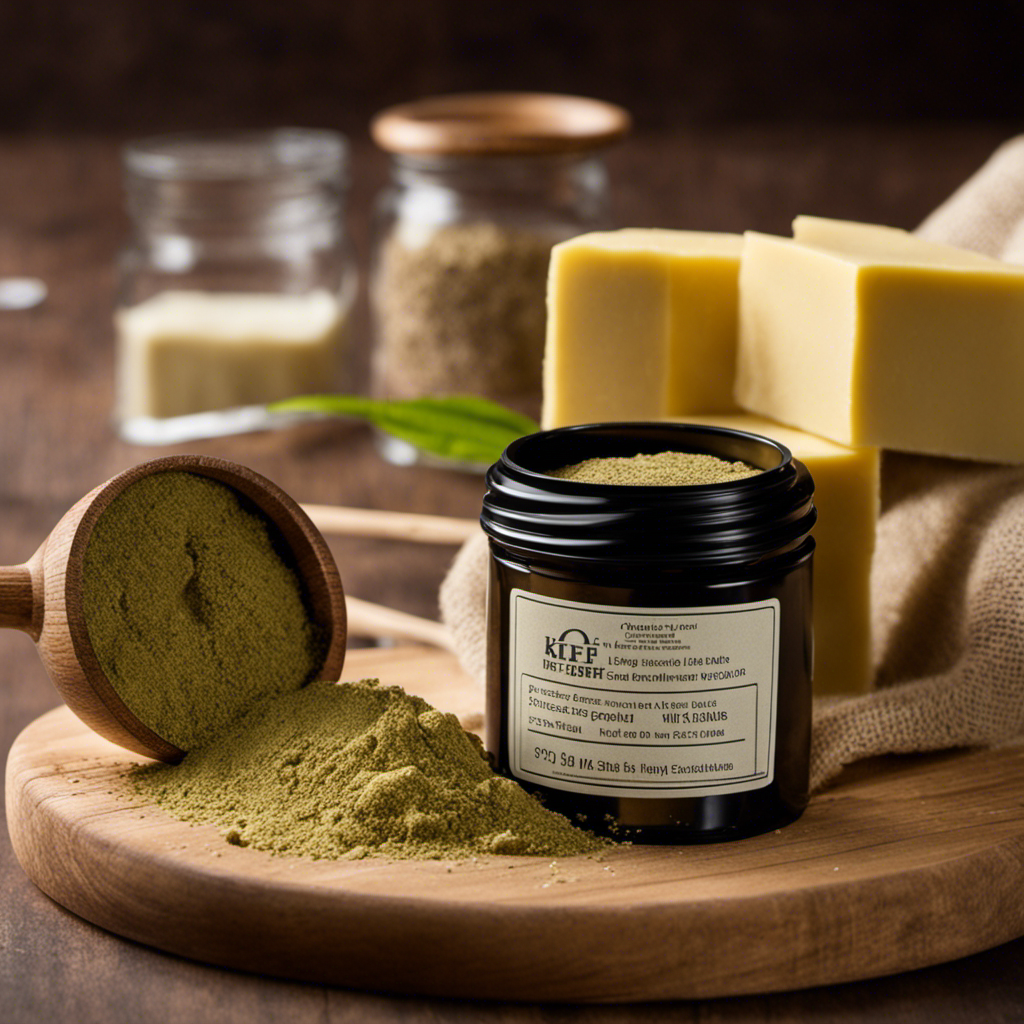
What Is Keif Butter
If you’re wondering what keif butter is, it’s a potent cannabis-infused butter made by combining ground cannabis trichomes with butter.
Keif, also known as kief, refers to the resinous trichomes that are found on the cannabis flower. These trichomes contain high levels of cannabinoids, terpenes, and other beneficial compounds.
When combined with butter, they create a powerful concoction that can be used in a variety of ways. Keif butter offers a range of health benefits, including pain relief, relaxation, and stress reduction.
Additionally, it can be used in different ways such as spreading it on toast, adding it to your favorite recipes, or even using it as a topical for skin conditions.
Now that you know what keif butter is and its various uses, let’s move on to gathering the necessary ingredients and equipment.
Gathering the Necessary Ingredients and Equipment
Once you have all the necessary ingredients and equipment, you’re ready to start making your keif butter.
Choosing the right strain for keif extraction is crucial to achieve the desired effects and flavors. Indica strains are known for their relaxing properties, while sativa strains offer a more uplifting experience. Hybrid strains combine the best of both worlds, providing a balanced effect. When selecting your strain, consider the desired outcome and personal preferences.
Now, onto alternative uses for keif butter. Besides the obvious choice of using it as a spread on toast or in baked goods, keif butter can elevate your cooking game. Try adding it to your pasta sauce, mashed potatoes, or even popcorn for an extra kick. The possibilities are endless, so get creative and explore the many ways keif butter can enhance your culinary adventures.
Step-By-Step Guide to Extracting Keif
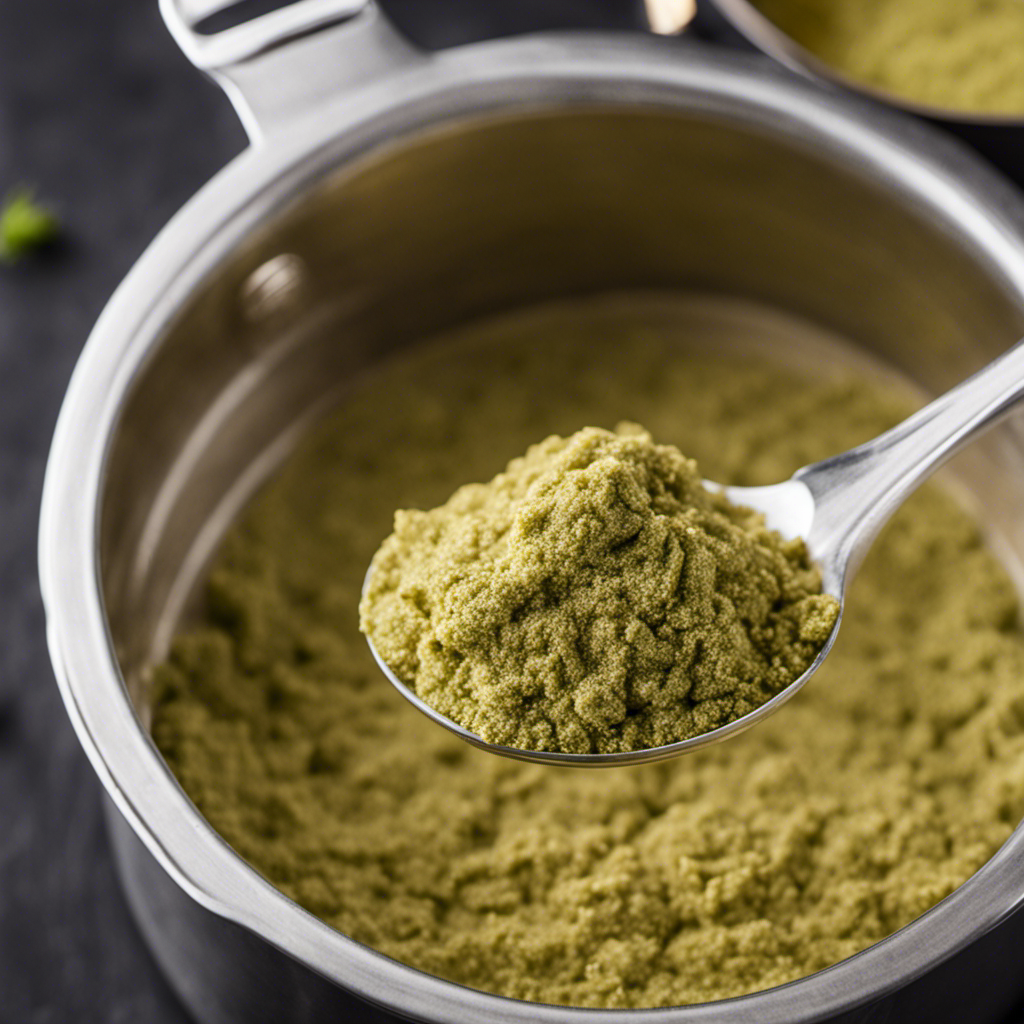
To start extracting keif, you’ll need a grinder with a pollen catcher to collect the fine trichomes from your cannabis. Keif, often referred to as the ‘gold dust’ of the cannabis plant, is a highly potent and concentrated form of THC.
The step-by-step process begins with grinding your cannabis buds using the grinder. As you grind, the trichomes, which contain the valuable keif, will fall through the screen and into the pollen catcher.
Once you have collected a sufficient amount of keif, you can proceed to the next step of infusing it into butter. The benefits of using keif butter are numerous, as it allows for a more precise dosage and offers a stronger and longer-lasting high.
Now, let’s move on to the process of infusing keif into butter.
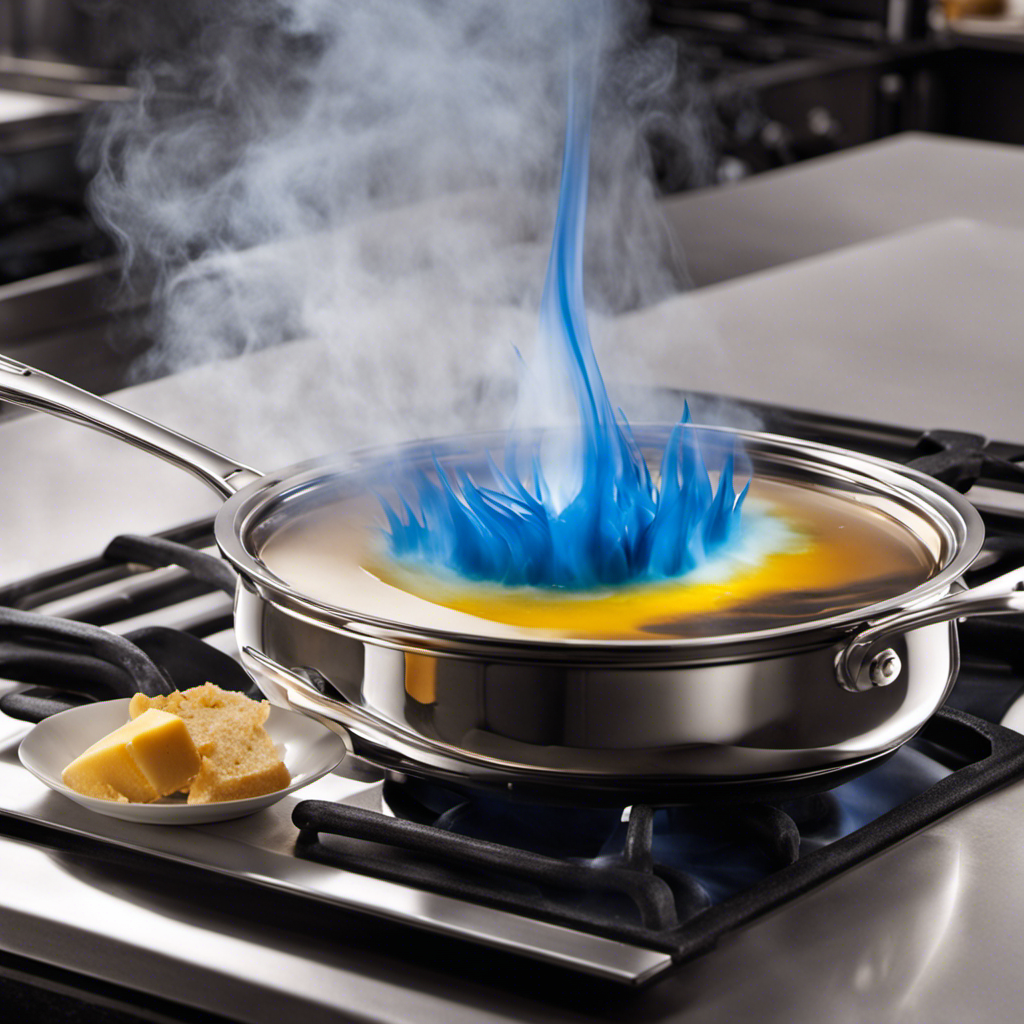
Infusing Keif Into Butter
After collecting a sufficient amount, you can proceed to infusing the keif into butter. Using keif in cooking has numerous benefits, as it adds a potent kick to your recipes. The process of infusing keif into butter allows you to incorporate its rich flavors and effects into a wide range of dishes.
There are different methods you can use to achieve this infusion. One popular method is the stovetop method, where you melt the butter on low heat and slowly add the keif, stirring continuously until fully combined. Another method involves using a slow cooker to infuse the keif into the butter over a longer period of time, resulting in a more potent final product. These methods offer flexibility in terms of flavor intensity and potency.
Now that you know how to infuse keif into butter, let’s move on to the next section where we will discuss tips for perfecting your keif butter recipe.
Tips for Perfecting Your Keif Butter Recipe
When perfecting your recipe, you can experiment with different ratios of keif to butter to achieve your desired potency. Adjusting the amount of keif will directly impact the strength of your infused butter.
Here are some tips to help you perfect your keif butter recipe:
- Choose high-quality keif: The quality of your starting material will greatly affect the final product. Look for keif that is potent and free from contaminants.
- Decarboxylate properly: This step is crucial to activate the THC in your keif. Make sure to heat it at the right temperature and for the correct amount of time.
- Strain carefully: After infusing the keif into the butter, strain it thoroughly to remove any plant material or impurities.
Troubleshooting common issues with keif butter:
- Weak potency: Increase the amount of keif used in your recipe.
- Burnt or bitter taste: Lower the cooking temperature and/or reduce the cooking time.
Alternative uses for keif butter:
- Spread it on toast or baked goods for a delicious infused treat.
- Use it as a base for cannabis-infused sauces or dressings.
- Add it to your favorite recipes for an extra kick of THC.
Storing and Using Keif Butter
Storing and using keif butter is simple and convenient, making it a versatile ingredient for a variety of recipes.
When it comes to storing keif butter, it is best to keep it in an airtight container in the refrigerator. This will help maintain its freshness and prevent any unwanted odors from infiltrating.
As for using keif butter, the possibilities are endless. You can spread it on toast or muffins for a flavorful twist, melt it over vegetables for a savory enhancement, or even incorporate it into baked goods for a delectable infusion.
Additionally, keif butter can be used as a base for cannabis-infused drinks or as a topping for popcorn. Get creative and experiment with different ways to incorporate this potent ingredient into your favorite dishes.
Conclusion
Congratulations! You’re now equipped with the knowledge and skills to create your very own keif butter. By following our step-by-step guide, you can transform your keif into a delicious and potent ingredient that will take your culinary creations to the next level.
Did you know that keif butter can contain up to 50% more THC than regular cannabis butter? This mind-blowing statistic highlights the incredible potency of keif butter and sets it apart from other cannabis-infused ingredients.
So why wait? Get started on your keif butter journey and unlock a world of culinary possibilities today!