I must say, there’s nothing like the sensation of biting into a warm, flaky honey butter biscuit. The delicious smell coming from the oven, the perfectly golden crust, the texture that melts in your mouth – it’s sheer bliss.
And guess what? Today, I’m gonna show you how to make these little pockets of deliciousness right in your own kitchen. So grab your apron and let’s get started on this mouthwatering journey to biscuit heaven. Trust me, you won’t be able to resist.
Key Takeaways
- Gather the necessary ingredients such as all-purpose flour, baking powder, honey, and butter.
- Prepare the dough by mixing the dry ingredients and kneading until smooth and elastic.
- Shape and cut the biscuits using a round cookie cutter and place them on a lined baking sheet.
- Bake the biscuits until golden brown and make a sweet glaze to enhance the flavor.

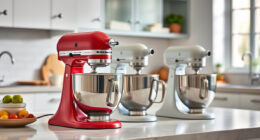
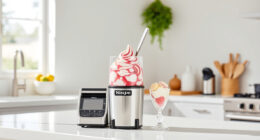
KitchenAid Artisan, 5-Qt Tilt Head Stand Mixer, KSM150PS, Milkshake
- Durable Metal Construction: Built to last with 59 touchpoints
- 5 Quart Stainless Steel Bowl: Handles small or large batches, dishwasher safe
- Tilt-Head Design: Easy ingredient addition and access to bowl
As an affiliate, we earn on qualifying purchases.
Gathering the Ingredients
Now it’s time to gather all your ingredients for making these delicious honey butter biscuits.
In this subtopic exploration, I will guide you through the process of gathering the necessary ingredients.
The first ingredient you will need is all-purpose flour. It provides the structure and texture to the biscuits. If you prefer a healthier alternative, you can use whole wheat flour instead.
Next, you will need baking powder, which helps the biscuits rise and become fluffy. If you don’t have baking powder on hand, you can substitute it with a combination of baking soda and cream of tartar.
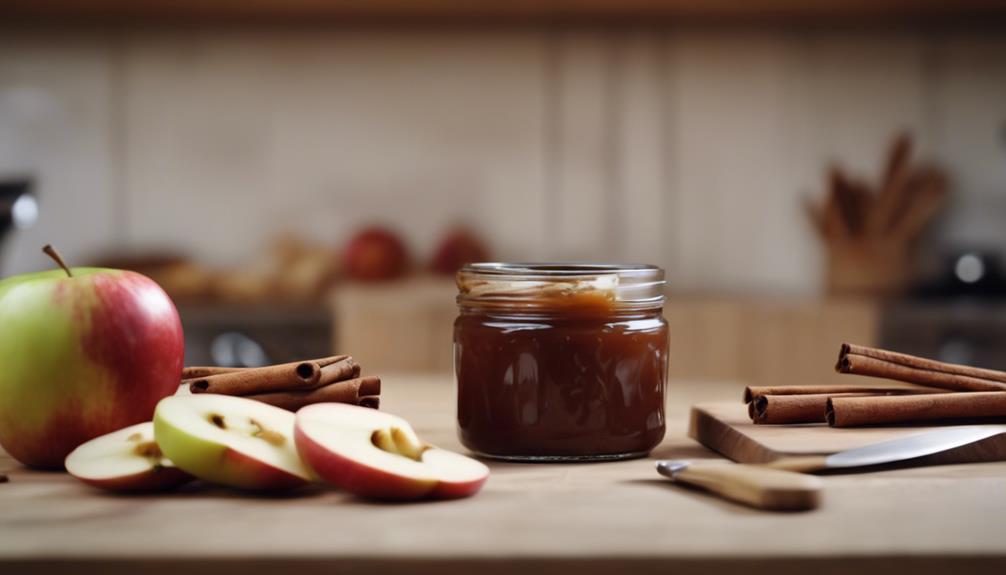
Lastly, you will need honey and butter for that irresistible sweet and savory flavor.
With all the ingredients gathered, let’s move on to preparing the dough.
Preparing the Dough
First, you’ll need to mix together the dry ingredients for the dough. In a large bowl, combine flour, baking powder, sugar, and salt. Using a fork, stir the ingredients until they are well blended.
Next, it’s time to knead the dough. Sprinkle a clean surface with flour and transfer the dough onto it. Gently press and fold the dough with the palms of your hands, using a light touch. Continue this process for about 5 minutes or until the dough becomes smooth and elastic.
Once the dough is kneaded, cover it with a clean cloth and let it rest for about 30 minutes. This rising time allows the yeast to activate and the dough to become airy and soft.
Shaping and Cutting the Biscuits
Once the dough has rested, gently flatten it with your hands and use a round cookie cutter to cut out the biscuits. This step is where you can get creative and have fun with different biscuit shapes. From classic round biscuits to heart-shaped ones, the possibilities are endless. The key is to make sure the dough is evenly flattened to ensure consistent baking. I like to use a 2-inch round cookie cutter for perfectly sized biscuits. However, if you prefer larger biscuits, you can opt for a larger cutter. As you cut out each biscuit, place them on a baking sheet lined with parchment paper, making sure to leave a little space between each one for even baking. Now, let’s take a look at some popular biscuit shapes you can try:
| Shape | Description | Usage |
|---|---|---|
| Round | Classic biscuit shape with rounded edges | Perfect for breakfast or sandwiches |
| Heart | Adorable heart-shaped biscuits | Great for special occasions or Valentine’s Day |
| Square | Unique square-shaped biscuits | Ideal for biscuit sandwiches or as a side for soups and stews |
Baking the Biscuits
As the biscuits bake in the oven, they will start to turn a golden brown color. The aroma of freshly baked biscuits fills the air, making my mouth water in anticipation.
Baking time for these honey butter biscuits is crucial to achieve the perfect texture and flavor. It usually takes around 12 to 15 minutes for the biscuits to bake to a beautiful golden brown. However, keep an eye on them as baking times may vary depending on your oven.
If you notice the biscuits browning too quickly, you can make temperature adjustments by lowering the heat slightly. This will ensure that the biscuits bake evenly and don’t become overly browned on the outside while remaining undercooked on the inside.
Making the Honey Butter Glaze
Now that the biscuits are in the oven, I can start preparing the sweet glaze for them.
While honey butter biscuits are delicious on their own, adding a sweet glaze can take them to another level. There are several alternative sweet glaze options that you can try to customize your biscuits.
One option is a simple powdered sugar glaze made by mixing powdered sugar with a little milk and vanilla extract. This glaze adds a sweet and creamy touch to the biscuits.
Another option is a maple glaze made by combining powdered sugar, maple syrup, and a pinch of salt. This glaze gives the biscuits a rich and slightly tangy flavor.
Finally, for a citrus twist, you can make a lemon or orange glaze by mixing powdered sugar with freshly squeezed lemon or orange juice.
These variations of honey butter biscuits with different sweet glazes will surely satisfy your taste buds.
Serving and Enjoying the Biscuits
To fully enjoy your deliciously glazed biscuits, grab a napkin and take a big bite, savoring the sweet and buttery flavors. As you sink your teeth into the soft, flaky layers of the biscuit, you’ll be transported to a place of pure indulgence.
But why stop there? Elevate your biscuit experience by exploring different variations of honey butter. From a classic honey and butter combination to unique flavors like cinnamon or lavender-infused honey butter, there are endless possibilities to tantalize your taste buds.
And why not make it a complete meal? Pair your biscuits with savory dishes like fried chicken or sausage gravy for a satisfying and comforting feast. Or, for a lighter option, serve them alongside a fresh salad or a bowl of creamy soup.
No matter how you choose to enjoy your biscuits, the combination of honey butter and complementary dishes will leave you craving for more.
Frequently Asked Questions
How Long Can the Honey Butter Biscuits Be Stored For?
The shelf life of honey butter biscuits depends on proper storage. They can be stored for up to 3 days in an airtight container at room temperature or up to a week in the refrigerator.
Can I Substitute Regular Butter for the Honey Butter Glaze?
Sure, you can substitute regular butter for the honey butter glaze. However, keep in mind that you’ll be missing out on the sweet and rich flavor that the honey adds to the biscuits.
Can I Use a Different Type of Flour in the Recipe?
Sure, you can definitely use a different type of flour in the recipe. There are many benefits to using alternative flours in baking, such as adding more flavor, texture, and even nutritional value to your biscuits.
Can I Freeze the Dough Before Baking the Biscuits?
Yes, you can definitely freeze the dough before baking the biscuits! Freezing the dough allows you to have fresh biscuits whenever you want. Just make sure to wrap it tightly in plastic wrap before freezing.
How Can I Make the Biscuits More Flaky and Tender?
To make biscuits more flaky and tender, it’s important to follow a few tricks. Properly incorporating cold butter into the dough and using the right technique can result in a perfect biscuit texture.
Conclusion
In conclusion, making honey butter biscuits is a delightful and rewarding experience. With just a few simple steps, you can create a batch of fluffy, golden biscuits that are sure to impress.
The combination of the buttery biscuit and sweet honey glaze is simply irresistible. Did you know that honey has been used as a natural sweetener for thousands of years? It’s not only delicious but also has various health benefits, making these biscuits a treat worth indulging in.
So why not give it a try and enjoy the comforting flavors of homemade honey butter biscuits today?