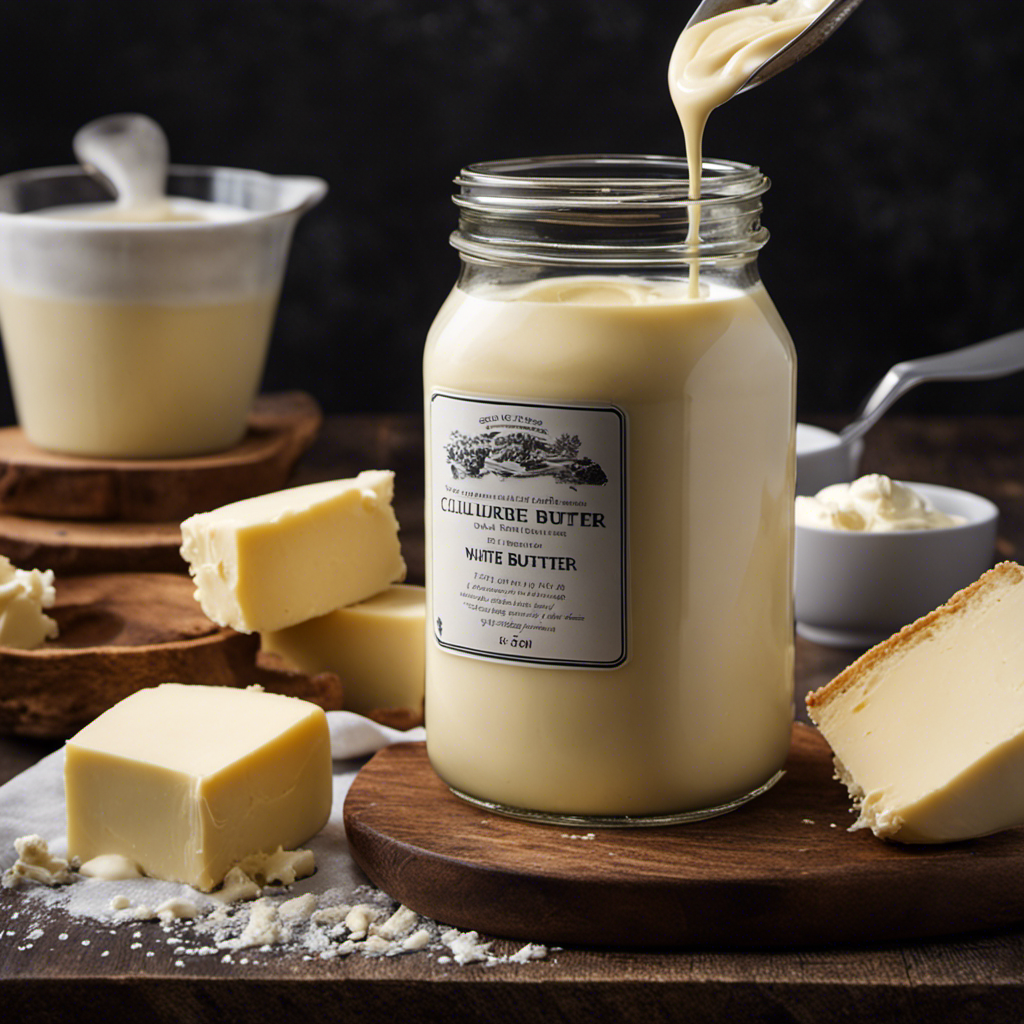
I’ve always found the method of producing cultured butter captivating. The transformation of creamy, dense cream into a tangy, delicious spread is genuinely enchanting.
Today, I’m going to take you on a journey through the steps of creating your own batch of delicious, homemade cultured butter. From choosing the perfect cream to kneading the final product, I’ll guide you through each precise and technical step.
Get ready to elevate your butter game to a whole new level.
Key Takeaways
- Cream with at least 35% milk fat ensures a creamy and flavorful end product.
- Starter culture provides necessary bacteria to ferment the cream.
- Churning involves agitating cream until fat molecules clump together and separate.
- Proper storage of cultured butter involves refrigeration in the coldest part of the refrigerator, using an airtight container, and labeling with the date for freshness.
Choosing the Right Cream
To make the best cultured butter, you’ll want to start by choosing the cream with the highest fat content. When it comes to cream selection, the fat content plays a crucial role in determining the quality and richness of your butter. Look for cream that has at least 35% milk fat, as this will ensure a creamy and flavorful end product.
Higher fat content cream will yield a higher butterfat content, resulting in a smoother and more luxurious texture. It’s also important to choose cream that is fresh and free from any additives or preservatives. Opt for organic or locally sourced cream whenever possible, as these tend to have a better flavor profile.
Gathering Equipment and Ingredients
Gathering the equipment and ingredients for homemade cultured butter is essential. To ensure success and a smooth butter-making process, here are three crucial items you’ll need:
-
Clean Equipment: Cleanliness is paramount when working with dairy products. Make sure to thoroughly clean all utensils, bowls, and equipment that will come into contact with the cream. This helps prevent any unwanted bacteria from contaminating the butter and affecting its flavor and texture.
-
Quality Ingredients: The key ingredient for making cultured butter is high-quality cream. Look for cream that is fresh and has a higher fat content, around 35-40%. This will result in a rich and flavorful butter. Additionally, if you prefer, you can experiment with ingredient substitutions, such as using organic or grass-fed cream for a different taste profile.
-
Ingredient Substitutions: If you have dietary restrictions or simply want to try something different, feel free to explore ingredient substitutions. For example, you can use plant-based cream alternatives or even experiment with different cultures for a unique flavor twist.
Now that we have gathered our equipment and ingredients, it’s time to move on to preparing the starter culture.
Preparing the Starter Culture
Once you have all the necessary equipment and ingredients, it’s important to prepare the starter culture for your homemade cultured butter.
The starter culture is a key component in the process of making cultured butter as it provides the necessary bacteria to ferment the cream.
To prepare the starter culture, you will need to add a small amount of active culture to your cream and let it sit at room temperature for a specific period of time. This allows the bacteria in the culture to multiply and convert the lactose in the cream into lactic acid, giving the butter its unique tangy flavor.
Using a starter culture also has the added benefit of improving the texture and shelf life of the butter.
Mixing the Cream and Starter Culture
Now, you can mix the cream and starter culture together to begin the fermentation process. This step is crucial in developing the unique flavors and textures of cultured butter. Here are three reasons why this step is so important:
-
Enhanced Aroma: As the cream and starter culture ferment, they release aromatic compounds that contribute to the rich and complex flavors of the butter. The longer the fermentation period, the more pronounced the aroma becomes.
-
Tangy Notes: The starter culture introduces beneficial bacteria that convert lactose into lactic acid. This process imparts a pleasant tanginess to the butter, adding depth and complexity to its taste.
-
Texture Development: The fermentation process helps break down the milk proteins, resulting in a creamier and smoother texture. This contributes to the luxurious mouthfeel of cultured butter.
Fermenting the Cream
In this discussion, I’ll explain the fermentation process involved in culturing cream to make butter.
I’ll also highlight the benefits of fermenting cream and the potential issues that may arise during the fermentation process.
Understanding the fermentation process, the advantages it brings, and how to troubleshoot any problems will help ensure successful and delicious results when making cultured butter.
Fermentation Process Explained
During the fermentation process, the cream transforms into tangy butter with a rich flavor. This transformation occurs due to the action of lactic acid bacteria, which convert lactose into lactic acid. The fermentation process brings several benefits, including enhanced flavor, increased digestibility, and improved nutrient absorption.
Flavor enhancement: Fermentation introduces complex flavors and aromas, resulting in a more enjoyable taste experience. The tanginess adds a pleasant tang to the butter, making it a versatile ingredient for various dishes.
Digestibility improvement: The fermentation process breaks down lactose, making the butter easier to digest for those with lactose intolerance. It also promotes the growth of beneficial bacteria in the gut, aiding overall digestion.
Nutrient absorption: Fermentation increases the availability of certain nutrients, such as vitamins and minerals, making them more easily absorbed by the body.
If you encounter any issues during the fermentation process, such as inconsistent results or off-flavors, consider troubleshooting tips such as adjusting the temperature, using a reliable starter culture, or ensuring proper hygiene practices.
Benefits of Fermenting Cream
One of the benefits of fermenting cream is that it enhances the flavor and aroma, resulting in a more enjoyable taste experience. The science behind fermentation is fascinating.
During the fermentation process, bacteria and yeast convert the lactose in cream into lactic acid. This acid not only gives the cream a tangy flavor but also helps to preserve it. Additionally, fermentation increases the bioavailability of nutrients, making them easier for our bodies to absorb.
Consuming fermented foods, like cultured butter made from fermented cream, can provide numerous health benefits. These include improved digestion, increased gut health, and strengthened immune system. Furthermore, fermented foods contain probiotics, which promote a healthy balance of bacteria in our gut.
Troubleshooting Fermentation Issues
If you’re experiencing fermentation issues, there are several troubleshooting steps you can take. Common fermentation issues can include inconsistent fermentation times, off-flavors, and mold growth.
To prevent fermentation problems, follow these steps:
-
Monitor temperature: Maintaining the ideal temperature range is crucial for successful fermentation. Fluctuations in temperature can lead to inconsistent results and off-flavors. Use a thermometer to regularly check and adjust the temperature as needed.
-
Use quality ingredients: The quality of your ingredients can greatly impact fermentation. Ensure you’re using fresh and uncontaminated cream, as any impurities can hinder the fermentation process.
-
Practice good hygiene: Proper sanitation is essential to prevent mold growth and unwanted bacteria. Clean and sanitize all equipment before and after each use to minimize the risk of contamination.
Churning the Cultured Cream
When it comes to churning the cultured cream into butter, there are a few key points to understand.
First, the churning process involves agitating the cream until the fat molecules clump together and separate from the liquid. This can be achieved by using a butter churn or a stand mixer with a whisk attachment.
Second, to ensure a smooth churning process, it is important to use cream that has been properly fermented and chilled. This helps to stabilize the butterfat and allows for easier separation.
Lastly, maintaining a consistent temperature and churning speed can greatly impact the outcome of the butter. Slow and steady churning, around 50-60 rotations per minute, is recommended for optimal results.
Churning Process Explained
The churning process is where cream is transformed into butter through agitation. Churning techniques play a crucial role in achieving the desired texture of the butter. Here are three key factors to consider:
-
Temperature control: Maintaining the cream at the right temperature is essential for successful churning. Too cold, and the butterfat won’t separate easily; too warm, and the butter may turn greasy. Finding the optimal temperature range ensures smooth churning and a creamy, spreadable texture.
-
Agitation intensity: The speed and duration of churning impact the final texture of the butter. Gentle agitation produces a softer texture, while more vigorous churning creates a firmer, more solid butter. Adjusting the intensity to suit your preference is crucial in achieving the desired outcome.
-
Cream quality: The quality of the cream used directly affects the texture of the butter. Fresh, high-fat cream from grass-fed cows yields a rich and creamy butter. Choosing the best cream available ensures a superior end product.
Tips for Smooth Churning
Now that we understand the churning process, let’s focus on some tips for achieving a smooth texture in our cultured butter. Mastering the art of churning is crucial to achieve that perfect velvety consistency we all crave. Here are some techniques that can help:
| Techniques | Benefits |
|---|---|
| Use cold cream | Cold cream helps to achieve a smoother texture by reducing the risk of over-churning and separating. |
| Monitor temperature | Maintaining a cool temperature during the churning process prevents the butter from becoming too soft and losing its structure. |
| Control churning speed | Churning at a slow and steady speed ensures proper incorporation of air and prevents the butter from clumping together. |
| Regularly scrape down the sides | Scraping down the sides of the churn helps to evenly distribute the fat and prevent it from sticking to the walls. |
| Patience and practice | Cultured butter making is a skill that requires patience and practice. Experimenting with different techniques will help you achieve the perfect texture over time. |
Separating Butter From Buttermilk
To separate the butter from the buttermilk, you’ll need to strain the mixture through a cheesecloth. This process allows the liquid buttermilk to pass through while retaining the solid butter.
Here are three key reasons why properly separating butter from buttermilk is essential:
-
Enhanced taste and texture: By removing the buttermilk, you eliminate any sourness, resulting in a sweeter and smoother butter. This enhances the overall taste and makes it more enjoyable to spread on your favorite bread or use in baking.
-
Increased shelf life: Separating the butter from the buttermilk helps extend its shelf life. Buttermilk contains water and other components that can contribute to spoilage. By removing it, you prevent bacterial growth and ensure your butter stays fresh for longer.
-
Versatility in cooking: When you have separated butter and buttermilk, you can use them independently in various recipes. The clarified butter can be used for sautéing and frying, while the buttermilk can be used in baking or making delicious pancakes.
Washing and Kneading the Butter
When it comes to making butter, proper washing and kneading techniques are crucial for achieving the desired texture and flavor.
Washing the butter helps remove any remaining buttermilk, which can cause the butter to spoil faster.
As for kneading, it helps distribute the moisture evenly throughout the butter, resulting in a smoother and more spreadable consistency.
Importance of Washing
You’ll need to rinse the butter multiple times to remove any excess buttermilk and create a creamy texture. This step is crucial in the process of making cultured butter. Here’s why proper washing is important:
-
Enhanced flavor: By removing the residual buttermilk, you prevent any tangy or sour taste from lingering in the butter. This ensures a clean and pure flavor.
-
Improved texture: Washing the butter helps to remove excess moisture, resulting in a smoother and creamier texture. It creates a desirable mouthfeel that spreads easily and melts smoothly.
-
Increased shelf life: Proper washing removes any traces of buttermilk that can contribute to spoilage. This helps to extend the shelf life of the butter, allowing you to enjoy it for a longer period of time.
Techniques for Kneading
Use your hands to gently press and fold the dough over itself, repeating the process until it becomes smooth and elastic.
Techniques for shaping the dough vary depending on the desired final product. For a loaf of bread, shape the dough into a rough rectangle and then fold the top third down towards the center, followed by folding the bottom third up and over the top fold. Rotate the dough 90 degrees and repeat the folding process. This helps create tension in the dough, which promotes a better rise during baking.
One common kneading mistake to avoid is over-kneading. This can result in a tough and dense final product. It’s important to stop kneading once the dough reaches the desired texture.
Adding salt (optional) to the dough enhances the flavor and helps regulate yeast activity.
Adding Salt (Optional
If desired, you can go ahead and add salt to your cultured butter for an extra burst of flavor. While salt is optional, it can enhance the taste of your butter and bring out the richness of the cream. However, it’s important to note that adding salt should be done in moderation.
Here are three reasons why adding salt to your cultured butter can be beneficial:
-
Flavor Enhancement: Salt acts as a natural flavor enhancer, bringing out the delicious taste of the butter. It can balance the sweetness of the cream and add a savory note, making your butter more enjoyable.
-
Preservation: Salt has been used as a preservative for centuries. Adding a small amount of salt to your cultured butter can help extend its shelf life by inhibiting the growth of bacteria and mold.
-
Health Benefits: While excessive salt consumption is not recommended, a moderate amount can be beneficial. Salt contains essential minerals like sodium and iodine, which are important for maintaining proper electrolyte balance and supporting thyroid function.
Storing and Using Cultured Butter
To properly store your cultured butter, place it in an airtight container and refrigerate it to maintain its freshness and extend its shelf life. Cultured butter is made by fermenting cream with live bacteria cultures, giving it a tangy and complex flavor. It is important to store it correctly to preserve its texture and taste. Here are some techniques for storing cultured butter:
| Technique | Description |
|---|---|
| Refrigeration | Keep the butter in the coldest part of your refrigerator, ideally at 40°F or below. |
| Airtight Container | Transfer the butter to an airtight container to prevent it from absorbing any odors or flavors from other foods in the fridge. |
| Freezing | If you have excess butter, you can freeze it for longer storage. Wrap it tightly in plastic wrap or place it in a freezer-safe container to prevent freezer burn. |
Troubleshooting Tips
Refrigerating the butter in an airtight container will help prevent it from absorbing any odors or flavors from other foods in the fridge.
When making cultured butter, it’s important to troubleshoot common issues to ensure a successful outcome. Here are three common mistakes to avoid:
-
Over-fermentation: Leaving the cream to culture for too long can result in a strong, tangy flavor that may overpower the desired butter taste. It is recommended to follow the recipe instructions and monitor the fermentation process closely.
-
Insufficient chilling: Failing to chill the cultured cream adequately before churning can lead to soft and greasy butter. It is crucial to refrigerate the cream until it reaches a firm consistency for proper butter formation.
-
Over-churning: Over-churning the cream can cause the butter to become too stiff and difficult to spread. It is essential to stop churning once the butter separates from the buttermilk and forms soft, grainy curds.
Frequently Asked Questions
Can I Use Any Type of Cream to Make Cultured Butter?
Yes, you can use different types of cream to make cultured butter. Using heavy cream will give a higher fat content and richer flavor, while using lighter creams may result in a milder taste.
How Long Does It Take to Ferment the Cream?
Fermentation time for cultured butter varies depending on the desired flavor development. It can range from 12 to 48 hours, allowing the cream to develop complex flavors and tanginess.
How Much Butter Will I Get From a Certain Amount of Cream?
The cream to butter ratio depends on the type of cream used. Heavy cream has a higher fat content and will yield more butter. Cultured cream is recommended for making cultured butter.
Can I Use a Blender Instead of a Churn to Make Cultured Butter?
Using a blender for making cultured butter is an alternative method. However, it may not yield the same results as using a churn. The texture and flavor might differ due to the different processes involved.
Can I Skip the Step of Adding Salt to the Butter?
Skipping salt in making cultured butter can be done, but it may affect the taste and preservation of the butter. Adding salt enhances flavor and extends shelf life. Consider personal preference and storage conditions before deciding to skip this step.
Conclusion
In conclusion, making cultured butter is a rewarding and fascinating process. By carefully choosing the right cream and following the steps of fermentation, washing, and kneading, you can create a rich and flavorful butter that is truly unique.
Just like the transformation of cream into butter, this journey teaches us the importance of patience and perseverance in achieving our goals.
So, next time you find yourself in the kitchen, give cultured butter a try and embrace the beauty of transformation in both cooking and in life.
