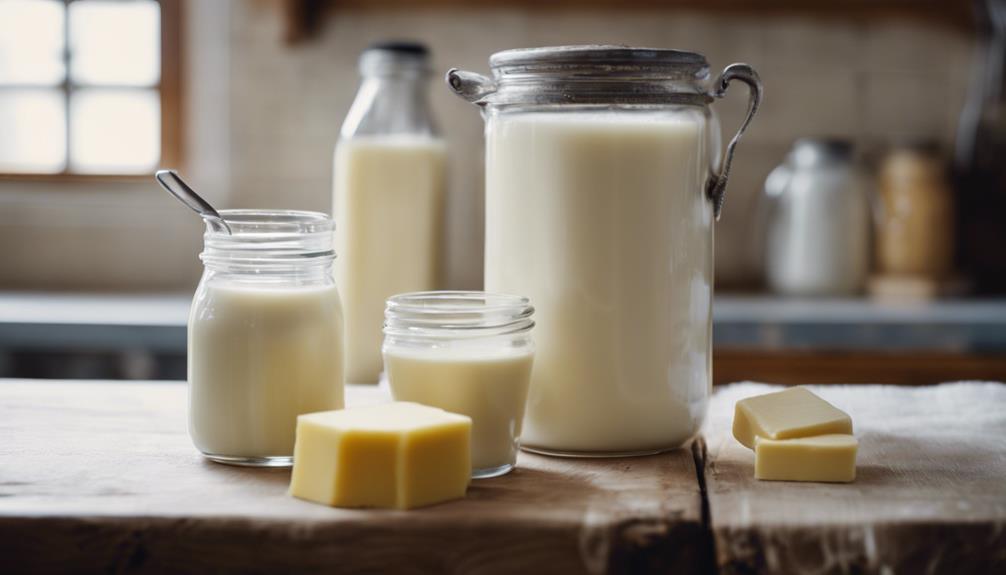
To make butter with whole milk, start by letting the cream rise to the top naturally. Then, skim off the cream and place it in a jar. Shake the jar vigorously until the buttermilk separates from the butter. Strain the mixture, rinse the butter, and knead it until excess liquid is removed. Add salt or other flavors as desired. Keep the homemade butter refrigerated or frozen for freshness. Enjoy the process and taste of your homemade butter straight from your kitchen!
Key Takeaways
- Use whole milk to make butter for a rich flavor.
- Skim cream off the top of whole milk for butter production.
- Churn cream into butter by separating the fat from the buttermilk.
- Wash and knead butter to remove excess liquid and enhance texture.
- Season homemade butter with salt or herbs for added flavor.

Kilner Vintage Glass Butter Churn; Delicious Homemade Butter in as Little as Ten Minutes; Large 34-Fluid Ounce Capacity Butter Churner, 1 EA
- Easy to Use: Requires only heavy or whipping cream
- Quick Butter Making: Creates butter in as little as 10 minutes
- Vintage Kilner Design: Features embossed logo on glass jar
As an affiliate, we earn on qualifying purchases.
As an affiliate, we earn on qualifying purchases.
Benefits of Homemade Butter & Dairy Cows
Making butter with whole milk offers numerous benefits, especially when considering the advantages of homemade butter and raising dairy cows. When you make butter using whole milk, you have control over the entire process, ensuring that you're using quality ingredients without any added chemicals or preservatives. By churning cream separated from the milk, you can enjoy the satisfaction of creating your own butter from scratch.
Furthermore, when you make butter at home, you also get the bonus of buttermilk as a byproduct. This tangy liquid left behind after churning butter can be used in various recipes, adding flavor and moisture to your dishes. Using water to wash the freshly made butter helps remove any remaining buttermilk, increasing its shelf life.
Raising dairy cows on your farm provides a sustainable source of milk for making butter and other dairy products. Owning dairy cows gives you the opportunity to have fresh, high-quality milk readily available, ensuring that you can enjoy homemade butter whenever you desire.
Cow's Vs. Goat's Milk Comparison
When deciding between cow's and goat's milk for butter making, consider the differences in milk type, production variance, and cheese making usage.
Dairy cows yield higher milk volume, while dairy goats offer naturally homogenized milk that requires less processing.
Understanding these distinctions will help you choose the best milk for your homemade butter and dairy product needs.
Milk Type Differences
Cow's milk and goat's milk differ in their butterfat content and milk volume, influencing their suitability for various dairy products.
Cow's milk typically contains higher butterfat content and greater milk volume compared to goat's milk. This makes cow's milk ideal for butter production, as the higher butterfat content results in a richer butter.
On the other hand, goat's milk is naturally homogenized, making it perfect for soft cheese production. Dairy goats are often preferred for soft cheese making due to the quality of their milk.
Additionally, Jersey cows are known for producing milk with exceptionally high butterfat content, making them a prime choice for butter production.
When choosing between cow's and goat's milk, consider the specific dairy products you wish to make and your milk volume needs to determine the most suitable option for your homemade dairy endeavors.
Production Variance
Comparing cow's milk to goat's milk reveals significant differences in milk volume and butterfat content, influencing their suitability for various dairy products. Cow's milk generally yields a higher milk volume compared to goat's milk, making it more suitable for large-scale production of dairy products like butter.
However, dairy goats produce milk that's naturally homogenized, eliminating the need for the homogenization process required for cow's milk.
When it comes to butterfat content, Jersey cows stand out by producing milk with higher butterfat content than most dairy goats, making cow's milk a preferred choice for homemade butter due to its rich and creamy texture.
While goat's milk is mainly used for soft cheeses, cow's milk offers a wider variety of dairy products due to its higher milk volume and butterfat content.
The production variance between cow's and goat's milk highlights the importance of selecting the right type of milk based on the desired dairy product.
Cheese Making Usage
To understand the distinction in cheese making usage between cow's and goat's milk, consider their unique characteristics and suitability for different types of dairy products. Dairy cows are traditionally associated with higher milk production, making them a popular choice for cheese making due to the abundance of raw material. In particular, Jersey cows stand out for their milk's elevated butterfat content, resulting in creamier butter and richer dairy products.
On the other hand, dairy goats are favored for their naturally homogenized milk, which is ideal for crafting soft cheeses. The main use of goat milk in cheese making revolves around the production of soft cheeses, while cow milk boasts versatility, suitable for an array of dairy products beyond just cheese.
For home cheese makers, goat's milk's natural homogenization offers an advantage by facilitating consistent textures in their soft cheeses, enhancing the overall cheese-making experience.
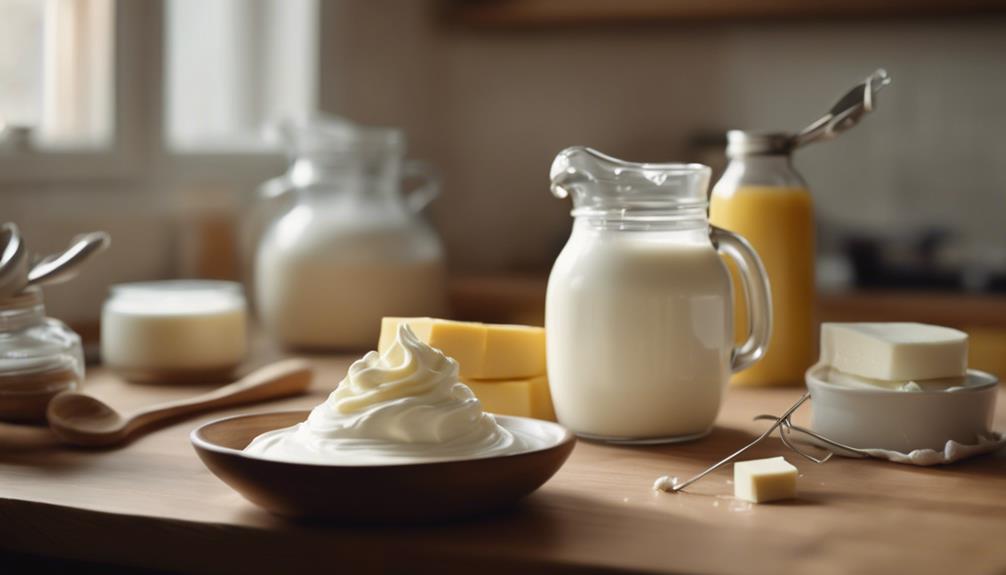
Supplies & Ingredients for Butter
You'll need key ingredients like heavy cream and salt, along with supplies such as a cream separator, stand mixer with whisk attachment, tea towel, spatula, and colander.
Having the right equipment and ingredients guarantees a successful homemade butter-making process.
Let's explore the necessary tools and components for crafting delicious butter at home.
Ingredients for Butter
For making butter, gather the necessary supplies and ingredients, including heavy cream and salt, to guarantee a successful homemade butter-making process. Here are the key ingredients and supplies you'll need:
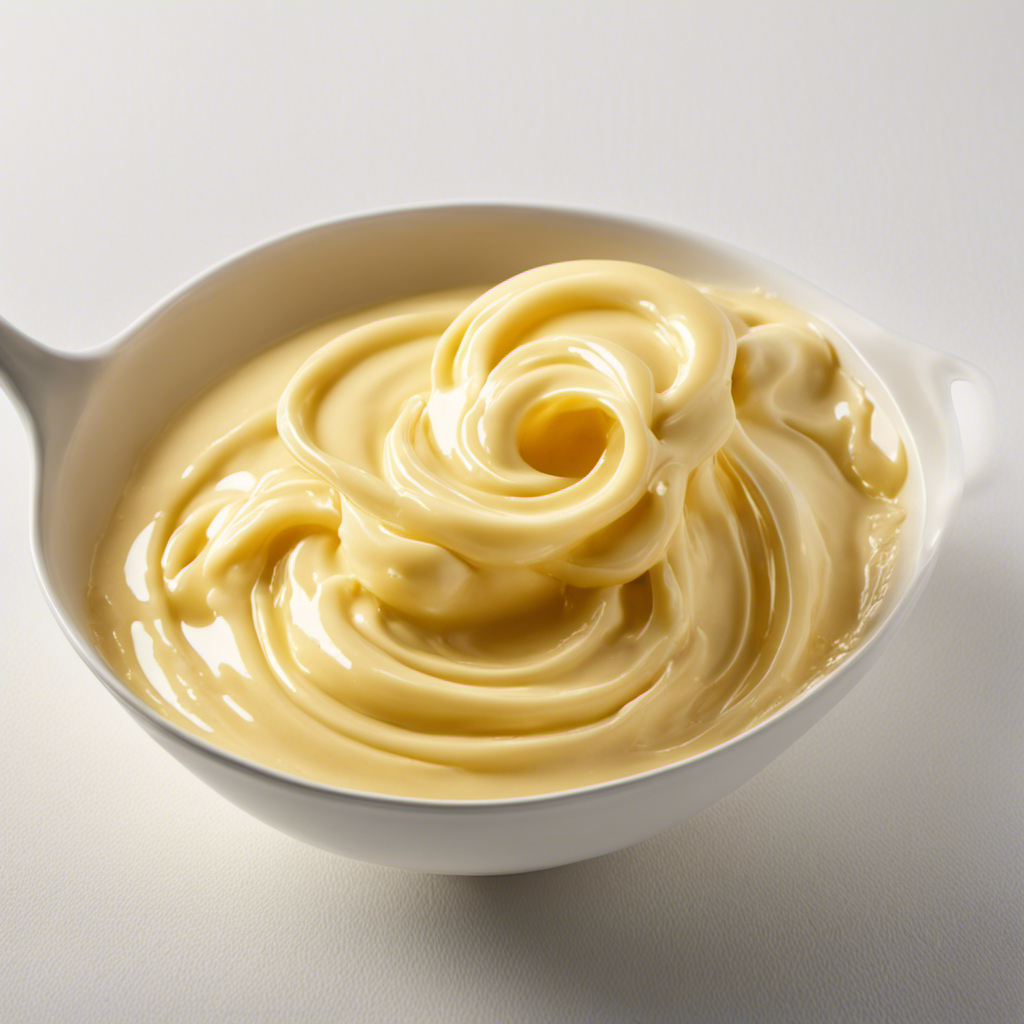
- Heavy Cream: The key ingredient for making butter, heavy cream is obtained by skimming the cream from the top of whole milk. It contains the high fat content needed to produce butter effectively.
- Salt: Salt is commonly used in butter making to enhance flavor. You can adjust the amount according to your taste preferences.
- Cream Separator: A cream separator is essential for extracting the cream from the milk efficiently. It helps separate the cream from the skim milk, ensuring you have the necessary heavy cream for butter production.
Equipment Needed
Consider using a stand mixer with a whisk attachment for efficiently making butter with whole milk at home. Additionally, having a cream separator is essential for skimming the cream needed for churning. Other necessary tools include a tea towel for wringing out excess liquid, a spatula for scraping the butter, and a colander for straining. Making sure you have the right equipment and ingredients, such as heavy cream for churning and salt for flavoring, is vital for a successful homemade butter-making process.
| Equipment | Description |
|---|---|
| Stand Mixer | Efficiently churns heavy cream |
| Whisk Attachment | Facilitates the butter-making process |
| Cream Separator | Separates cream from whole milk |
| Tea Towel | Used for wringing out excess liquid |
| Spatula | Essential for scraping the butter |
| Colander | For straining the butter |
Process of Making Butter
To successfully make butter at home, make certain you have the key supplies and ingredients, including a cream separator, stand mixer with whisk attachment, and heavy cream for churning.
When making butter, the following items are essential:
- Cream Separator: This tool separates the raw milk into cream and skim milk, allowing you to extract the cream for butter-making.
- Stand Mixer with Whisk Attachment: Use this to whip the cream until the butterfat solids separate from the buttermilk.
- Salt: Adding salt is optional but enhances the flavor of the homemade butter.
The process of making butter involves running whole milk through a cream separator to extract the cream, whipping the cream until solids form, scraping off the butter solids, rinsing the butter to remove any remaining buttermilk, and incorporating salt for flavor if desired.
Process of Making Homemade Butter
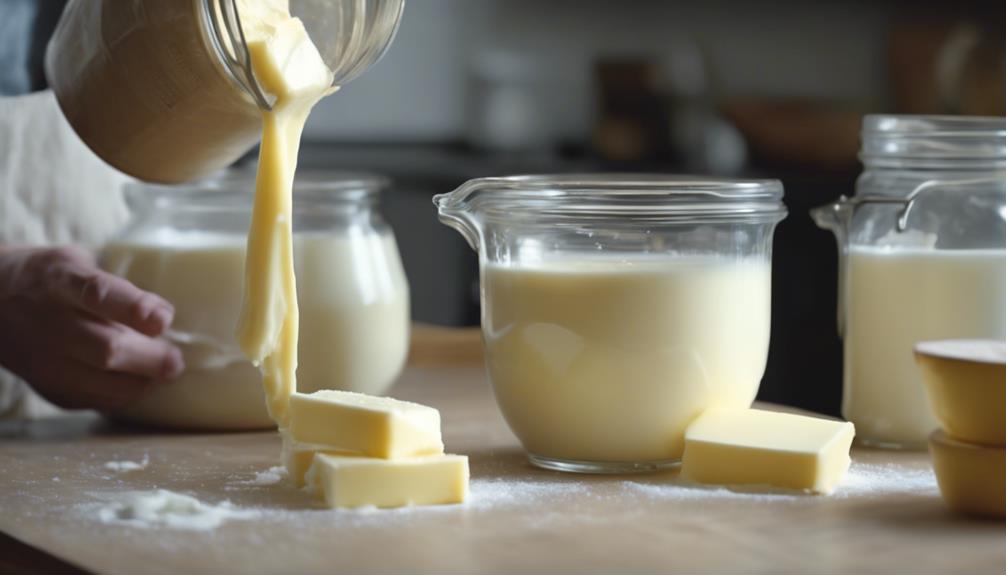
Skim the cream from raw milk or let fresh cream stand until it reaches 50-60°F (10-15°C) before starting the process of making homemade butter.
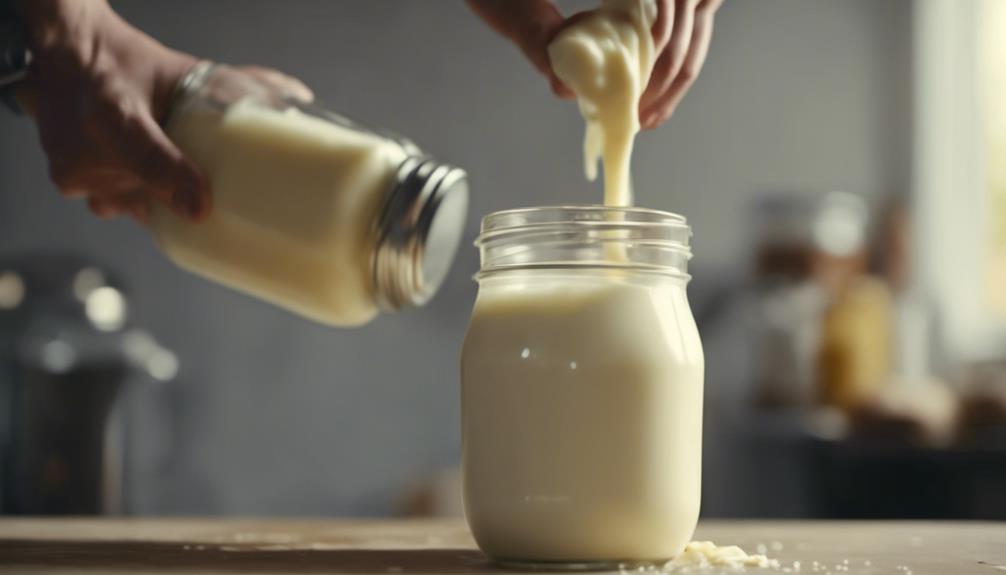
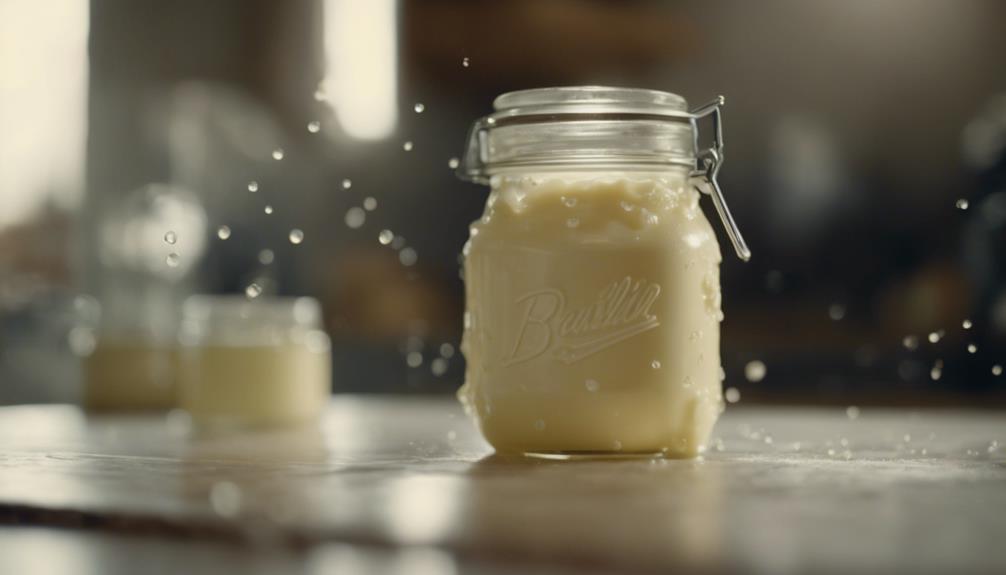
Pour the cream into a jar and shake vigorously. After a while, the cream will separate into butter and buttermilk. Strain the mixture through a piece of butter muslin to separate the butter. Then, wash the butter in ice water until the water runs clear. Knead the butter to remove any remaining liquid.
From 1 gallon (1.9 liters) of raw milk, you can expect to yield approximately 1/2 cup (113g) of homemade butter. To enhance the taste, consider adding flavors like salt, herbs, or seasonings during the process.
After making the butter, store it in the fridge or freezer for preservation. With these simple steps, you can enjoy delicious homemade butter with fresh cream from your own dairy.
Time Commitment of Owning a Dairy Cow
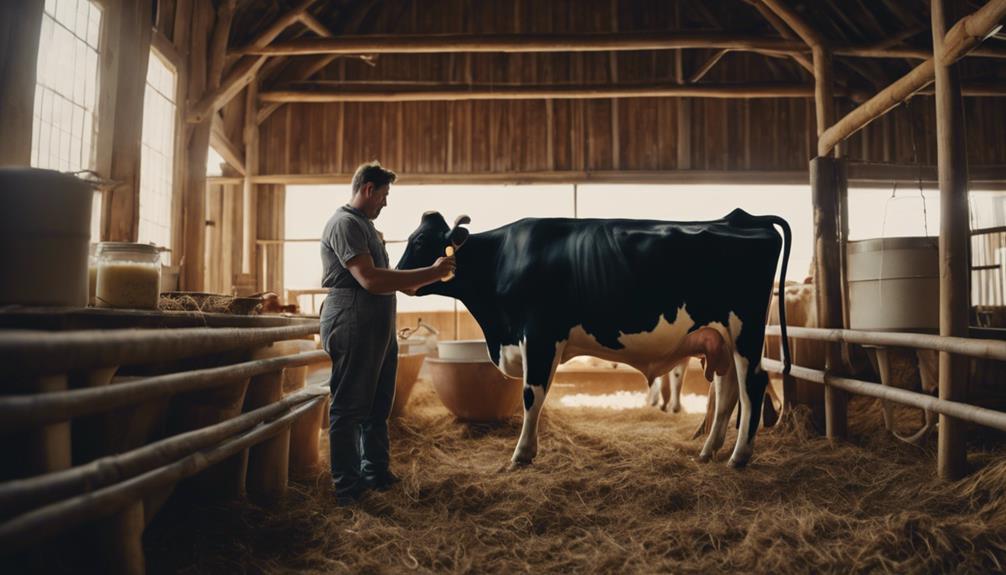
Owning a dairy cow demands a consistent investment of time for tasks like daily milking and weekly milk processing. Here's how the time commitment breaks down:
- Daily Milking: Milking a dairy cow typically takes around 30 minutes per session. This process needs to be done at least once a day to maintain milk production.
- Weekly Milk Processing: Processing milk and cream from a cow can take anywhere from 1 to 2 hours per week. This task includes activities like skimming cream, churning butter, and storing dairy products for later use.
- General Care: Apart from milking and processing, owning a dairy cow requires additional time for feeding, cleaning, and ensuring the overall well-being of the animal. This ongoing care is essential for maintaining a healthy and productive dairy cow.
While the time commitment for owning a dairy cow can be significant, those with time constraints can opt for purchasing fresh milk as an alternative solution.
Making Butter at Home Methods
You can easily create homemade butter using various methods such as churning, using electric churns, Mason jars, or blenders.
The key ingredient you'll need is heavy whipping cream, which you can obtain from milk. When making butter at home, you have the option to create different types like sweet cream or cultured butter, each with its distinct flavors and processes.
To start the process, you can use a Mason jar or a blender to churn the cream until it separates into butter and buttermilk. If you prefer a more traditional approach, manual churning is a great hands-on method.
Once your butter is formed, transfer it to a storage container. You can also experiment with making whipped cream before butter for a dual-purpose delight.
Making your own butter adds a personal touch to your cooking and baking, enhancing the flavors of your dishes in a unique way.
Storing Homemade Dairy Products
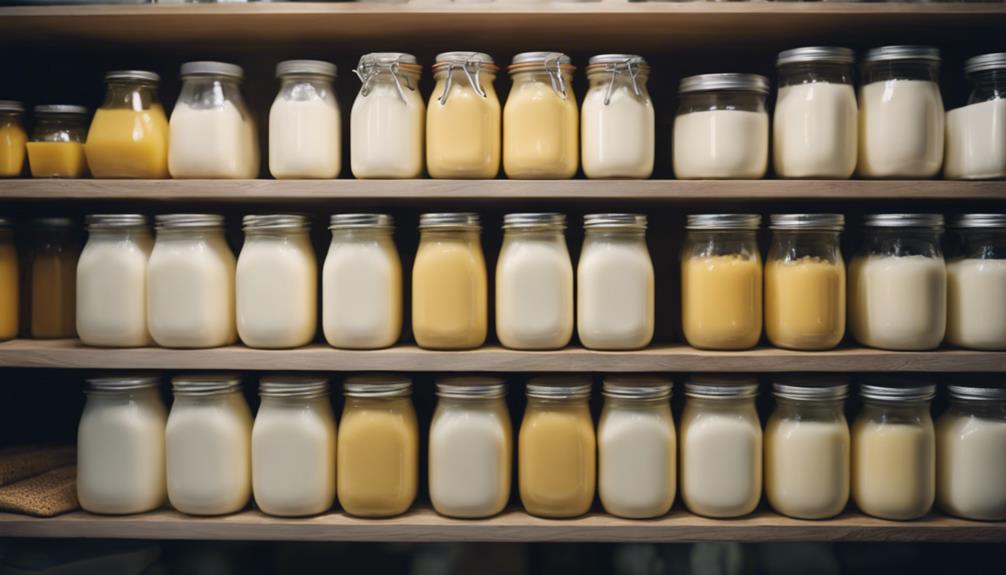
To safeguard the longevity and freshness of your homemade dairy products like butter and buttermilk, proper storage methods are essential. Here are some tips to help you store your homemade dairy products effectively:
- Refrigerate Buttermilk: Store buttermilk and any excess in airtight containers in the refrigerator. This way, you can keep them fresh for weeks to use in various recipes.
- Store Homemade Butter: Homemade butter can be stored in the refrigerator for weeks. For long-term storage, freeze it in airtight containers. Freezing butter in molds helps retain its shape and prolong its shelf life.
- Long-Term Storage: Properly worked and stored butter can last around six months or more in the freezer. Guarantee the containers are airtight to prevent any odors from affecting the butter's flavor.
Frequently Asked Questions
Can You Make Homemade Butter With Whole Milk?
Yes, you can make homemade butter with whole milk. To do so, separate the cream from the milk by skimming it off or letting it rise. Churning whole milk may yield less butter than using cream directly, resulting in a lighter outcome.
How Much Whole Milk Does It Take to Make 1 Lb of Butter?
You'll need about 21-24 cups of whole milk to craft 1 lb of golden butter. The secret lies in separating the cream, churning it with care. The result? A bounty of rich, flavorful homemade goodness.
Can You Shake Whole Milk Into Butter?
You can't efficiently shake whole milk into butter due to its low cream content. For better results, skim the cream from whole milk, as cream separates naturally and churns into butter easier.
What Milk Is Best for Homemade Butter?
For homemade butter, choose whole milk; its rich fat content yields creamy butter. Skimmed cream from whole milk makes flavorful butter. It separates easily for churning, ensuring a higher yield. Remember, "the proof is in the pudding!"
Conclusion
Now that you know how to make homemade butter with whole milk, you can enjoy the benefits of fresh dairy right from your own kitchen!
Did you know that dairy cows produce an average of 6-7 gallons of milk per day? Imagine the possibilities of all the delicious butter and other dairy products you can create with that much milk!
So why not give it a try and start making your own homemade dairy today?