
Are you excited to have a blast in the kitchen? **Involve your kids** and experience the excitement of creating butter from scratch. Discover a whole new world of delicious possibilities!
In this article, we’ll show you the step-by-step process of turning cream into delicious homemade butter. From choosing the right ingredients to adding flavors and mix-ins, we’ve got you covered.
Plus, we’ll explore the science behind butter making, keeping your kids engaged and learning along the way.
Let’s dive in and create some creamy, spreadable magic!
Key Takeaways
- Start with high-quality heavy cream and look for fresh cream without additives.
- Encourage kids to taste their creations and develop their culinary skills.
- Let kids come up with their own unique butter flavors by adding herbs, spices, or honey.
- Prepare a clean and organized workspace to make the process smoother and enjoyable.
handheld electric mixer for kids
As an affiliate, we earn on qualifying purchases.
As an affiliate, we earn on qualifying purchases.
Choosing the Right Ingredients
When making butter with kids, it’s important to choose the right ingredients. Start by using high-quality heavy cream. Look for cream that is fresh and free from additives.
You can also experiment with flavors by adding various ingredients like herbs, spices, or even honey. Let the kids get creative and come up with their own unique butter flavors. For example, they can try adding cinnamon for a warm and comforting taste or lemon zest for a refreshing twist.
Encourage them to taste their creations and see what they like best. This will not only make the butter-making process fun and interactive but also help them develop their taste buds and culinary skills.
Gathering the Necessary Supplies
So, you’re ready to embark on a homemade butter-making adventure with your kids! Well, before you get started, let’s make sure you have all the necessary supplies.
First up, you’ll need some essential kitchen utensils. Grab a mixing bowl, a whisk or electric mixer, and a spatula. These tools will come in handy as you mix and whip your ingredients together.
Next, gather the ingredients for homemade butter. You’ll need heavy cream and a pinch of salt. The heavy cream will be the base of your butter, while the salt will enhance the flavor. Make sure you have these ingredients on hand before you begin.
Lastly, don’t forget to prepare your workspace. Clear off the counter and lay out all your utensils and ingredients. Having a clean and organized space will make the butter-making process much smoother and enjoyable.
Now, you’re all set to start churning your way to delicious homemade butter! Enjoy the process and have fun with your kids as you create this tasty treat together.
Essential Kitchen Utensils
To make butter with kids, you’ll need a few essential kitchen utensils. Here’s a list of items that are easy to use and will keep your little ones safe:
- Whisk or electric mixer: This will help churn the cream into butter. A whisk is great for small hands, but an electric mixer can make the process faster and easier for older kids.
- Mixing bowl: You’ll need a sturdy bowl to hold the cream and give your kids space to mix and churn.
- Butter mold or container: After the butter is formed, you’ll want a mold or container to shape and store it. This can be a fun opportunity for kids to get creative with different shapes and designs.
Remember to choose utensils that are appropriate for your child’s age and skill level. Safety precautions like supervising and teaching proper handling should also be followed.
Now, let’s get started on making some delicious homemade butter!
Ingredients for Homemade Butter
You’ll need a few ingredients for homemade butter, such as heavy cream and salt. But did you know that there are also alternative ways to make butter at home?
If you don’t have heavy cream on hand, you can use coconut cream or even avocado puree. These homemade butter alternatives not only provide a different flavor profile, but they also offer unique health benefits.
Making butter with kids is not only a fun and interactive activity, but it also teaches them about where their food comes from and the process of making something from scratch. It’s a great way to spend quality time together and instill a love for cooking and experimenting in young minds.
Preparing the Workspace
Before starting, gather all the necessary tools and clear a clean and spacious area for your butter-making venture. Follow these steps to set up an ideal workspace for you and your little ones:
- Clear the clutter: Remove any unnecessary items from the workspace to create a safe and organized area. This will prevent accidents and allow for easy movement.
- Child-friendly tools: Ensure you have child-sized utensils, such as small bowls, spoons, and butter molds. This will make it easier for your kids to participate and enjoy the process.
- Protective covering: Lay down a plastic tablecloth or newspaper to protect your workspace from spills and messes. This will make clean-up a breeze and give you peace of mind.
By setting up a well-organized and child-friendly workspace, you are creating an environment that promotes creativity, safety, and fun.
Step-by-Step Instructions for Churning Butter
Once you have gathered all the ingredients, it’s time to start churning the butter. Churning butter is a fun and interactive process that kids will love to participate in. Follow these step-by-step instructions to make your own homemade butter:
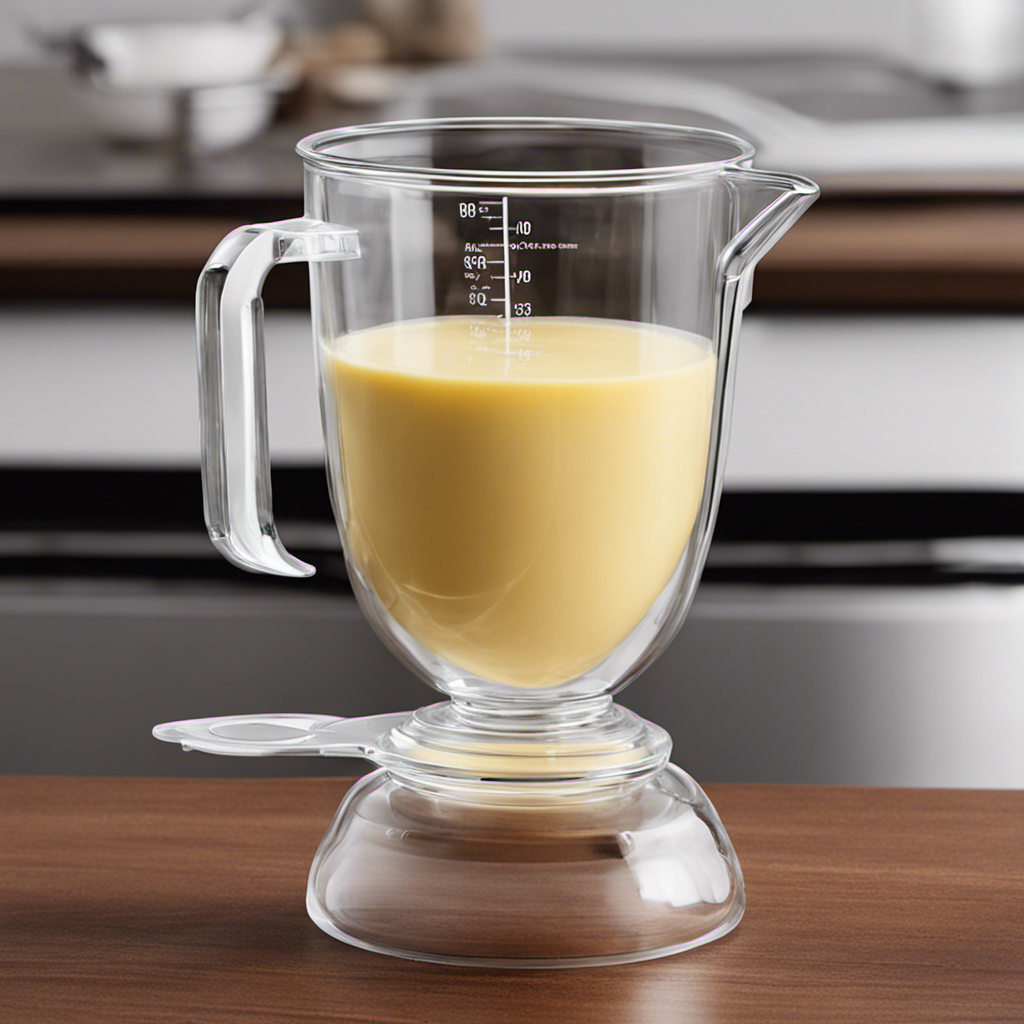
- Pour the heavy cream into a clean jar or container with a tight-fitting lid.
- Secure the lid tightly and start shaking the jar vigorously. You can also use a hand mixer or a stand mixer with a whisk attachment.
- Shake or mix the cream for about 10-15 minutes until it thickens and separates into butter and buttermilk. Keep an eye on the jar to prevent any spills or leaks.
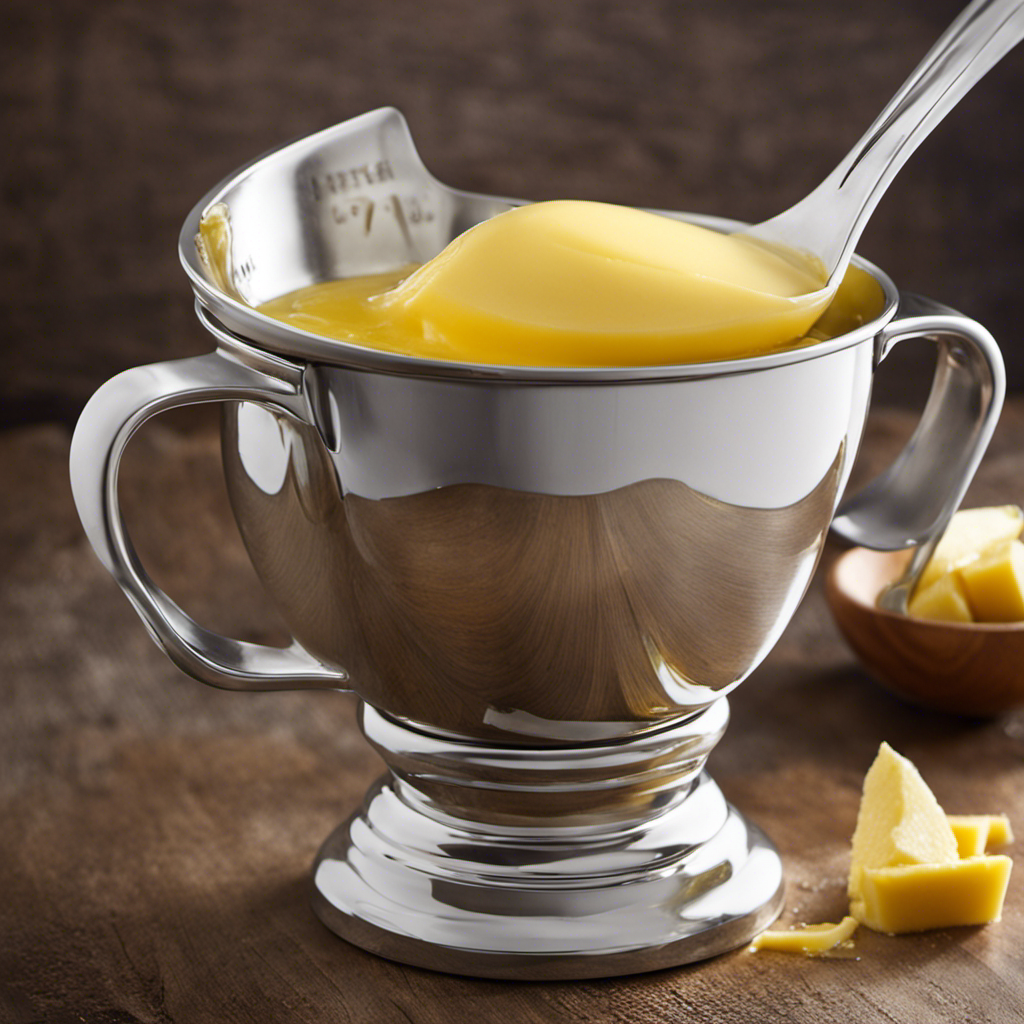
- Once the butter has formed, strain the buttermilk using a fine-mesh sieve or cheesecloth. Save the buttermilk for another recipe, if desired.
Troubleshooting Common Butter Making Mistakes:
| Mistake | Solution |
|---|---|
| Cream not thickening | Make sure the cream is cold and that you are shaking or mixing it vigorously. |
| Butter not separating | Continue shaking or mixing until the butterfat separates from the buttermilk. |
| Too much buttermilk in the butter | Thoroughly strain the butter to remove excess buttermilk. |
Now that you have successfully churned your own butter, it’s time to move on to the next step: adding flavors and mix-ins to make delicious flavored butters!
Adding Flavors and Mix-ins
Are you ready to take your homemade butter to the next level? In this discussion, we’ll explore some exciting ways to add flavor and mix-ins to your butter creations.
Get ready to indulge in creative butter combinations that will tantalize your taste buds.
Embark on kid-friendly flavor experiments that will turn mealtime into a fun adventure.
Discover exciting mix-in ideas that will take your butter to new heights of deliciousness.
Creative Butter Combinations
Mix together different ingredients, like honey or cinnamon, to create unique and delicious butter combinations that you can enjoy with your kids. Get creative and experiment with flavors to make your butter even more exciting. Here are three ideas to inspire your inner chef:
- Sweet and Savory: Mix in a spoonful of maple syrup and a sprinkle of sea salt to create a butter that is perfect for spreading on toast or scones.
- Zesty Herb: Chop up fresh herbs like rosemary, thyme, and basil, and mix them into softened butter. This herb-infused butter is great for adding a burst of flavor to grilled vegetables or pasta.
- Spicy Kick: Add a pinch of cayenne pepper or a dash of hot sauce to your butter for a spicy twist. This butter is perfect for adding some heat to corn on the cob or even slathering on top of a juicy steak.
Remember, when experimenting with flavors, start with small amounts and taste as you go. The possibilities are endless, so have fun and let your imagination run wild!
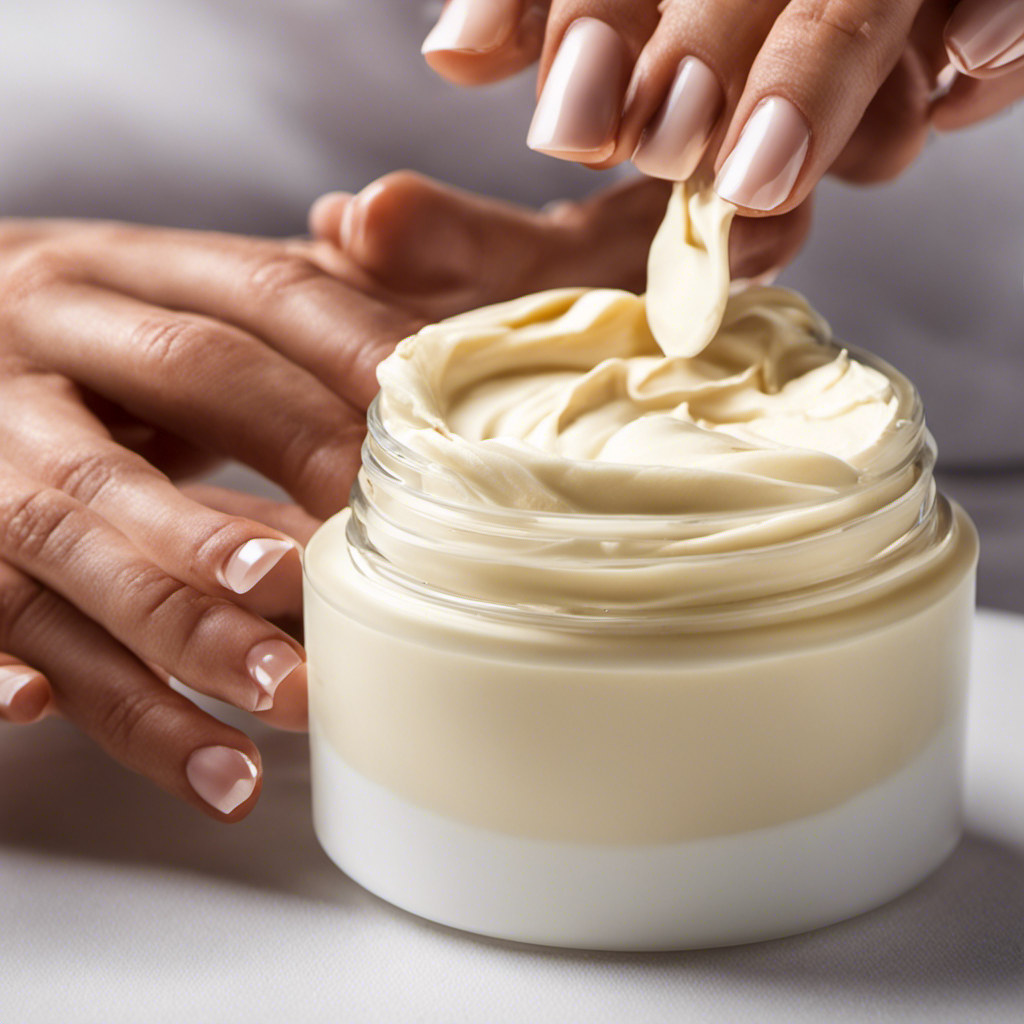
Now that you’ve created these unique butter combinations, why not take it a step further and transform your butter into creative sculptures? Sculpting butter can be a fun and engaging activity to do with your kids. Just make sure to use softened butter that is easier to mold and shape. Here are a few ideas to get you started:
- Animal Shapes: Use cookie cutters or small molds to create butter animals like ducks, cows, or butterflies. Your kids will love playing with their edible creations.
- Flower Garden: Sculpt butter into flower shapes and arrange them in a small pot or vase. This makes a beautiful and unique centerpiece for your next dinner party.
- Butter Buddies: Roll small balls of butter and use small pieces of fruit or vegetables to create faces on top. This is a fun way to encourage your kids to eat their veggies.
After you’ve created your butter sculptures, it’s time to think about unique packaging ideas. Instead of using plain butter containers, why not try these creative options:
- Mason Jars: Transfer your flavored butter into small mason jars and add a cute label or ribbon for a rustic and charming look.
- Silicone Molds: Pour your butter mixture into silicone molds in fun shapes like stars or hearts. Once frozen, pop them out and store them in a freezer-safe bag.
- Decorative Butter Dishes: Look for unique butter dishes that have a special design or pattern. This will add a touch of elegance to your table when serving your homemade butter.
Kid-Friendly Flavor Experiments
Now that you’ve learned about some creative butter combinations, it’s time to dive into the exciting world of flavor pairing and taste testing! Get ready for some fun experiments that will tickle your taste buds and ignite your culinary creativity.
One way to explore flavor pairing is by adding different herbs and spices to your homemade butter. Try mixing in some garlic and parsley for a savory twist, or sprinkle in a little cinnamon and sugar for a sweet treat. You can also experiment with tangy ingredients like lemon zest or spicy additions like chili flakes.
Once you’ve added your chosen flavors, it’s time for the best part – taste testing! Spread a little bit of your flavored butter on some bread or crackers and take a bite. Pay attention to how the flavors blend together and how they enhance the buttery base.
Now that you’ve mastered the art of flavor pairing and taste testing, let’s move on to some exciting mix-in ideas that will take your homemade butter to the next level.
Exciting Mix-In Ideas
Get ready to elevate your homemade butter with some exciting mix-in ideas that will add a burst of flavor to your culinary creations. Whether you’re making butter with kids or just looking to spice up your own cooking, these unique flavor combinations are sure to impress.
- Sweet and Savory: Add a touch of sweetness to your butter by mixing in some honey or maple syrup. Then, balance it out with a pinch of sea salt or a sprinkle of herbs like thyme or rosemary. Spread this delectable butter on warm biscuits or use it to top grilled steak for a mouthwatering twist.
- Zesty Citrus: Brighten up your butter with the tangy flavors of citrus. Try mixing in some freshly grated lemon or orange zest, along with a squeeze of juice. This citrus-infused butter is perfect for spreading on toast or using as a topping for pancakes or waffles.
- Spicy Kick: If you’re a fan of heat, why not add some spice to your butter? Mix in some chopped jalapenos, a dash of hot sauce, or even a sprinkle of cayenne pepper. This spicy butter is great for adding a kick to grilled corn on the cob or slathering on a burger.
With these exciting mix-in ideas, your homemade butter will never be boring again. So go ahead, get creative, and enjoy the delicious flavors you can create!
Storing and Preserving Homemade Butter
To keep your homemade butter fresh, you’ll want to store it in an airtight container in the refrigerator.
But what if you have a surplus of butter and want to preserve it for longer?
Well, you have a couple of options.
One option is canning butter, which involves sealing the butter in sterilized jars and processing them in a water bath. This method can extend the shelf life of your homemade butter up to a year!
Another option is freezing homemade butter. Simply wrap the butter tightly in plastic wrap or place it in an airtight freezer bag before popping it in the freezer. Frozen butter can last up to six months without losing its flavor or texture.
Fun Activities to Keep Kids Engaged
One way to keep children entertained is by organizing fun activities that engage their creativity and imagination. Here are three exciting activities to try with your kids in the kitchen, utilizing kid-friendly kitchen tools while also reaping the educational benefits of making butter.
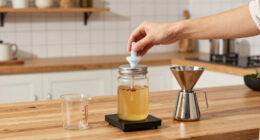
- Butter Shakers: Get your kids shaking and moving with this hands-on activity. Fill small jars with heavy cream, add a pinch of salt, and let your little ones shake away. They’ll learn about the process of turning cream into butter while getting some exercise too!
- Flavored Butter Creations: Encourage your kids to experiment with different flavors by adding herbs, spices, or even fruit to their homemade butter. This activity helps them explore their taste buds and develop their culinary creativity.
- Butter Sculpting: Let your kids unleash their imagination by molding butter into fun shapes and figures. They can create animals, flowers, or anything they can dream up. This activity promotes fine motor skills and artistic expression.
Exploring the Science Behind Butter Making
When exploring the science behind making butter, you can experiment with different ingredients and observe how they affect the texture and taste of the final product. It’s a fun and educational activity to do with kids, where they can learn about the chemical reactions that occur during the process.
One key ingredient in butter making is cream, which contains a high amount of fat. As you shake or churn the cream, the fat molecules start to stick together, forming clumps. These clumps eventually separate from the liquid, creating butter.
Understanding the role of fat in butter making is essential because it gives the butter its rich and creamy texture. So, grab some cream, a jar, and get ready for some hands-on science fun with your little ones!
Conclusion
Congratulations! You’ve just embarked on a magical journey of butter making with your little ones. By following these simple steps, you’ve not only created a delicious treat but also nurtured a bond with your kids that will last a lifetime.
Just like the creamy butter that melts in your mouth, this experience has melted away any stress or worries. It has left behind a sense of joy and accomplishment.
So go ahead, spread the love and butter on your toast. Savor the sweet memories you’ve created together.